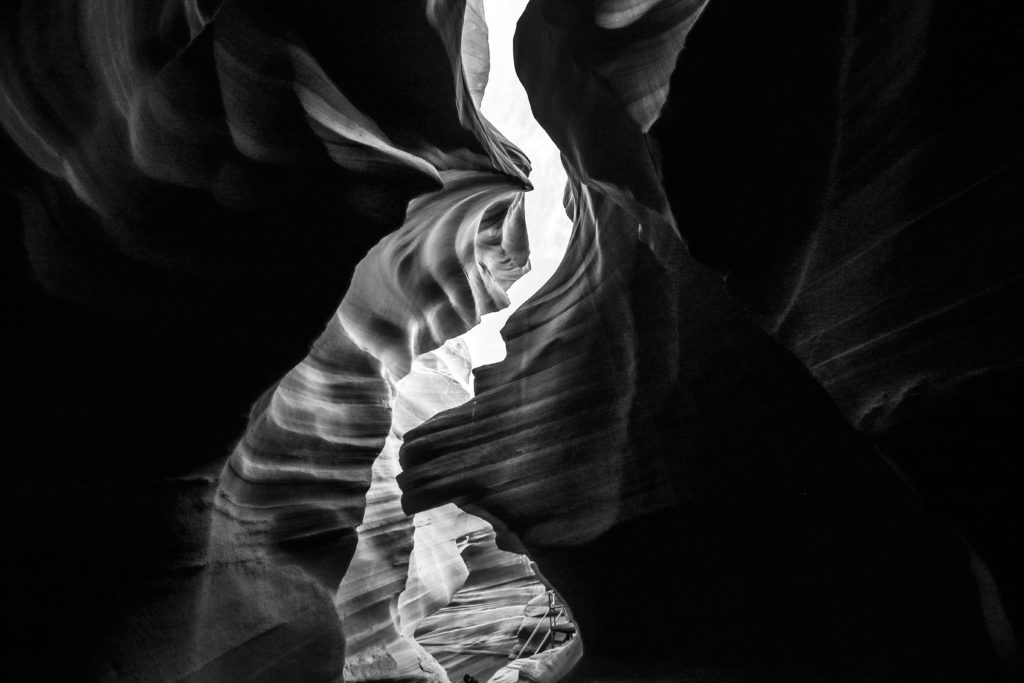
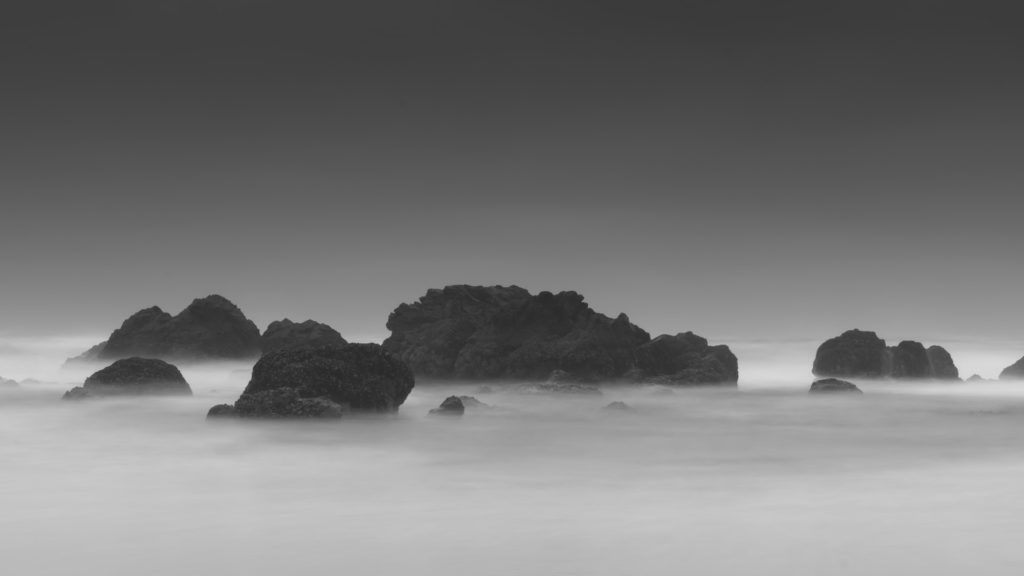
When the term monochrome is mentioned, most of us tend to think that monochrome is the same as black and white. While black and white is definitely monochrome, the word “monochrome” means varying tones of one colour. Here are some exquisite photographs that will give you ideas to get started with monochrome photography!

If you carefully look around and observe the things around you, you will start to see that there are a lot of monochromatic elements and objects/frames around us, both in nature and in manmade objects. Once you start recognizing this, you will be able to capture some visually pleasing monochromatic images. Monochromatic images can look and feel calm and neutral without too much contrast, but if you want to break this pattern, you can always add a contrasting element to bring added interest to the image.

If you are unable to find interesting monochromatic frames easily, you can also try your hands at monochromatic editing. In order to get effective results, you will need to make sure that you capture images with good tonal contrast in the image, similar to capturing black and white images, and also have the skills to convert them into black and white. This guide, “Better Black And White” by Photzy, is a complete step-by-step guide to beautiful black and white conversions.
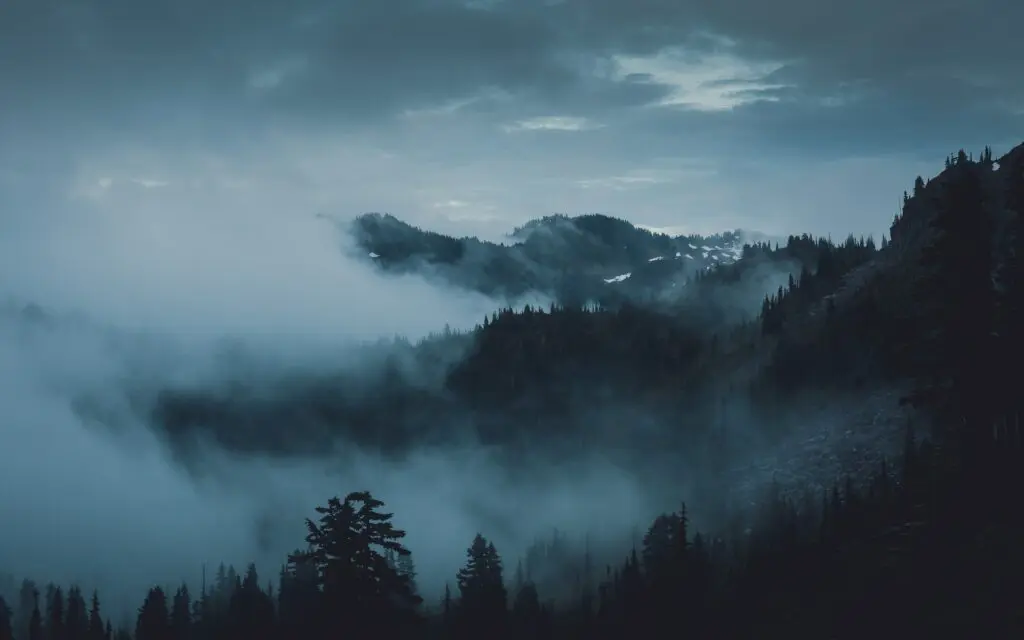


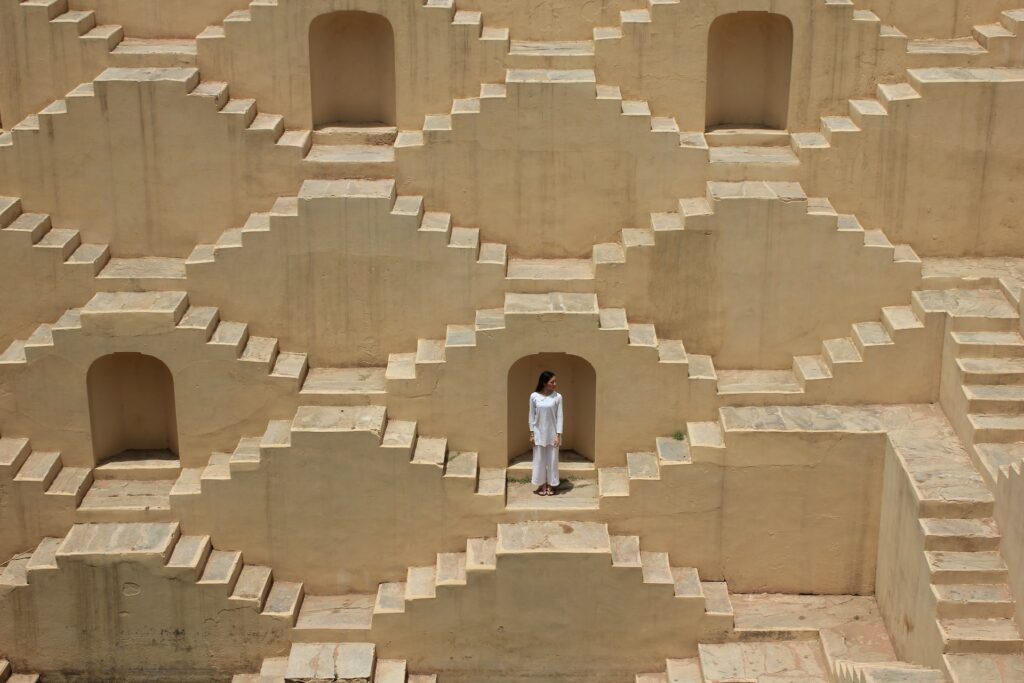
When you are looking for monochromatic subjects, you can look around in the great outdoors, in your home indoors, or in manmade objects and structures. From flowers, leaves, valleys, mountains, and seascapes, to architectural structures, and modern and classic buildings, monochromatic colors can be found everywhere. If you find something monochromatic and want to break the monotony because there was no specific interest in the frame, always add a person, animal, or vehicle in the frame as these can also add to the story, create depth and also act as a scale for the elements in the frame.
If you cannot capture a completely monochromatic image, you will want to convert them to monochrome when post-processing. Since you cannot directly apply monochromatic tones to a color image, your first step would be to convert the images to black and white before you apply any other tones to the image. If you are looking for practical follow-along instructions to create compelling black-and-white shots every single time, then check out the “Better Black And White” guide by Photzy. It has every step, in detail, for all three programs – Lightroom, Photoshop, and Elements.


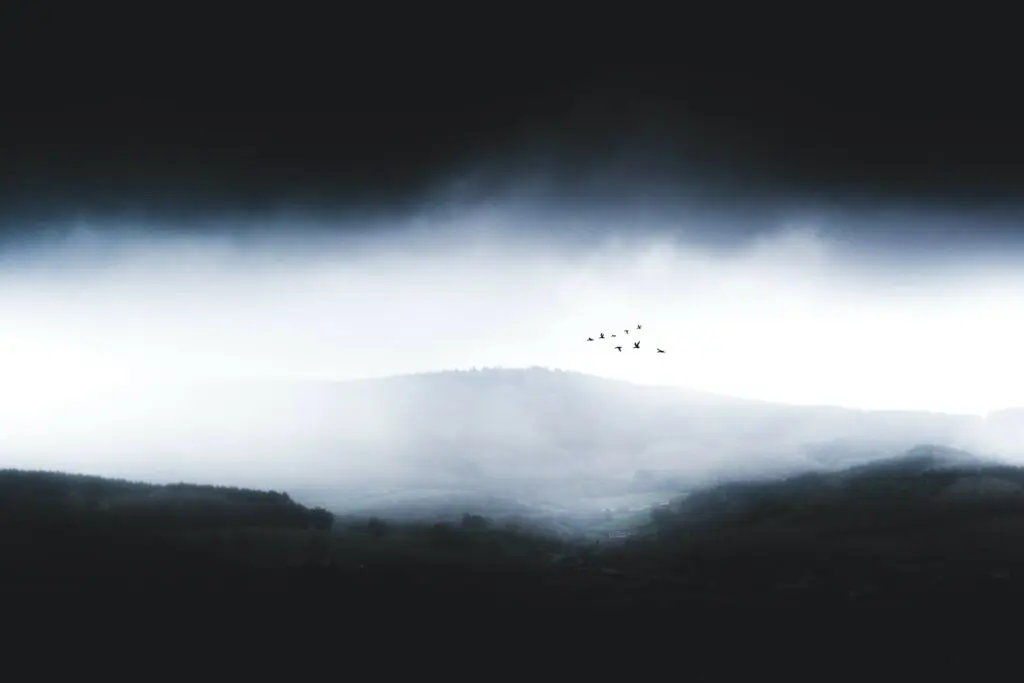

When capturing monochromatic photographs, you need to make use of light effectively in order for the shapes, textures, and forms in the frame to stand out, which are important to add depth, contrast, and drama for effective monochromatic photos. Your photograph can be of a wide scene or intrinsic details of an object. Make sure to keep the frame simple but at the same time with a lot of variations of a single color, so you have darks, lights, and mid-tones of a particular color in the frame.

If you are converting your images to monochrome, then you will need to capture some amazing tonal range in your photograph and to achieve this, you should capture colors effectively. Also, you should be able to tell the difference between black and white and monochrome when you are into monochromatic photography. Besides, knowing the trick to determine how colors will transfer to monochrome will pave the way for effective monochromatic shots. This guide, “Better Black And White” by Photzy, goes into all the details that will help you to capture and post-process monochromatic images.


