Ok, so you want to capture a moonrise, here are a few tips and tricks to help you take a great shot at moonrise.
Have you ever wondered why your photographs of the moon always look extremely bright and out of focus? The answer to this problem could be summarized in a sort of rough way. The main reasons for this are simple.
Grab your Milky Way Photography Blueprint for free right here.
- First, even though when the moon reflects the sun's light, it is still projecting light to us. This is often resolved by using low ISO values and small aperture values too.
- Beyond that, the moon is spinning at a different pace from the earth's rotation. Making it a moving object that will appear to be blurred at slow shutter speeds.
In simple words, the best way to capture the moon with your camera is by keeping a sort of “motion freezing” mindset. As long as you manage to achieve this, you'll start taking nicer shots of the moon.
Try to always work with a generous telephoto or zoom lens in order to capture the moon at a closer range every time. And before anything else, always use a tripod.
Here are 3 tips for perfecting your moonrise shots
About Predicting the Moon
Taking photos of the moon is challenging due to its luminous qualities, but taking photos of it as it rises from the dawn, is even more complicated. And this is extremely important, if you are not a morning person, then this photography genre is not for you.!
Attention: Grab your free cheat sheet for Moon photography! Click Here
Looney 11
Just before we get into it – it is worth revisiting quickly the Looney 11 rule
[thrive_text_block color=”note” headline=””]So here is what to remember…
- The Rule: Set the aperture to f/11 and shutter speed to the reciprocal of the film speed.
- Example 1: f/11 at ISO 100 and 1/100th second shutter speed.
- Example 2: f/11 at ISO 200 and 1/200th second shutter speed.
[/thrive_text_block]
The looney 11 rule is worth keeping in mind for getting good exposures when you photograph the moon.
1. Moonrise Composition – Let's Start by Scouting
Moon photography intertwines between astrophotography and landscape photography, and these both share something in common. The main thing that these two genres are famous for is that their main subjects aren't just waiting for you, you need to go out and seek them. The best way of doing this is by scouting, and try to find several spots as you go.
It is important that you identify several places as photography worthy because it can take a long time before the moon relates perfectly to your spotted scenes. There is not a perfect recipe for scouting, but whatever you do, you should invest in some high-quality shoes.
Pro Tip: Try to look for places that aren't too crowded. Highly cramped places make it difficult for any kind of astro and landscape photography.
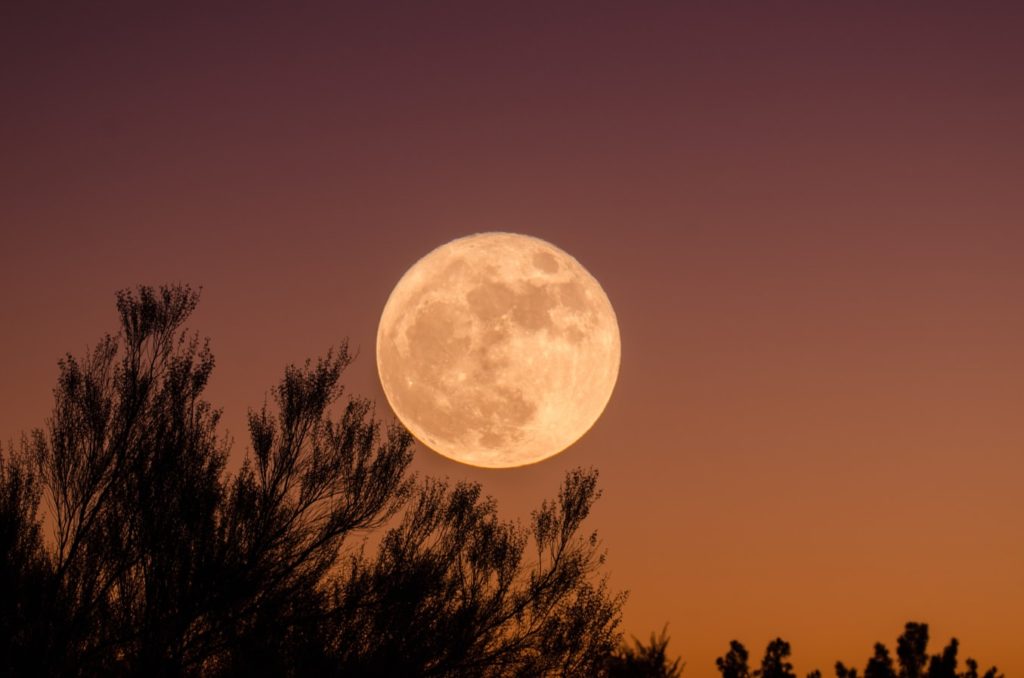
2. Appealing Moons
As you might remember from your natural sciences classes during elementary school, the moon has a series of phases. In these phases, the amount of shade our planet produces in the moon by blocking the light of the Sun results in the amount of light it reflects back to our home, planet earth.
Full and new moons are perhaps the most appealing phases to capture, and they happen on a monthly basis. This reduces the scope of the worthy shots, and you have to be prepared for the perfect moment to rise in the sky.
Pro Tip: We do live in a beautiful moment in the history of photography, and we need to embrace all the goodies available to us. There are several mobile apps nowadays that help us into precisely anticipating the moon's location in the sky at any moment. Some of these are Photographer's Ephemeris, Mooncalc, and PhotoPills. But no app will take great photos for you – so you need to get out there and do your scouting.
3. On Precise Composition
Whenever you have planned to achieve a very precise composition that juxtaposes objects from the scene with the moon, then you should try shooting with burst mode and with manual focusing. Earth and moon will continue their gentle motion, and they won't stop for you. Burst mode combined with manual focusing is a killer combination for rising moon compositions. Capture the whole moment and pick out your hero shot later.
If the moment slips your finger, don't worry, you can still make the shot as long as you are able to reconfigure your tripod quickly.
Pro Tip: Remember that moonrises don't happen all the time like sunrises. Get a lunar almanac for precise moonrise anticipation. Consider traveling since there is a high chance you will not see a moonrise near your house for a long time. And speaking of sunrises, beware of the sun as it starts rising as well because the subtle changes in light could kill all your effort if you are not keeping an eye on the exposure meter.
Attention: Grab your free cheat sheet for Moon photography! Click Here
Bonus Quick Tip: Photographing the Moon With A Foreground
When you photograph the moon with foreground included, you will probably notice that you end up with the moon as a totally white blob with no detail. It is very difficult to expose both the foreground and the moon correctly in the same shot. For that reason, most of the photographs of the moon with a foreground that you see are actually composite images. There is a useful, if somewhat dated, tutorial on creating moon composites here.
- Use whichever lens allows you to get your composition (probably slightly wider)
- ISO 100
- f/11 to f/16
- Bracket exposures to +2 and -2 (this may take some experimentation)
- Create a composite of images in Photoshop.
A Moonrise Story
If you want to get a better feeling of how challenging and also thrilling shooting a moonrise could be, then you should watch the following video. Here we can understand thanks to Brittany Moorefield from the Ansel Adams Gallery how the master himself managed to capture this iconic photograph depicting the moon.
Moonrise, Hernandez: Mysterious, Timeless and Iconic from The Ansel Adams Gallery on Vimeo.
We hope that you could find some inspiration after watching it.
Final Thoughts
The moon can be used in compositions basically in two ways, as the main subjects filling your frame, or as composition elements of a larger context surrounding yourself.
If you want to go for the first kind of moon-oriented photographs, then you'll have to invest (by buying or renting) in large telephoto lenses that enable you to see the moon as close as you can.
For the more landscape oriented images, you can use a less narrow lens, but not an extremely wide lens, otherwise, the moon will be just a tiny spot on your frame.
Composition will be the ultimate asset on your moonrise predictions, but remember, you have to plan ahead, otherwise you'll just end up with some random snapshots of a murky moon over the sky.


1 Comment
“…the moon has a series of phases. In these phases, the amount of shade our planet produces in the moon by blocking the light of the Sun results in the amount of light it reflects back to our home, planet earth.”
You are confusing lunar eclipses (relatively rare events) with the lunar phases (which go through the whole series every month). The earth doesn’t block sunlight from reaching the moon except during eclipses. Phases are a result of the varying angle formed by the sun-moon-earth through the lunar month. When the angle is 90 degrees, we see a half-moon. When it is less than 90 degrees, we see a gibbous moon, when more than 90 degrees, a crescent. At essentially zero degrees, the moon is full. At essentially 180 degrees, new.
“Consider traveling since there is a high chance you will not see a moonrise near your house for a long time.”
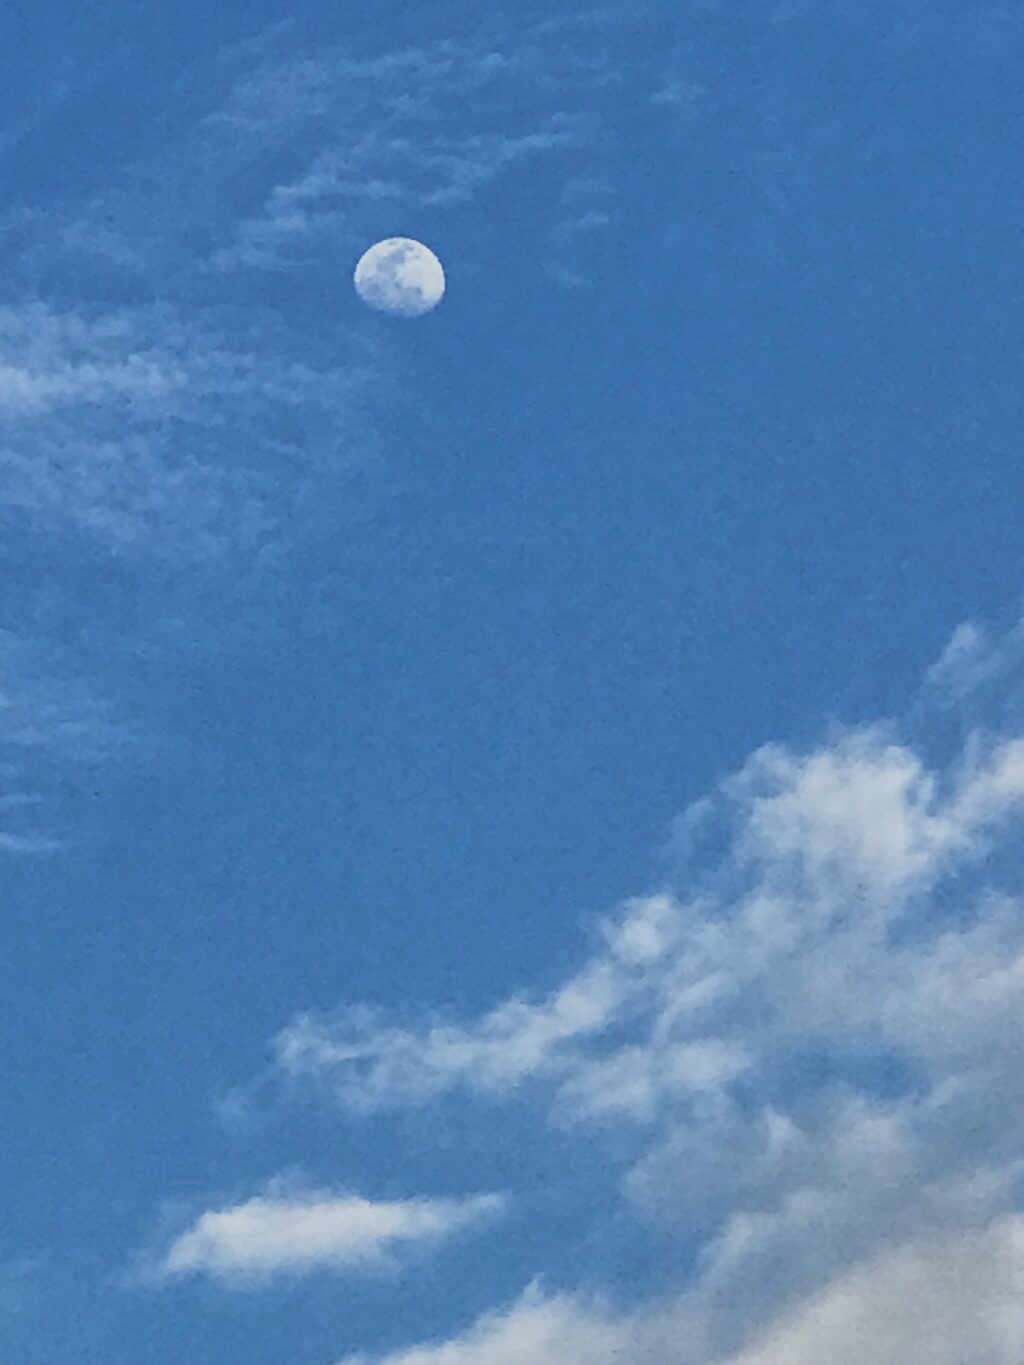
Ditto. If you’re waiting for an eclipse, it could be a long time. But the moon rises every day, though sometimes it is during daylight – or cloudy – so harder to see. And of course, a new moon can’t be seen at all.