Cities are incredible places to photograph. Even the dullest of cities will be chock full of life and locations. If we combine a bustling city with one of the best times to shoot, the blue hour, we arrive at a photographic utopia.
If you want to be notified of the blue hour course where we dive very deep on the topic and show you how to get some spectacular results, then make sure you’re signed up here.
In that short window of time, cities become a riot of contrast and color. Today we are going to take a look at when, how, and where to shoot blue hour in the city.
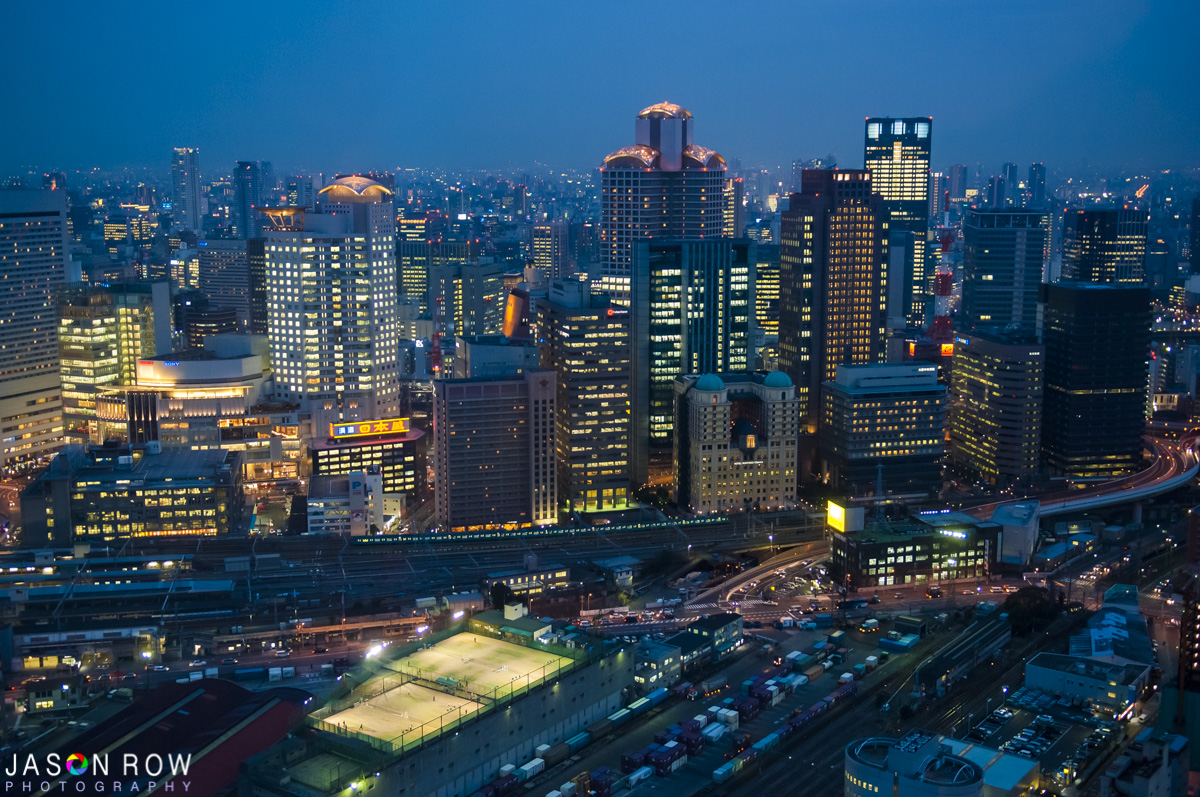
When To Shoot The Blue Hour
Like the golden hour, blue hour occurs twice a day. In the early morning as the sun casts light on the atmosphere, but has not come over the horizon. In the evening it is the short period of time after the sun has set and before pure night sets in. Both have a very distinct and different feel to them.
The morning blue hour is a time of calm and quiet. There are very few people and cars around, buildings are often unlit, leaving only the street lights illuminating the city. It is a wonderful time to be a photographer and a wonderful time to shoot the normally bustling streets of a city.
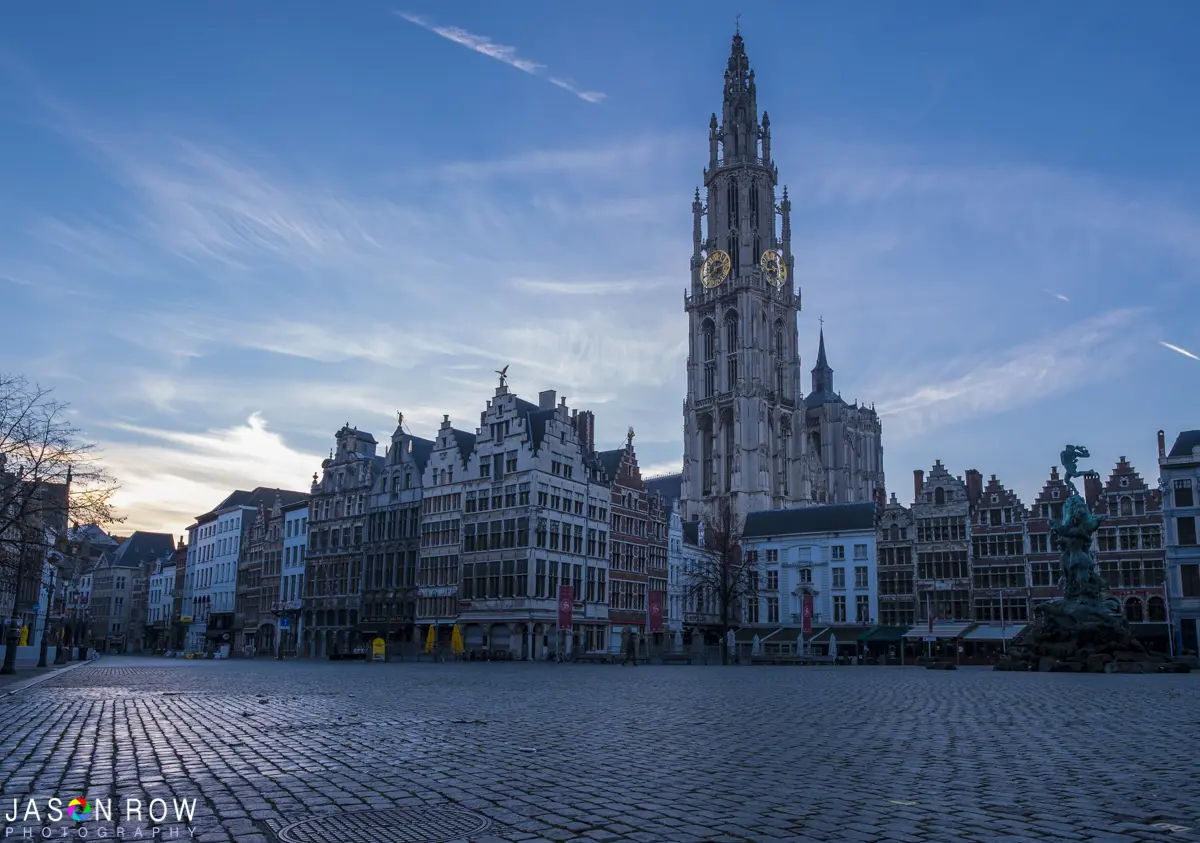
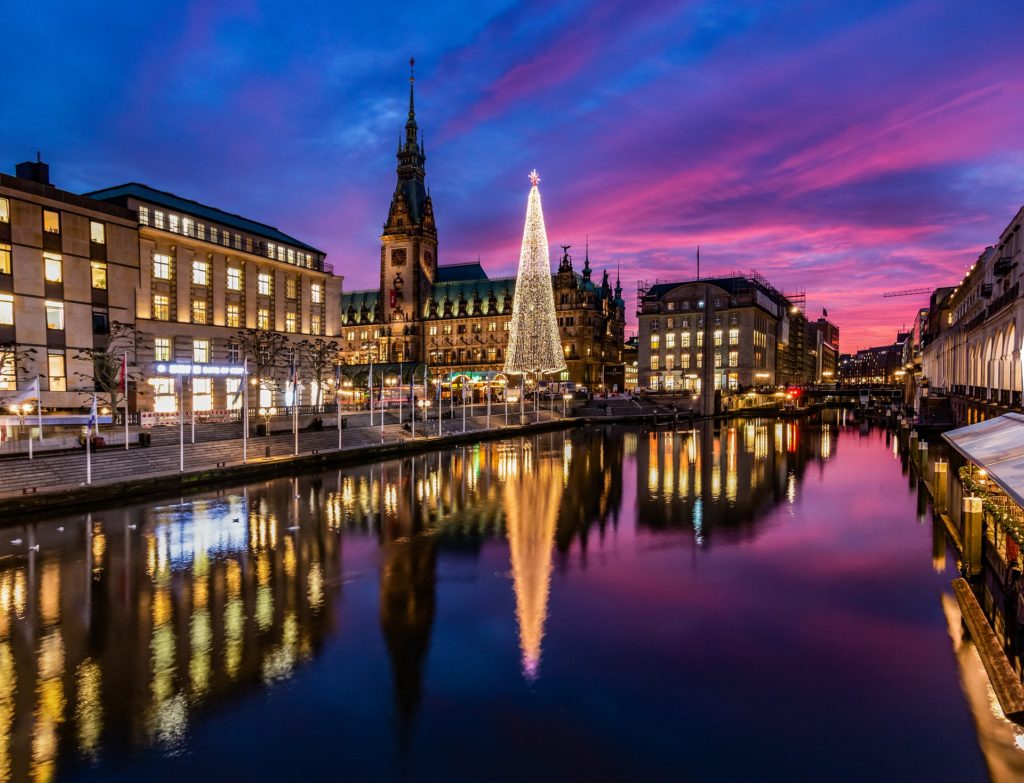
Conversely, the evening blue hour is a time of light and energy. The city's buildings are lit up, streetlights are on, cars rush their occupants home. In the evening we can capture the pure energy of a city like no other time of day.
The blue hour is actually a bit of a misnomer. Depending on the time of year and degrees of latitude, the blue hour can last from a few minutes to several months. For the vast majority of places though, it lasts around 30 to 45 minutes after the sun has set. It ends once the sky has turned from the deep dark blue to black.
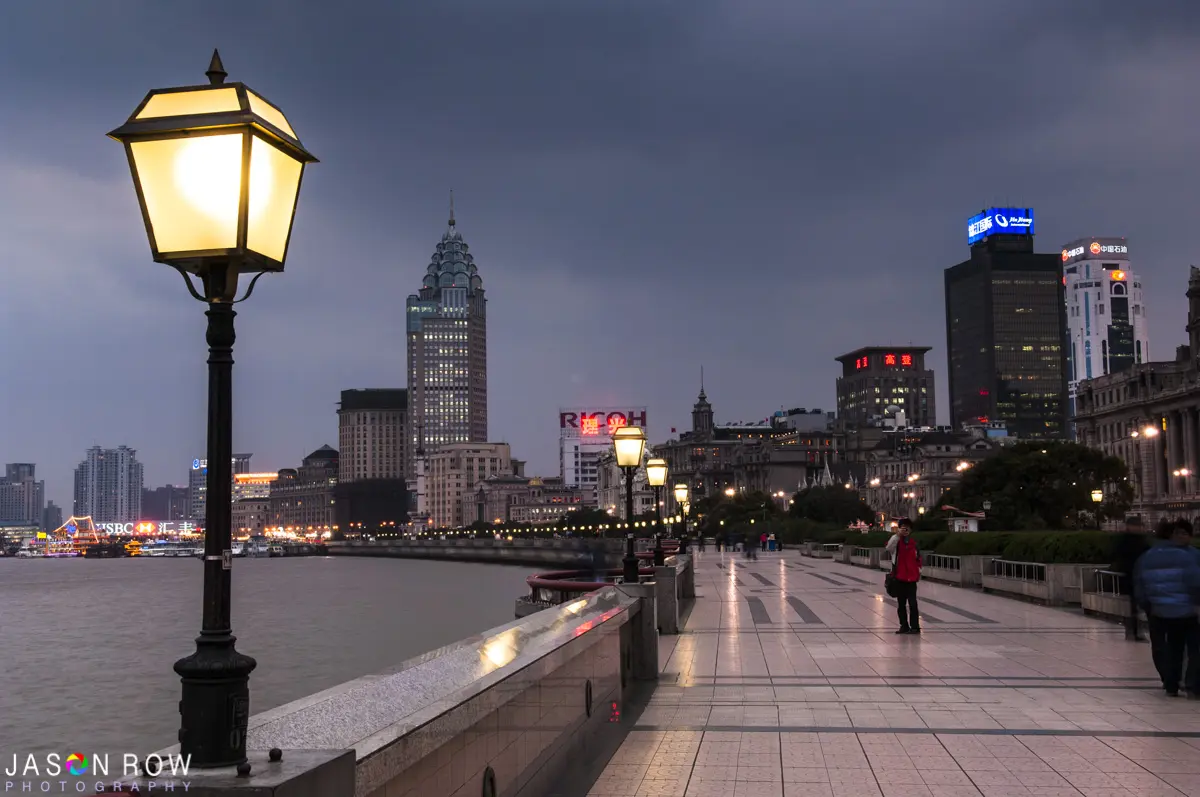
How To Shoot The Blue Hour
There is one major component you will need apart from your camera and lens. That is a good solid tripod. While you might be able to bump up ISO and handhold, you will be missing out on many of the effects that can be captured in the blue hour.
You will need to work fast, as mentioned – the blue hour is rarely an actual hour. I find that the best policy is to get to a location before the golden hour, shoot through that, and use it to identify the best blue hour shots.
Solidly lock off your tripod to avoid getting camera shake. It is a good idea to carry a remote control or cable release for your camera to reduce the need to touch it. As the scene may well contain multiple light sources and large areas of dark, I find it is best to use a matrix metering mode. It is also worth shooting a 5 or 7 shot exposure bracket. Blue hour cityscapes can give a very natural looking HDR image when merged well.
You convey your blue hour scene in different ways by using different exposures. Shorter exposures will produce motion in the image, people will be blurred but identifiable, car lights may have short light trails, while the city and building lights will remain static.
Going for longer shutter speeds will blur people to the point they may disappear and car light trails will become long streaks of red and white through the image. If you have some cloud detail, this will take on an attractive ethereal look. You might need some ND filters to get super slow shutter speeds, even at base ISO.
If you want to be notified of the blue hour course where we dive very deep on the topic and show you how to get some spectacular results, then make sure you’re signed up here.
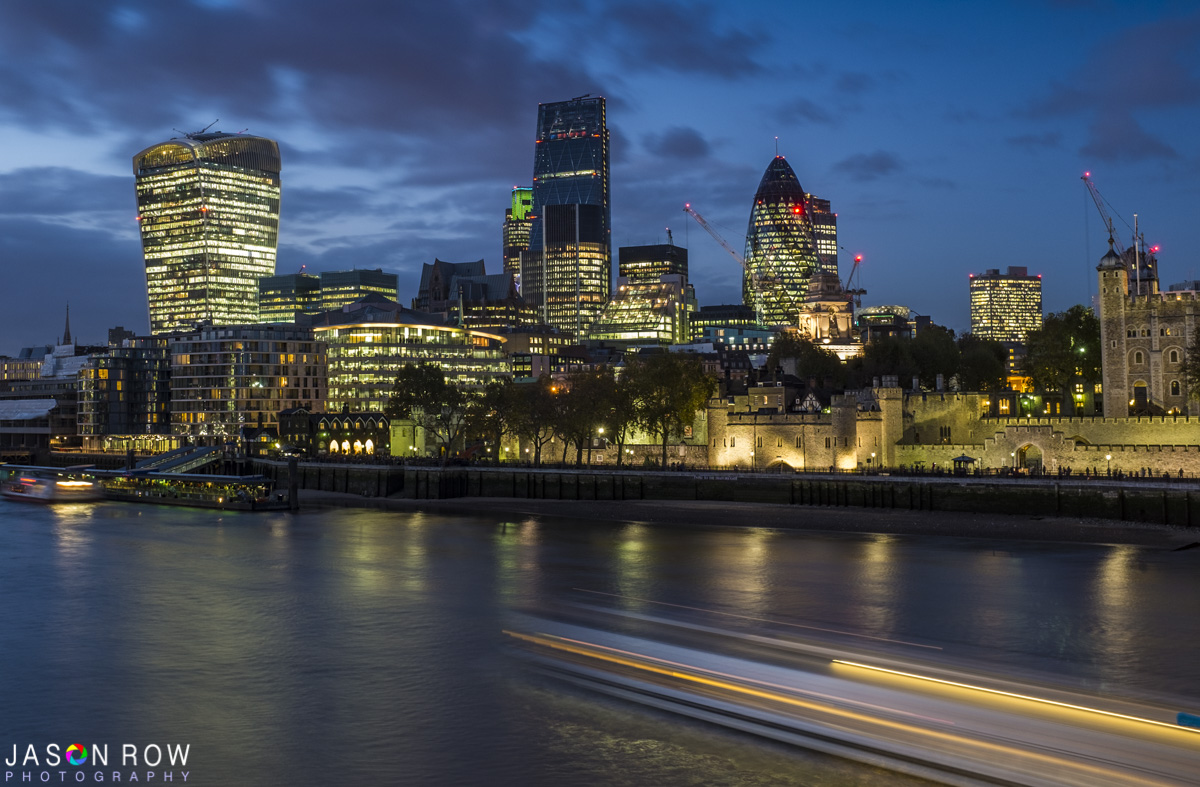
It's best not to shoot with the widest aperture, instead stop down to about f8, this often adds a slight and subtle starburst effect to lights. Because of the many different light sources and color temperatures, it is highly advisable to shoot RAW. Not only can you correct the color in post-production, but you will also have a greater latitude to your exposure.
What To Shoot In The Blue Hour
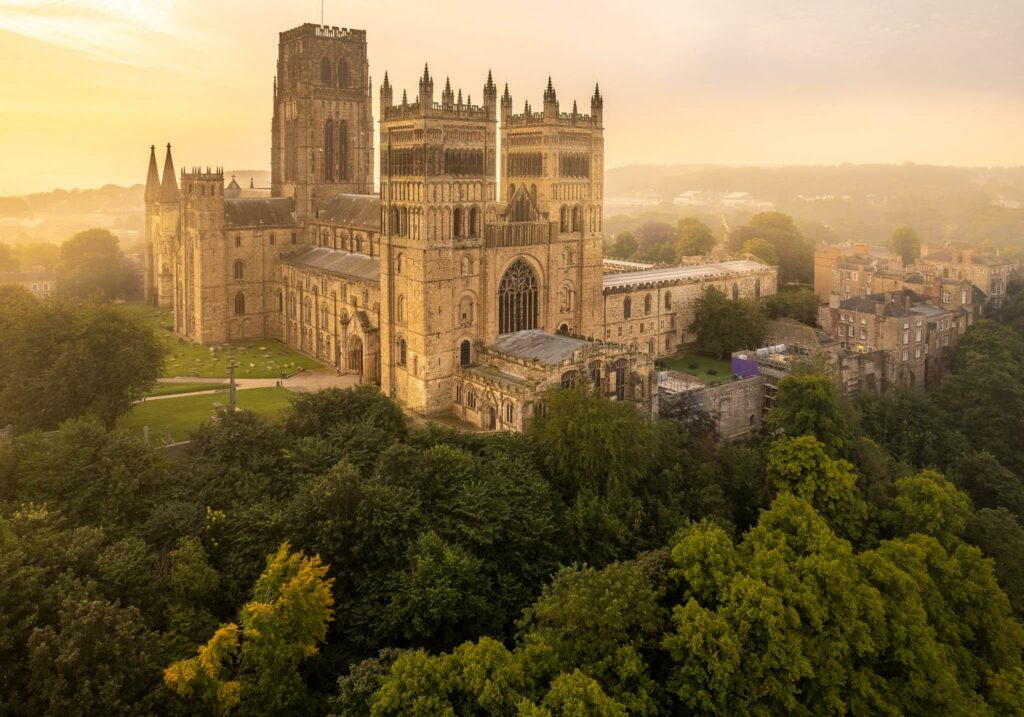
In the morning blue hour, the older parts of cities are great to shoot. Old cobbled streets, ancient buildings, churches and the like. The orange glow of streetlights contrasts beautifully with the deep blue light of morning. Some shops might have lights on inside, bakery windows make a great subject for the predawn. If the city has a river or lake, this can also make a great early morning subject.
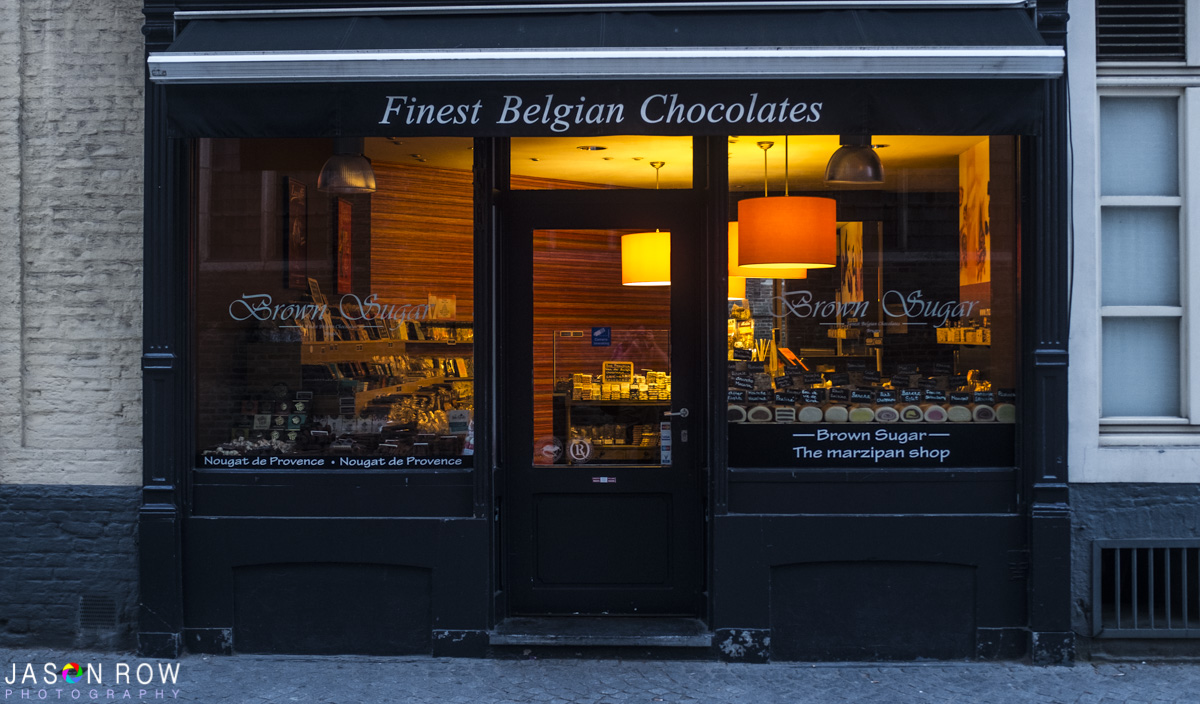
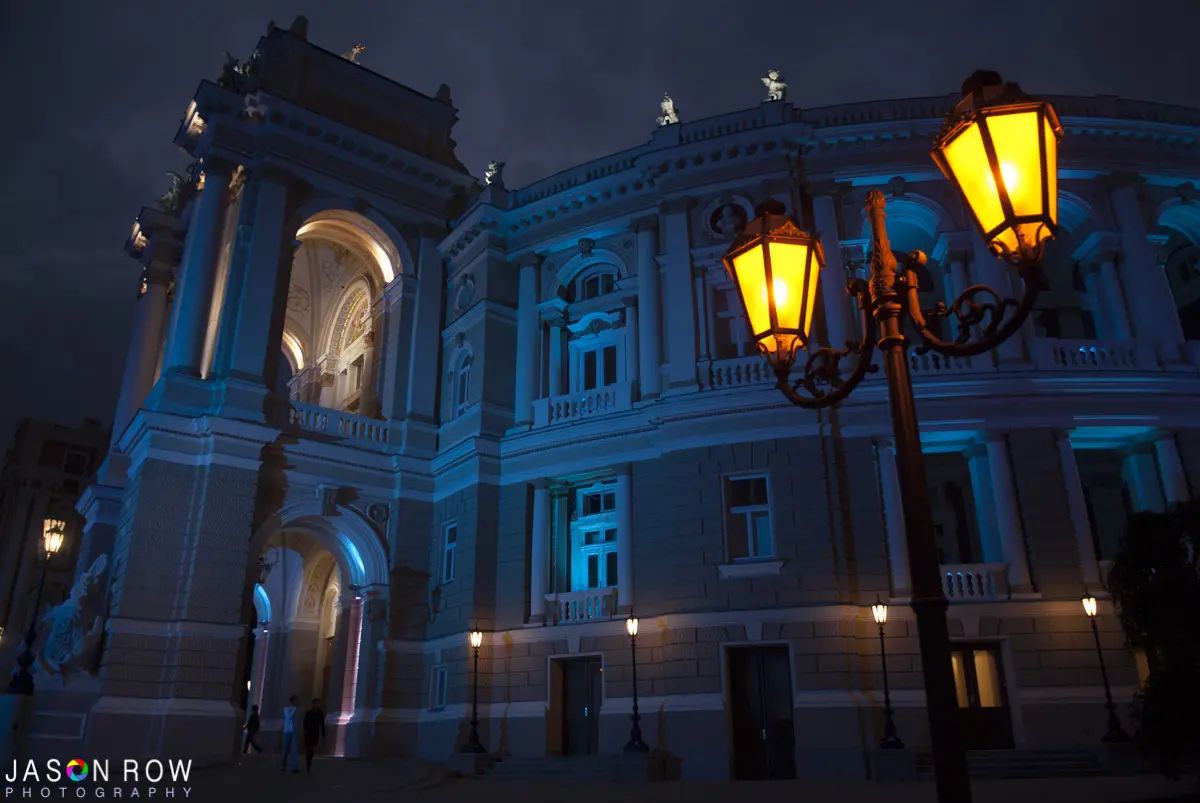
In the evening there is an incredible array of subjects to shoot. Busy intersections, bustling train station exteriors, modern and old architecture. Cities on water are fantastic locations for the evening blue hour, the multiple colored lights reflecting on the water’s surface. If you go for ultra long exposures, those colors merge into an ethereal sheen that really adds a sense of motion to the city.
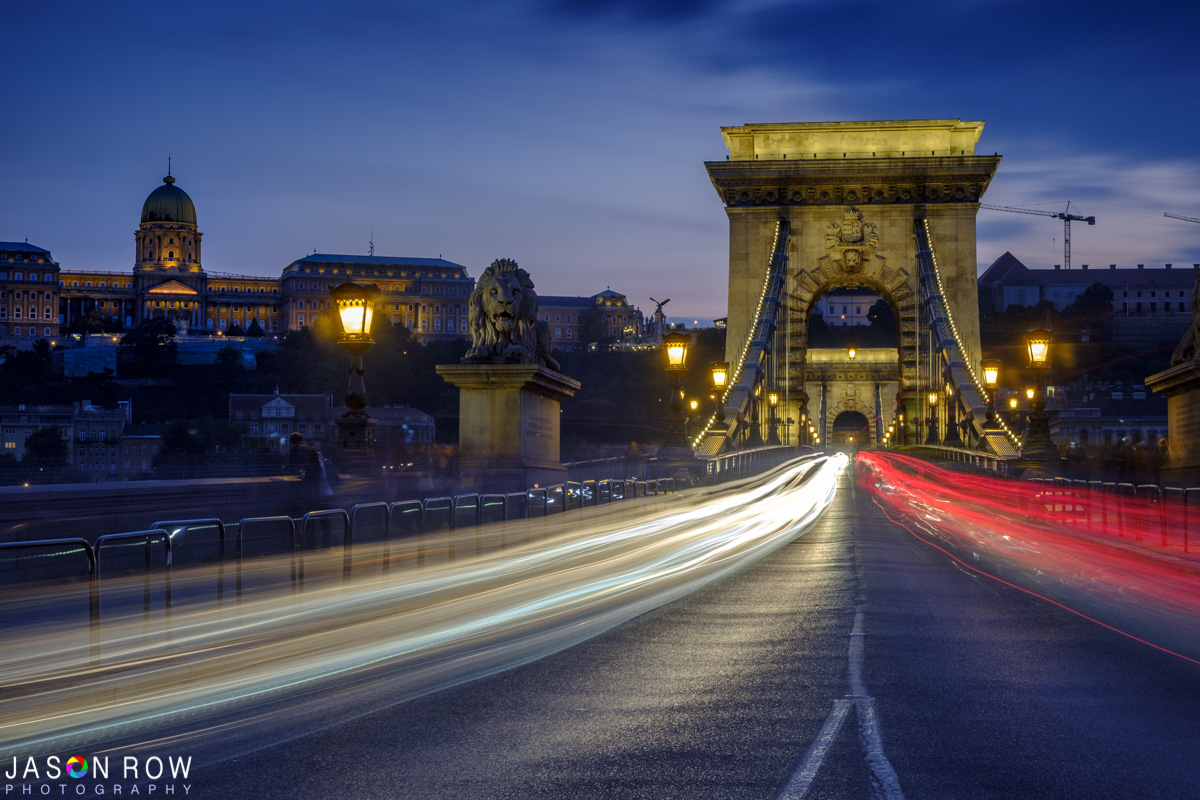
For photographers, the blue hour in a city is a virtually endless source of photogenic subjects. Even subjects that are mundane by day are transformed by city lights and dark blue skies. A decent tripod and a remote are the only extras you need to get started on great blue hour shots.
If you want to be notified of the blue hour course where we dive very deep on the topic and show you how to get some spectacular results, then make sure you’re signed up here.

