Photography rules are great, but there is no magical recipe for creating great photos – it takes time and effort to learn photography. In addition to having a knack for visual arts, it can be really helpful if you’re willing to learn a few simple formulas that can make your images better – and that's where photography rules come in. These rules don’t require any elaborate technical knowledge – even amateur photographers can test them out!
So here are 6 sure-fire photography rules that you'll want to use…because they work
1. Reciprocal Rule
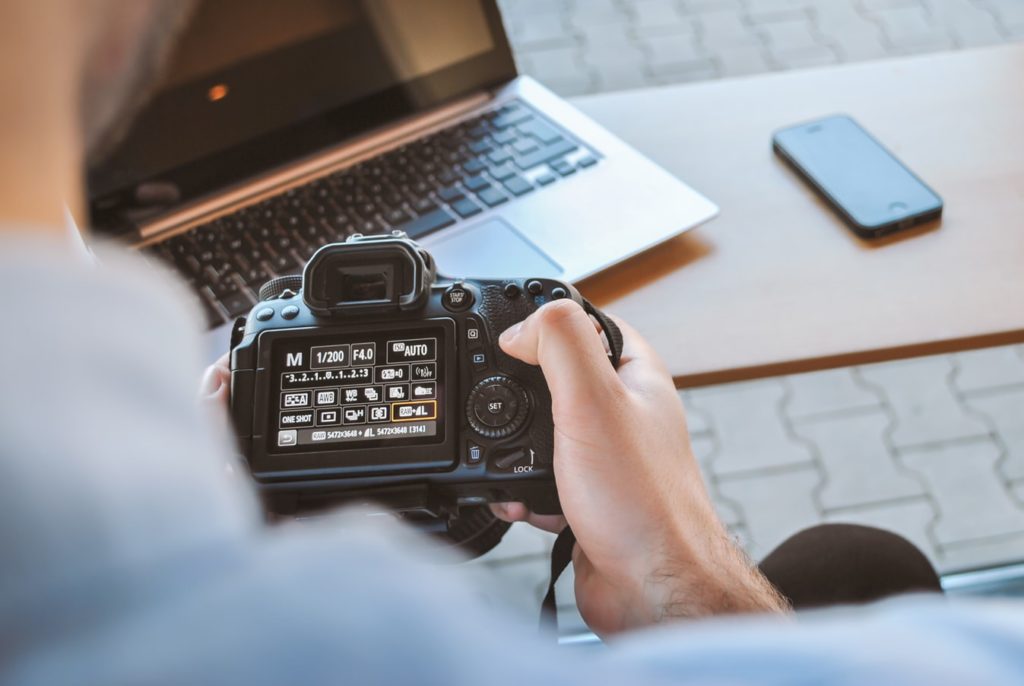
It can be rather challenging to get sharp photos when hand-holding a camera, especially if the lighting conditions are less than ideal. Many inexperienced photographers often end up with blurry images without understanding the main source of the problem, which is camera shake. Using the reciprocal rule can help you achieve tack-sharp photos – the basic premise of this rule is that the shutter speed of your camera should be at least the reciprocal of the focal length of the lens.
1/focal length = minimum shutter speed
For instance, if you are shooting at 80mm, your shutter speed should be set to at least 1/80th of a second. In case you want to zoom in to 400mm, your shutter speed should be at least 1/400th of a second.
In case you don’t want to increase the shutter speed, you can use a tripod – it also solves the problem.
Further Reading:
- A Guide To Reciprocity In Photography
- Follow This Guideline to Get Tack Sharp Focus While Hand Holding your Camera
- Exposure Reciprocity
2. Sunny 16 Rule
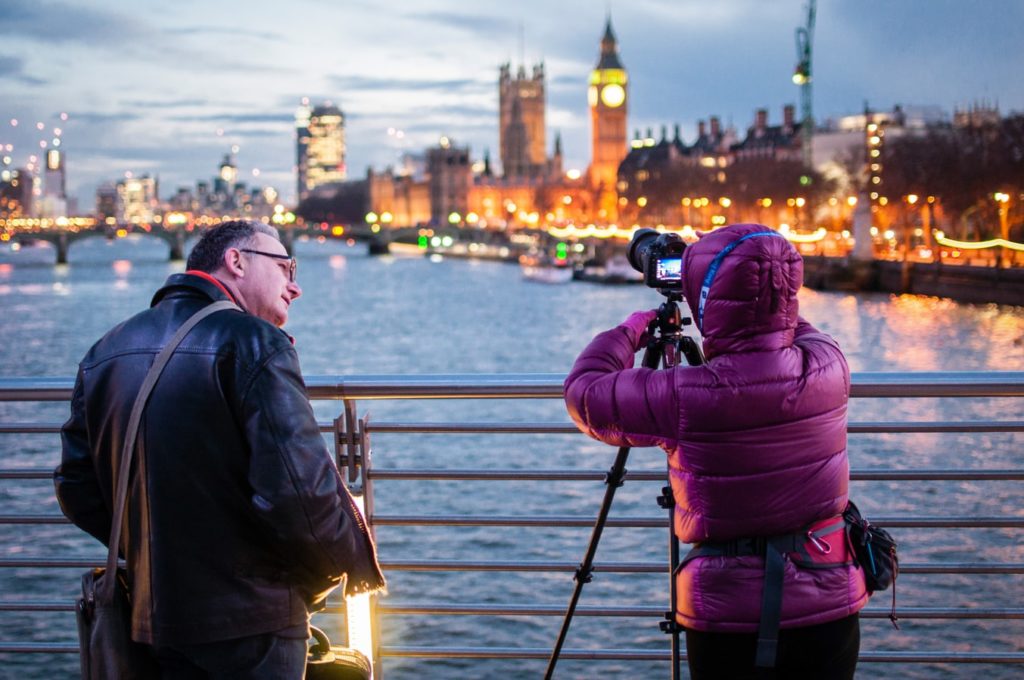
This is one of those photography rules that you just need in your memory bank because it is just super useful. The Sunny 16 Rule is a method of estimating correct daylight exposures without a light meter. It can also help you achieve the correct exposure of difficult subjects, such as very light or very dark subjects.
The basic rule says that on a sunny day aperture should be set to f/16 and shutter speed should be set to the reciprocal of the ISO setting.
Sunny weather + f/16 + 1/ISO shutter speed = proper exposure
For instance, on a sunny day with ISO 200 and aperture at f/16, you should set your shutter speed to 1/200 or 1/250.
Further Reading:
- Understanding the Sunny 16 Rule
- 6 Essential Tips for Taking Good Photographs on a Bright and Sunny Day
- What Is the Sunny 16 Rule All About in Photography?

3. Looney 11 Rule
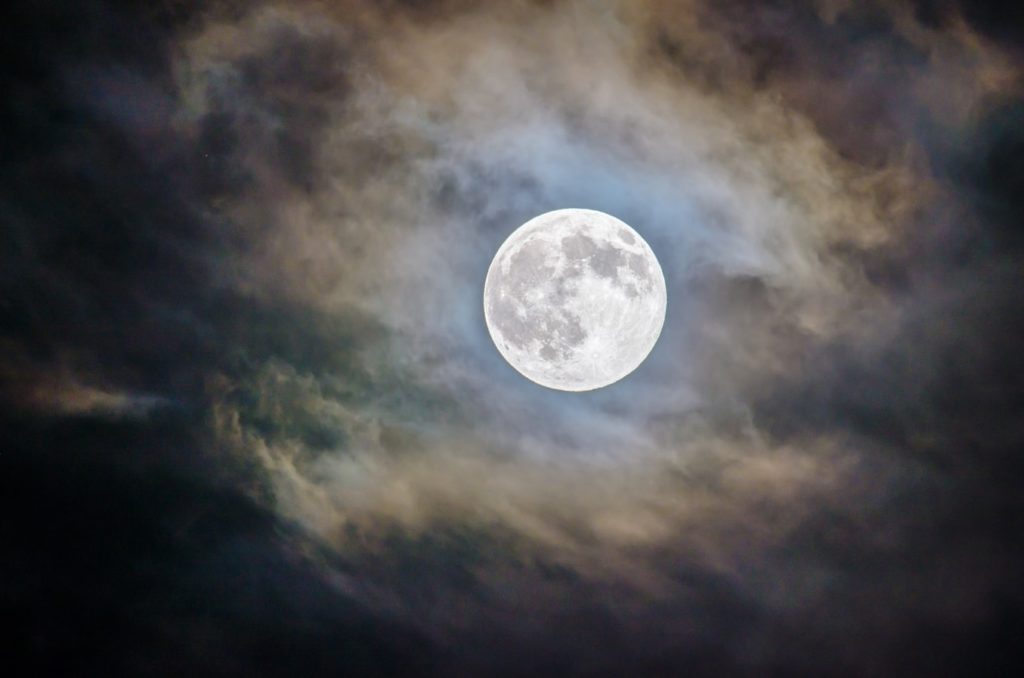
This rule is very similar to the sunny 16 rule – the only difference is that it deals with night photography. In lunar photography, the looney 11 rule is a method of estimating correct exposures without a light meter.
The rule states that for photos of the Moon's surface, aperture should be set to f/11 and shutter speed should be set to the reciprocal of the ISO setting.
The Moon + f/11 + 1/ISO shutter speed = proper exposure
For example, with ISO 200 and aperture at f/11, you would need to set your shutter speed to 1/200 or 1/250.
Further Reading:
- So What Is The Looney 11 Rule In Photography?
- Astrophotography for Beginners: Start Your Journey Here
- How to Photograph the Moon
4. f/8 And Be There
This rule is actually a popular expression used by photographers to emphasize the importance of taking the opportunity for a photo rather than being overwhelmed by various technicalities. The aperture of ƒ/8 is considered a great general-purpose aperture, something that never fails especially if you’re using a prime lens such as a 35mm lens. The phrase “f/8 and be there” is quite old – it was coined in the 1920s by a famous photojournalist Arthur Fellig. According to this rule, all you need for a successful image is:
To be in front of a proper subject
To get this subject in focus
As with may photography rules, this phrase can’t be applied to all genres of photography and all lighting conditions, it’s still very useful advice when it comes to documentary and street photography.
Further Reading:
- The f/8 Rule for Street Photographers on the Move. Let’s Take a Look…
- A Quick Look At The Philosophy Of “f8 And Be There”
- F8 And Be There
5. Inverse-Square Law
Inverse-square law isn’t related only to photography. In physics, this law states that the intensity of an effect such as illumination or gravitational force changes in inverse proportion to the square of the distance from the source.
1/distance between light and subject2 = light on subject
This means that if we increase the distance between the light source and subject from 1 meter to 2 meters, 75% of light intensity is lost. However, if we increase the distance from 4 meters to 10 meters, we only lose 5% of light intensity.
This law can be quite useful if you’re into studio portraiture. In order to understand it better, just recall that whenever you double the distance between the subject and flash, the subject receives one-quarter of the light.
Further Reading:
- How To Use The Inverse Square Law In Photography
- An Introduction to the Inverse Square Law
- The Inverse Square Law for Photographers. A Visual Approach to the Inverse-Square Law of Light
6. The 600 Rule
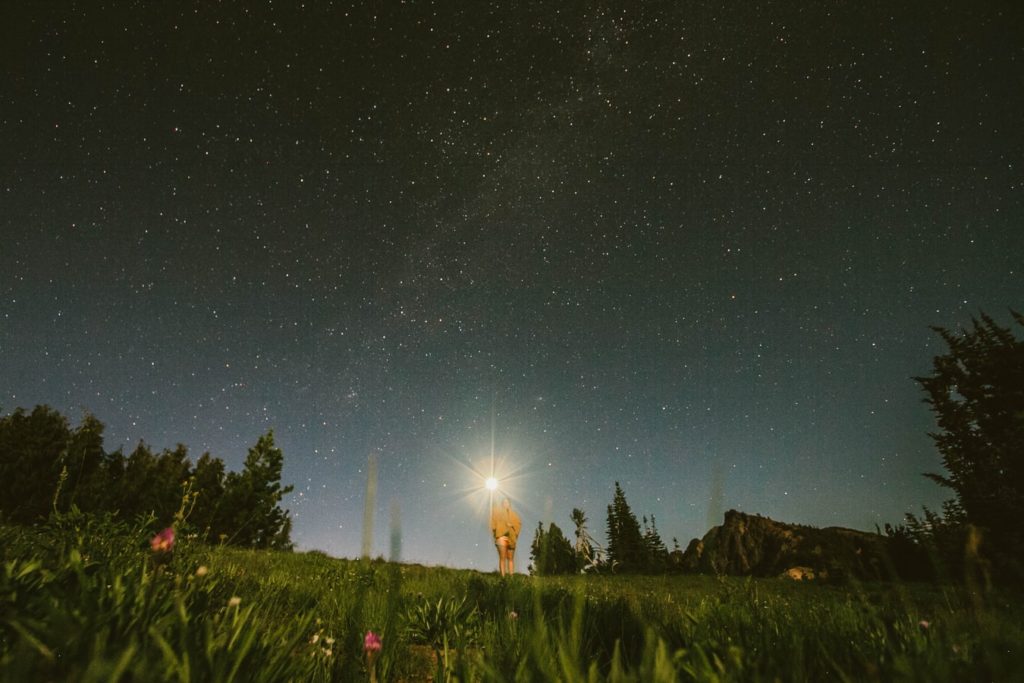
The rule of 600 is used in astrophotography and it states that in order to eliminate star trails the exposure time in seconds should be 600 divided by the focal length of the lens you’re using.
600/focal length = maximum shutter speed
For instance, a 20mm lens could go to 30 seconds while a 300mm lens could go to 2 seconds. Of course, you can’t fully eliminate star trails but you can reduce them to an acceptable level so they are hardly visible.
It’s useful to know that there are two variants of the 600 rule – the 400 rule and the 500 rule. You can use them if you’re not happy with the results you have obtained while using the 600 rule. All you need to do is to replace the number 600 in the formula by 400 or 500 – this will result in a shorter exposure time.
Check out our great article on astrophotography to find out more about these rules.
Further Reading:
- So What Exactly Is The 600 Rule In Photography?
- How to Photograph Star Trails: The Ultimate Guide
- 600 Rule?
These were just the basics when it comes to handy photography rules often used by photographers. It is definitely worth remembering these to get you started. Remember you can break the rules, but it helps to know what you are breaking!
Further Learning:
If you're looking for a pragmatic way to improve your photography without getting bogged down in theoretical tomes and technical manuals, then take a look at Photzy's Action Cards.
Photzy's Action Cards are 65 Action Cards that give you over 200 practical assignments for you to hone and cement your photography knowledge and skills.
Simply put, these will help improve your photography in a practical and methodical way as you work your way through all of the cards – or just complete the topics you are interested in!


5 Comments
Very good read , Thank you.
Can you explain how you came up with 5% light loss when increasing distance from 4 meters to 10 meters. That’s more than double the distance so that should be more than 75% reduction in light.
Light intensity at 4 meters = 1/16th or roughly 6%.
Light intensity at 10 meters = 1/100th or 1%.
The difference is 6% – 1% which is 5% as stated in the article.
I hope this clears it up. Interestingly, the light from the moon is virtually the same whether you are the ground or in the International Space Station. Much much less than 1/100th of 1% in both cases.
Can anyone tell me the rule for shooting on the moon? It’s listed above.
WoW! I’ve heard of the 500 rule, then the 400 rule, but never the 600 rule.