Midday is one of the most difficult times to shoot for any photographer. The brutal truth is that cameras struggle with the extreme light and photographers struggle with making that harsh light result in a pleasing image.
That being said, during your photography career, you are almost certainly going to find yourself in a situation in which you will be forced to shoot in the middle of the day. This article will hopefully help you with where to start when that day comes.
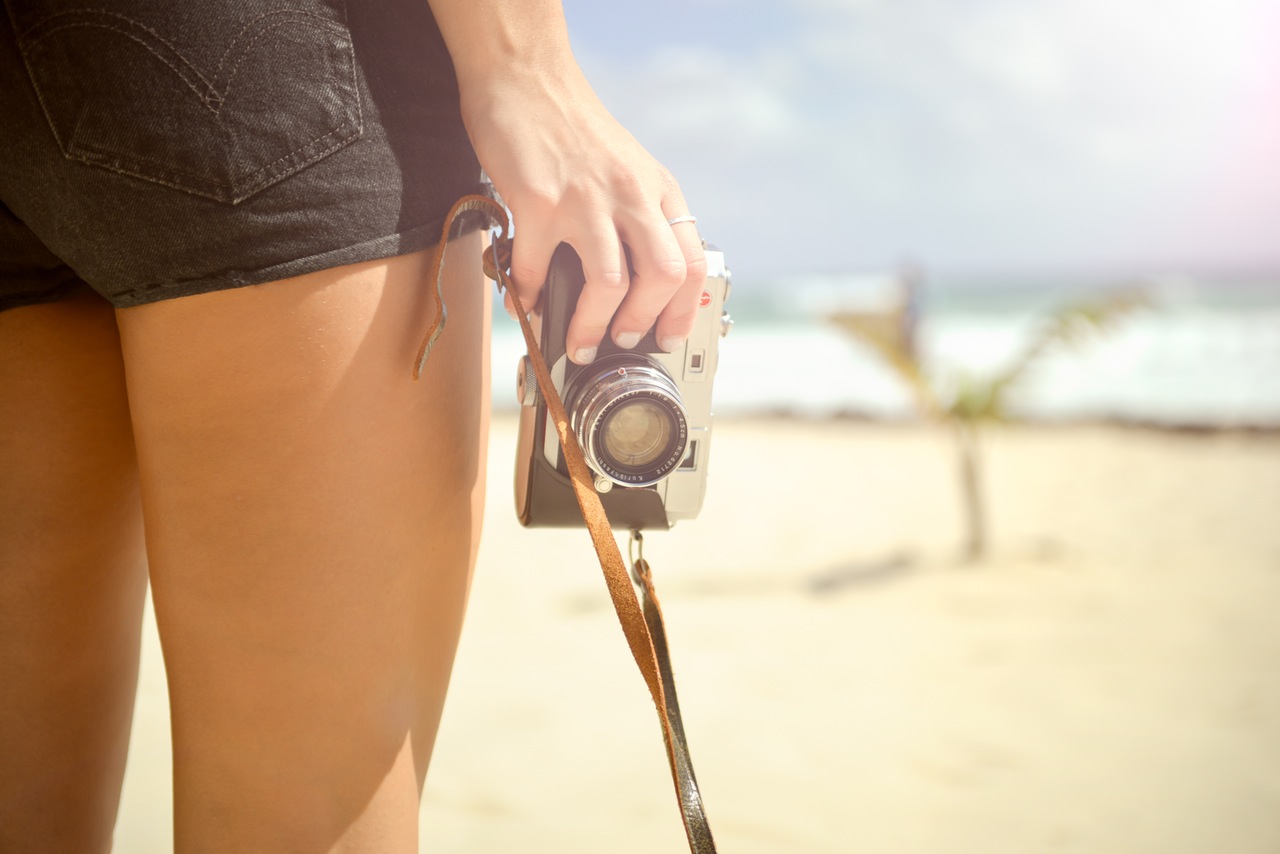
Now, this is not an exhaustive list – it is a place to start with some of the more obvious elements of shooting decent photographs in the midday sun. Don't stop here – keep experimenting, keep learning. It is from combining learning with the practical element of shooting that your images will get better.
Our general landscape photography light article is a good place to start that will give you tips on many differing lighting situations that landscape shooters face.
Let's get started.
Lower The ISO
This is the obvious one. If you know the exposure triangle well, then you will know that you will almost certainly have to be shooting at a low ISO – probably in the range of 50 or 100. The good part of this is that this will also lead to a reduction in noise for your image.
To wrap your head around ISO and how it affects your images, take a look at our more in depth guide to getting started with ISO.
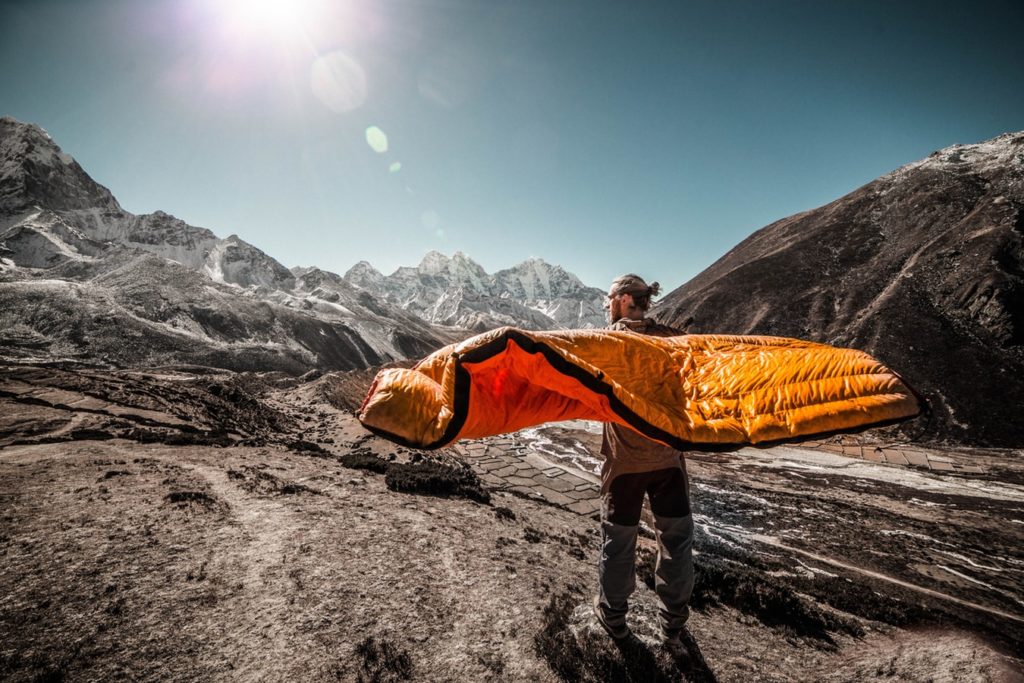
Learn The Sunny F16 Rule
This is a guideline that more or less can inform your decisions on your camera settings. The basic rule is that shooting in harsh sun, if you set your camera to ISO 100, f/16 and 1/100th sec shutter speed, you will get a reasonable exposure.
Now, no set rule like this is going to be applicable in every single situation. You will probably need to change one or two elements of that setup for your own situation, but it is a reasonable place to start. Just be sure to know your exposure triangle and how it affects the various outcomes in your photograph.
See our more in depth article on the sunny 16 rule for more information.

Watch Your Histogram Like A Hawk
In shooting in any harsh conditions, you are going to want to really know how to read a histogram on your camera.
In the case of shooting in the midday sun, you will want to be especially wary of losing details in the highlights. (The edges of clouds can be especially tricky here). Remember, that if your histogram is stacked up against the right side of the graph, then you have blown out your highlights (meaning those pixels are pure white and you won't be able to do much with them in post production).
Ideally, you will want a bell shaped histogram (maybe slanted slightly to the right in certain situations).
There are very few (no?) circumstances where you want your histogram stacked to either the right or the left. This means lost details in the highlights or shadows which is almost impossible to recover in post production.

Strongly Consider A Polarizing Filter
When shooting outside in harsh light, and looking at your histogram, you will soon realise that stopping your histogram from going up against the right of the graph is very very difficult in such a situation.
Certain parts of a photograph such as clouds, water reflections and reflections off glass will almost certainly produce a shooting situation in which you get blown out highlights.
One remedy that is common to outdoor shooters is to always take a CPL with you (circular polarising filter). In addition to saturating the blues in the sky, a CPL will cut down on glare significantly. This means less of those blown highlights.
For more information, read our article on circular polarising filters here.
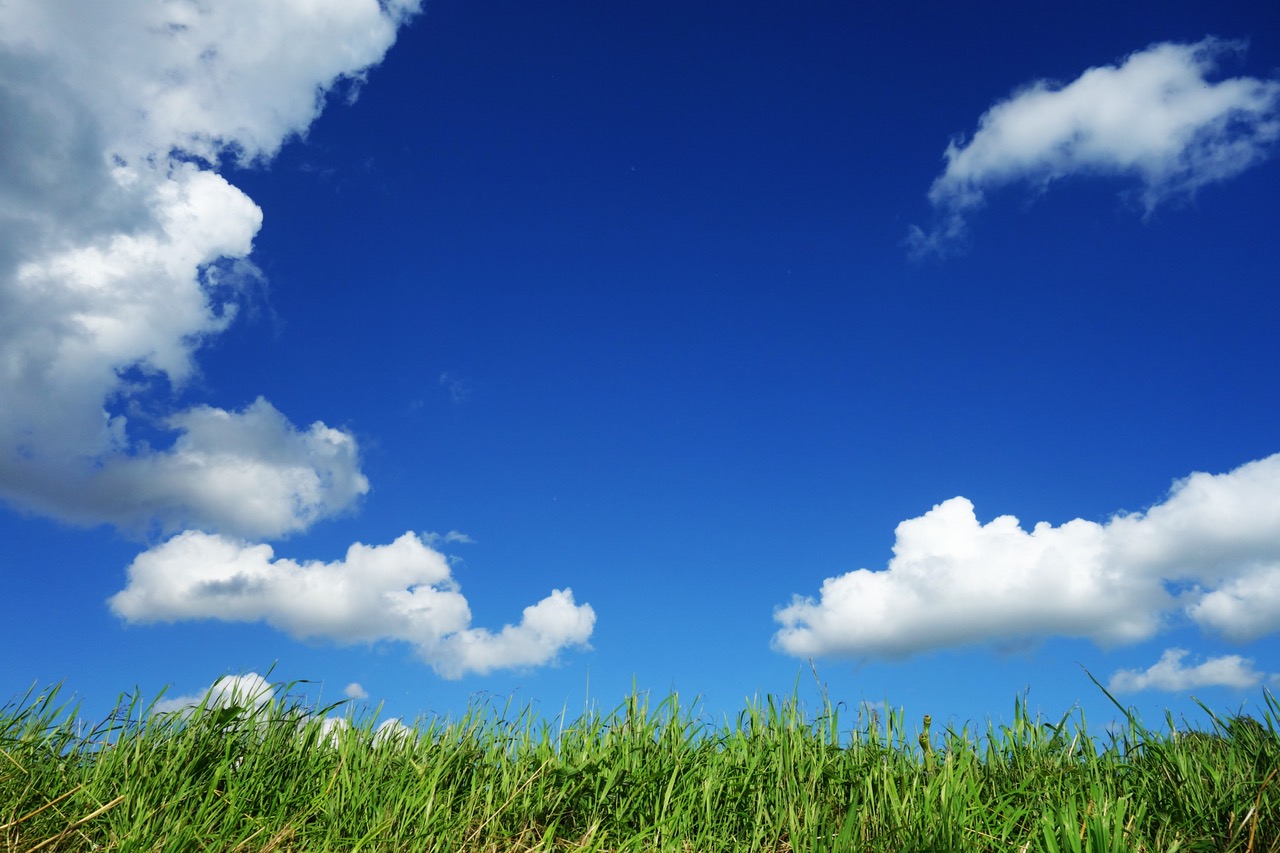
Consider A Neutral Density Filter
If you are shooting in harsh light and you are still getting blown highlights with a CPL, then you might want to also consider a Neutral Density Filter (ND). (These can be used with or without a CPL).
NDs come in various strengths and are basically a dark piece of glass that dims the light coming into the camera.
Some are so strong, that you can actually take long exposure photographs in the middle of the day!
Read more about using ND filters here.
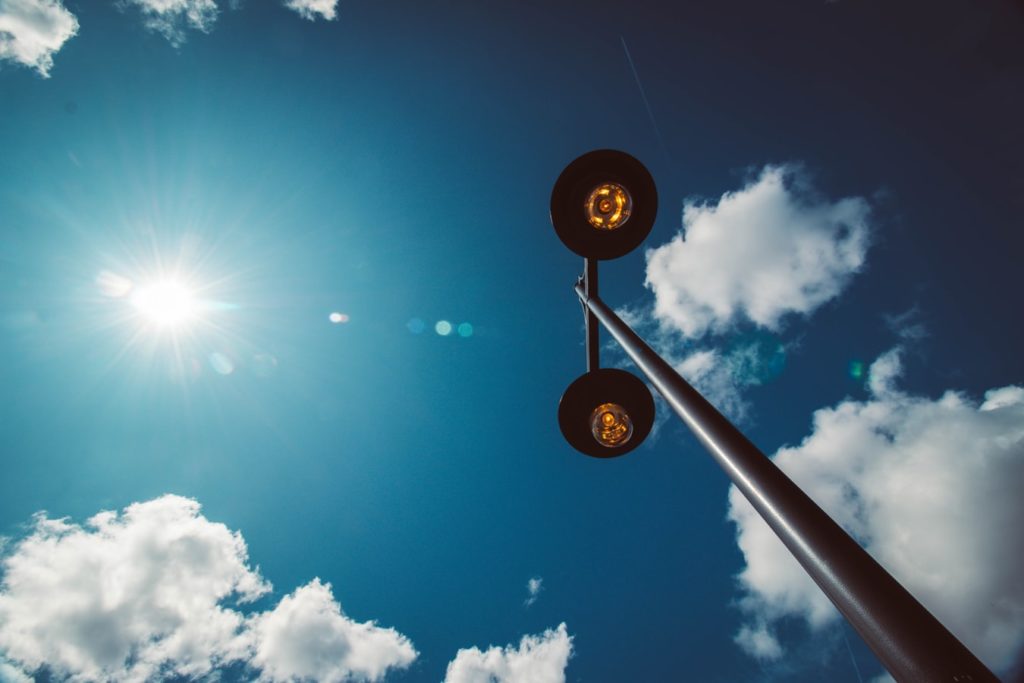
Try To Diffuse The Light For People Shots
Taking photographs of people in the midday sun is very difficult for a variety of reasons. Primary among these reasons is that harsh light, such as that produced by the midday sun, produces extremely harsh shadows. Harsh shadows, when they fall across a person's face, usually look terrible.
So how do you account for harsh light when photographing people.
The answer is to diffuse the light. Usually this is done with a large “diffuser” which is basically a stretched white piece of cloth placed between the light source (sun) and the model.
In such a situation, you're almost always going to have to use a diffuser to soften the light for your people shots.

Concluding Thoughts On Sunny Day Photography
When it comes down to it, making good images in the midday sun comes down to understanding light and being able to adjust for the specific shooting situation that you find yourself in.
The tips in this article will certainly get you started with getting better images in the middle of the day and may even do the lion's share of the work. But you will find yourself wanting to go further (and there are a lot more things that you can know about light).
For a comprehensive look at lighting situations such as this, and how you as a photographer can react to them, you should consider checking out Photography Concentrate's Fundamental Light Skills guide. It will take you through several lighting scenarios and show you exactly how to get the images in your mind's eye. Take a look here.
To learn more about midday photography, check out the links below.
Further Reading:
- High Noon – Photography In The Midday Sun
- 4 Simple Strategies To Deal With Harsh Midday Light For Portrait Work
- TUTORIAL: What’s your time of day? (Part 3) The Midday Sun
- The Secrets To Shooting In The Midday Sun
- Bright Ideas For Shooting In Midday Sun
- How To Harness The Power Of The Midday Sun For Your Photos


5 Comments
Adding an ND filter won’t help blown out highlights any more than other exposure reducing techniques such as lower iso, smaller aperture, or faster shutter time. A *graduated* ND filter, on the other hand, can do wonders for reducing blown out skies and clouds. I some times run into people that think an ND filter does something different to highlights than it does mid tones and shadows, but optically, it reduces all things the same percentage.
Great summary of the basics. For those with more intermediate ambitions, also consider giving in to the bright sun and allowing it to backlight your subjects with a fill in flash to bring out the subject from the resulting and inherent shadows.
Thanks for this helpful article. It´s the first time I hear about the “Sunny 16 Rule”. Will try it out.
I find that on glare-y days, there’s almost too much contrast for my camera to deal with adequately, and of often resort to shooting with BW in mind, the in post, just aim at maximising that high contrast and trying to bring out texture and shapes. Sometimes it works, others it fails, but at least I got to shoot. Same goes for night shooting with deep shadows and bright lights
Thank you so much for the information for photography and the rule for taking photographs in the midday with the sun light. I’ll be working on that. Thank you so much.