Now that you’ve captured some beautiful landscapes (hopefully in RAW format for optimal versatility in editing), it’s time to bring them into your post-production software of choice and make some improvements. Confused on where to start? Below is a detailed, but certainly not exclusive, list of popular editing techniques for landscape photography.
Now while the most popular photography software for making these changes are probably Photoshop and Lightroom (click for guides), there are a multitude of new players on the market that are also perfectly serviceable for landscape photography post production. Don't get hung up on the software, get good at the techniques.
1. Straighten Your Horizon
Often, a crooked horizon can throw off the entire balance of your image – unless, of course, that is your intent. If you want a straight horizon and find yours leaning a bit, simply select your Ruler Tool (hidden under the Eyedropper) and draw a line across your horizon. When finished, select Image > Image Rotation > Arbitrary to rotate your canvas automatically so that the line you just drew is perfectly horizontal. You can then crop and transform your image as necessary to make your edges flush again.
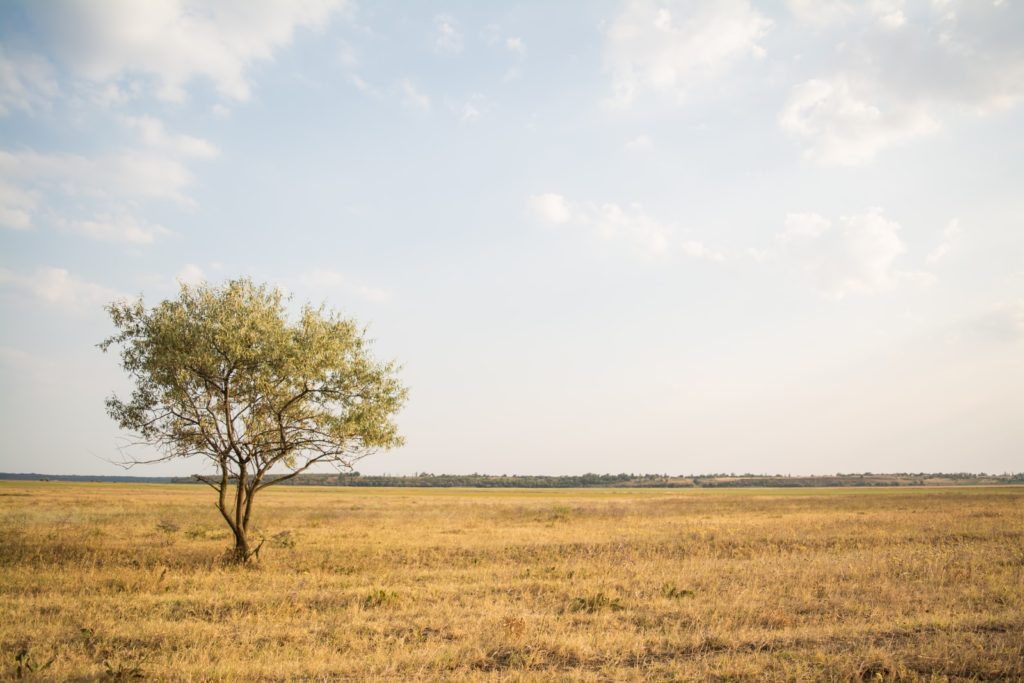
This image has a horizon line that is straight as an arrow – any deviation from this would make it an unbalanced image.
2. Dodge and Burn to Increase Interest
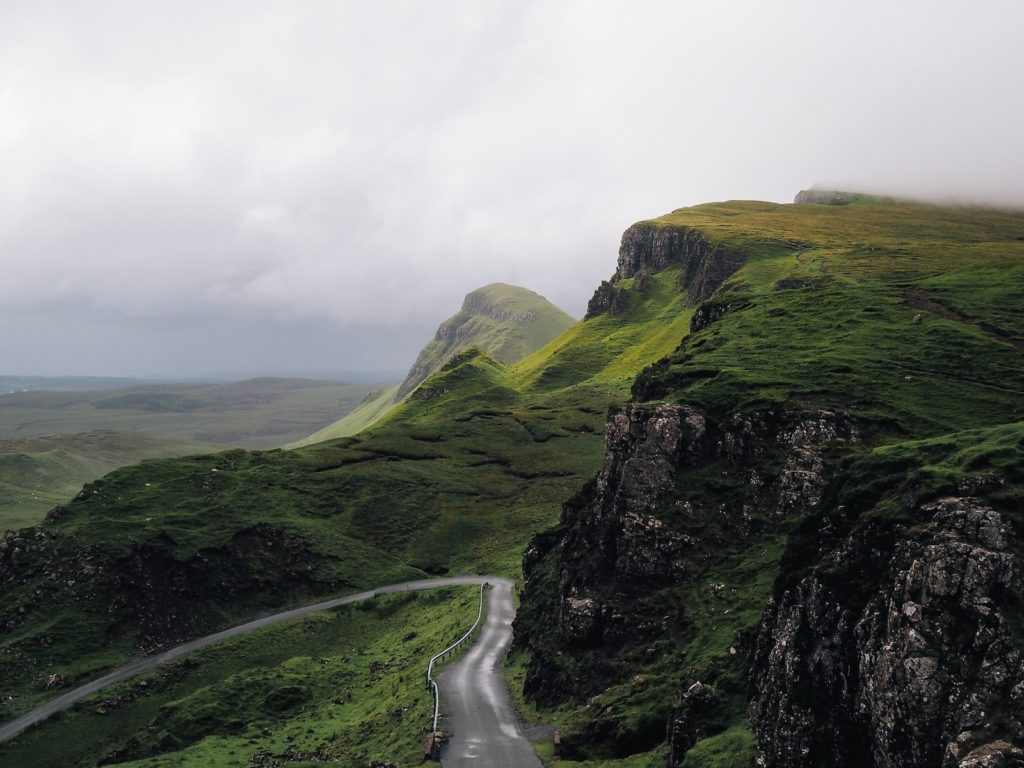
The dodge and burn tool are vital to post process, and are techniques used widely in film photography as well. My short tutorial here details how and why you should use these tools, and shows how much they can impact your image.
3. Watch Your Highlights
When dodging, adjusting your levels, or performing any other editing technique that revolves around increasing brightness or exposure, you can easily blow your highlights. While you can always check your histogram, there’s a quick and easy way to instantly see overexposed parts of your image.
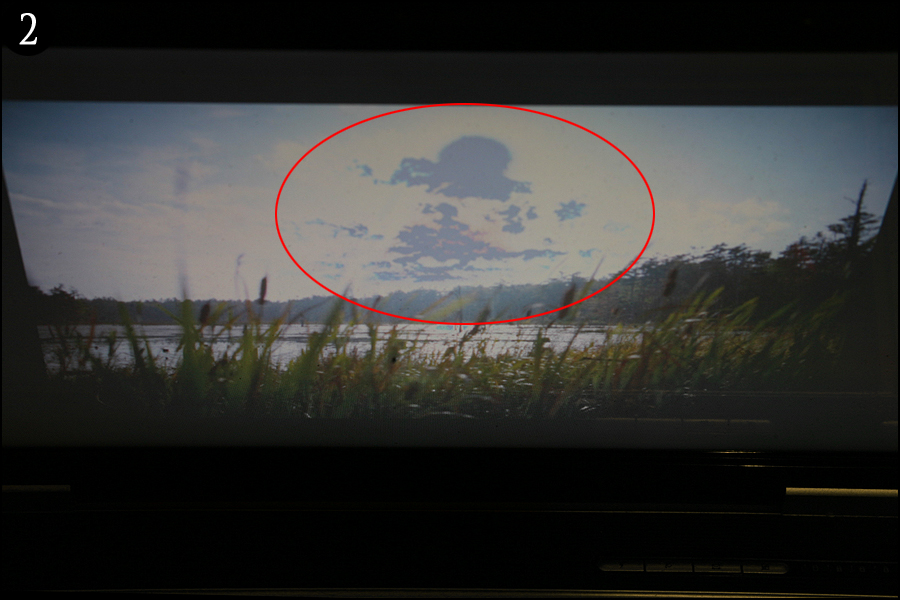
Below is an actual photo of a photo displayed on my laptop (in full-screen mode) since a screen capture won’t work for what I'm trying to explain here (Figure 1). I can see that some of the highlights are blown, but I don’t know to what extent really without looking at my histogram. Even then, the histogram won’t tell me exactly where the highlights are blown – I can only gather a general area. While it's easy to see here where I'm overexposed since I shot into the sun, it may be harder to find those highlights with other images.
Note: Click on images to see in full resolution.
However, there is a simple way to see where your highlights are blown when working on any image in any program. When I tilt my computer screen so that I’m looking at it from an angle, you can literally outline where the blown highlights are (Figure 2). This really helps when making adjustments as you can see in a second what highlights are overexposed and if you need to scale back on your editin
4. Crop to Reflect Intentional Composition
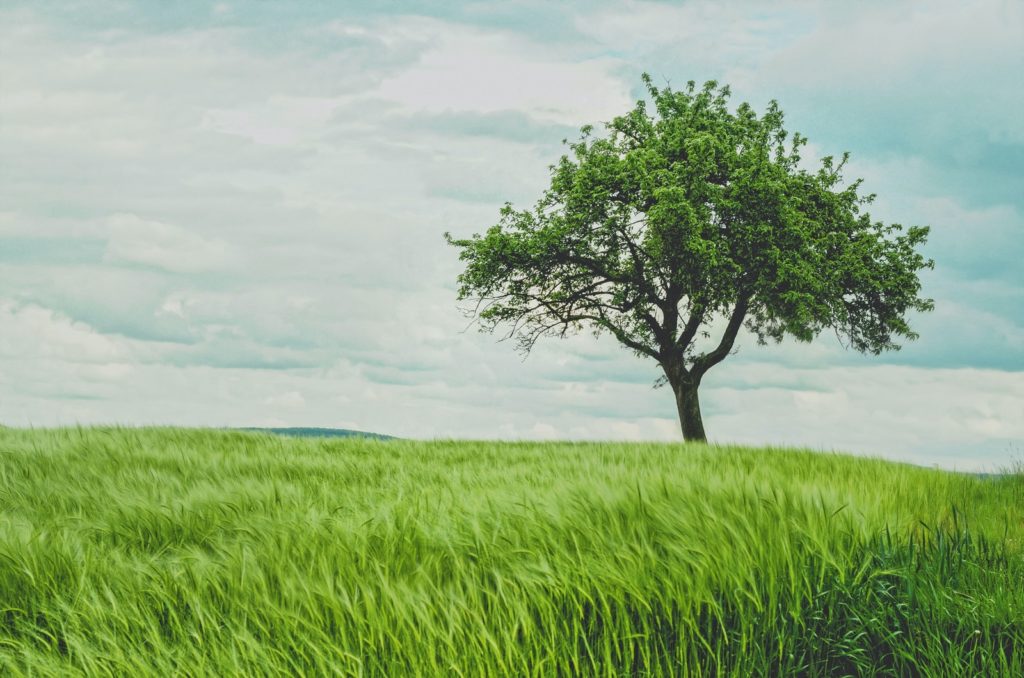
If you have some room to work with, try to crop your image so that it follows a intentional (and often conventional) composition like the rule of thirds, allowing for an overall more balanced image and easier viewing. While not every photograph will benefit from this, most images will see an improvement.
5. Adjust Your Levels
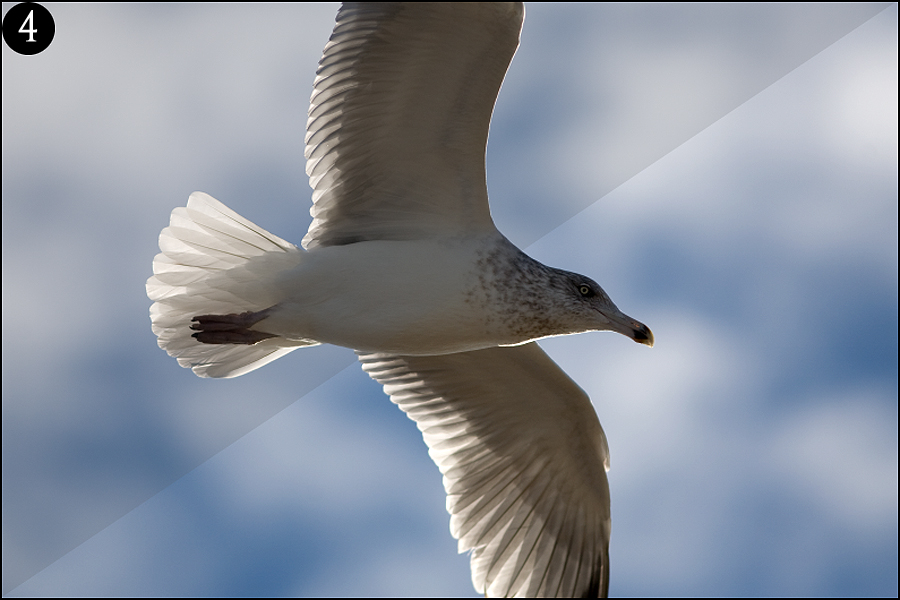
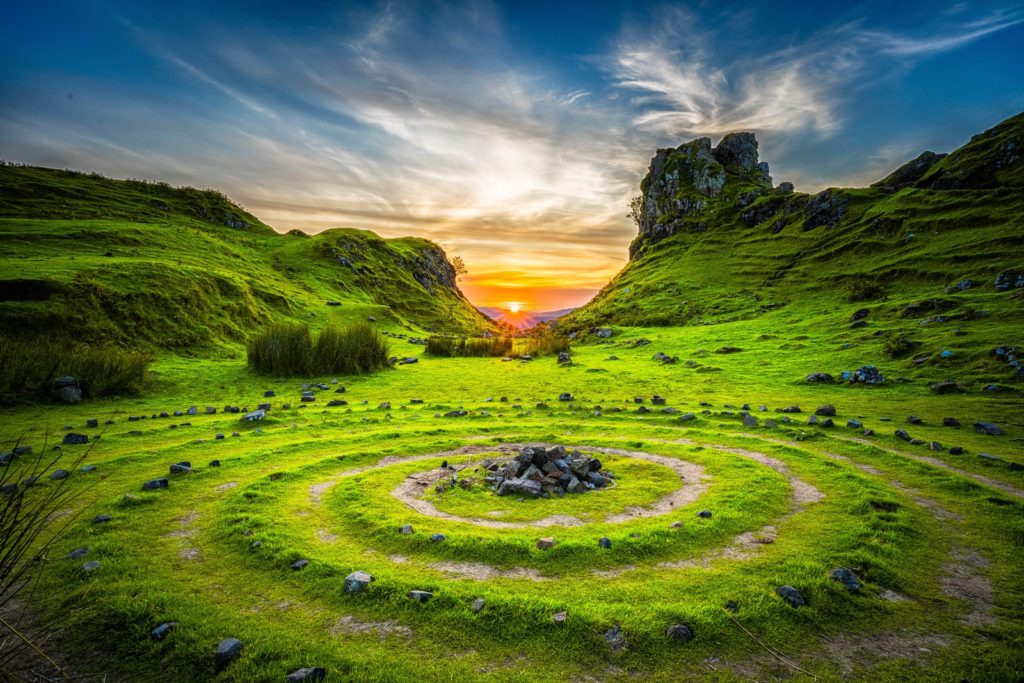
More often than not, your landscape images can look rather cloudy with muted colors once you import them into your post-production software. I usually want my colors and tones to stand out, so putting a level adjustment layer over my photos is something I often do as it works a bit more accurately than a simple contrast increase. However, you can easily destroy your photo by working this too much, so follow this rule of thumb below.
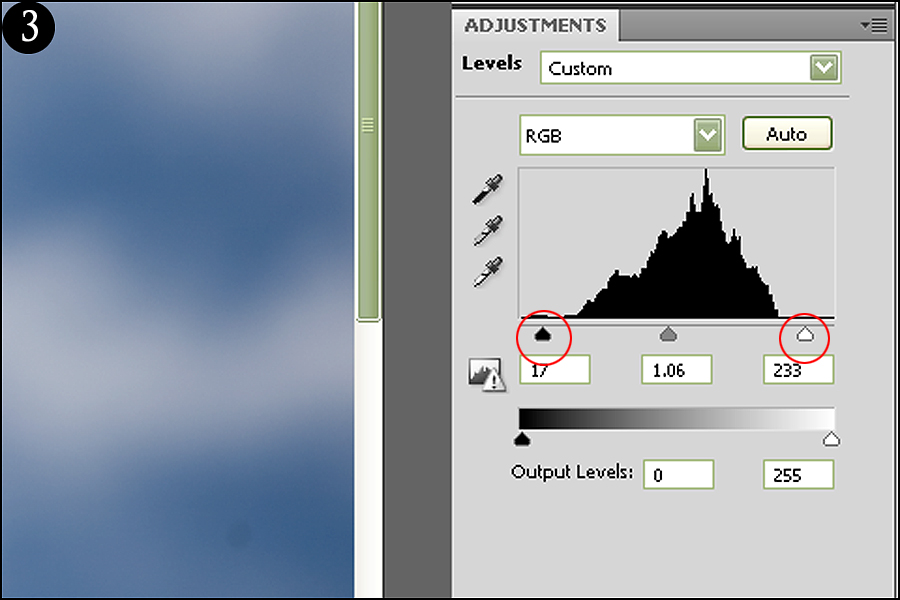
When looking at your levels slider, you can see that it works quite like a histogram, with a bell curve-type chart showing you the amount of highlights, midtones, and shadows in your image (Figure 3). When a photo has a relatively flat line at the beginning and/or end of your histogram, as seen in the image below, it means you have editing room to work with and can make your image pop a bit while causing little to no damage.
6. Shadow Spot Removal
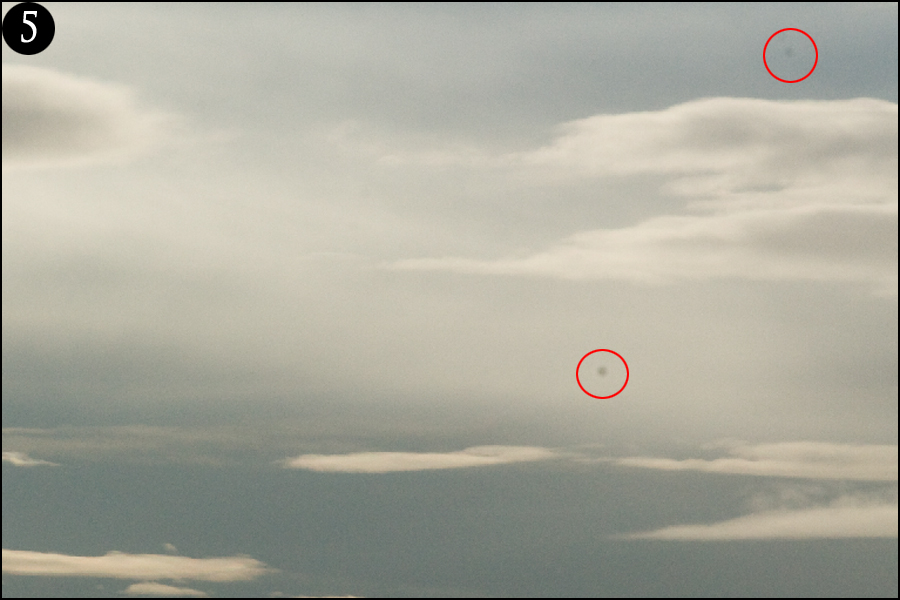
When working on a new landscape image, we can get so involved in the processing that we easily forget the basic edits, such as shadow spots. These appear as small, dark blemishes in our image – most noticeable against a solid background (Figure 5). Water and other debris on our lens, filters, and/or digital sensor cause these distracting elements.
The best way to correct this is to use our Spot Healing Brush tool – a simple click and you’re all set. Make sure you adjust your brush diameter accordingly to the size of your spot (just large enough to cover it). However, this tool does act up when removing spots along an edge where it transitions sharply (for example, removing a spot in the sky right next to a building) since it selects the source automatically. If this is the case, then the regular Healing Brush tool would work more accurately since you can select the source manually by holding down the ALT key – much like the clone tool.
7. Remove Distracting Elements
Besides shadow spots, there can be other distracting elements in your landscapes that take the impact out of your image. For example, a sprawling landscape of hills and mountains can easily be distracted by a piece of trash in your foreground. While you should always try to clean up around your photo before capturing it, that is not always possible – you may not be able to move the unwanted element or just can't get to it. This is where Photoshop comes in.
Think outside the box when considering what to keep in your image and what to disregard. It doesn’t just have to be items that are obviously distracting (like trash), but also natural elements that just don’t compliment your photo – such as an imposing tree branch, a dead flower in a field of dandelions, or a blade of grass that reaches too far into the sky. Consider composition and balance and see if anything needs to be removed in order to benefit the overall image. You patch and clone tool will be the most effective here.
There are, of course, many other editing techniques you can perform to your landscapes, but the ones listed here will give you a solid foundation to build on as you develop your own workflow.

