Shadow recovery has always been a bit of delicate balancing act. Too little and you see no benefits, too much and not only can the image look unnatural but also there is an increased risk of introducing excessive noise to your shot. Fortunately with modern software such as Photoshop and Lightroom, there are multiple ways to bring back some detail to the darker areas of your shots. Today we will take a look at some of them.
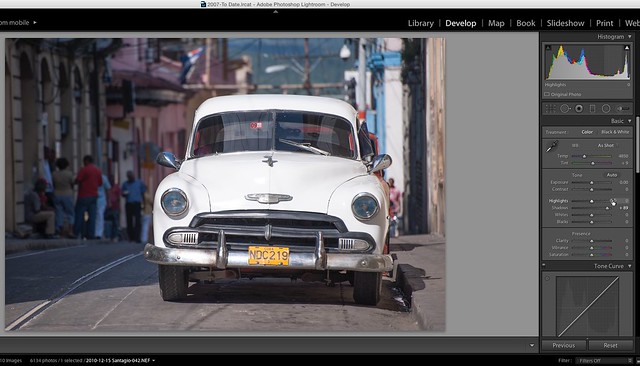
The first and most obvious tool to use is the Shadows slider in the Basic section of the develop module. With your image open, the first thing we are going to do is to click the little triangle on the top left of our histogram. This will reveal all the areas in the shot that are clipped or off the histogram scale. The reason this is useful is that we will not try too hard to recover those areas and also they are the places to watch to make sure we have not introduced excessive noise into our image.
To recover shadows, simply slide the Shadows tool to the right of the scale and you will see the darker areas brighten up. However, they have probably not lifted as much as you might have hoped. The Shadow slider is ok for reasonably well exposed shots but does little to lift out the really dark shadows. Which brings us neatly to our next tool, the Tone Curve.
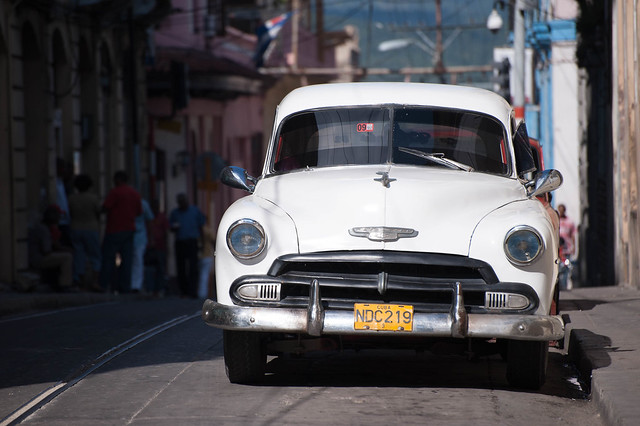
The original has quite dark shadows in the street

Found below the Basic section of the Develop module, the Tone Curve works in much the same way as curves in Photoshop. The left, lower end of the line controls the darker regions of the shot, whilst the right hand upper end controls the lighter parts. Moving any part of the that line up will brighten the image in that part of the tonal range and moving it down will darken it. However, this can be quite time consuming, when you adjust one part of the curve, you very often have to counter balance the opposite end of the curve to prevent the image looking unnatural.
There are however, four sliders below the Tone Curve, namely Highlights, Lights, Darks and Shadows. The Lights and Darks sliders and very similar to the Whites and Blacks sliders in the Basic section, in that they control the outer extremities of the exposure. The one we are interested in is the Shadows slider. Sliding this to the right, you will immediately see there is a much greater lift to the shadow regions when compared to the Basic shadow slider. Careful positioning of this slider can lift the shadows to a much better level but at the risk of increased noise. When using the slider, zoom in to 100% on one of the deep shadow area that you wish to lift and monitor that region as you lift the exposure. Keep an eye out for excessive noise showing in the lifted parts.

Again dark shadows in the streets

This time we use the Tone Curve
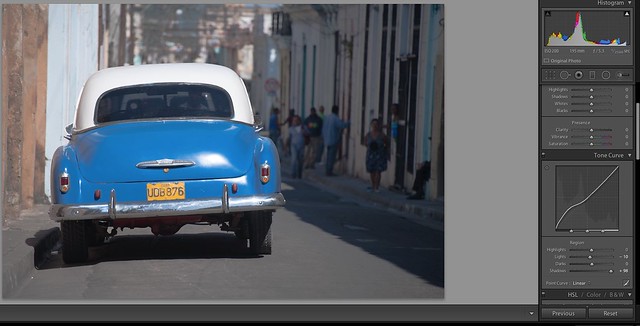
This gives us a similar result with more control
There is one last way of lifting shadows, a little trick that takes Lightroom back to a different era. Photographers that have used Lightroom for a while will remember that in Lightroom 3, there was an excellent slider called Fill Light. This sat exactly where the Basic shadows slider is in Lightroom 5 but gave an excellent boost to the shadow areas without introducing too much noise. The thing is, Adobe didn't really remove the tool, they kind of hid it.
To use it, let’s start by making a virtual copy. Right click on the image you wish to recover and select Create Virtual Copy. If not already there, take the image into the Develop module. Now from the menu at the top, got to Settings – Process – 2010. Look back to the Basic section of the Develop module and you will now see that Whites, Blacks, Highlights and Shadows have been replaced by Exposure, Recovery, Fill Light and Blacks. Fill Light is the tool that we are interested in as it does what it’s names suggests, fills shadow areas with light. First of all you may have to readjust your overall exposure to deal with the older processing, then gently slide the Fill Light slider to the right, again making sure to keep the image natural looking and without introducing shadows.

Discontinued tools are sometimes better
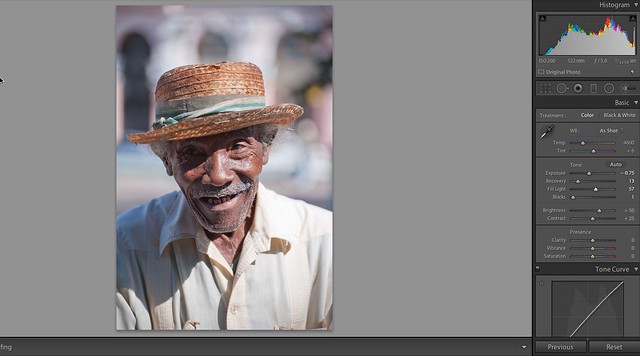
Shadows recovered using the Fill Tool
Shadow recovery is something that should be done with care. It is easy not only to make a shot look unnatural but also to introduce excessive noise as well. This three methods above are ideal for a general lift to shadows but some images require a little closer attention to detail with selective lightening. We will take a look at some ways to do that it a future tutorial.


1 Comment
Thanks for good advice!