As I was looking through my Aperture catalogue earlier this month, it struck me that like many of yourselves, I have a huge library of older images that are crying out for a few modern photo editing techniques on them. In this article we will have a look at breathing new life into old photos.
Firstly, I am sure, like me, many of the “older” members of this community will have binders full of negatives or slides and boxes full of prints. Whilst me may look in awe at our current digital images, I am sure that there is many a superb picture in those boxes and binders, whose potential just needs releasing. So how are we going to do that?
Improving Old Prints
For the prints, it is pretty easy these days. Flatbed scanners are now very high quality and also pretty cheap.
- When you scan your prints, look out for any dust and fingerprints on the them, fingerprints can be removed with a soft lint free cloth and dust with a blower brush.
- Scan to the highest resolution you will need, if you are only going to display on screen you don’t need massive files but if you are going to work on them and reprint them, then go for the highest quality.
- Save the images as TIFF files, 16 bit if possible if you want the highest quality.
- Be selective with what you scan as scanning is a slow and laborious process, if you set of with the intention of scanning your entire back catalogue you may soon get bored.
This is a scan from a print taken in 1997 in the Amazon. Photo by the Odessa Files
Improving Slides and Negatives
The same can be true for scanning negatives or slides. To do this, at the most basic level you can scan using a suitable flatbed scanner, some more advance models include adapters for film. However this will not be the best quality, the next step up would be to buy a dedicated film scanner. These are capable of very high resolutions and for the most part can scan up to 4 images in a single batch. That said though, they can be even slower than flatbed scanners.
Some things to watch for:
- Again you will need to make sure your slides or negatives are spotlessly clean, a blower brush can remove some dust, but compressed air will do a better job.
- Make sure you scan in a dust free environment too. Film scanners used to be fairly high cost items but their prices have dropped in recent years and a search on eBay should find one to suit your budget.
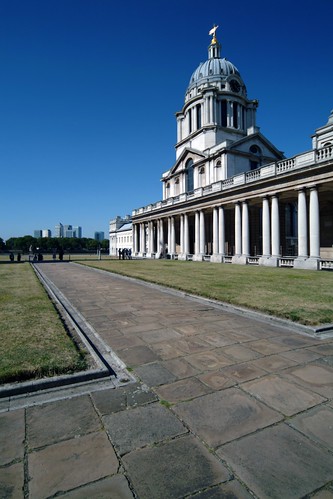
Film scans can produce remarkable quality. This was scanned from a Fuji Velvia transparency. Photo by the Odessa Files
Improving Your Old Digital Images
Lastly, take a look at some of your older digital images. Whilst the resolution may be a lot lower, you may well be able to up res them using Photoshop or a dedicated app, to somewhere near today’s accepted sizes.
So once we have some of our older images ready, what can we do with them?
- Well at a basic level, some simple levels or curves tweaks can enrich the blacks and add some nice contrast to the images.
- Whilst you may not be able to lift shadows or highlights on scans, you can use Photoshop to cut and paste better skies in as well as sharpen up the overall image.
- You can tweak the saturation and vibrancy as well as clean up the entire image from blemishes.
- You can add borders and text and basically turn an old film based image into a decent digital photo.
- With older digital images, you can use the latest software to lift detail into shadows, pull back some of the highlights and even add graduated filters to give definition to the skies.
- With careful editing you can even create HDR effects by producing two or three versions of the image and merging them.
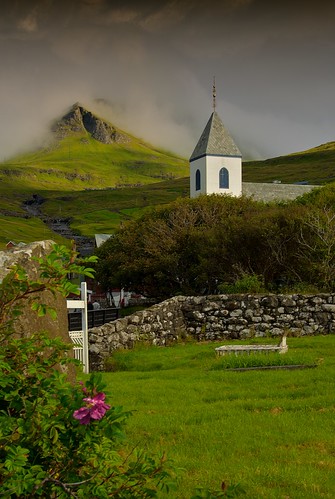
Adding a graduated sky to an old digital image. Photo by the Odessa Files
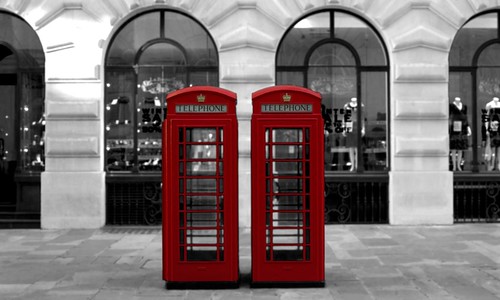
Just having fun with a digital image from 2002. Photo by the Odessa Files
The simple fact is that many of us have a whole host of great older images that can be dramatically improved just by using up to date software and editing techniques.






1 Comment
some amazing moments and one of perfect simple flow