Sharpening your images is a bit of a science and there are quite a few aspects that need to be considered. You can sharpen for printing, for web maybe for display on an iPad. On top of that, different resolution images will need different settings. Combine this with the fact that current incarnations of Photoshop have 5 different sharpen filters, you begin to see its not as simple as pressing sharpen.
Before You Get Started
In this brief tutorial we will take a look at some of the Photoshop built in filters and also a couple of more advanced sharpening processes. Before we start, it is important to know that sharpening should be the very last thing you do to the image, make your color/exposure corrections first, then any cropping and resizing then when you are happy that you have the final image, apply the sharpening. Also you should sharpen your images at 100% view on screen to keep an eye out for problems such as artifacting.
Using Native Photoshop Filters
Lets start with Photoshop’s own filters and say the the one not to use is the generic sharpen filter. This applies a sharpening algorithm that you have no control over and so will not necessarily do what you require it to do. The same applies to the Sharpen Edges and Sharpen More filters.
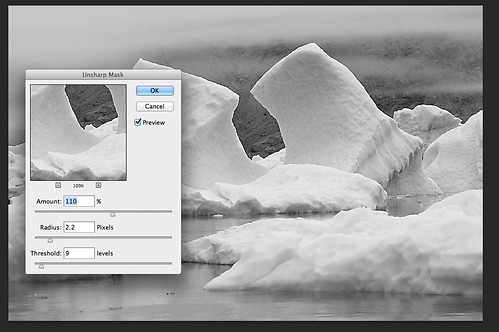
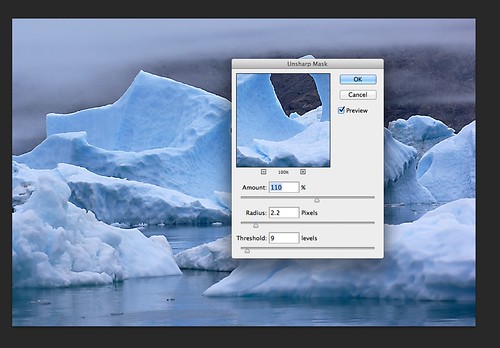
The most commonly used Photoshop filter is the Unsharp Mask. When you open this filter, you will see it has three settings, Amount, Radius and Threshold. Amount signifies how aggressively sharpening is applied to the image and should be determined visually, it is also related to the image size and resolution. The Radius control determines by how much around each pixel the filter is applied. The general consensus is that you should look for look for a value of between 0.3 to 0.5. Lastly the Threshold should be set to between 0 and 1. The best policy is to visually inspect the image at 100% as you adjust each of the sliders.
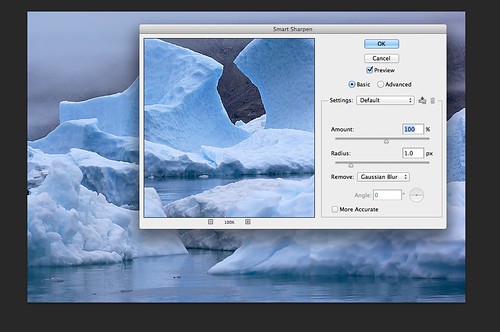
The other most useful Photoshop sharpen filter is Smart Sharpen, introduced in more recent Photoshop versions. Here you have two basic controls, amount and radius, both of which have the same function as the Unsharp Mask filter. However, below this you can define which type of blur that you wish to remove from Gaussian, Motion and Lens. For the most part you will be looking to remove Gaussian Blur, this is the low level softness introduce by the Low-Pass filter over your camera’s sensor. Under the Advanced tab you can choose to apply the sharpening to Highlights or Shadows and control the effectiveness using the Fade and Tonal Width controls.
So lets look at two simple Photoshop techniques that give you a greater control over sharpening.
Lab Color Sharpening
With your image open, go to Image > Mode and select Lab Color. Now select the Channels Tab from the Layers Palette on the right of the screen and select the Lightness Channel. Open the Photoshop Smart Sharpen Filter that we looked at earlier and adjust your settings, a good start is as follows: Amount 100 Radius 1. You make make adjustments to the Threshold as well but be aware that it works in reverse to normal.
Once happy, apply the filter and convert the image back to RGB.

LAB color sharpening
High Pass Filter
This is another excellent technique for getting beautifully sharp images without artifacting.
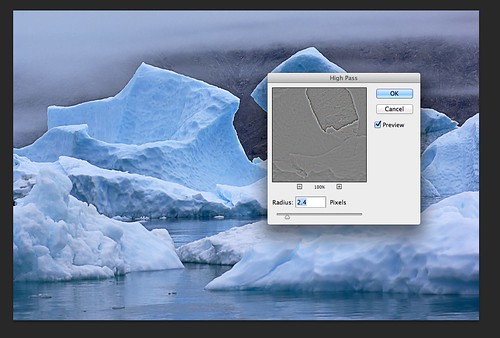
With your image open, go to the layers and duplicate the layer. Now on the upper left of the Layer Palette change the blend mode to Overlay. With the duplicated layer selected, open the Filter – Other – High Pass filter. At the bottom you will see a Radius slider. Start off with a radius of around 2 and gently drag the slider right or left.
You are aiming to get nice sharp definition in the preview but without getting halos around the edges. Once happy you can click ok. If you wish to reduce the effect of the sharpen, you can drag the duplicated layer’s opacity down a touch or sent the blend mode to Hard Light. Once you are happy, flatten the layers and save.


5 Comments
I really liked the tutorial and will save it on my hard rive, but 1 question. You mentioned that sharpening is the last action you do on a picture. Normally I start with Camera Raw to change a few things including sharpening before I go to Photoshop. Should I leave out the sharpening in Raw then?
I also sharpen the raw file w camera raw. Then sometimes add final sharpening with the generic sharpen filters (sharpen sharpen more sharpen edges). This is fine and any other technique is fine. In other words .. the article above is a viewpoint of the author intended to sell and promote his viewpoint. All viewpoints are subjective and biased
High Pass Filter sharpening is a personal favorite of mine.
Thankyou
“With your image open, go to the layers and duplicate the layer.”
If you then convert the duplicate layer to a smart object before applying the filter, you can go back and tweak the radius…