As much as people can add life, mood and scale to an image, there are times when we just wish they were not there. There are times we might have set up our perfect shot and waited patiently for people to disappear from the scene in vain. Either more people arrive or in some extreme cases, people deliberately stay in the shot. Fortunately these days we have the editing tools to remove people and there is none more powerful that the seminal editing tool, Photoshop.
Today we will look at two techniques to remove people, one that requires you to shoot extra shots at the time, the other will allow you to delete people from the right type of image, after the fact. We will also look at a way to remove people in Lightroom
Image Stacking: This technique can be used when you are aware on the shoot that you will want to remove people. It involves shooting identical multiple shots of a scene as people move into and out of it. It requires that the majority of the scene is static, no flags flying or fast moving clouds and you will need the camera to be locked off on a tripod. Take a decent series of shots, all with the identical exposure, focus and positioning.
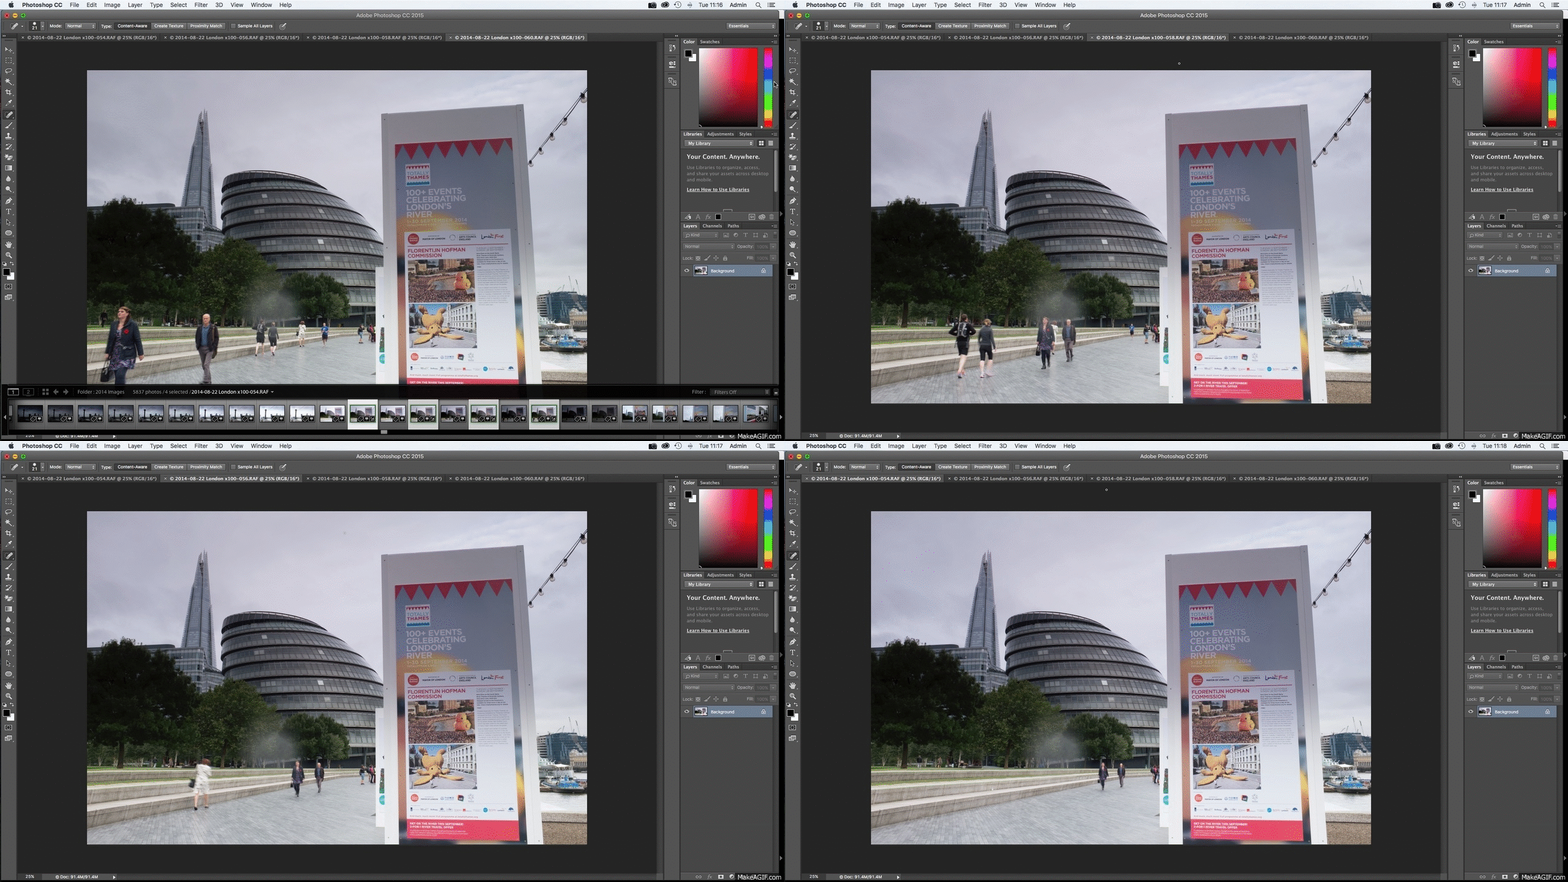
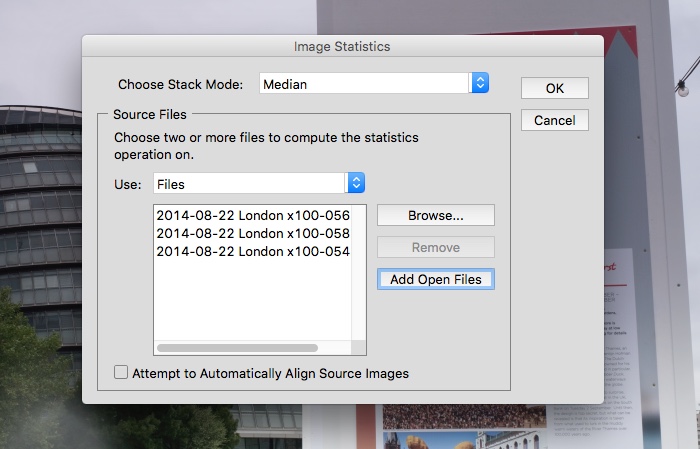
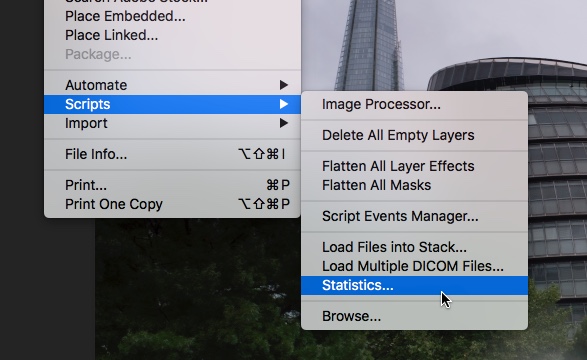
In Photoshop we go to the menu and open File – Scripts – Statistics. The new window that opens allows us to load images already open in Photoshop or to browse for the files. Load all the images that you took into the sequence and from the dropdown box at the top, select Median and click Ok
Depending on the speed of your computer, Photoshop will spend several minutes rendering the scene as the name suggests, averaging out the differences in each shot and removing objects that do not appear in every shot. The end result will be that the fast majority if not all people and other moving objects will be removed from the scene.
You may find some small traces of people that have remained static. These can be cleaned up with the clone tool.
There is also a variation on this theme that we can use in Lightroom CC. Using a similar shooting technique, we can select all the images in the Lightroom Library module and then right click on one of them. Select Photo Merge – HDR and the images will be loaded into the HDR module. Because your exposure in the same for each image, there will be no HDR effect applied by selecting one of the Deghost levels, you can remove the majority of non-static objects.
Content Aware Patch: There are times, after we have done the shoot where we feel removing a person or persons from our image will improve the composition. For these times we can use the Content Aware Fill. The person or people that you wish to remove will need to be on a fairly uncomplicated background and well contrasted against that background.
Open the image in Photoshop and from the toolbar select the Lasso Tool or Magnetic Lasso tool. Carefully draw your selection around the person you wish to remove. Make sure that you cover all of the person, including gaps between arms and legs etc.
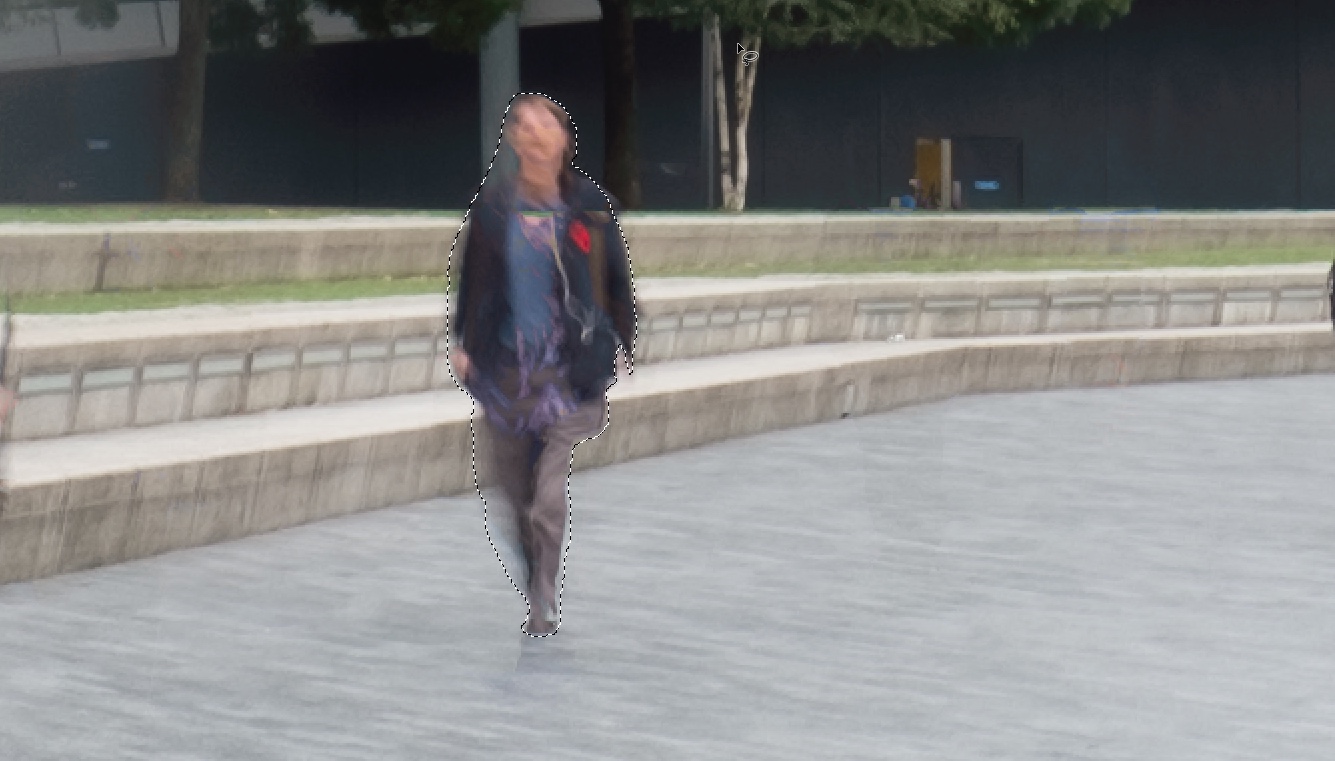
Once selected, go to the menu and click on Select – Modify – Expand and expand the selection between 10 and 20 pixels. Now from the menu go to the Patch tool in the toolbox and make sure Content Aware is selected in the drop down box at the top. Move your lasso selection around and you will see Photoshop attempts to cover the background Click OK. Photoshop will now attempt to remove the person and replace it with what it believes the background should be.
For the most part it will make a decent but not perfect job of this. You can tidy up any errors using the Clone tool.
To do this select the Clone tool from the toolbar on the left, click the ALT button and select an area that you wish to clone. Then carefully apply the cloned area over the errors to tidy up the image.
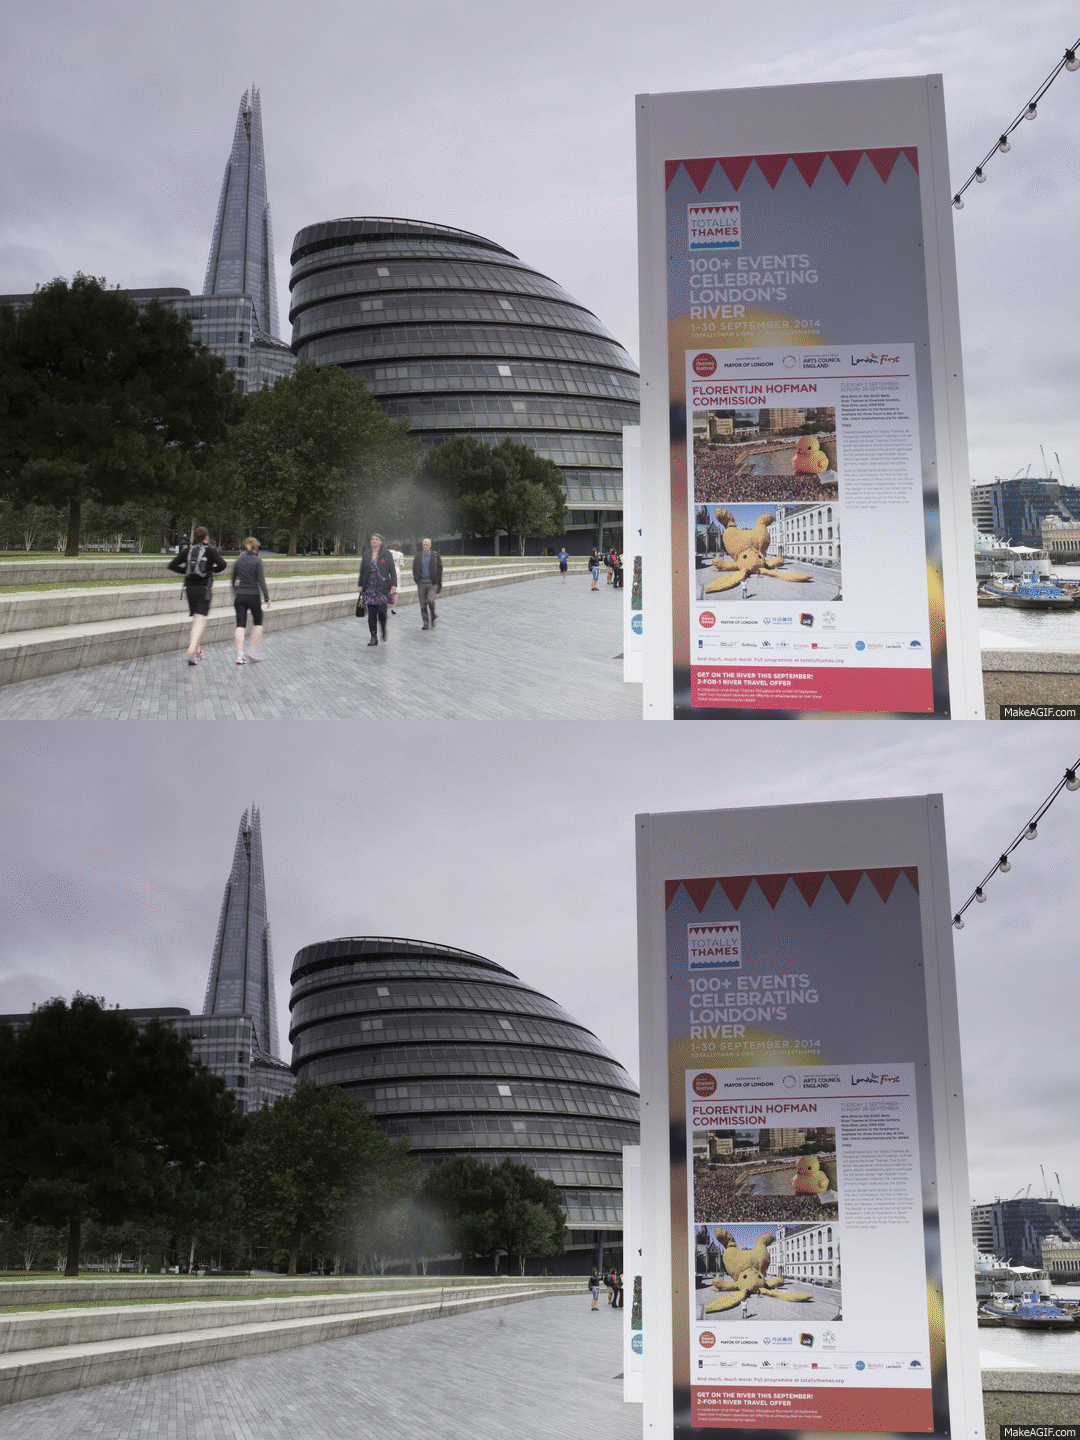
None of these techniques are perfect, however they do allow you to remove people quickly and leave you less of the time consuming tidying up work using the clone tool.


1 Comment
These are practices I already use, though I didn’t know about script. Always nice to learn something new.