As an unabashed music geek, I am fully aware of the impact of dynamic range as it applies to audio recordings; no matter how great a song may be, I find it slightly more difficult to enjoy when it is poorly recorded. So when I first came into the world of digital photography and noticed that this concept of dynamic range was also frequently used here, my interest was piqued and I made it a priority to delve into the implications of dynamic range in the context of the photographic arts.
A truly comprehensive discussion of dynamic range carries with it quite a bit of scientific minutiae; since Lightstalking.com isn’t a physics site, I will forgo the endeavor of presenting an essay on electrodynamics, and instead focus on a more practical understanding of dynamic range and what it means to digital photographers.
to
A Dual Nature
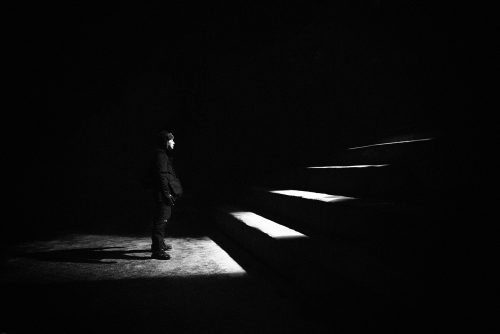
There are two important ways to understand dynamic range when talking about photography. First, there is dynamic range as it applies to the actual scene you intend to capture with your camera; in this case, the dynamic range is simply the range from the brightest object to the darkest object in any given scene.
Second, there is the dynamic range of the camera itself. This is the ratio between the lightest and darkest luminance values that your camera’s sensor can capture; more simply, it is a measure of how efficiently the sensor can simultaneously record black without losing detail (pure black pixels) and record white without blowing it out (pure white pixels).
The reason this matters so much is because it defines how much of a scene can be accurately reproduced within the context of an image's black and white boundaries. Of course, “black” and “white” shouldn’t be interpreted literally, as in the real world we don’t experience true black or true white; everything we see represents a dizzying variation of light source intensity and subject reflectivity.
While film, scanners, and printers also possess values that are expressed as dynamic range, it is digital camera manufacturers who stake a great deal of their reputation on claims of the wide dynamic range of their products. There will certainly be some variation in the accuracy of such claims, but it is not all marketing hype.
DSLRs typically have a wider dynamic range than the average point-and-shoot or cell phone camera due, in large part, to the fact that the sensors found in DSLRs contain larger pixels (larger sensors allow for larger pixels – hence why a 10 megapixel DSLR sensor records better images than a 10 megapixel phone camera). These larger pixels represent a significantly greater ability to record both shadow details and highlights without clipping occurring at either end of the range.
As common sense might dictate, the more data that is retained, the better the image will look. But even at low ISO settings, losing detail — particularly shadow detail — remains a concern. Since one of the technical hallmarks of a good photograph is to have the dynamic range of the final image match the dynamic range of the scene and the camera, we should go over a few non-software related techniques to help us achieve this end.
How to Shoot for Maximum Dynamic Range
Shoot Raw
One of the quickest and simplest things you can do to take maximum advantage of your camera’s dynamic range can be found right under your nose in the settings menu: shoot raw. As a matter of course, JPEG loses a certain amount of image data during the in-camera compression process. Raw, on the other hand, retains all the information recorded by the sensor.
Expose Correctly
Improper exposure is, perhaps, the biggest culprit of photographs that exhibit the characteristics of poor dynamic range. Once you learn to correctly expose the subjects of your images in relation to the dynamic range of your camera, you will virtually eliminate shots that suffer from washed-out highlights and detail-deficient shadows.
If necessary, exposure can be corrected in post-processing; detail in shadows can often be recovered at the expense of introducing noise, whereas blown-out highlights are as good as gone. This is what gave rise to the thinking that a photographer should slightly overexpose his or her shots (exposing to the right — or ETTR), though it is by no means a universally accepted practice. Others recommend basing your exposure around highlights and midtones. No matter what approach you take, you can check the relative accuracy of your shots by taking a look at the histogram, preferably the RGB histogram if your camera is so equipped, as the standard histogram is somewhat more akin to a JPEG preview. Ultimately, the point here is to get your exposure right without having to make many adjustments in post-production.
For those who might confuse exposure and dynamic range, think of exposure as a way to capture a slice of dynamic range. You look at a scene and decide what range of luminance values you want in your photo and you set your exposure accordingly, bringing what you see into the effective boundaries of your camera’s dynamic range. Exposure exists because of dynamic range.
Use Flash
In a photographer’s perfect world, it would always be an hour before or an hour after sunset, when natural light is at its most beautiful and not so extreme in its dynamic range. Since we’re confined to a planet where the reality of lighting daily supplants the ideal, we have to take it upon ourselves to tame high-contrast scenes.
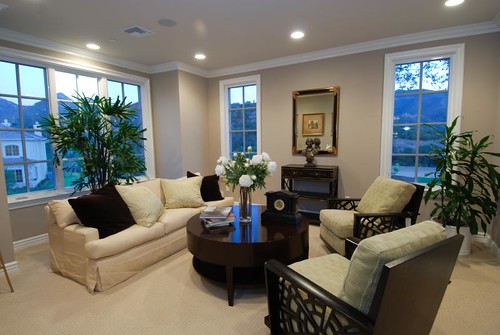
Using flash can work wonders in an effort to deal with dynamic range problems in a scene. Imagine you’re doing some real estate photography and attempting to capture a portion of the interior of a house where the outside can also be seen via bare windows. You know that if you expose for the inside, the windows will be rendered as glaring points of light; if you expose for the outside, the interior will hardly be recognizable. The solution is to use our flash to bring the interior light up to a level that matches the brightness coming in through the windows. You now have solved the dynamic range disaster before you while also getting a correct exposure.
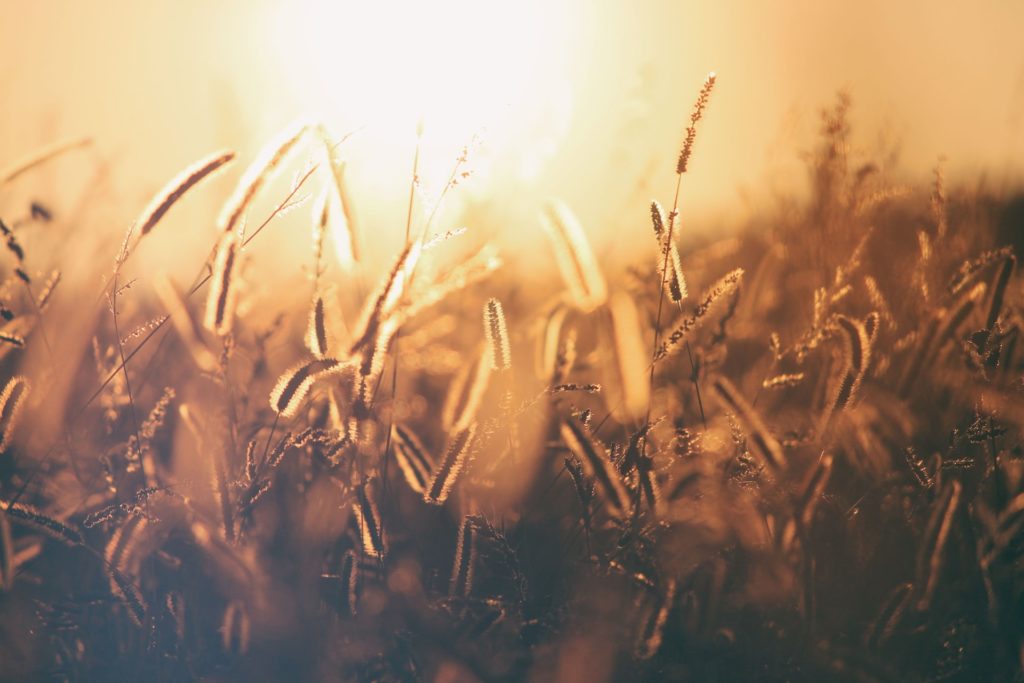
Similarly, you can use (fill) flash on a backlit subject to prevent it from turning out as a silhouette; adding a bit of flash to the subject evens the amount of light in the scene and effectively reduces the dynamic range of the scene, thus allowing the dynamic range of the camera to operate at its full potential, capturing a full range of details as well as colors.
Use a Filter
A common challenge for landscape photographers is shooting a bright sky above a darker landscape. Again, there are a number of perfectly suitable methods to deal with this problem in software, but since the goal is to introduce non-software solutions, lets talk about the graduated neutral density filter. This rectangular resin filter is dark at the top and gradually transitions into a transparent lower section. The upper section of the filter darkens the bright sky while leaving the ground unaffected, allowing you to bring the entire scene into the dynamic range of your camera’s sensor.
It is important to not become neurotic about dynamic range; there is no need to obsess over it or fall into the trap of thinking that you’ve got to have the newest or most expensive camera on the market. Simply developing good photographic habits and techniques will prove to be sufficient; once you have that, you can stop taking up precious brain space with thoughts of dynamic range and just concentrate on making beautiful photographs.

4 Comments
You say ETTR means underexposing?
Everywhere I look it says ETTR means overexposing so that no channel is blown out but that the historgram shows as much as possible on the right (bright) side
My mistake – should have picked that up in editing. Fixed.
Your suggestion of shooting in RAW is good; however it isn’t a non-software solution since you need some type of software program to process the data into a usable file.
Well of you’re serious about photography you have that suitable software. Heck, even if you’re not your camera came with is, so not sure what the problem is…