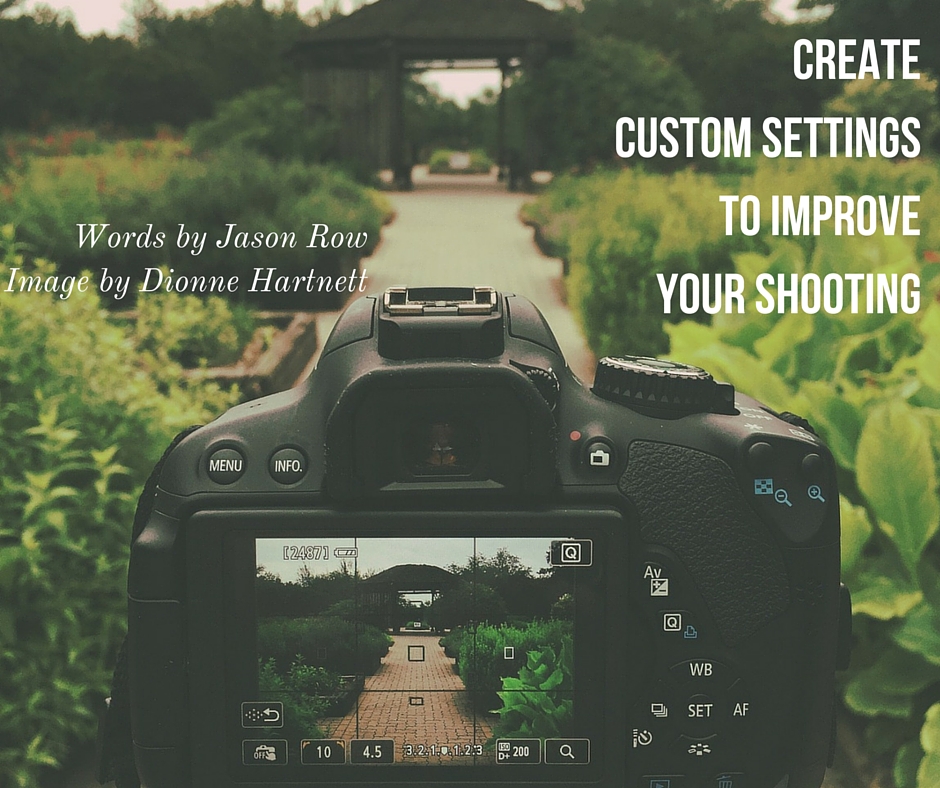
One of the biggest advantages of modern digital cameras is also one of it’s drawbacks. I am talking about the sheer number of shooting options that we can control.
The advantages are obvious, we have the ability to fine tune every aspect of our image’s exposure, however, that level of control requires an often complex and to some, confusing layer of menus, buttons and dials. That's where this article should hopefully come in useful, illustrating how you can use custom settings to improve your photography.
Many of us shoot with different styles or techniques according to the subjects we are shooting. Sometimes we might need to keep the shutter speed high for action or wildlife, sometimes we might be wandering in and out of shadowy light and need the dynamic ranges extended.
Problem is, we have to keep delving into that complex menu system to make some of these changes.
Fortunately, camera manufacturers have this covered with the use of custom settings and today we are going to take a look at how to use them.
If you're relatively new to photography, we have the perfect video series “Essential Photography Skills” by Brent Mail Photography to really give you a headstart! Just something to bear in mind…
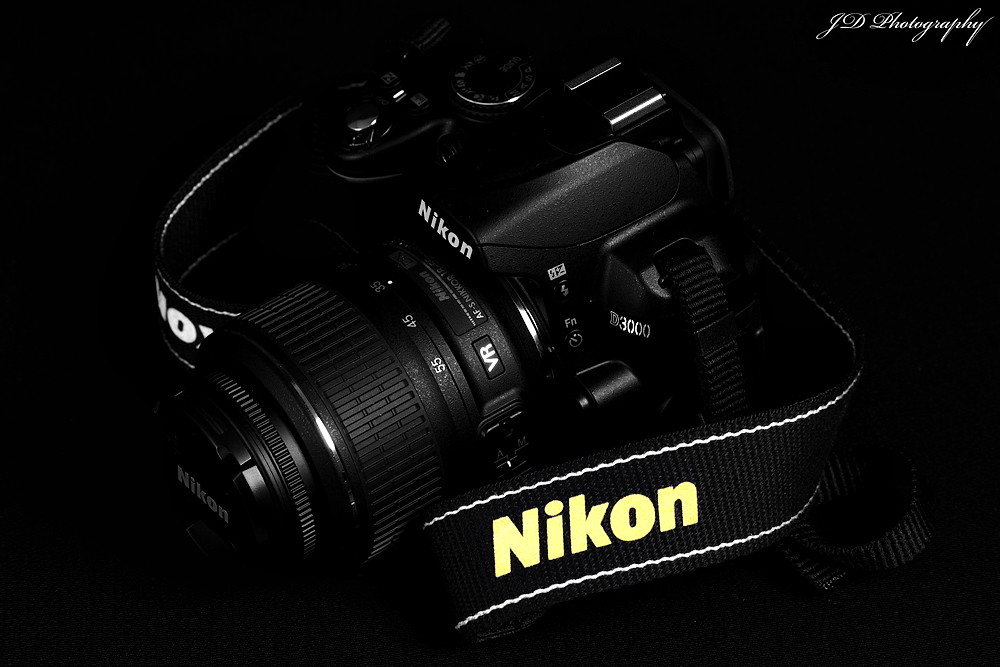
Virtually all modern cameras allow for custom settings. By Jhong Dizon
What Are These Custom Settings?
Most modern DSLR and compact system cameras have the ability to create one or more custom shooting modes, often called C modes. These custom modes allow you to predefine numerous different exposure, color, focus and file settings into one easy to access preset.
Depending on your camera manufacturer, these will be found in the shooting or tools menu. Check your camera manual for the exact menu sequence.
Creating a custom profile is an easy task. Simply set up the camera for the type of shooting that you wish to do, then through the menu system save that profile to one of the “banks” of C modes. On most cameras, you can also give that profile an easy to remember name.
Once set, when you need to quickly configure the camera you can do so using the custom setting that you created.
On some cameras the C modes can be quickly accessed through the Q Menu system, on others there may be a dedicated button or easy access from the menu system. There are many different types of profiles that you can use depending on what and how you shoot but let’s take a look at some of the more common ones that you might set up.
Landscape Photography Settings
High quality, good depth of field are things that we are looking for in a landscape image. Typically a custom setting for landscape might put your exposure mode in aperture priority or manual, file type to RAW, ISO to it’s lowest setting and focus mode to single point, single shot.
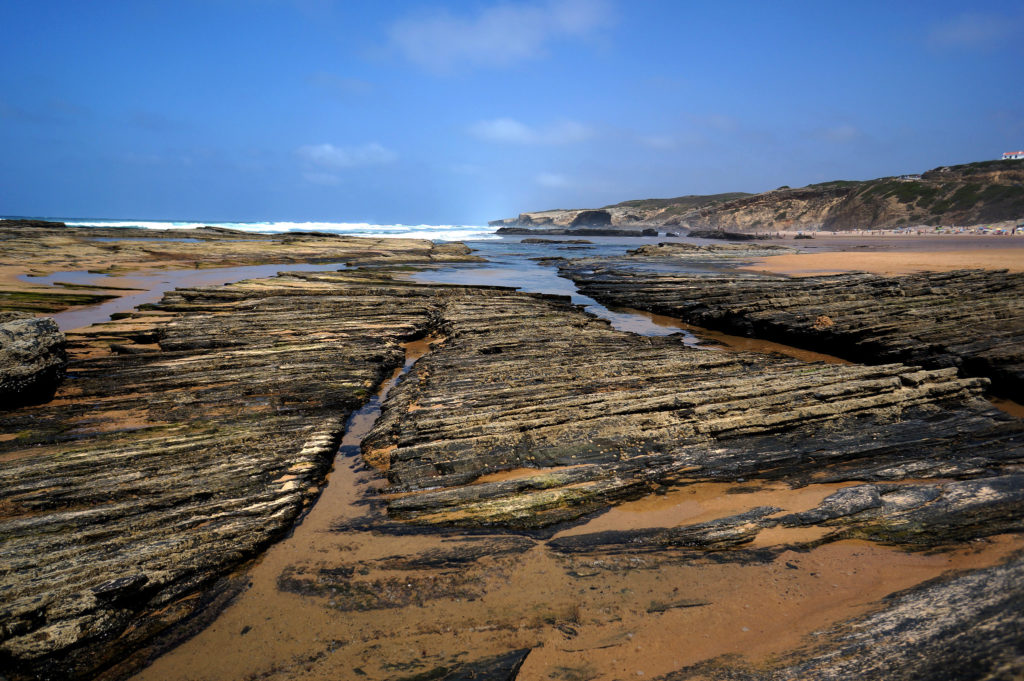
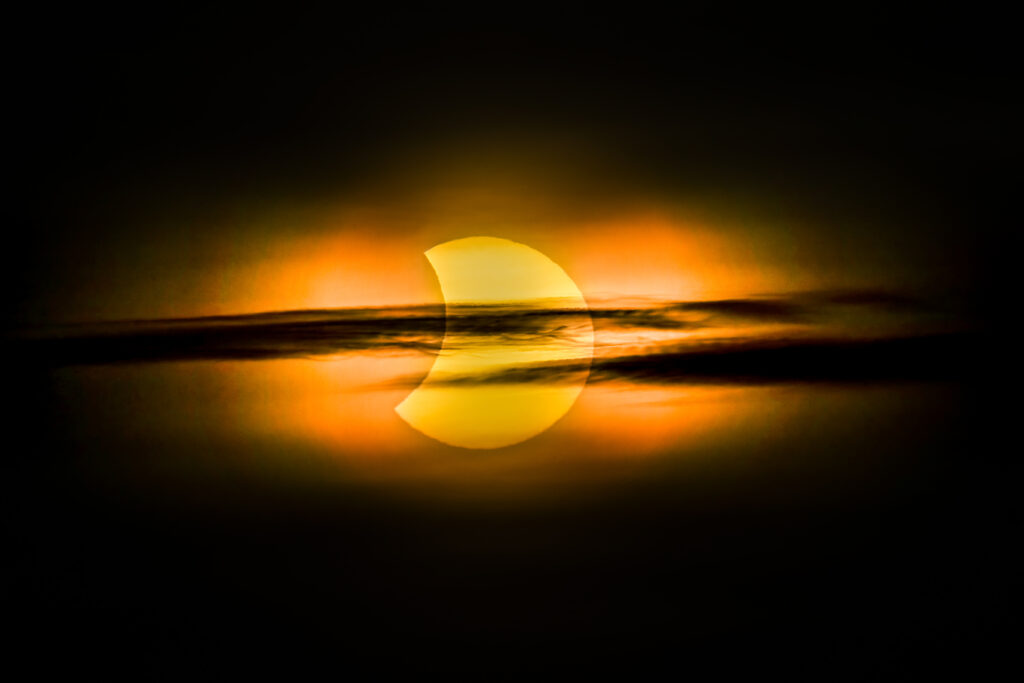
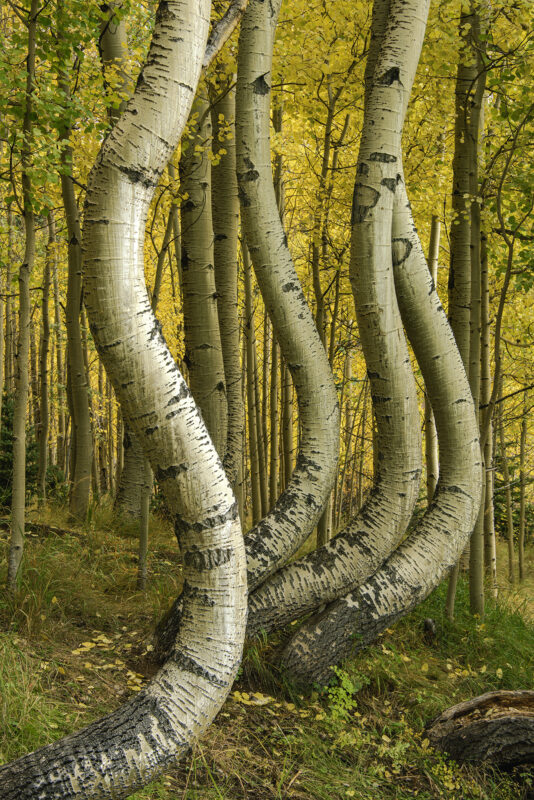
You can create a custom setting dedicated to landscapes. By mini malist
Action and Wildlife
Both these subjects require the need for speed. Typically the exposure mode would be shutter priority or manual. ISO would be set to auto with setting to protect the ISO going too high and the shutter speed too low. If you are shooting rapidly, you might set JPEG as the file type rather than RAW and your focus mode may be multi point tracking with the drive set to continuous.
Low Light Handheld: Again Auto ISO is a useful setting here, making sure you set the high ISO limit so to keep noise to an acceptable level whilst selecting a minimum shutter speed will prevent camera shake according to which lens you are using.
- Aperture priority will allow you to define aperture and the Auto ISO will bump up the speed if the shutter speed becomes to low.
- RAW would be the best file type as this gives you control over noise reduction and color in post production.
- Manual focus is the preferred option and single point the best mode.
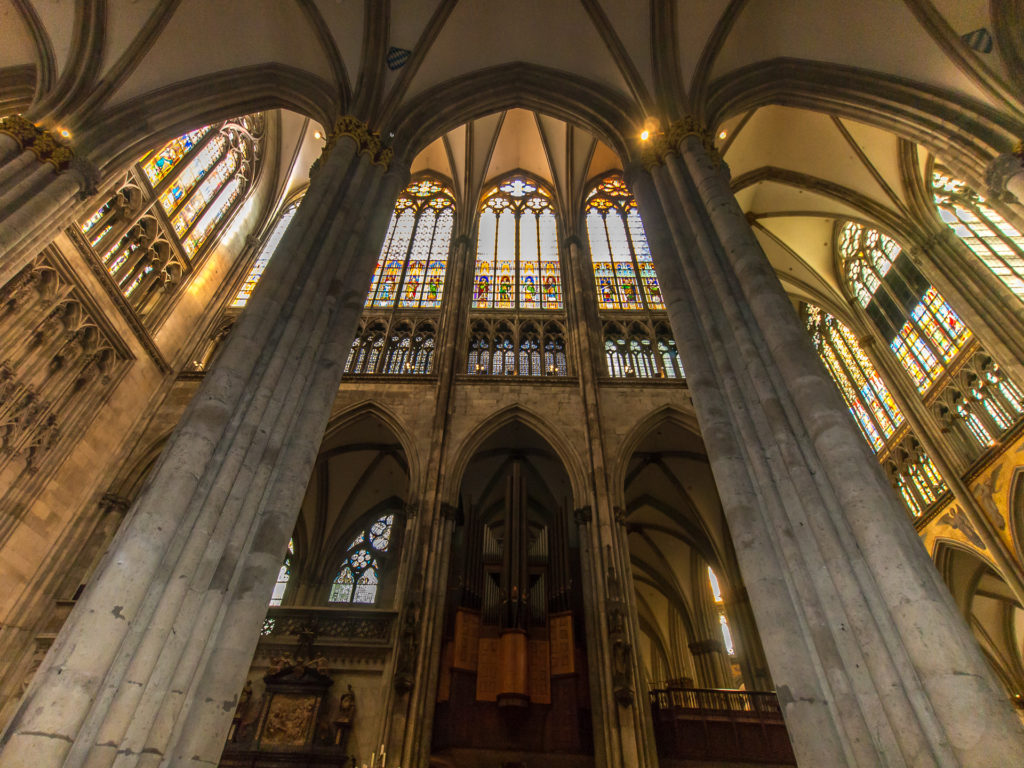
Another useful one is a lowlight setup. By Anja Pietsch
People
Shooting people particularly indoors can be challenging. If you shoot people a lot perhaps weddings or events, you might want to set two or more different profiles according to what you are shooting.
For example, you might have one profile for inside, low light and one for shooting with flash. Typical settings would be aperture priority, auto ISO with carefully selected minimum shutter speed and maximum ISO, single point autofocus and file type to RAW and JPEG giving you a reference file to work from as well as a useful backup.
For a flash mode, you might have preselected rear curtain sync or high-speed sync.
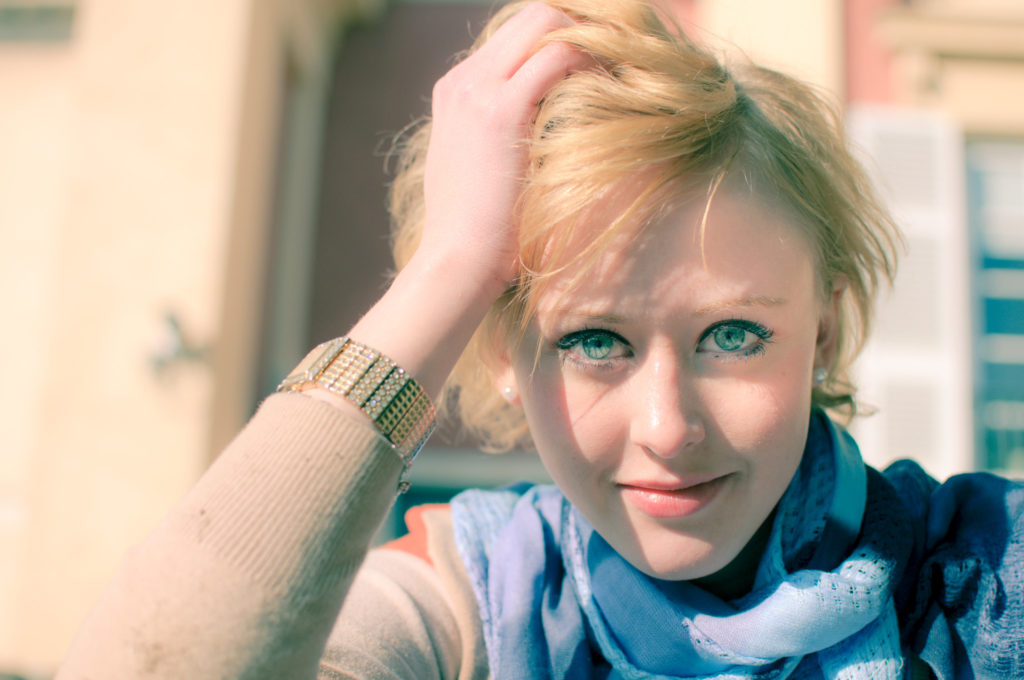
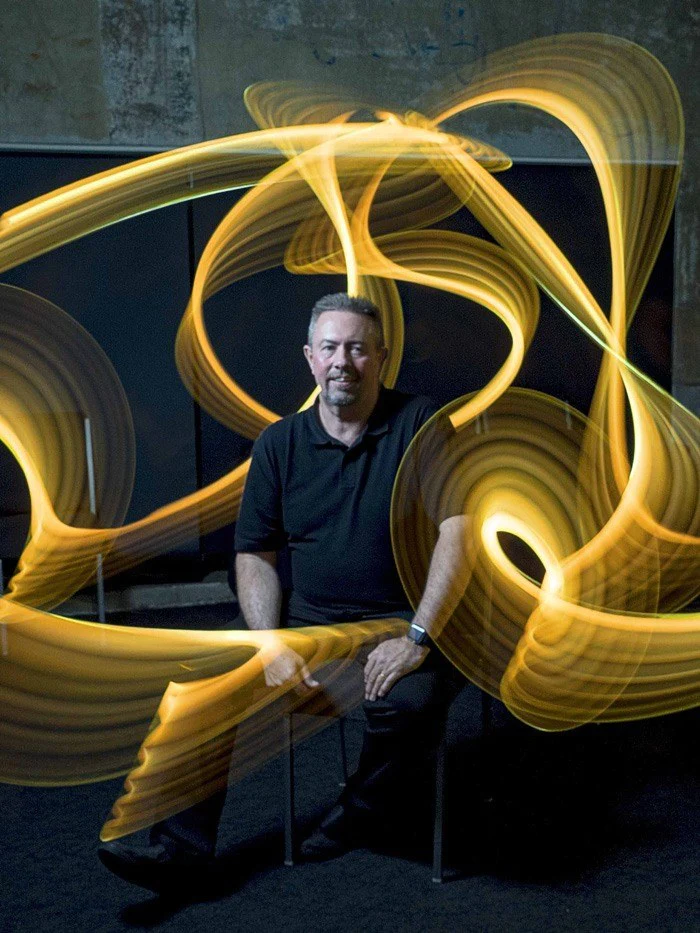
A portrait setting is also useful. One for indoors one for outside. By Jan Papas
The number of permutations available with “custom settings” is phenomenal. Armed with the knowledge of what they are and how to use them, you should be able to set up profiles to suit your own shooting style.
If you just so happen to be new to Digital Photography and are finding your feet, we have the perfect video series “Essential Photography Skills” – take a look for yourself and the inspiring testimonials too!
Further Resources
- How the Preset Options on Your Camera’s Mode Dial Affect the Settings by Dzvonko Petrovski
- 10 Minutes To Understand YOUR Camera Modes by Jason Row
- 5 Simple Things You Can Do to Drastically Improve Your Photography by Jason D. Little

