Since this article was originally published back in 2009, special effects photography has become far more accessible to the average photographer due to the march of technology. Now, even back then, we wrote that “many of the techniques that required a large investment in equipment only a few years ago, can now be replicated using a good digital editing program on a home computer.” That sentiment is even more accurate these days. But where do you start to learn the techniques?
First up, you need to narrow down what you’re trying to learn or achieve in your photos. Below are some suggestions regarding more popular special effects photography techniques that you can start with.
This list of tutorials from tilt shift photography through to HDR will hopefully show you that the world of special effects photography is not outside the bounds of the average amateur. In fact, a rich world of photo experimentation is right at the hands of anyone who has a camera, a computer, some patience and the willingness to learn something new.
What Exactly Are Photo Special Effects?
When it comes to photography, the term “special effects” covers a very wide gamut of photography effects. The very nature of rendering even an ordinary photo could be argued to be a special effect for the simple reason that it is not a 100% accurate representation of what the human eye saw at the time (despite thousands of optical engineers trying to take things in that direction for the last century). Any image is interpreted by the creator – a raw file captured according to the inputs of optical and software engineers, a jpg image interpreted by camera settings and those same engineers, or an image worked on in post production by a photographer.
But for the purposes of this article, we’re going to restrict ourselves to some of the more popular effects that many people understand to fall under the umbrella of special effects. Namely, we will take a look at light painting, tilt shift photography, HDR photography, lomography and infrared photography. If there is a subset of special effects that you would like us to cover, then let us know in the comments and we will update the article over time. For now though, let’s jump into it.
Light Painting Tutorials
Of all special effects photography techniques, the one that is probably the most instantly accessible to the average photographer is light painting. It’s probably also the technique with the most potential to create a wide gamut of image styles and take you from the ordinary to the spectacular quickly. Take a look at some of these amazing examples of light painting:
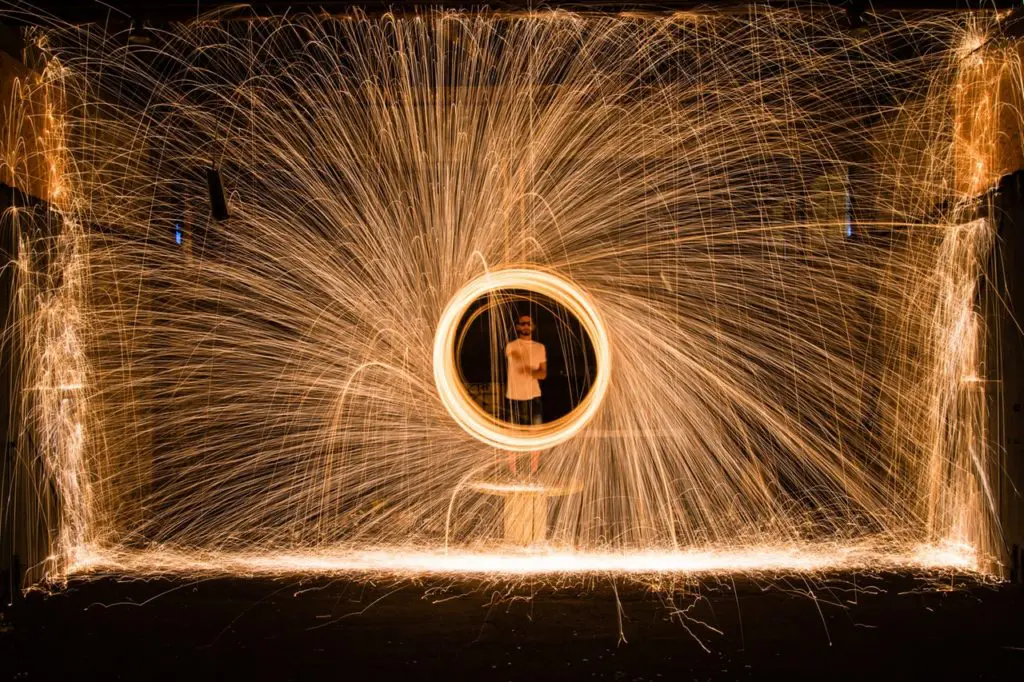

Now, if you’re interested in taking shots like these, we recommend taking a look at our in-depth course on the topic which dives very deep on this technique. In the meantime, here are some tutorials to get your started with light painting:
- A Basic Light Painting Tutorial – Get started with this in-depth lesson.
- The Light Painting Blog – This blog is full of tutorials on the craft.
- The Beginners’ Guide to the Art of Light Painting – Another good starter.
- Christopher Hibbet’s Light Painting Tutorial – Short and sweet.
Tilt Shift Photography Tutorials
Tilt shift photography produces images that look almost like miniature model scenes by altering depth of field and perspective. In fact, when you first see tilt shift images, you could be forgiven for thinking that you are looking at a scene from a model railway.

Now, this special effect does ideally require some gear because you need to control where your lens’ “imaging circle” interacts with your camera’s sensor, but there are certain ways to “hack” your way to the effect without spending a dime. Here are some very useful tilt shift photography tutorials that will get you started:
- The Essential Guide to Tilt Shift Lenses – For when gear is no object.
- Using Tilt Shift Lenses to Control Depth of Field – Technical explanation from a great website.
- Achieving a Tilt Shift Effect in Photoshop – Fake it and make it!
- Tilt Shift Timelapse Videos – This is taking it a step further and is pretty cool.
Lomo Photography (Lomography) Tutorials
Lomo photography had a massive worldwide following due to the success of the original Russian state-run LOMO PLC which produced the LOMO LC-A Compact Automat Camera in the early 1980s. The camera produced a unique and recognizable hue and blur to the images in took and soon became a photophic cult favourite.
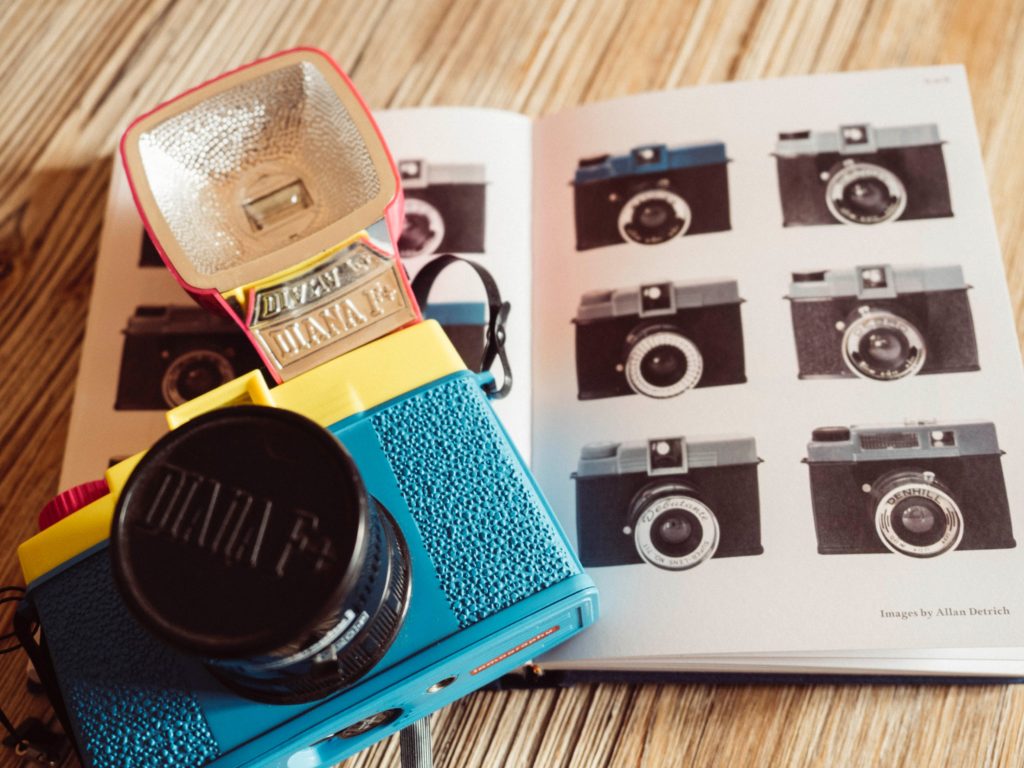
Of course, since that time, the popularity of Lomography has meant that it has been emulated digitally by thousands of apps and artists. And while its popularity has fallen away these last few years, it still has thousands of adherents. If this style takes your fancy, then here are some great places to start learning how to do it for yourself.
- The Ultimate Lomo Photography Effect Tutorial – Includes video.
- Lomography Photoshop Tutorial – Old, but includes a PSD to work along with.
- 3 Lomography Tricks to Make Sexy & Hipster Lighting
- How to Easily Create a Lomo Effect in Photoshop – Recent lesson.
- Alternatively, if you want to shoot lomography natively, then there are a heap of products on Ebay for you to start with.
- How to Create a Lomography Effect in Adobe Lightroom – One for LR lovers.
HDR Photography Tutorials
HDR or High Dynamic Range photography produces remarkably striking and colorful images that enjoyed massive popularity for a few years. More recently, the bright and saturated HDR fad tended to fall away in its original form to be replaced with slightly more subdued efforts that still use HDR as their basis, but reign in the over saturated effects of the 2008-2013 era.
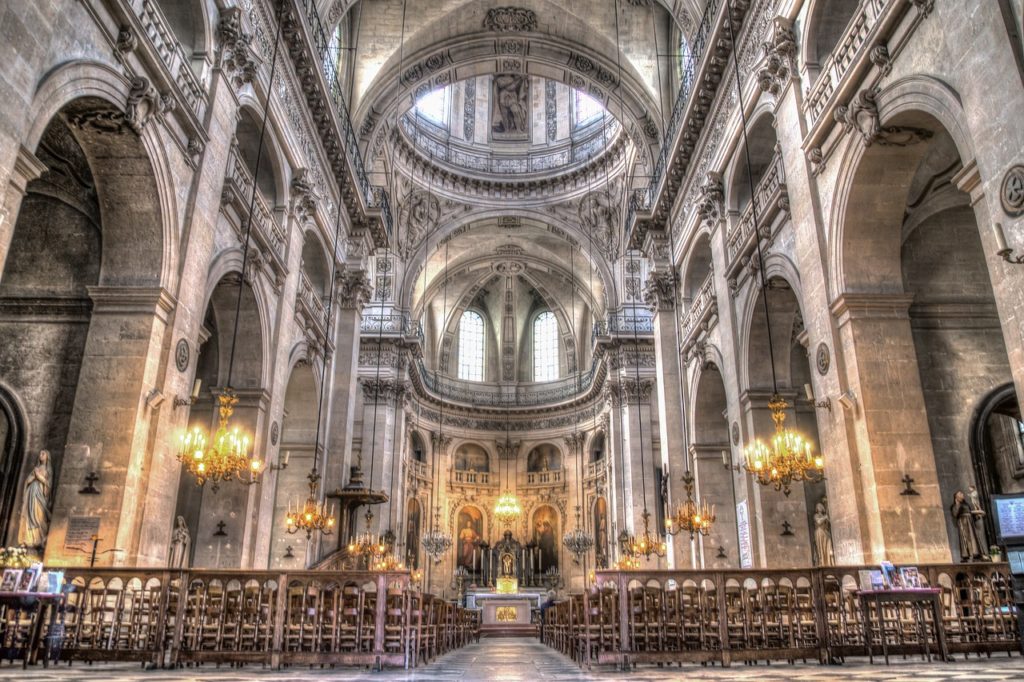
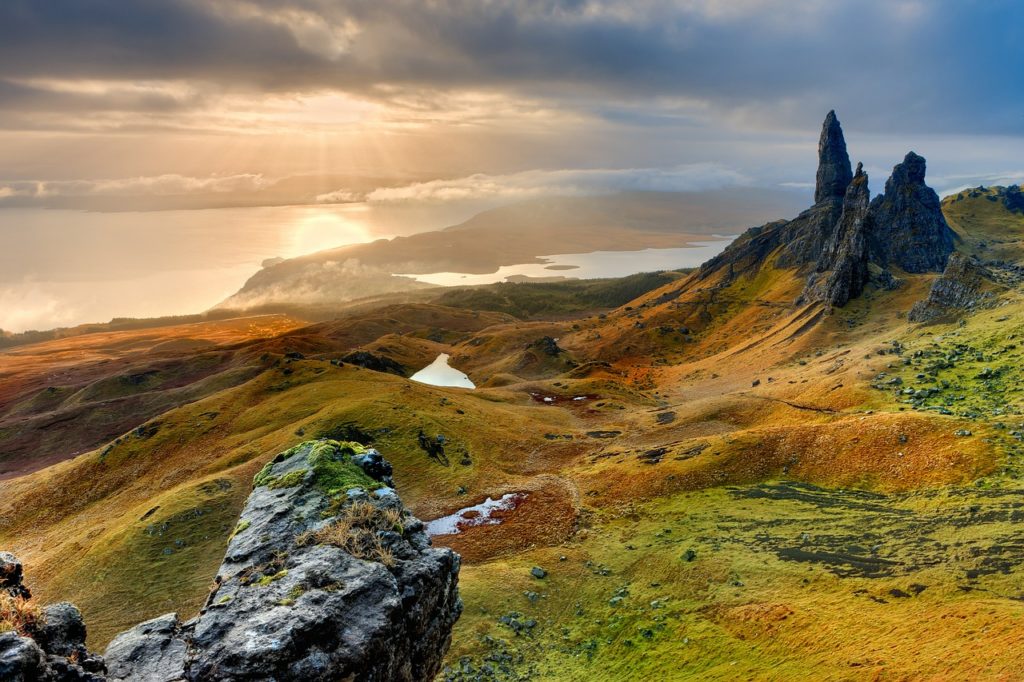
At its most basic, the effect involves shooting multiple shots at different exposures and then combining all of those images in post production. This literally allows a higher dynamic range in the end result than a single photograph is capable of.
- An Introduction to HDR Photography – Our own intro to the craft.
- High Dynamic Range Photography – A technical rundown.
- How to Make HDR Images in Photoshop and Lightroom – By the makers of the software. (Includes video)
- Exposure Bracketing – This is what you need to do with your camera to give you the shots for HDR post processing.
Infrared Photography Tutorials
With traditional infrared photography, the film or image sensor had to be sensitive in infrared light. The human eye is sensitive to light on the visible light spectrum (between 400nm and 700nm) whereas infrared records light between 700nm and 900nm that is not usually visible to us. The effects in photography can be quite striking.
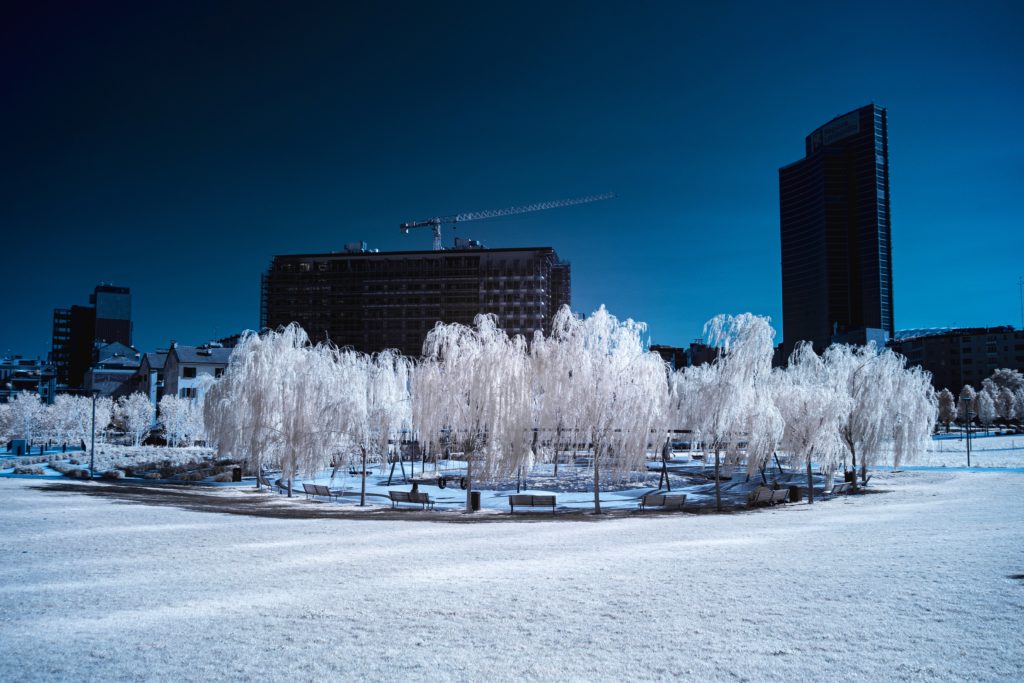
It is also possible to achieve the infrared photography effect using only post production (hence it’s not technically infrared photography) so we show tutorials for each.
- Introduction to Infrared Photography – A very solid intro.
- The Infrared Photography Tutorial: A Guideline for Your Ideal IR Solution – Really useful and thorough.
- Digital Infrared Photography Primer – Very thorough.
- Processing Digital Infrared Photography – For the post production.
Final Thoughts
Special effects photography certainly doesn’t have to stop with the techniques that we have highlighted. If you have any type of special effect that you think we should have covered, then leave a note in the comments and we may well add it to this article!




6 Comments
Those are some amazing tutorials and great resource list Thank you for Sharing Jen
the tilt shift tutorial works really well!
great photos, love the tutorials!
Thanks for those links, very helpful.
Love the photos!
Excellent information – thanks for sharing!
Yes you can produce great photographic effects without image editing software but you need to be prepared to experiment with what the camera can do.