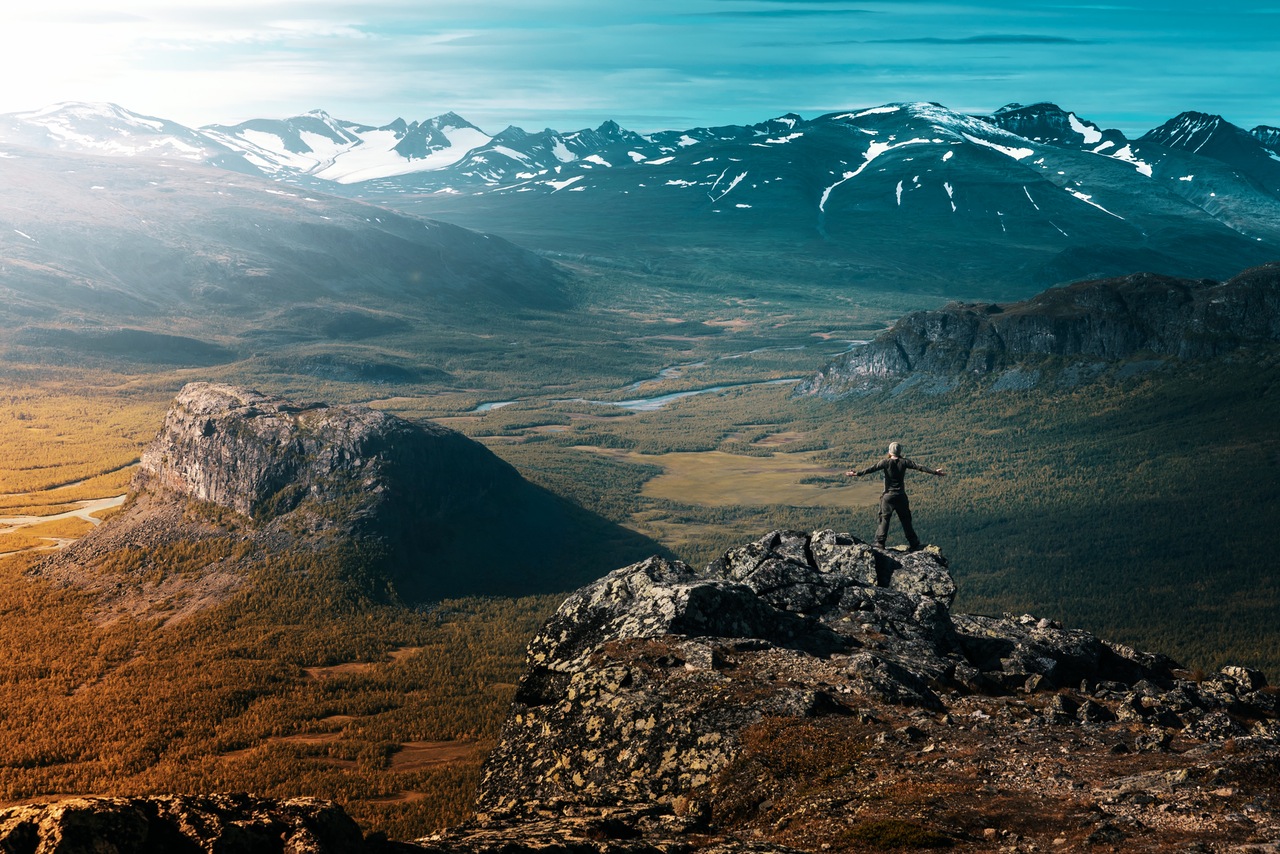
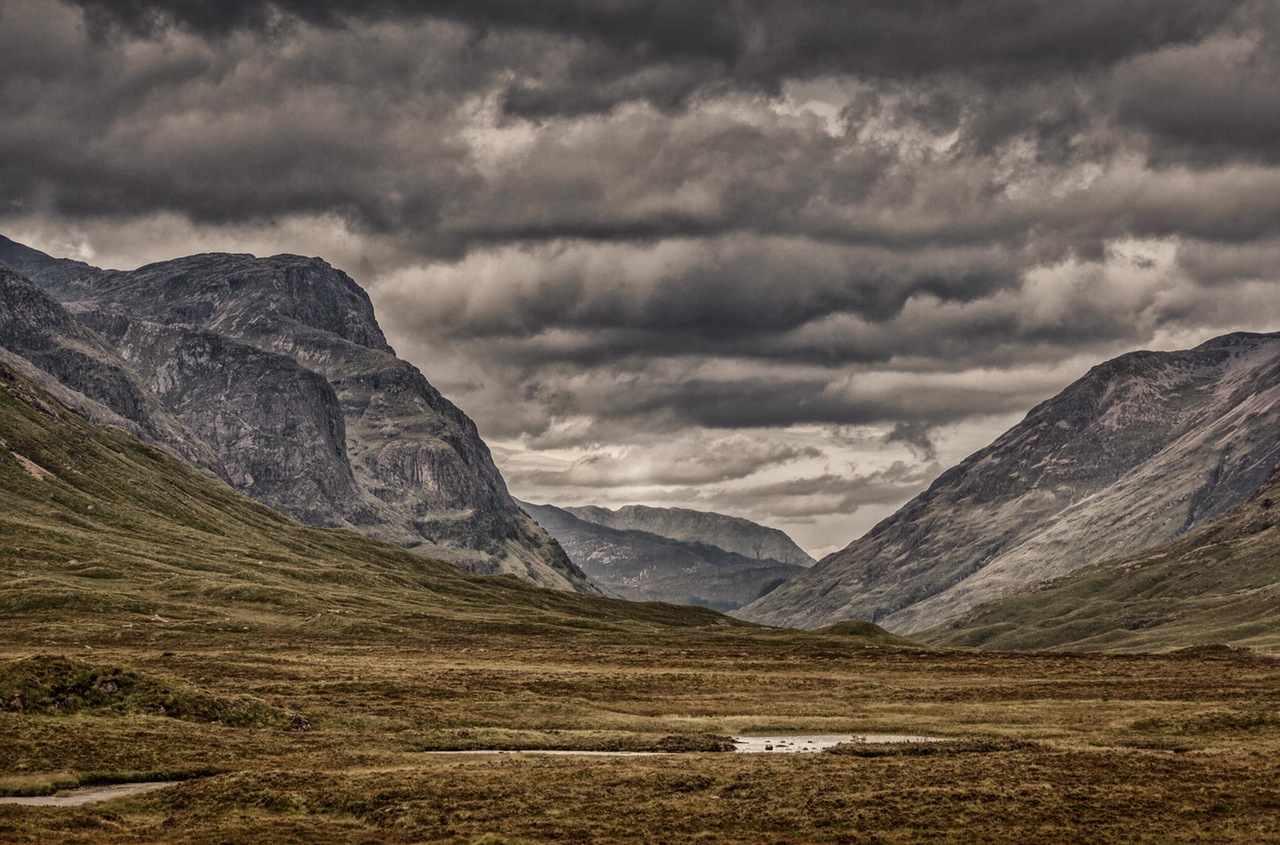
The Magic of HDR Photography in 5 Tips
In this Introduction to HDR Photography, we're going to look at the fascinating world of how this style of photography is different from that of a “regular exposure.”
The human eye is a truly wonderful evolutionary gift we possess and it allows people to have the highest definition possible when it comes to details. Our brains are very capable of balancing between highlights and shadows.
Cameras, on the other hand, have trouble with this highlights-to-shadows ratio.
This known as the dynamic range and the bigger it is, the better it is for us to see the details. There is currently no camera on the market with a dynamic range that can exactly mimic the human eye…yet. Though this doesn't mean that there aren't images out there that are mind-numbingly close to the dynamic range that humans can see.
These images are called HDR images, or High Dynamic Range images.
An Introduction to HDR Photography
Creating an HDR image is a process where multiple exposures are taken of a scene (aka, bracketing).
These images are then merged to bring about more natural tones. The most commonly used bracketing range is -2, 0, +2 EV. The images are merged either in the camera itself using an HDR mode, or by using editing software on your computer.
Let's take a look at a step by step process of how to do this.
1. Gear You'll Need
The main gear you need is a camera and a tripod. That's good news, nothing fancy – just the basics.
You can take the pictures hand-held but you get a more detailed picture when you use a tripod because of ghosting – so always opt to have the camera on a tripod (especially when you're starting out).
What's Ghosting?
Ghosting is what happens when there are differences between the three shots taken for bracketing (we're going on the common example of 3 exposures as mentioned earlier).
This could be a moving car for example. Or a tree moving in the wind. The less ghosting on your pictures the better. Even though there is software that can align and stabilize pictures, it's best to just use a tripod so there are no mistakes or differences.
2. Get Your Settings Ready
When you shoot in bracketing mode the more pictures you take the better – it's absolutely fine to start off with 3 (as mentioned) because it's a great starting point.
However, it's often recommended to bracket five shots, or seven if you can do it. No matter how many pictures you use, the 0 EV shot has to be exposed properly so that the process is as accurate as it can be.
Most modern cameras these days have around 13 EV of dynamic range so 3 to +3 EV is the absolute maximum setting for bracketing. Though you should avoid this setting if you can.

3. Post Processing Intro – Over to the Computer
Post processing is the trickiest part of bracketing, so ensuring it's all correct in camera is really important here.
The final merged image is going to have a lot of information packed into it, with a near infinite amount of ways to process it. Remember that it's all too easy to end up with a surreal picture that just looks bad. It goes without saying, aim to avoid a dodgy HDR image.
Though some people do like these surreal pictures because of the unique blend of colors. Even so, the goal is to make the image as realistic and accurate as possible – always bear those two things in mind.
You should use the tonal compression slider to give the image a realistic look. Keep the focus of the image in the neutral parts to avoid giving your image a blotchy or surreal look.
Make use of shadow and highlighting tools to fine tune the image, and use contrasting tools to help perfect the image. Remember that different programs have different kinds of tools – so try and get familiar with the common ones you'll be using.
It is also helpful to edit each individual image for problems like noise, chromatic aberration, dirt, and other problems before merging them into an HDR image. Merging them adds all of these together and makes it difficult to remove them.

4. Software to Create the Masterpiece
Photomatix, Nik Software, Lightroom and good old Photoshop are great choices for creating HDR images. Nik Software's HDR Efex Pro 2 can be used as a plugin, making the process effortless. Grab Google's NIK Collection HERE if you haven't already!
Though this doesn't mean that you can't get the same results with Photomatix or Photoshop. It's a matter of personal preference. Photomatix's improvements over previous versions has enabled this to be a great Adobe alternative.
5. What to Expect From an HDR Image…
When you get started you should expect a fairly steep learning curve – just a warning, though don't be scared, it's not that bad. You should also expect your images to have a great deal of noise, and for your computer to be strained processing all of these images and everything happening in them at the same time.
Top Tip!
Just have only the absolutely necessary applications open on your computer, it will just help with your computer's running memory to ensure you have a good experience of creating HDRs (which tend to use a load of RAM!)
HDR images are also 32-bit. Turning them into a 16-bit image can lead to a drop in quality and even altered tones, especially when displayed on an 8-bit monitor, so always aim to produce @ 32-bit. You should also expect it to take longer to process an HDR image than it would a regular image – kinda goes without saying.
But, you can also expect a really awesome picture when you get the process right. Expect to become somewhat addicted to HDR when you see the fantastic results for yourself. It'll change your entire workflow.
Summary
This small, but simple guide shows you the introduction to HDR photography. Remember that this really is only the basics, though.
There is a lot more to HDR than just this and it takes a long time to truly master. A lot of trial and error is involved in getting an image just right – so experiment and have fun.
It does become easier over time and when you master it you'll get it right the first time, almost every time….almost.
An Introduction to HDR Photography – Top Takeaways
- Start by bracketing 3 images using this range: -2, 0, +2 EV. Then, you can move onto more i.e. 5 or even 7 images.
- Get a tripod to rest your camera steady on.
- Have the appropriate software in your computer ready and when loading and editing these images, expect to only have very limited applications open on your computer.
Further Resources
- 32-bit HDR In Lightroom: The Easiest And Quickest Way To Create Natural HDR Photographs by Yaopey
- How To Create A Panorama In Lightroom Using HDR Techniques by Dzvonko Petrovski
- HDR Photography: Shooting Tips, Software Plugins, and Training Resources by Sheen Watkins
- A Beginner’s Guide to Dynamic Range (Plus Useful HDR Photography Tips) by Dzvonko Petrovski
Further Learning
Want to learn more about the skills behind creating beautiful HDRs? Yes, is probably the answer.
With Jimmy McIntyre, you can learn “The Art of HDR Photography” at your own pace and have yet more skills than before you began reading this article!?


4 Comments
Not arguing against the tripod for HDR, but I fail to see how it can help with objects that are actually moving in the frame.
Hi there, i am desperately looking for HDR post processing software that runs on Android – not for taking photos, but for merging bracketed photos that I have taken on a real SLR. Any suggestions?
Regards
Matt
Hi Matt! Check out this converter https://macphun.com/luminar/raw-converter It also helps with editing.
As for shooting mode, best results are to set up using
aperture priority.