Indoor sports are in full swing this time of year. And while indoor sports like basketball are fun to watch, they can be frustrating to photograph, mainly due to poor lighting conditions. If you’ve been wondering how to get better shots of your kids’ basketball games (many of the ideas here will also apply to other indoor sports such as volleyball or gymnastics), the tips that follow should help get you on your way.
1. Choose Your Shooting Mode Wisely
Gym lighting, particularly at the high school level, is notoriously bad; most gyms tend to use fluorescent or mercury vapor lights, neither of which produce consistent lighting. These lights might also be poor arranged and spaced. If you’re intimately familiar with your camera’s settings/button layout and are able to adapt accordingly to quickly changing situations, you will probably be perfectly comfortable shooting manual. But if you don’t want to dedicate too much of your attention to changing camera settings, it’s okay to let the camera do part of the work by shooting in aperture priority or shutter priority mode.
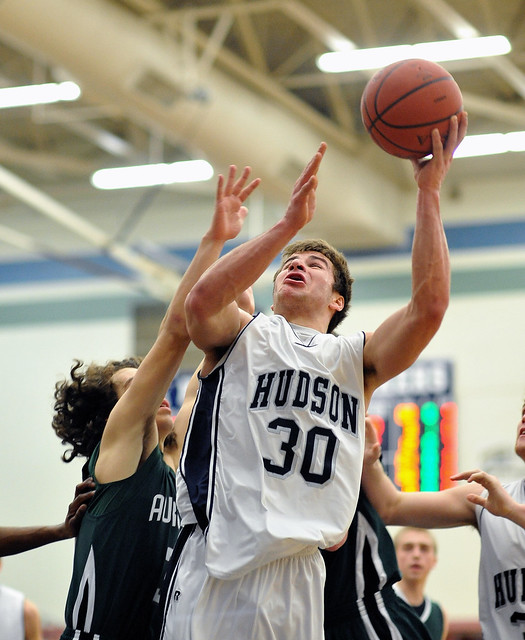
Photo by K.M. Klemencic
2. Freeze the Action
One of your main objects when shooting fast moving action such as basketball is to freeze the action of the athletes. Stopping motion requires a fast shutter speed — at least 1/500th of a second. Of course getting the desired shutter speed is more difficult under bad lighting, so when you run into this problem, take the next tip under advisement.
3. Manage ISO
You will be using high ISO levels over the course of the entire game. If your camera has an auto ISO feature, use it. This allows you to essentially set a ceiling for how high you want ISO to go. Setting an upper limit of ISO 3200, I usually have no problem reaching a shutter speed of 1/500th or 1/640th of second at f/1.8.
4. Think About Aperture and Depth of Field
It’s not always necessary to shoot wide open. The fact that DSLRs are increasingly capable of giving pretty clean results at higher ISO levels means you may find yourself with some wiggle room in terms of exposure; you can then stop your aperture down a bit for more depth of field, which can go a long way in helping you achieve a properly focused shot.
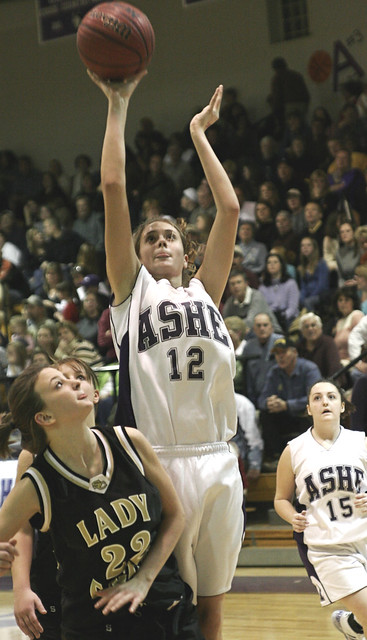
Photo by Jamie Williams
5. Choose the Right Focus Mode
Whether it’s called AF-C, AI Servo, or any other of several terms used by different manufacturers, continuous focus mode is the logical way to focus on the action as it moves up and down the court. There is another way to approach this, however. While basketball is a fast moving sport, there are plenty of split-second freeze frame moments ripe for the capture — the top of a jump shot or a change of direction while dribbling, for example. These are moments that, with good timing and good technique, can be captured with single shot focus mode and a shutter speed perhaps as slow as 1/125th of a second. Being more selective about what you capture will cut down on duplicate shots and help keep the camera’s buffer clear.
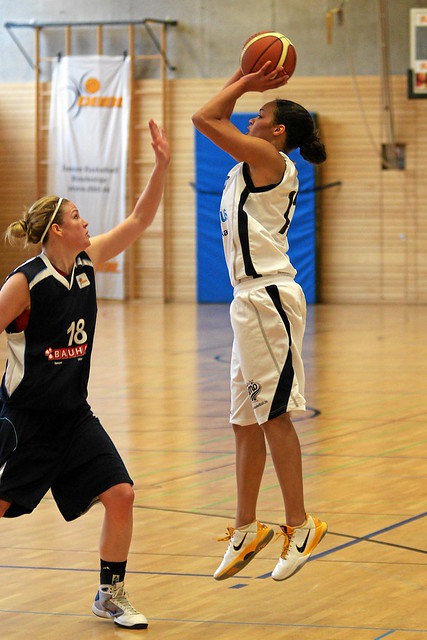
Photo by Heiko Kutzschmar
6. Use the Right Lens for the Job
A 70-200mm f/2.8 lens is quite often considered a must-have for sports photographers, given its relatively large maximum aperture, versatility, and excellent sharpness. If you find the cost of such a lens prohibitive, a prime lens is an option. Not only is a prime lens likely to be less costly, it may be a bit faster (f/1.8 or f/2) than most zoom lenses. An 85mm f/1.8 in a gym setting is a great alternative to a heavier, costlier 70-200. What you lose with a prime lens is, obviously, the option to zoom in or out, which can be useful as basketball is a sport that sometimes benefits from a wider angle.
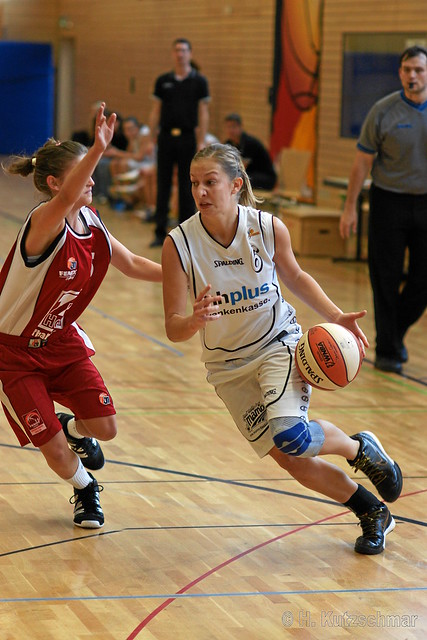
Photo by Heiko Kutzschmar
7. Use Back Button Focus
Back button focus is one of those functions that, once you grow accustomed to, will make you wonder how you ever lived without it. This feature allows you to control focus independent of the shutter button and is especially helpful if you do choose to shoot in burst mode. Consult your camera manual for instructions on setting up back button focus.
8. Shoot Vertical/Portrait Orientation
The most interesting parts of a basketball game tend to occur in vertical fashion, so be sure to orient your camera accordingly. You may encounter a handful of situations when a horizontal shot works out well (such as capturing a defensive pose), but the overwhelming majority of the action will move toward the top of the frame, so use the center or bottom focus point and shoot vertically.
9. Shoot Raw
This will give you all the latitude you need for effective post processing — particularly when it comes to getting rid of that awful green tint that accompanies gym lighting.
All the ideas presented here are highly adaptable — use them as starting points, then experiment and make adjustments along the way. Feel free to share your best indoor sports photography tips in the comments.


1 Comment
Great tips. Thanks for sharing, Thinking of doing sports photography too.