Bokeh, if you can’t take it, fake it. There are many reasons why we might not be able to get the Bokeh we are looking for. Bright light might prevent us using a wide aperture, distance to the subject might render negate the effect. Maybe you just don’t have the budget for a wide aperture lens.
Fortunately, like many things in photography, we can fake bokeh to pretty good effect. Today we are going to have a look at one such technique in Photoshop.
Using The Right Image.
For any fake to look realistic, it needs to have some basis in reality. Therefore the choice of image is important. If you pick a wide angled image with the subject a long way from the lens, any faking is going to look just that.
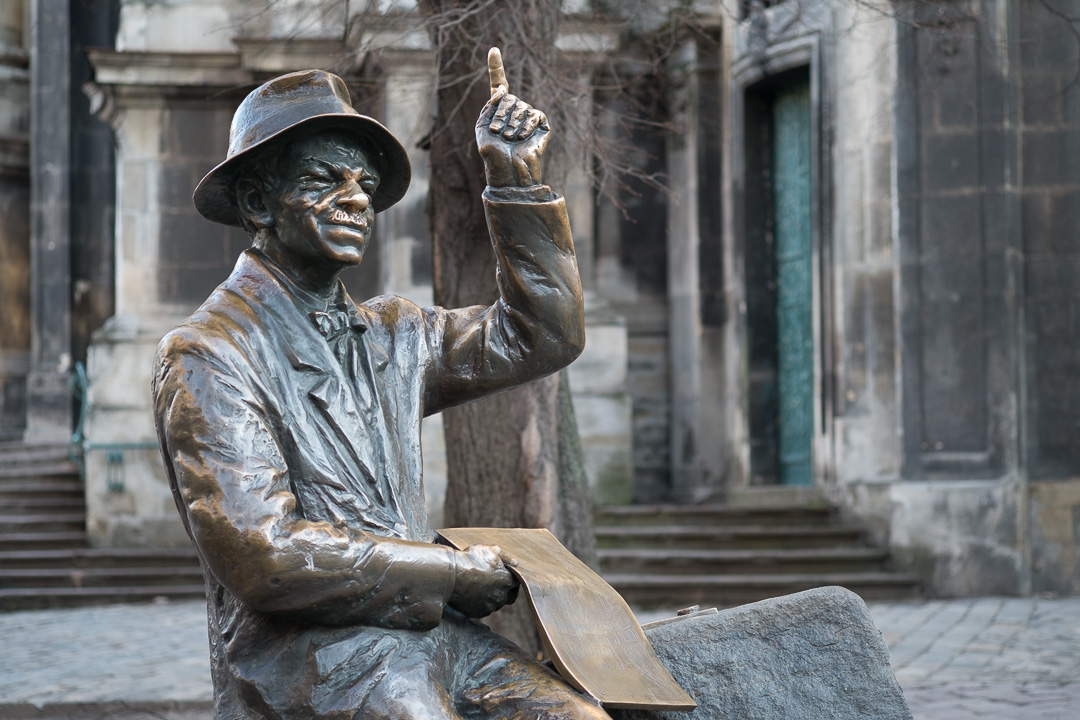
To get the right type of shot, think about how Bokeh works. Shallow depth of field often requires a standard to telephoto lens and a relatively close subject. With this in mind, we have picked this statue of a rather elegant man in Lviv as our subject.
He is close to the camera using a standard lens and we have a little blurring in the background.
Creating A Mask
Think carefully about your image. Bokeh will affect the out of focus areas of the background.
In our image, we do not see too much of the ground until it is in the distance. This makes selecting the subject area much easier as we do not need to graduate the effect along the ground.
The first thing we are going to do is mask our subject off from the background. Photoshop has several tools for doing this but as our subject is well a well-defined shape, I am going to use the Quick Selection tool.
Before doing anything I will duplicate the layer by pressing CMD J on Mac or CTR J on Windows.
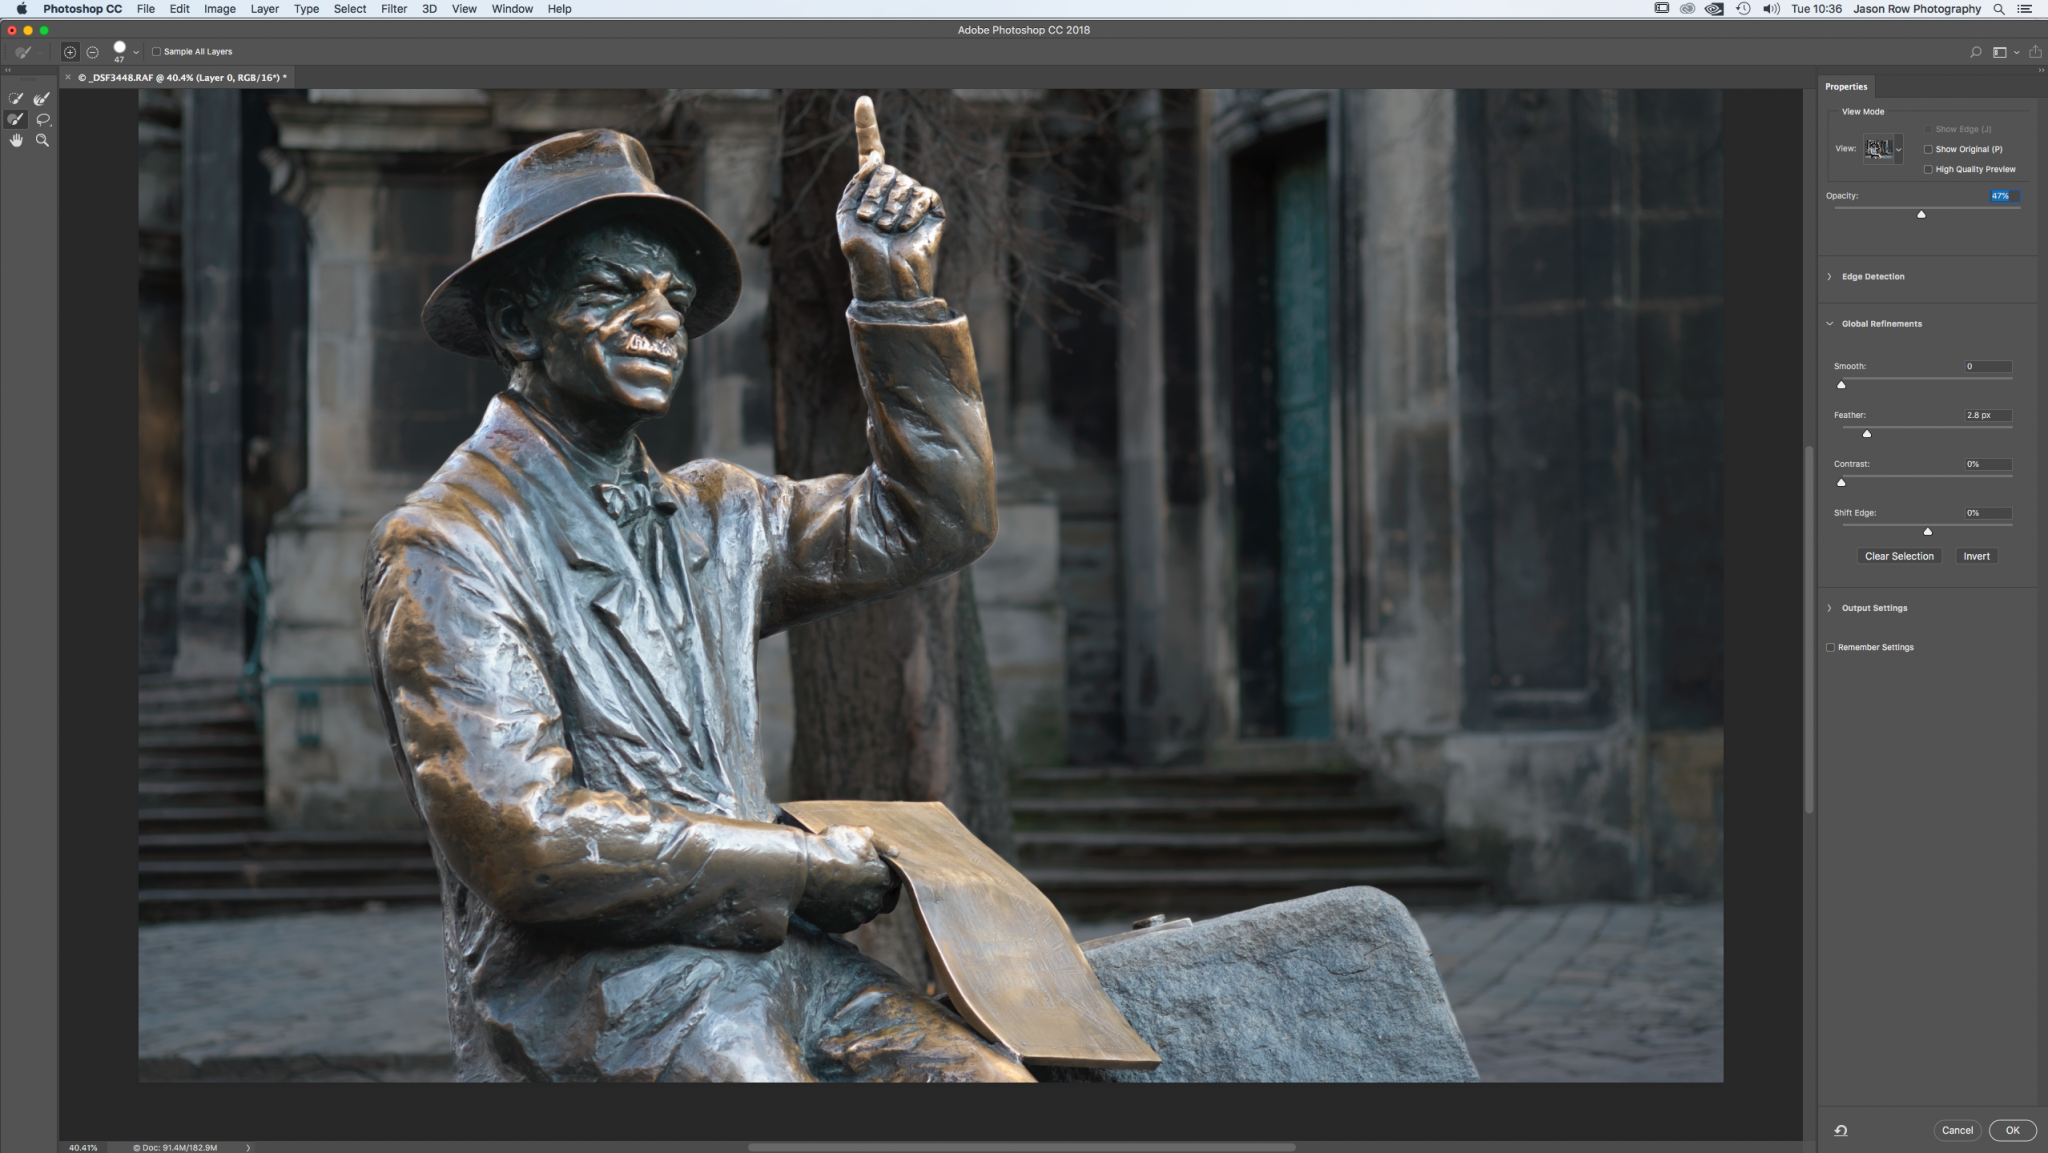
Now with the Quick Selection tool selected click on the Select and Mask button on the top bar. A new more accurate masking window will open.
Using Quick Selection I now click the mouse over areas of the subject and the mask will be filled in.
If I go to the Opacity slider on the left and move that to 100% I can see how accurate my masking is. As with all masking its a case of trial and error.
Having selected as much as I can using the Quick Select, I can now clean up the selection using the brush tool on the left.
Select a suitably sized brush and paint in any parts of the subject that have been missed.
If the Quick Select has painted outside the subject, press and hold CMD or CTR while using the brush and Photoshop will “unmask” that area.
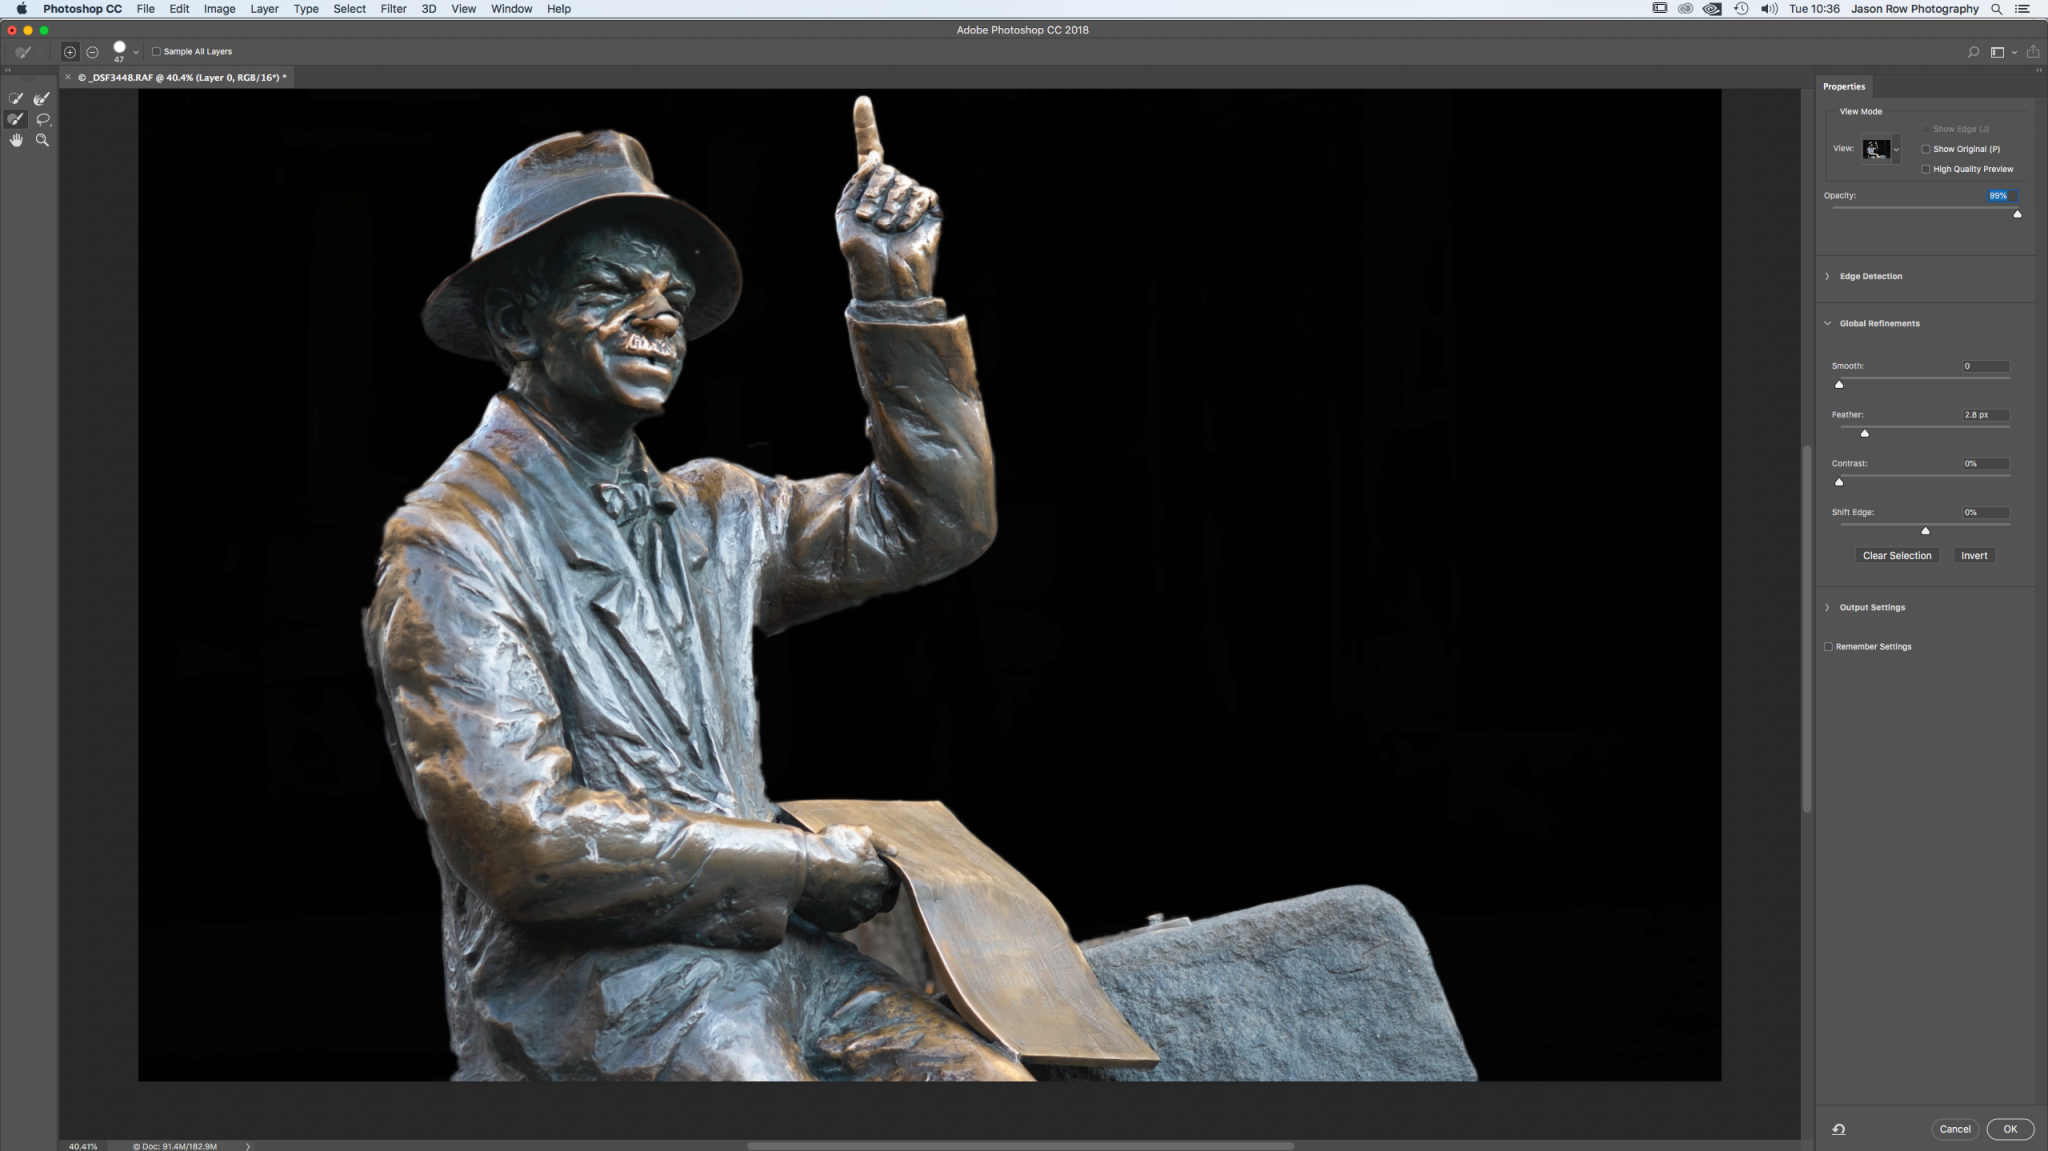
Continue to refine the mask until you are completely happy with the image.
If you have some ground area in the scene, you will need to graduate this out to the distance. You can do this by using the Brush selection tool and selecting a suitable size and feather.
Then paint a mask onto the ground area allowing the mask to graduated to the distance. Once you are 100% happy with the mask click OK and you will be returned to the main Photoshop window.
Adding The Blur
Select the duplicated layer in Photoshop then click on the full image element, not the mask.
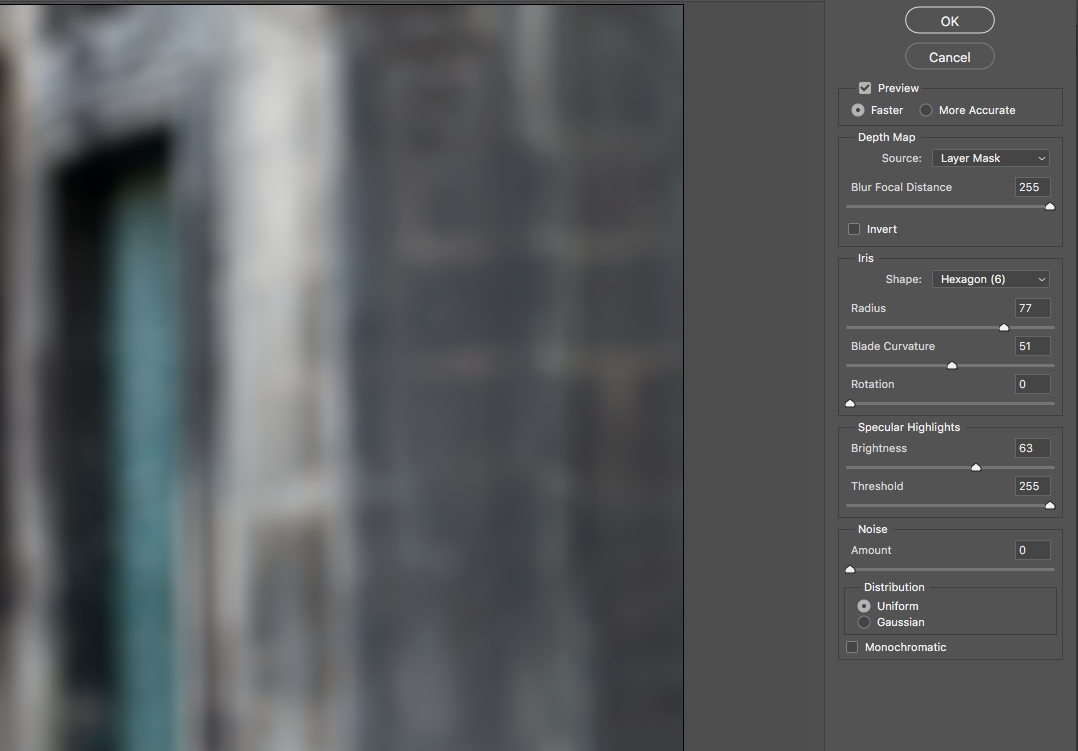
Now from the menu go to Filter, Blur, Lens Blur. A new editing window will open. Make sure the source is set to Layer Mask.
Under this, we have Blur Focal Distance. As we are blurring the background we can slide this all the way right to 255.
Beneath this, we can now set the radius for the blur. In my case sliding right to between 65 and 70 gives a nice out of focus feel to the background.
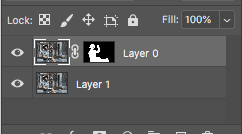
Once you are happy with the blur we can play around with other controls.
At the top we can select the Iris Shape, we can also select the Blade Curvature. Small adjustments to these will make subtle changes to the was your background blurs.
If you have highlights in the background, you can attempt to replicate those Bokeh highlight donuts using a combination of Brightness and Threshold in the Specular Highlights section.
Play around with all these controls until you are happy then click OK at the top.
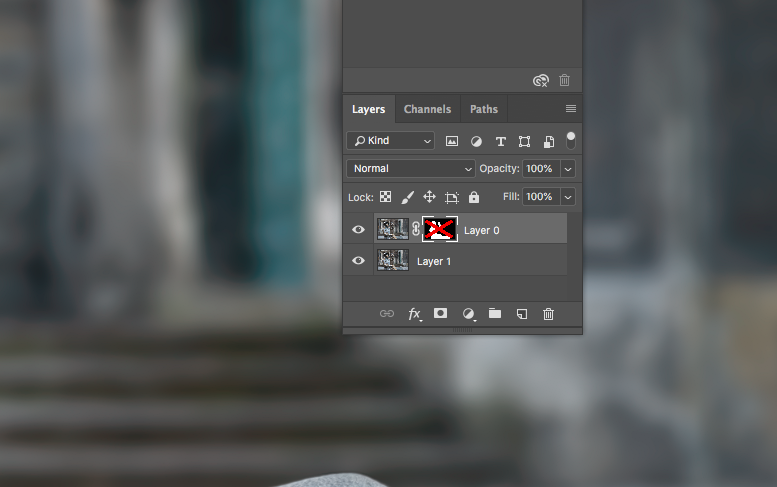
The first thing you will notice is that it would seem that the effect has not worked. However to see the effect you now need to switch off the layer mask.
To do this, select the mask in the Layers palette, right click and select Disable Layer Mask. The effect will now pop into view.
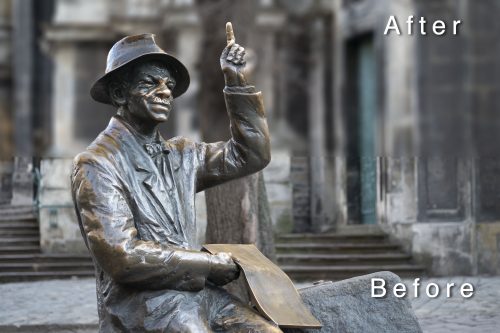
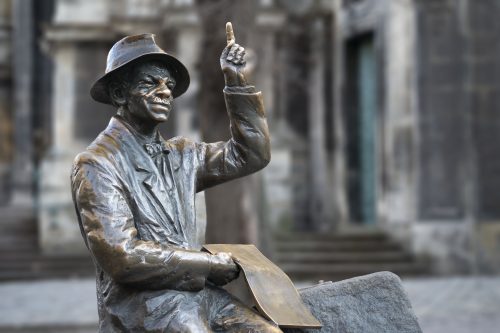
Faking Bokeh can work pretty well assuming you have the right looking image.
While it is not the perfect replacement for a wide aperture lens, with a little careful selection work in Photoshop and some patience, we can create a pretty convincing Bokeh look.


1 Comment
Sorry Jason, your article has nothing to do with bokeh. This is a simple background blur, no out of focus circular points of light can be seen or produced this way.