Capturing astro photographs is one of most photographer’s dreams and something that is possible. One of the biggest misconceptions about astrophotography is that it requires expensive and large gear like star trackers and telescopes. Although expensive equipment can help with imaging many other objects for deep sky astrophotography that may not be possible with just a DSLR camera or mirrorless camera, it is not a necessity.
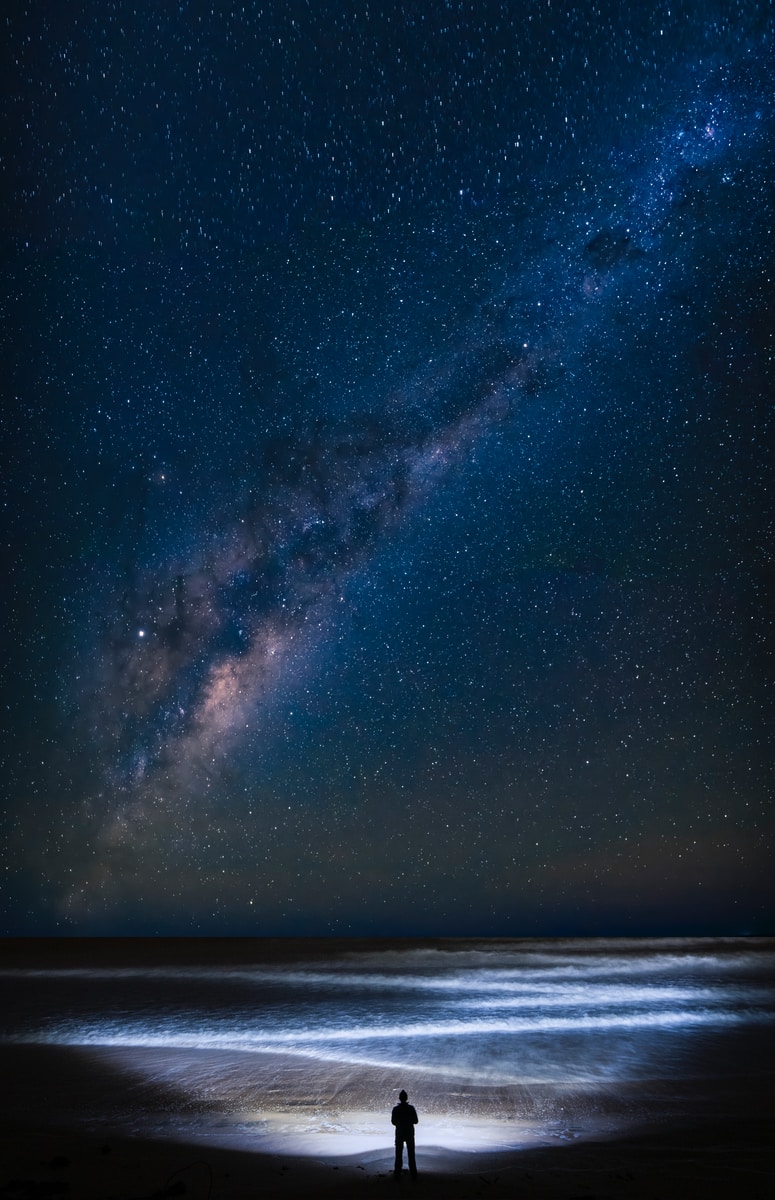
For example, you can photograph the Milky Way and a few other deep sky objects using a mirrorless or a DSLR camera and a wide-angle lens. Once you progress in your passion for astrophotography, you will start to explore other gear options to capture more objects in the night sky.
Grab your Milky Way Photography Blueprint for free right here.
With some knowledge of the night sky, deep sky objects, camera settings, and night sky photography, almost anyone can capture beautiful images of the night sky and night sky objects. It just requires a lot of patience and practice.
As discussed before and in various other articles at Light Stalking, astrophotography does not require expensive gear and the techniques and settings involved are quite straightforward if you understand the concept behind it. In this article, we will take a look at some of the best gear for astrophotography. We will discuss the gear that you must have and then go into optional gear that will help you improve your night sky astrophotography.
Note: You can always start with the gear that you have in hand, for example, your camera and kit lens is capable of photographing the milky way and the constellations for a start under good atmospheric conditions. But photographing objects like nebulae, star clusters, and galaxies may require some care when choosing astrophotography lenses and cameras.
Here are some of the gear and accessories that you must have for astrophotography:
1. A Good Camera
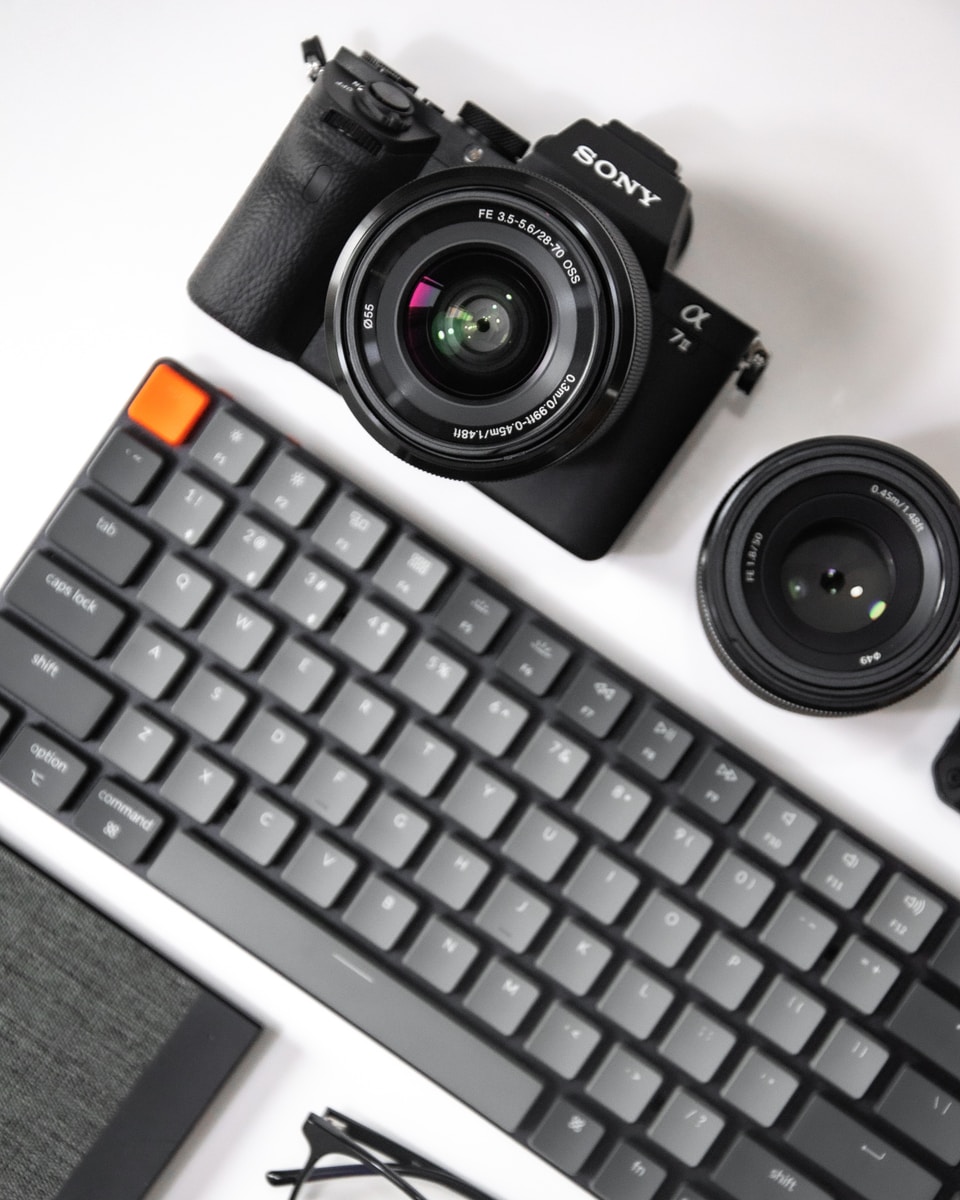
For astrophotography, it is good to have either mirrorless or DSLR cameras from any manufacturer, that has good low light and high iso performance, but it is not a necessity. Full frame cameras have better sensors and as a result, can perform better in low light conditions and deal with high iso noise effectively. But, there are certain post-processing techniques that can deal with noise issues in a very effective manner which means you can use an APS-C sensor or a micro four-third camera for night sky photography. Remember, there are APS-C and MFT systems that come with great low light and high iso performance.
So, if you are able to afford a full-frame camera, then it’s great, but if not, there are intermediate-level crop sensor cameras with great sensors including the MFT systems. If you are only starting with photographing the Milky Way, then start with the camera that you have in hand and then upgrade to a better one when you find your camera limiting.
There is a camera for everyone, whether you wish to use a DSLR, mirrorless, or even looking for a choice of full frame or crop sensor cameras.
- Full frame DSLRs like the Nikon D850 and Canon 800D produce excellent image quality and are great low-light performers.
- Full frame mirrorless cameras like the Canon EOS R, Sony A7R IV, or the Nikon Z6 are excellent with great image quality although their battery life may not be great in comparison to DSLRs.
- Mirrorless cameras like the Fujifilm X-T4 or the Olympus OMD EM5 Mark III can be great choices if you are looking for a crop sensor camera with great low-light performance.
There are many more in the mirrorless camera range that is excellent for astrophotography. Some other recommended cameras are the Nikon D780, Nikon D500, Nikon D7500, Nikon D5600, Nikon Z6 II, Canon EOS R6, Canon EOS 6D, Canon 7D Mark II, Canon EOS 90D, Canon EOS 4000D, Sony A7 III, Sony A9 Mark II, Olympus OMD E-M1 Mark II, and many more cameras.
Of course, there is dedicated astronomy camera for astrophotography and we will talk about that in detail in a later section that discusses optional gear for astrophotography.
2. A Lens
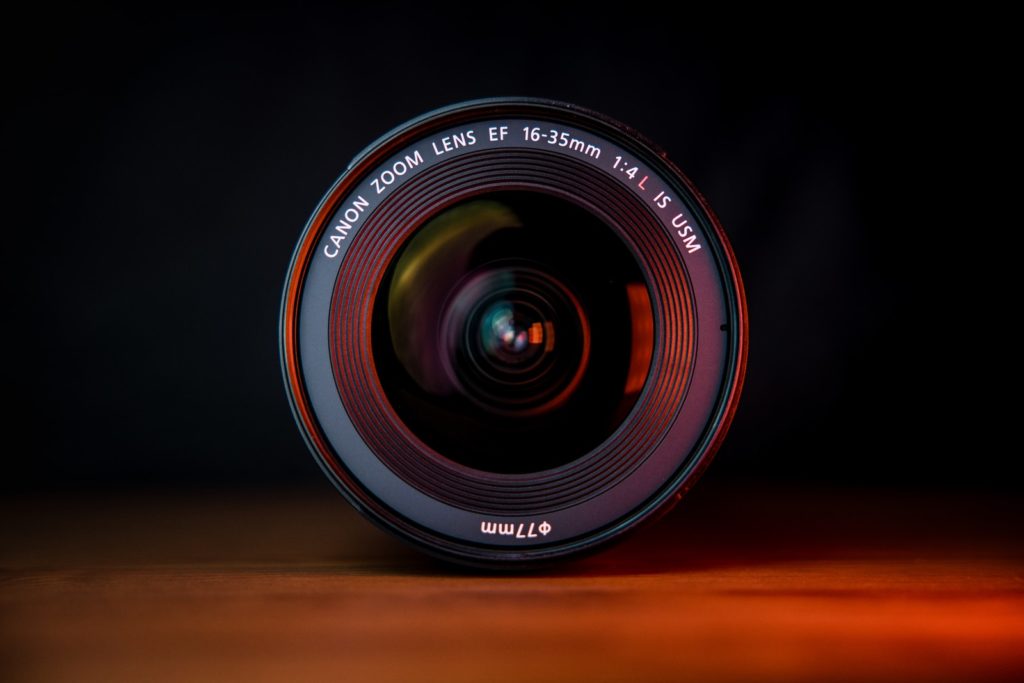
Wide angle lenses with wider apertures are generally preferred for astrophotography as wider apertures allow more light, which means you can work with lower iso values. Again this depends on the choice of objects that you are looking to shoot, shooting conditions, and how much exposure is required. In general lenses with a maximum aperture of f/2.8 are recommended when it comes to astrophotography.
In general, any camera and a wide-angle lens can be used to photograph the Milky Way if the shooting conditions are favorable and you take care of a few settings when shooting and apply a few techniques when post-processing.
For example, if you are starting with shooting the Milky Way, then wide-angle lenses are the best choices. They help you with getting a large portion of the Milky Way in the frame when you compose the shot, but you can also shoot a panorama if your lens is not too wide.
Using wide-angle lenses or shorter focal lengths with wider apertures has some benefits. You can use longer shutter speeds and shoot at lower iso values without causing star trails. They also allow you to gather more light compared to a lens with narrow aperture values. You can get the landscape and the entire Milky Way or many objects in the night sky in one frame.
Telephoto lenses will require a shorter shutter speed which means you will need to increase the iso to compensate for the exposure in order to avoid trails.
Since wide-angle lenses can be used with longer shutter speeds, the iso required to shoot a particular night scene will be lower compared to what you will need for a telephoto lens or a wide-angle lens with narrow apertures.
Some of the best wide angle lenses (zoom lenses and prime lenses) for astrophotography are the ones with the following focal lengths from various manufacturers:
- 11-16mm f/2.8
- 14-24mm f/2.8
- 15-35mm f/2.8
- 18-35mm f/1.8
- 24-70mm f/2.8
- 14mm f/2.8
- 16mm f/2.8
- 18mm f/2
- 18mm f/2.8
- 20mm f/1.8
- 24mm f/1.4, etc.
Here are some lenses that we think can be great choices for astrophotography.
- The Tamron 15-30mm f/2.8 G2 lens can be a great choice for wide-angle astrophotography and is manufactured for both Nikon and Canon. You can capture images of panoramic night skies with this lens and it performs well in low light. This focal length is great to use in both full frame and crop sensor cameras.
- The 24-70mm f/2.8 lens from Nikon, Sony and Canon is a great choice if you wish to capture moderately wide angle shots. There are third party lens manufacturers who make this lens as well.
- The Samyang 135mm f/2 lens is an excellent choice for imaging deep sky objects. Choose the lens for the camera you have.
There are a lot of third-party lenses from Sigma, Tamron, Tokina, and Samyang, that are more affordable than the camera manufacturer's own lenses and they also produce remarkably sharp and good-quality images of the night sky.
3. A Sturdy Tripod
A tripod is one of the most important gears for night sky and astrophotography. You need it for longer exposure times and to compose your shots creatively.
Do not listen to advice where you can rest your camera on a wall, ground, or a bean bag to get a shot of the night sky. It may work for a quick snapshot, but for good compositions, focus, and great quality Astro images, you need a sturdy tripod preferably with a ball head so you can tilt your camera to shoot photos from any angle.
Make sure the ball head is strong enough to hold the camera-lens setup at weird angles. Remember, during certain seasons, the Milky Way core can be really high up in the sky depending on where you live, so you may need to tilt your camera well looking above if your main focus is to photograph the core of the Milky Way or other features in and near the core area.
Most of the time, the conditions may be breezy or windy in remote locations and so you need a sturdy tripod that can withstand these conditions. You could also have an L plate as an accessory along with the tripod so you can tilt your camera for landscape and portrait orientations easily when composing the shot.
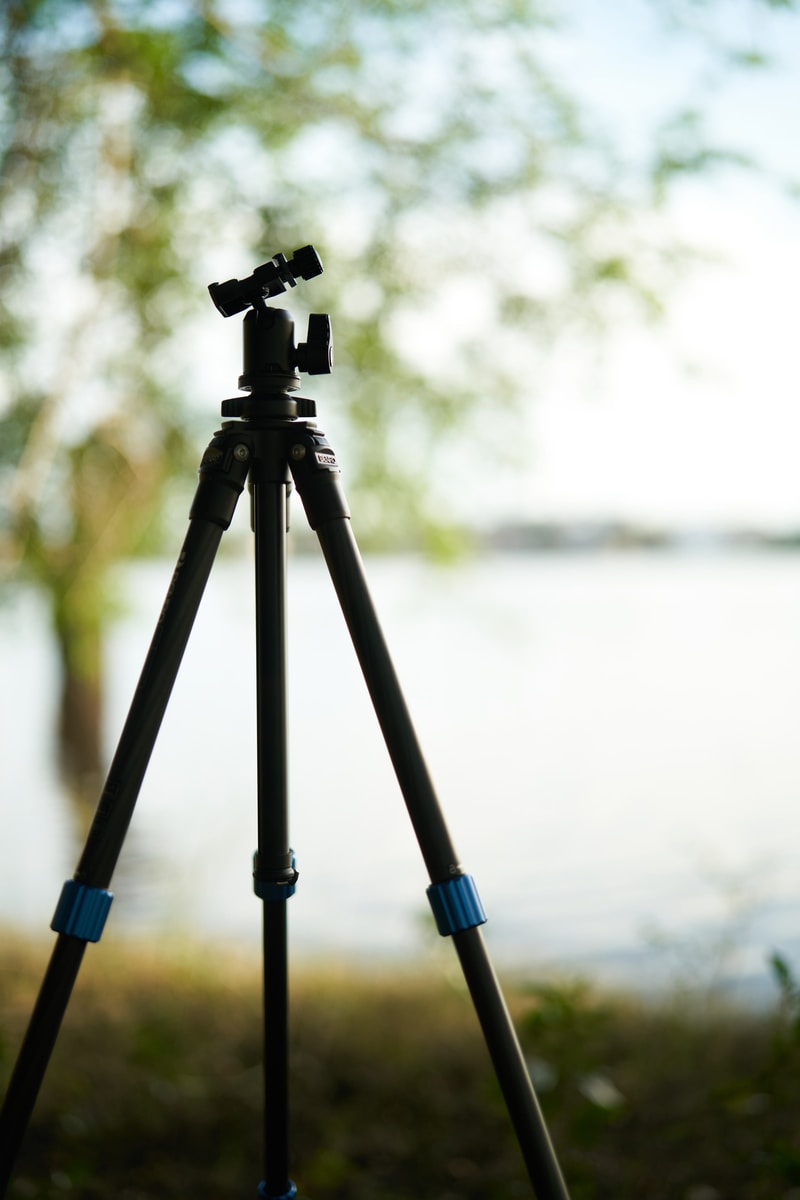
If you are someone who regularly hikes to places for night sky photography, you may want to invest in a tripod that is both lightweight and sturdy. There are carbon fiber tripods from many manufacturers like Manfrotto, Really Right Stuff, Gitzo, Vanguard, and many others that are foldable to small sizes and lightweight so they are easy to carry strapped to your backpack.
One of the most highly recommended is the Manfrotto Befree GT Travel Carbon Fiber Tripod which can fold down to a very small size, making it easy to carry. It supports about 22 pounds of equipment and comes with a ball head making it an excellent choice for astrophotography/
4. A Cable Release or Remote Shutter Release
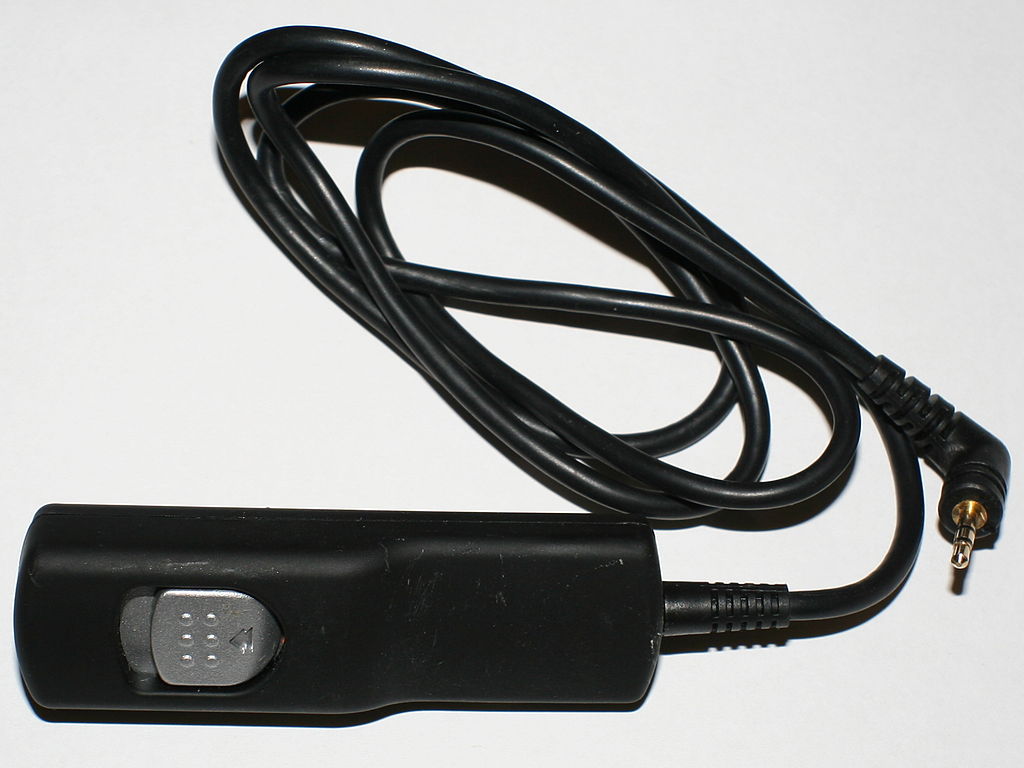
When photographing the night sky, most often we will be capturing a series of images, for example, it could be for a time-lapse, for star trails, or stacking deep sky images. Manually releasing the shutter can induce a lot of shaking in the camera. You cannot rely on using the inbuilt delay timer for taking a series of images for astrophotography.
When photographing a series of images, it is always advisable to have a cable or remote release so you can control the shutter release without disturbing the camera body and the entire setup. A cable release is a better option for this scenario in my opinion and this shutter release from Pixel supports various cameras. Just choose the one that is compatible for your camera.
Most recent cameras come with inbuilt intervalometers but controlling shutter release externally using a cable release is very versatile and is a flexible option for astrophotographers. A good external intervalometer does a better job than in-built intervalometers.
Some cameras come with apps for smartphones that can be used to control shutter release. Since we will be carrying a smartphone in hand most of the time when out on location, this can be considered an option, but check to see how well these apps perform and how much of your phone battery will be consumed before using these in the field.
5. Fast Memory Cards
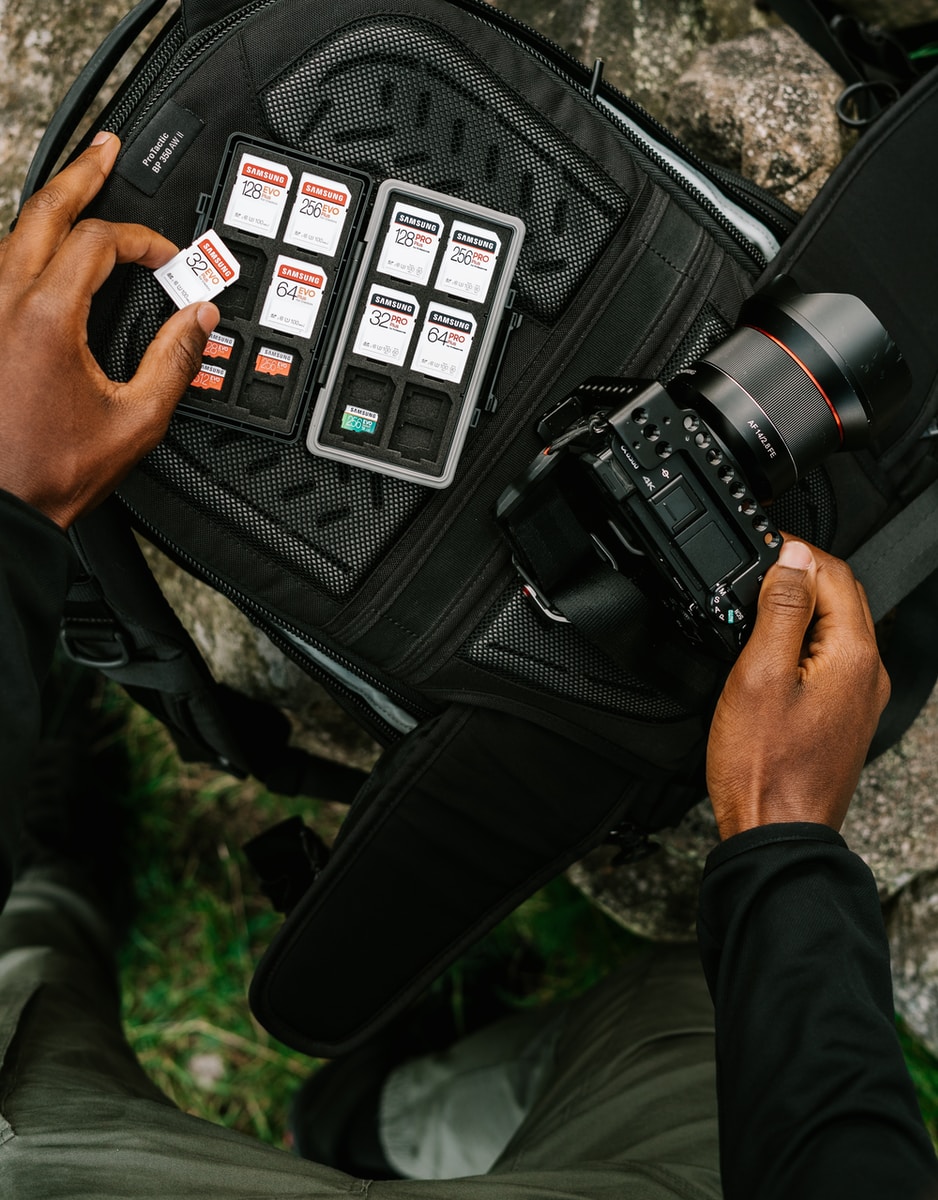
Night sky photography requires a long exposure and when you are photographing time-lapse, star trails, or hundreds to thousands of frames for stacking, you need memory cards with acceptable storage space and one that has a faster read and write speed. Slower memory cards will make the whole photography process slower and this can be a disadvantage when shooting for time-lapse and star trails because there will be breaks in between.
We recommend that you have a few fast 64GB or 128GB formatted memory cards depending on the file size of your camera's raw file when you are out on location shooting the night sky. Make sure the cards are compatible with the camera that you are using as some older but faster cards may not be compatible with newer cameras.
SanDisk makes excellent memory cards and it is highly recommended to have at least a few 64GB memory cards when out in the fields for astrophotography. The Sandisk Extreme Pro UHS-II 64GB memory card is an excellent one because of its faster read and writes speed.
6. Spare Batteries
Batteries are a necessity when shooting a series of nighttime photographs. When shooting for a timelapse, star trails, or a series of images for stacking, you will need to make sure that you have batteries to last the entire shoot. Constantly capturing and saving images can be a tedious task for the camera and can constantly take a lot of the battery life.
Besides, in extreme cold or warm temperatures, battery life tends to be quite low. So it is wise to have a few fully charged batteries with you when you go out on a shoot. If your camera allows USB charging when the camera is in use, you can make use of a power bank to charge the battery and this will help you to continuously shoot without any interruption when charging the batteries.
7. Headlamp
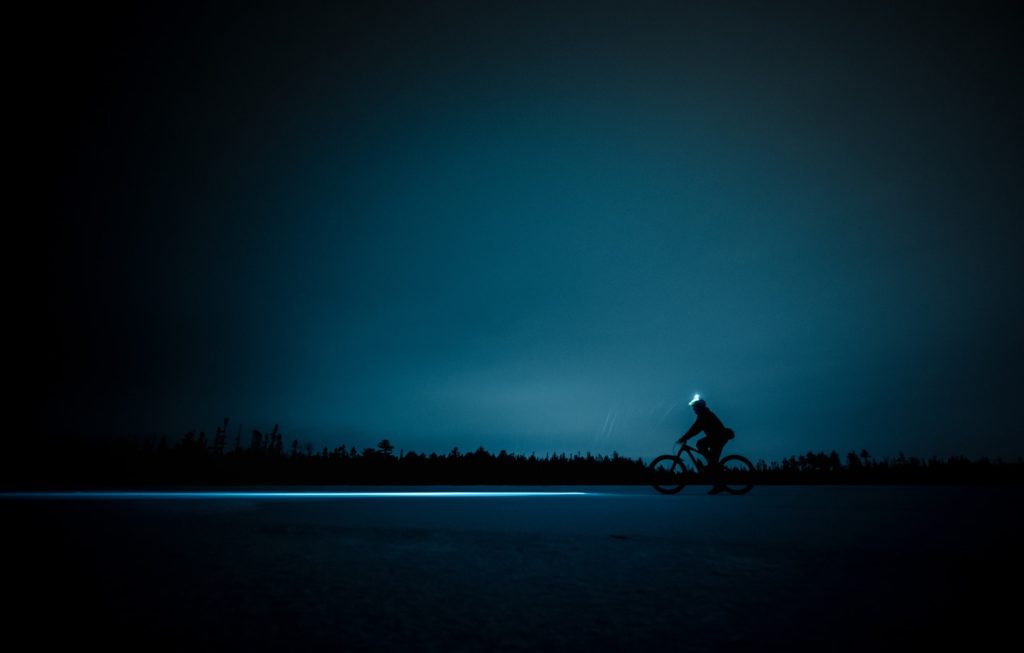
Astrophotography is most of the time done late in the night and sometimes even from remote locations. Since you will be working in the dark most of the time, a headlamp is one of the most important pieces of gear that you can have in your bag. This will be a great tool to find your way around in the dark and to make any quick settings in the camera, lens, and other accessories.
Some lamps come with a night mode that has a red light which will not affect your vision in the dark. When photographing at night, always make sure to turn off all lights right from your headlamp to your mobile and anything else around so you do not have stray lights ruining your night images.
Headlamps are not too expensive. They can be purchased for less than $20.00 like the GearLight LED headlamp that comes as a pack of two at a very affordable price.
8. Flashlight
A flashlight can be useful especially if you want to light paint foreground objects/elements in the scene when you include them in your astrophotography shots. If you do not have a headlamp, a flashlight can also help you get your way around and get things done in the dark.
These are again affordable like the one here from GearLight that comes as a pack of 2 for less than $25.00. Remember, once you switch off the flashlight, it can take a few minutes for your eyes to get adjusted to the dark.
9. Power Bank
A power bank is a necessity when you are away from home on a shoot, especially at night. You can use this for many purposes right from charging your smartphone, and other accessories, right up to charging your camera batteries if that feature is available in your camera.
You can look for something similar to this power bank that will allow you to charge multiple devices at the same time if required.
10. Apps For Astrophotography
Locating objects in the night sky can be a bit of a hassle if you do not have some knowledge about the night sky. The night sky changes with the seasons and you will be able to see and photograph different objects and constellations depending on the time of the year.
If you are new to astrophotography and have very limited knowledge of the night sky, it is always easy if you have a few apps on your smartphone that can help you figure out objects in the night sky.
For example, the Milky Way rising and setting time changes throughout the season and its position in the night sky changes through the night. The Milky Way can be seen with naked eyes if the viewing conditions are great, if not, you will need to use an app to locate it in the night sky if you are a beginner. The same goes for any object like star clusters, cloud complexes, comets, nebulae, and galaxies.
Besides the above, if you wish to include beautiful landscapes along with night sky objects, then you need to scout for beautiful locations that are free from light pollution. Photogenic locations will help you to create some award-winning photographs.
You also need to keep an eye on the weather for night sky photography. Winter nights are the best when the air is clear and the sky is clearer compared to other seasons without much atmospheric haze and other issues.
In order to achieve all these, and create stunning Astro images, you will need planning apps, apps to locate night sky objects, apps to locate dark sites near you, weather apps, and others so you can use them together when planning for the shoot.
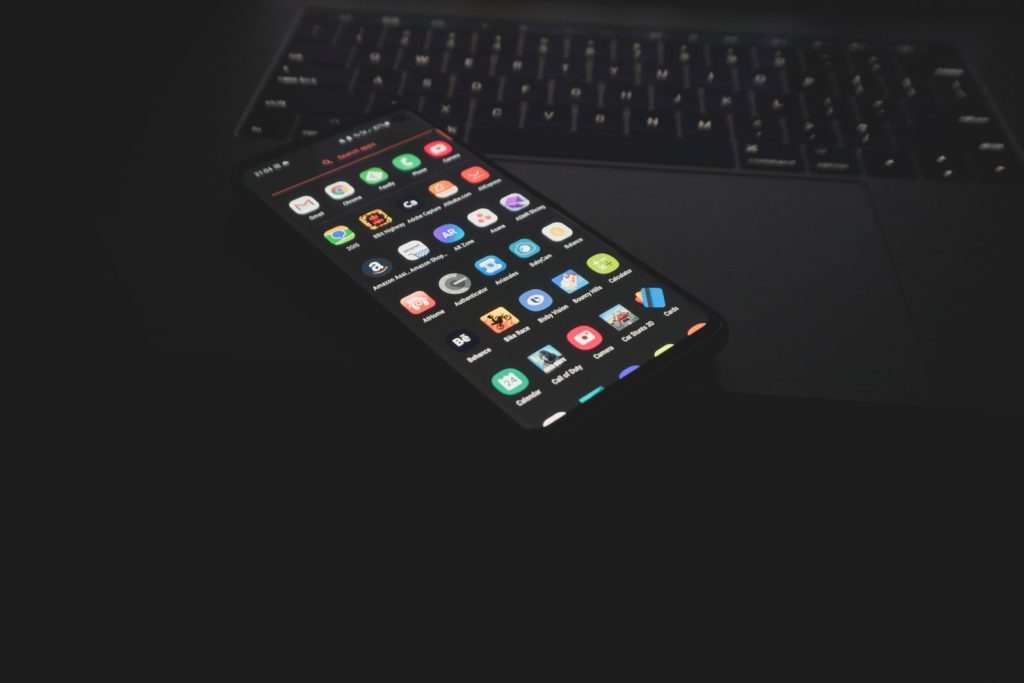
Here are some apps that can help you locate and plan your astrophotography shots no matter your experience or where you live:
1. Photopills
Photopills is a great app for anyone looking to plan a shoot to photograph the night sky and execute it the way they have visualized it. Its planner and Night Augmented Reality tool make it a great app for astrophotographers who wish to have the night sky objects against a particular object or foreground. This way the photographer can plan the shoot based on moon phases along with with the desired composition well beforehand.
Photopills app is available for both iOS and Android.
2. Stellarium
Stellarium is an online program that can help you locate the objects in the sky. You can also get information regarding moon phases, and light pollution levels, which can be helpful when you are shooting out at the night. The web version of Stellarium is free. There is a free Android version (there may be in-app purchases) called Stellarium Mobile and a paid one called Stellarium PLUS for iOS.
3. Sky Guide
Sky Guide is an app for iOS and gives accurate locations of all night sky objects including their rising and setting times. You can also check positions for future dates and times so it is easier for you to plan a shoot. Just search for your object of interest to see its location in the sky.
4. Star Walk 2
Star Walk 2 is a free app for both iOS and Android. It is very similar to Sky Guide and tells you the positions of objects in the sky including satellites. You just need to point your device in the sky to look for objects in the sky or search for a particular object to know when it will be up in the sky.
Note: When using night sky apps, make sure you have your compass calibrated properly, so the positions are shown accurately when holding the smartphone against the sky.
5. Space Weather Live
Space weather live is an app that provides real-time data for solar weather, which means you will have real-time solar and auroral activity available to see on your phone. This app will be useful when you want to photograph the aurora or the sunspots. The app is free and available for both iOS and Android. There is a web version as well.
6. Meteor Active
Meteor active gives accurate meteor activity forecasts with hour-by-hour estimates and this can be a great app for anyone interested in photographing the meteor shower. It also includes predictions for upcoming nights as meteor activity can change every night. The app also takes into account your geographical location, moon interference, and light pollution to notify you of night sky events. This app is free for iOS.
11. Computer
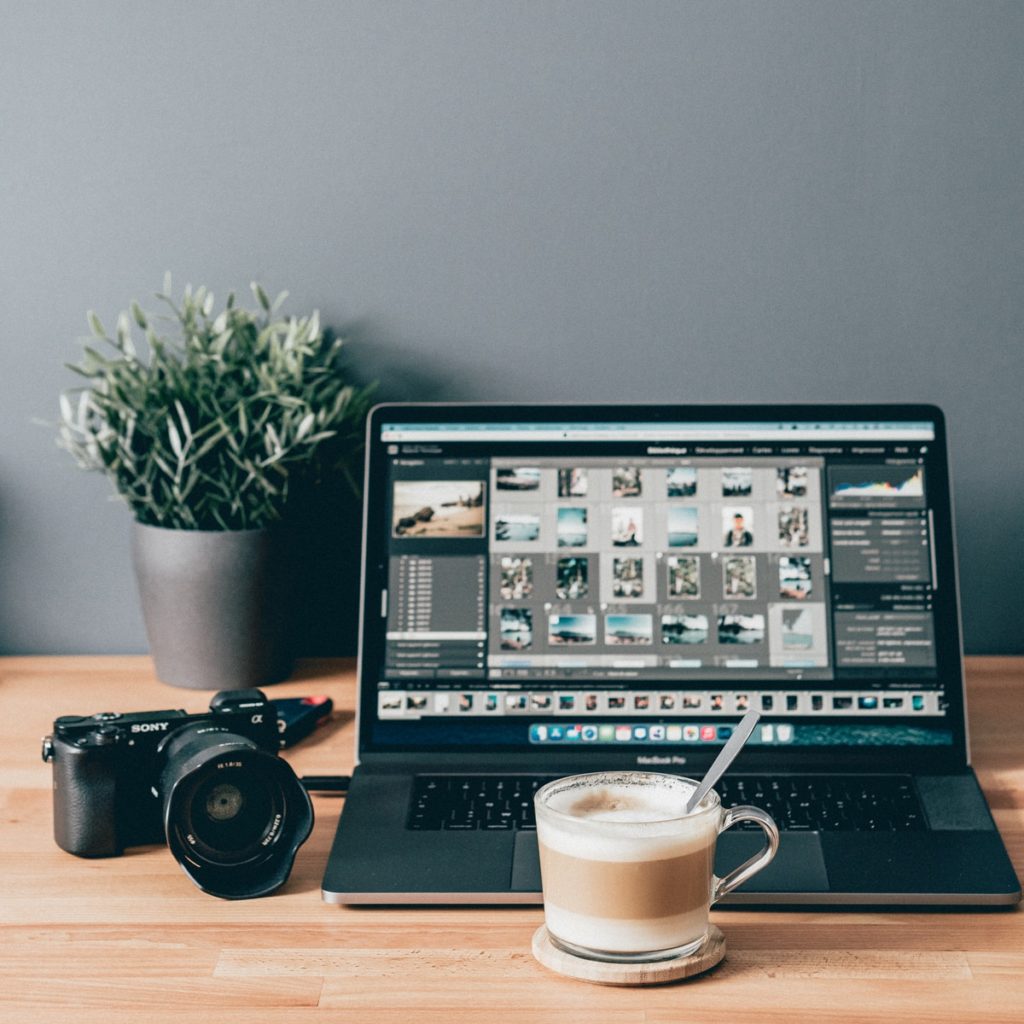
With astrophotography, you need to learn to post-process your images for neat outputs. Both capturing and post-processing the images are important aspects of astrophotography.
When it comes to stacking images for deep sky objects, there are specific software that you will need to use and you will need to invest some time to learn how to use them. Moreover, have a computer that can run these applications smoothly without crashing midway.
12. Software:
When it comes to software for astrophotography, there are pre-processing and post-processing software. Pre-processing software help to get the image ready by registering, aligning, and stacking, whereas post-processing software helps with bringing out the details from the pre-processed image.
Here are some of the best pre-processing software out there:
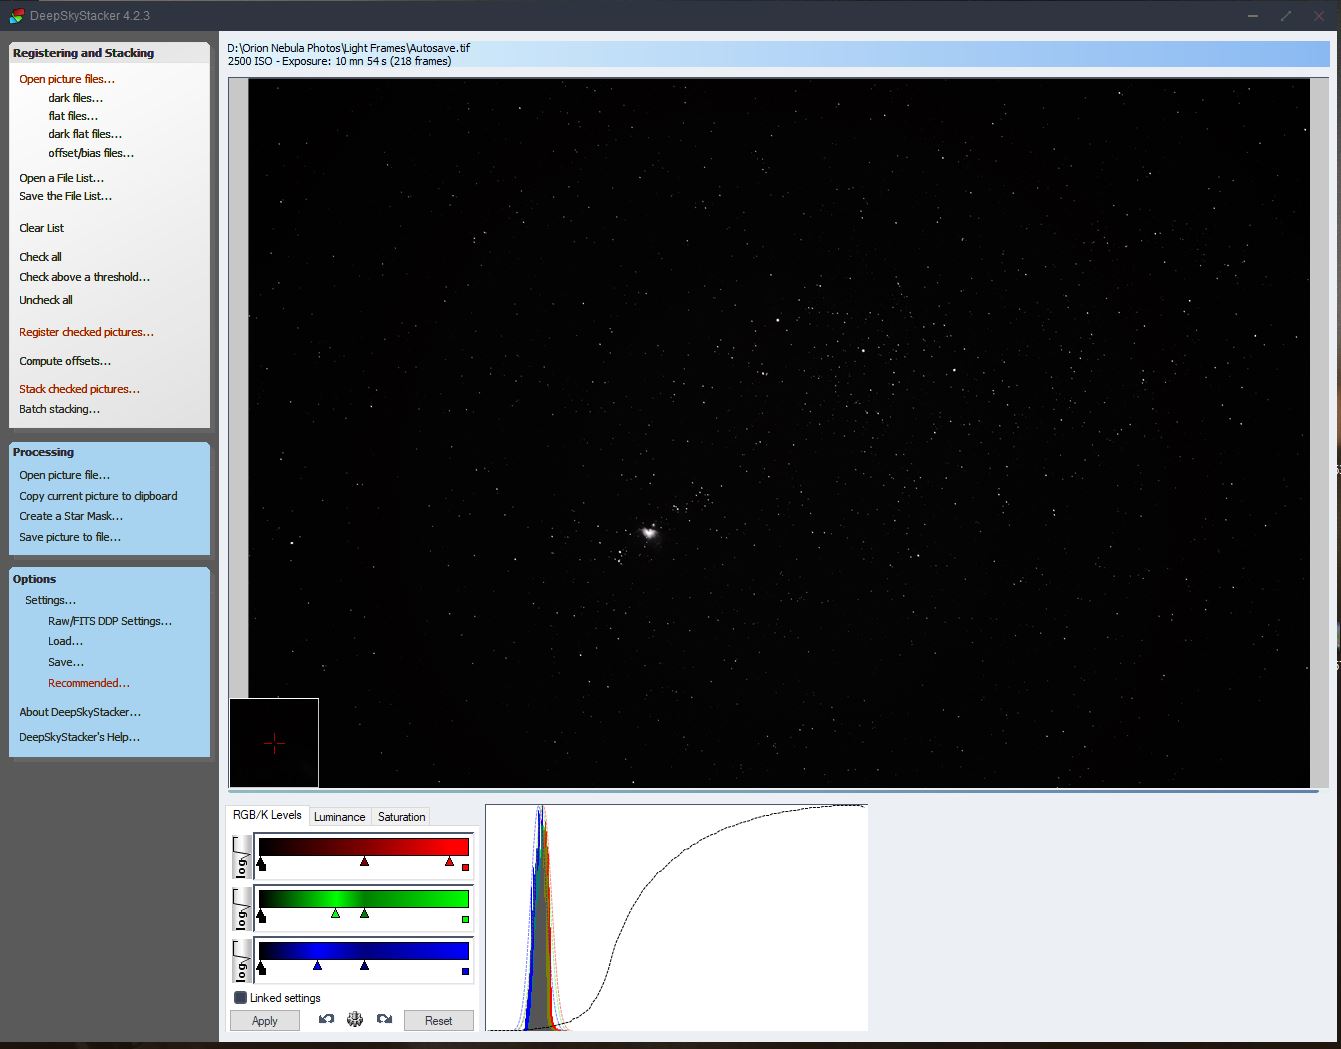
1. Deep Sky Stacker (DSS)
Deep Sky Stacker (DSS) is a brilliant processing software that helps with registering, calibrating, and integrating deep sky images. If you are someone that photographs deep sky objects and has a few hundred/thousand images that need stacking, then DSS is the best one to go for and it is free for Windows. There are various other paid apps for Mac, that you can use as well if you are using a Mac OS.
2. Sequator
Sequator is free software for stacking deep sky and star images. The program is capable of tracking stars across multiple images and then aligning them before stacking, making it work more like the DSS. If you do not have an equatorial mount and are shooting under light polluted conditions, Sequator can help you reduce light pollution during the process.
Besides the above, unlike DSS, Sequator can be used for images that have a foreground because of its foreground detection and stacking capability. It also supports star trails mode and batch processing for time-lapse. This program currently supports only Windows and is a great app for stacking star images that have a foreground.
Note: There are options to run Windows apps on a Mac if it is something that you are interested in. You should look for information relating to this on the software developer’s site to see if they support that option.
3. Starry Landscape Stacker
Starry Landscape Stacker is an app similar to Sequator where the program detects the foreground and adjusts the sky to align with the stars. So if you are stacking images that have a foreground these programs are the ones to go for. It also comes built-in with noise reduction features. This app is paid and is available for Mac on the Mac App Store.
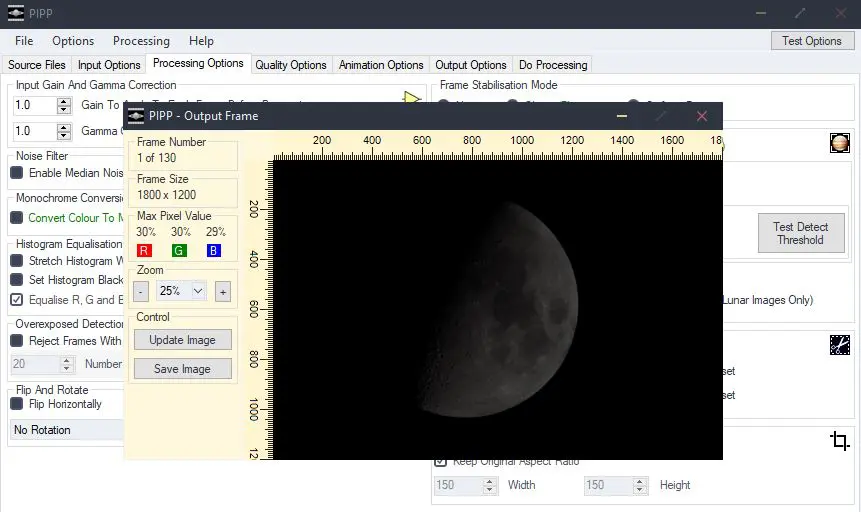
4. PIPP
Planetary Image Pre-Processor (PIPP) is a Windows application that is designed to pre-process images of the Sun, Moon, and other planetary objects, before stacking them. The app crops and centers the subject in each image and also chooses the best of the bunch before stacking. So if you are into photographing the planets, moon, and sun for stacking, then this is a must-have software.
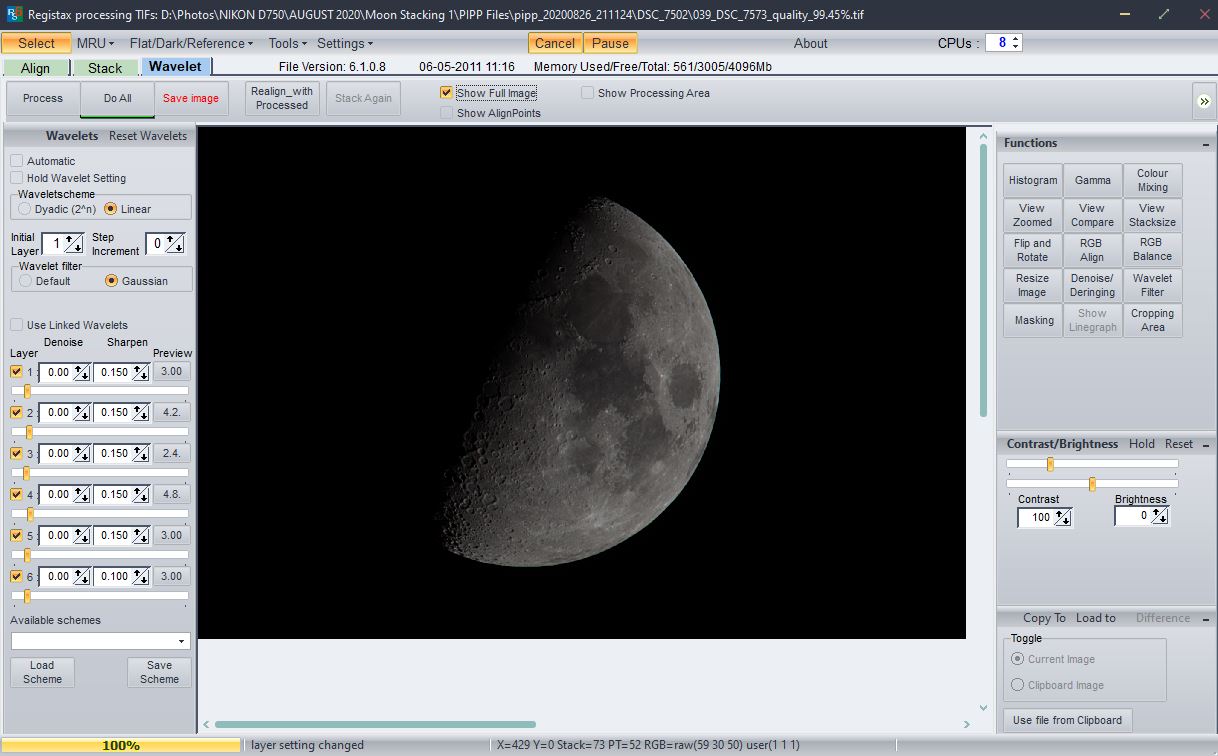
5. Registax
Registax is one of the most powerful software out there that can be used to stack images of the sun, moon, and planets. Its wavelet adjustment feature helps to bring out surface details from stacked images. This is an app that works best for anyone photographing the planets, moon, and the sun.
Here are some post-processing programs that can be helpful once you have done the pre-processing part:
1. Adobe Lightroom
Adobe Lightroom is mostly used when you are post-processing single-exposure shots. It allows you to make basic adjustments, helps with color grading, and then makes local adjustments to bring out details from specific areas in a raw file. Moreover, the graduated filter tool can help with boosting details in the sky regions. There are many other apps like Lightroom that have similar features that can be used for post-processing night sky images.
2. Adobe Photoshop
Adobe Photoshop is another great program that can help with pulling out details from stacked images. The Levels and Curve tool are excellent for this purpose and it also comes with great features that can help you reduce the effect of light pollution in deep sky images.
Once you stack the images using software like sequator, DSS, or other, during pre-processing, you will need to bring your images into a post processing software like Photoshop or similar to bring out the details of the object you have photographed and stacked.
3. Noise Reduction Software
In order to reduce noise in astrophotos, you can reduce noise when post processing your images in Lightroom, Photoshop, or other similar applications. Sometimes, you may want to use a specific noise reduction software to get the best results. So for single images like a single shot of the Milky Way, you can make use of noise reduction software like Topaz DeNoise AI which is powered by AI technology and delivers stunning noise reduction features.
If you are looking to reduce noise when stacking deep sky images, they can be done when post-processing in applications like Adobe Photoshop and similar. Some pre-processing software also has noise reduction features built into them and it is taken care of while pre-processing. There are specific plugins for Photoshop like AstroFlat Pro by Pro Digital Software that have many features that help with creating neat deep sky Astro images.
4. StarStaX
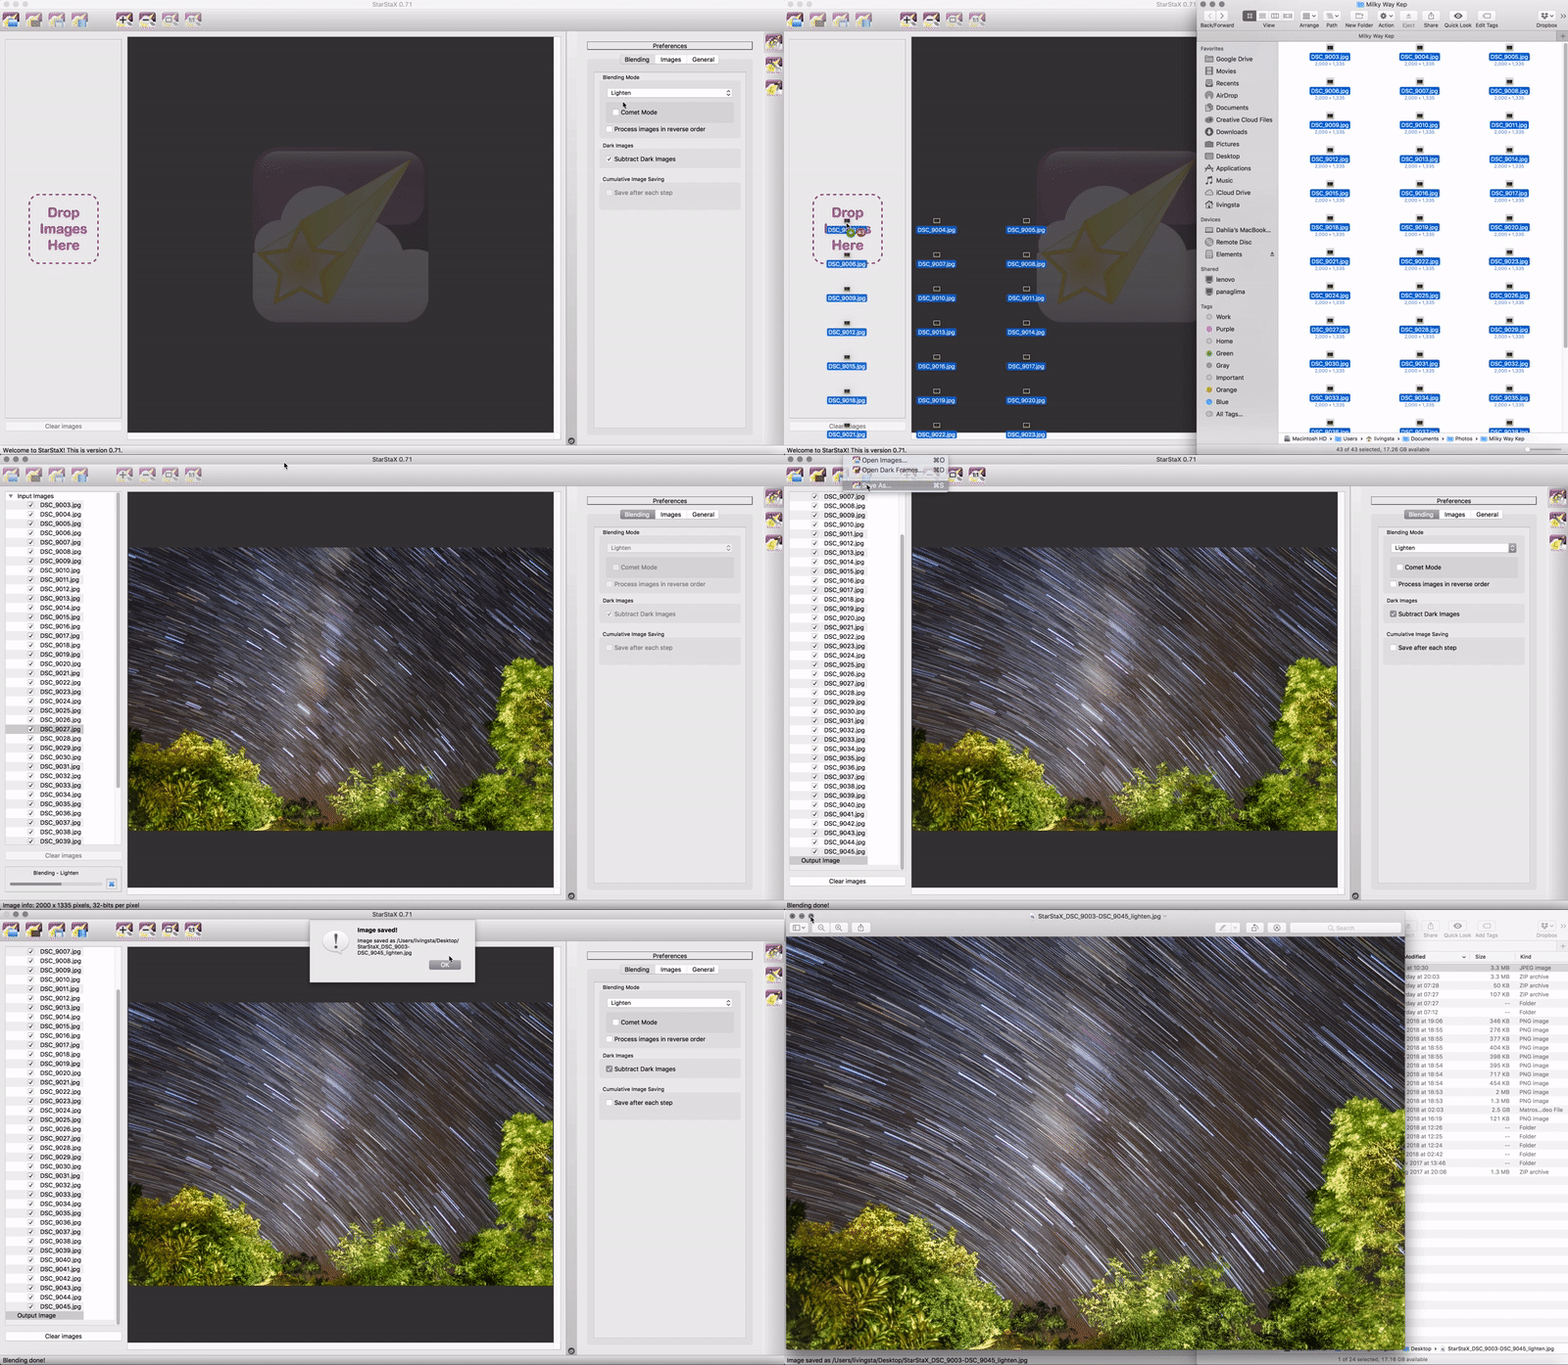
StarStaX is a simple and fast image stacking and blending software that helps with creating star trails and also allows using different blending modes. This is one of the best programs for anyone who loves to shoot star trails.
There is a comet mode that can be used to make the trails look like meteor trails and a gap filling mode that can be used to fill in gaps in star trails. This program is available for both Mac and Windows and there are some other creative night sky photos that you can create like rotating star trails, and light painting at night, with the help of this program.
13. A Quick Run Through Of The Settings And Setup For Astrophotography:
Now that you have the gear and software required for astrophotography, here are some quick settings and setup for astrophotography, and this can be subjective. It varies based on one’s visual appeal and also on the natural shooting conditions. So here are some quick settings for a start, but you will need to modify and work on these based on the shooting conditions ad gear you are using.
- Put the camera on manual mode and set it to shoot raw.
- Set the white balance to daylight for night sky photography, but if you are unsure or do not like that colour, it is always advisable to shoot on auto white balance and then make changes when post processing. This way you can bring the desired colours to the sky when post processing, based on your pre-visualisation.
- Mount the camera-lens setup on the tripod and turn off image stabilisation on both the camera and the lens if they have those features.
- Now for shooting star trails, stars, milky way or other deep sky objects, you will need to gather a lot of light. So it is good to set the aperture at the widest possible, but, if you are using lenses with aperture values like f/1.4 or f/1.8, f/2, it is better to narrow the aperture by a stop or two for sharp images as some lenses introduce artefacts when used wide open which can look awkward around the bright edges of stars and other sky objects. Moreover, stopping down the aperture in general will give you sharper images and sharp stars.
- Set the iso to between 500 and 1600 or 3200 depending on your camera’s performance.
- Set the shutter speed based on the 500 rule or NPF rule taking into account the crop factor of the sensor. This will help you to avoid star trails.
- Focus manually on a distant star by zooming in on live view. Do not use autofocus as the camera will struggle to get the focus perfectly sharp on the tiny stars. Take test shots to check for sharpness and make adjustments till you get point sharp stars.
- If you are including a foreground in the scene, you can either focus one third into the scene just like how you would focus for landscapes. Or, you can focus stack images if you think that there are foreground elements that are too close to the lens and you want to include them in the frame.
- Some photographers shoot the foreground during the blue hour and then shoot the sky at night. They then combine the images when post processing. You don’t necessarily have to do this. When exposing for the sky, use a flashlight to light paint the foreground. This will help you to capture the details in the foreground. On nights when you have the landscape lit by the moon, you can capture great details without light painting.
14. Astrophotography Subjects For Beginners:
Now that you know what gear to use for astrophotography and also have some idea on how to shoot astrophotography images. You may be wondering what sort of subjects you can shoot with the camera and lens that you have in hand.
Here is a small list of subjects that you can photograph in the night sky, as a beginner in astrophotography:
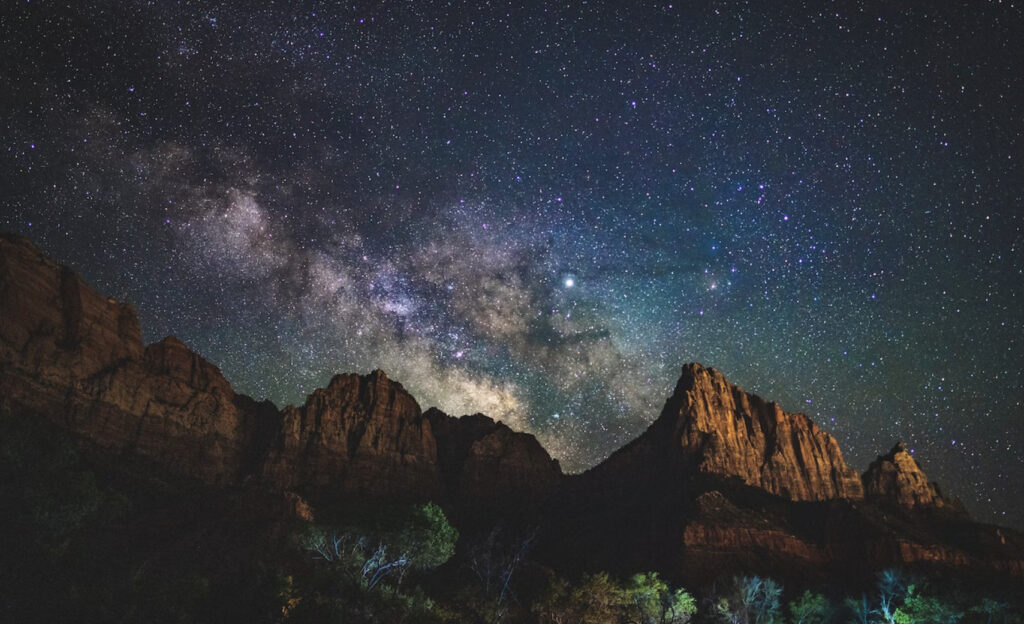
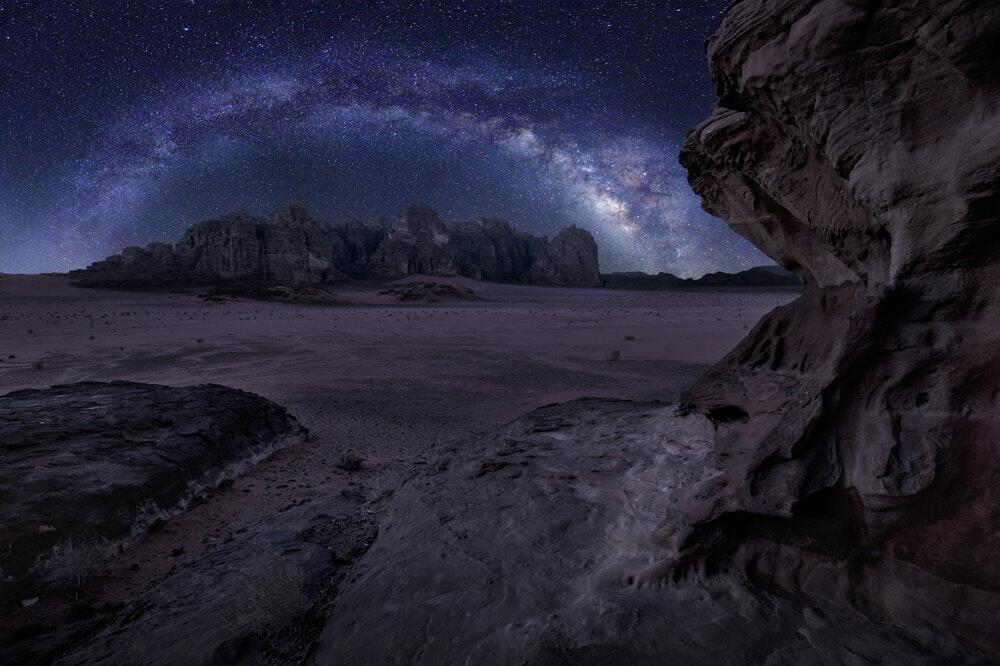
- The Milky Way
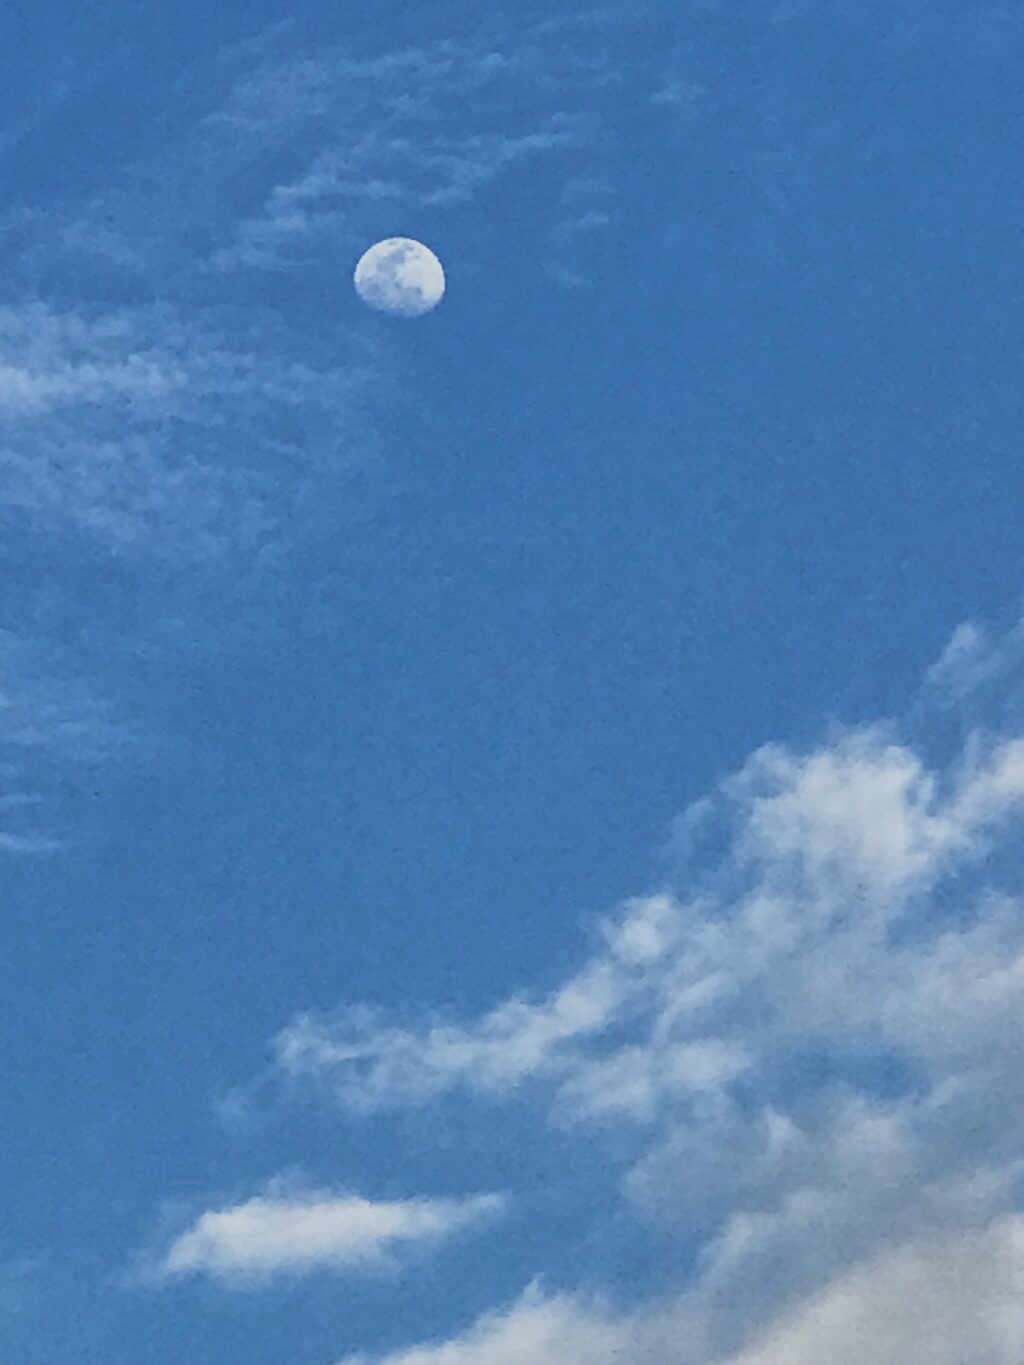
- The Moon
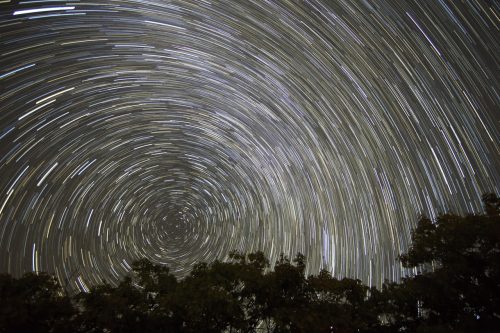
- Star Trails
- The Aurora
- The Constellations
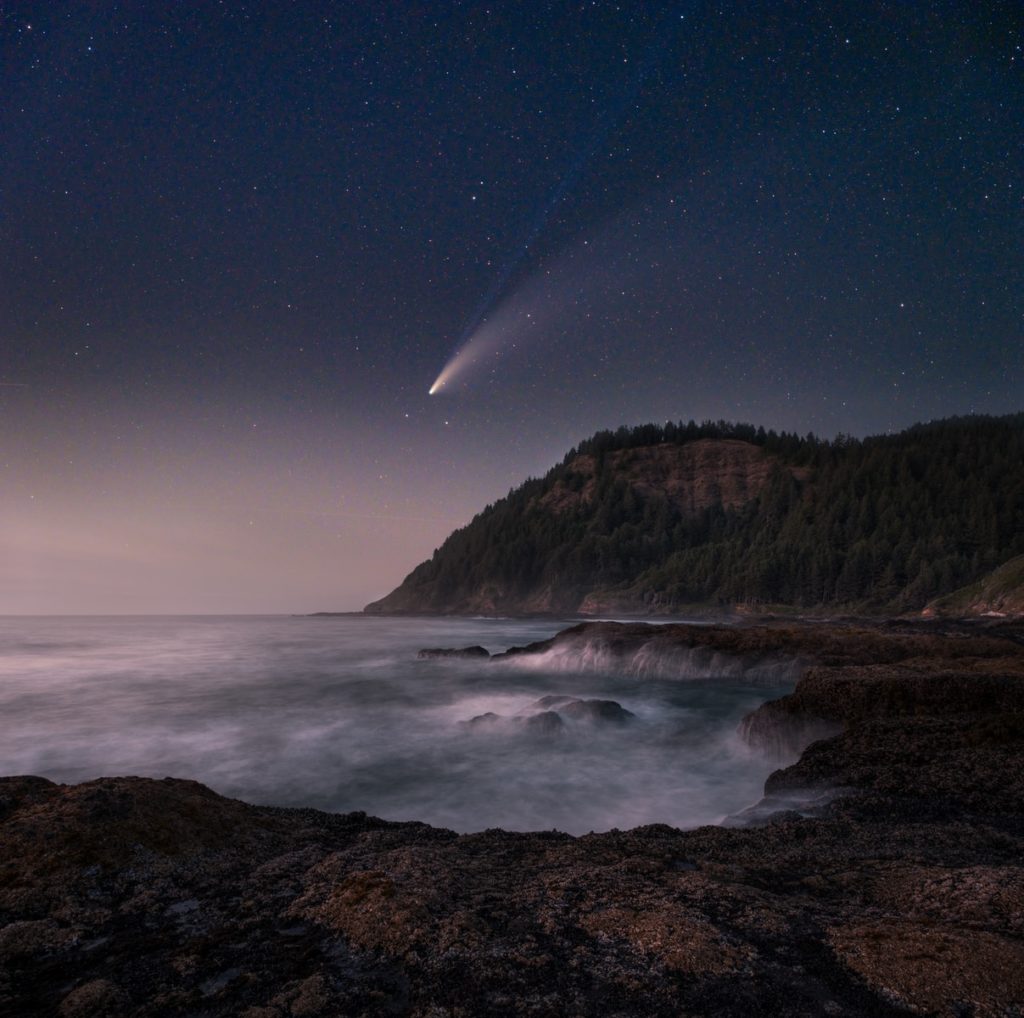
- Comets
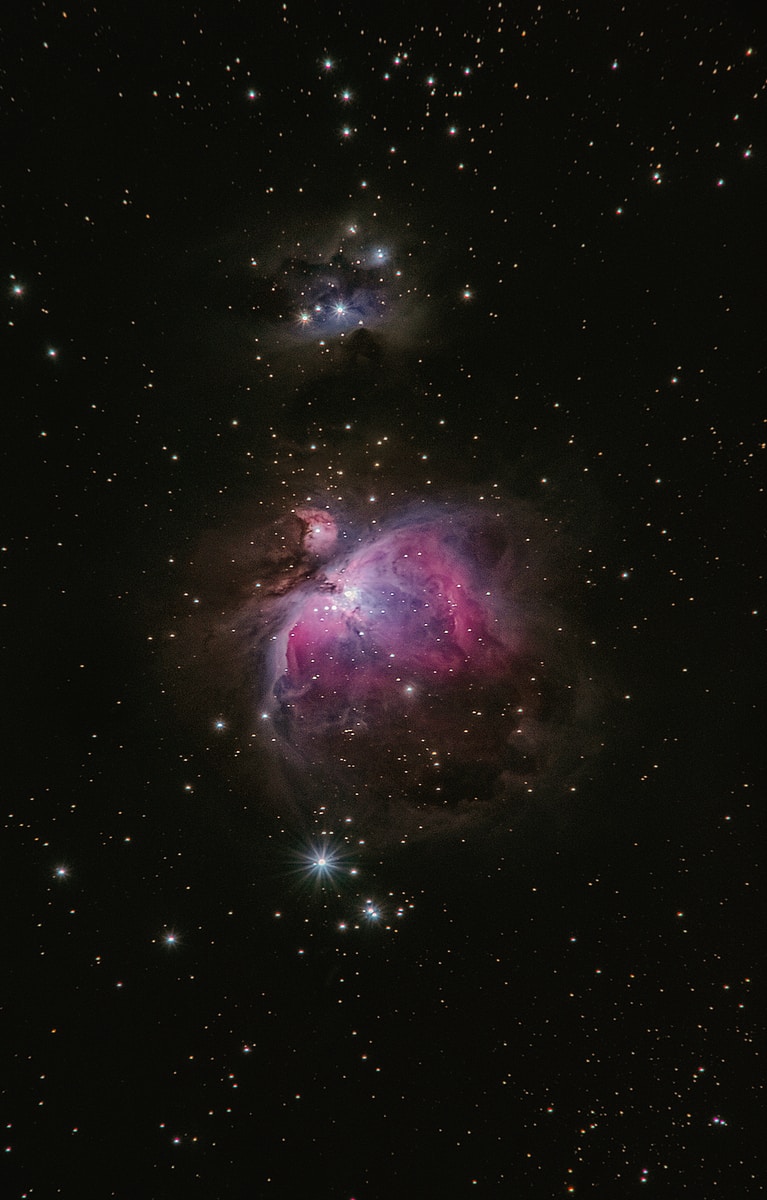
- The Orion Nebula
- The Lagoon Nebula
- The Trifid Nebula
- The Horsehead Nebula
- The California Nebula
- The Pleiades Star Cluster
- The Andromeda Galaxy
- The Triangulum Galaxy
- The Whirlpool Galaxy
- The Pinwheel Galaxy
- Bode’s Galaxy
Now if you want to explore deep sky astrophotography, there are some objects that you can image with the above gear in hand. But upgrading to add in a few more gear will help you collect more data and in that way you will be able to capture deep sky objects that cannot be captured using simple astrophotography equipment like the above.
Here are some optional astrophotography equipment that will help you take your astrophotography to the next level:
15. Optional Astrophotography Gear
1. Astrophotography camera:
There are dedicated astrophotography cameras (a Canon and a Nikon camera) that are great for photographing some emission nebulae that cannot be imaged with other cameras. These are dedicated cameras designed to collect the Red Hydrogen Alpha Emission from nebulae.
- Nikon D810A – This is an astrophotography DSLR from Nikon. Normal DSLR and mirrorless cameras are not capable of recording the longer wavelength lights because of a filter in front of the sensor. These filters are replaced with IR filters in these astrophotography cameras and these filters can transmit more of the red hydrogen alpha wavelengths (four times greater sensitivity) making these dedicated gear for astrophotographers.
- Canon EOS Ra – This is an astrophotography mirrorless camera from Canon that is capable of gathering the long wavelength red lights that will not be captured by other cameras. This camera also comes with an IR filter that is capable of transmitting 4 times more hydrogen alpha light.
Besides the above, Pentax has a couple of cameras that come with in-built features to track the stars.
- Pentax K-1 and Pentax K-1 Mark II – Pentax has their own range of cameras that come with the Astrotracer system, which can be thought of as an in-camera star tracker. This is especially useful when making landscape astro shots. When shooting long exposure images, it helps with eliminating star trails. The camera uses the built-in GPS and sensor stabilisation features to compensate for earth’s rotation.
Besides the above there are dedicated astrophotography cameras like a CCD camera or a CMOS camera that can be used with telescopes. We will not be discussing them here as we want to keep this article limited to DSLR and mirrorless cameras along with lenses.
2. Telephoto Lenses:
If you are planning on making closeup shots of deep sky objects, then we suggest you have a telephoto lens in your bag. The ranges that we would recommend are from 85 mm to 200 or 300mm. Having a 70-200mm f/2.8 lens will cover this range, but if you have longer lenses like zoom lenses, you can use them for deep sky astrophotography. Most manufacturers like the Nikon, Canon and Sony have this range.
Remember, the longer the focal length, the shorter the exposure time to avoid trails and hence you will have to use higher iso values. The best suggestion to avoid using very high iso values will be to use a tracking mount to get longer exposures with longer focal lengths.
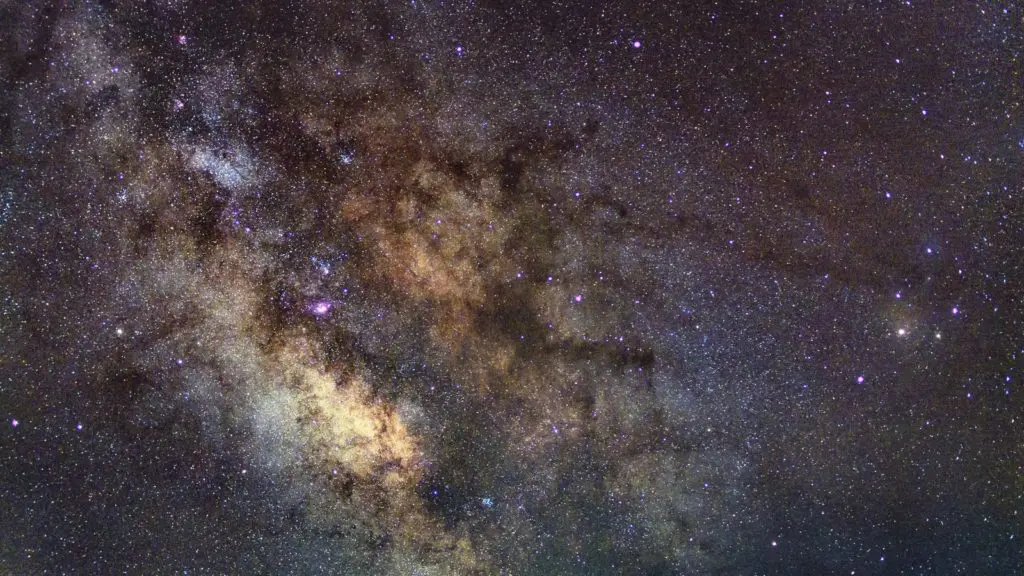
Using longer lenses or zoom lenses will help you to capture details of nebulae, galaxies, globular clusters, etc. Even if you are shooting the Milky Way, you will be able to get close up photos of other objects located in that direction like the Trifid and Lagoon nebulae, the Rho Ophiuchi cloud complex, etc. with the help of a telephoto lens.
3. Equatorial Mount:
An equatorial mount or tracking mount is one of the most sought for accessories when a photographer intends to take up astrophotography seriously. Although astrophotography without a tracking mount is quite possible, these equatorial mounts help you to keep your camera fixed on the object you are imaging. The mount is a star tracker and it tracks the desired deep sky object when you are imaging thereby compensating for the rotation of the earth.
With the help of a tracking mount, you can collect data for a few minutes to hours depending on the object that you are photographing. These mounts allow you to work flexibly using lower iso values and desired shutter speeds, not worrying about the lens’ focal length and trailing issues. The resulting images are of great quality as you will be gathering light from the object for a very long time.
There are so many great brands that do equatorial mounts like the Sky Watcher, iOptron, Celestron, Orion, etc. and most of them come with a tripod and a database of thousands of objects.
4. Filters:
Not many photographers make use of filters for astrophotography, but serious astrophotographers have a bunch of filters in hand that will allow them to photograph certain wavelengths of light emitted by deep sky objects and they also have filters that help to reduce the effect of pollution from light. Besides these, there are also other masks/filters that help with precise focusing of stars to get pin point stars in the resulting astro images.
1. Light Pollution Filters:
Light pollution filters like the one from K&F Concept can be great accessories if you live in light polluted areas and want to capture astro photographs from your backyard. These filters filter out the yellow and orange glow that is caused by pollution from city lights that you often come across in night sky images shot from or near urban areas.
These filters may cause a shift in colour, so care needs to be taken when using them. They can be quite expensive as well. Choose the right size that will fit your lens.
When doing deep sky astrophotography or when stacking images, the pre and post processing steps, for astrophotography images reduce or even completely eliminate colour cast due to light pollution. So, in most cases, you will not need this filter unless you are using it for single exposures.
2. Bahtinov Mask:
These are optional filters that some astrophotographers use to get sharp focus on the stars. The filters show the stars as split streaks when the stars are out of focus and focusing the lens sharply on the stars means the split streaks will align ensuring the focus is tack sharp on the stars. These masks need to be attached in front of the lens when focusing and removed before photographing the night sky.
A Bahtinov mask is mostly used with a telescope, but if you are a fuzzy astrophotographer and think you need one for precise focusing, these are cheap accessories and you should get the right size for your lens. Here is one from Astromania and you will need to choose the right sized mask for your lens. Remember, manually focusing on a bright star is not a difficult task without a Bahtinov mask.
Besides the above there are narrow band filters that help with capturing data that cannot be captured with the above setups. We will not go into those details as you may want to explore them when you are in advanced level astrophotography.
16. Astrophotography Using A Smartphone:
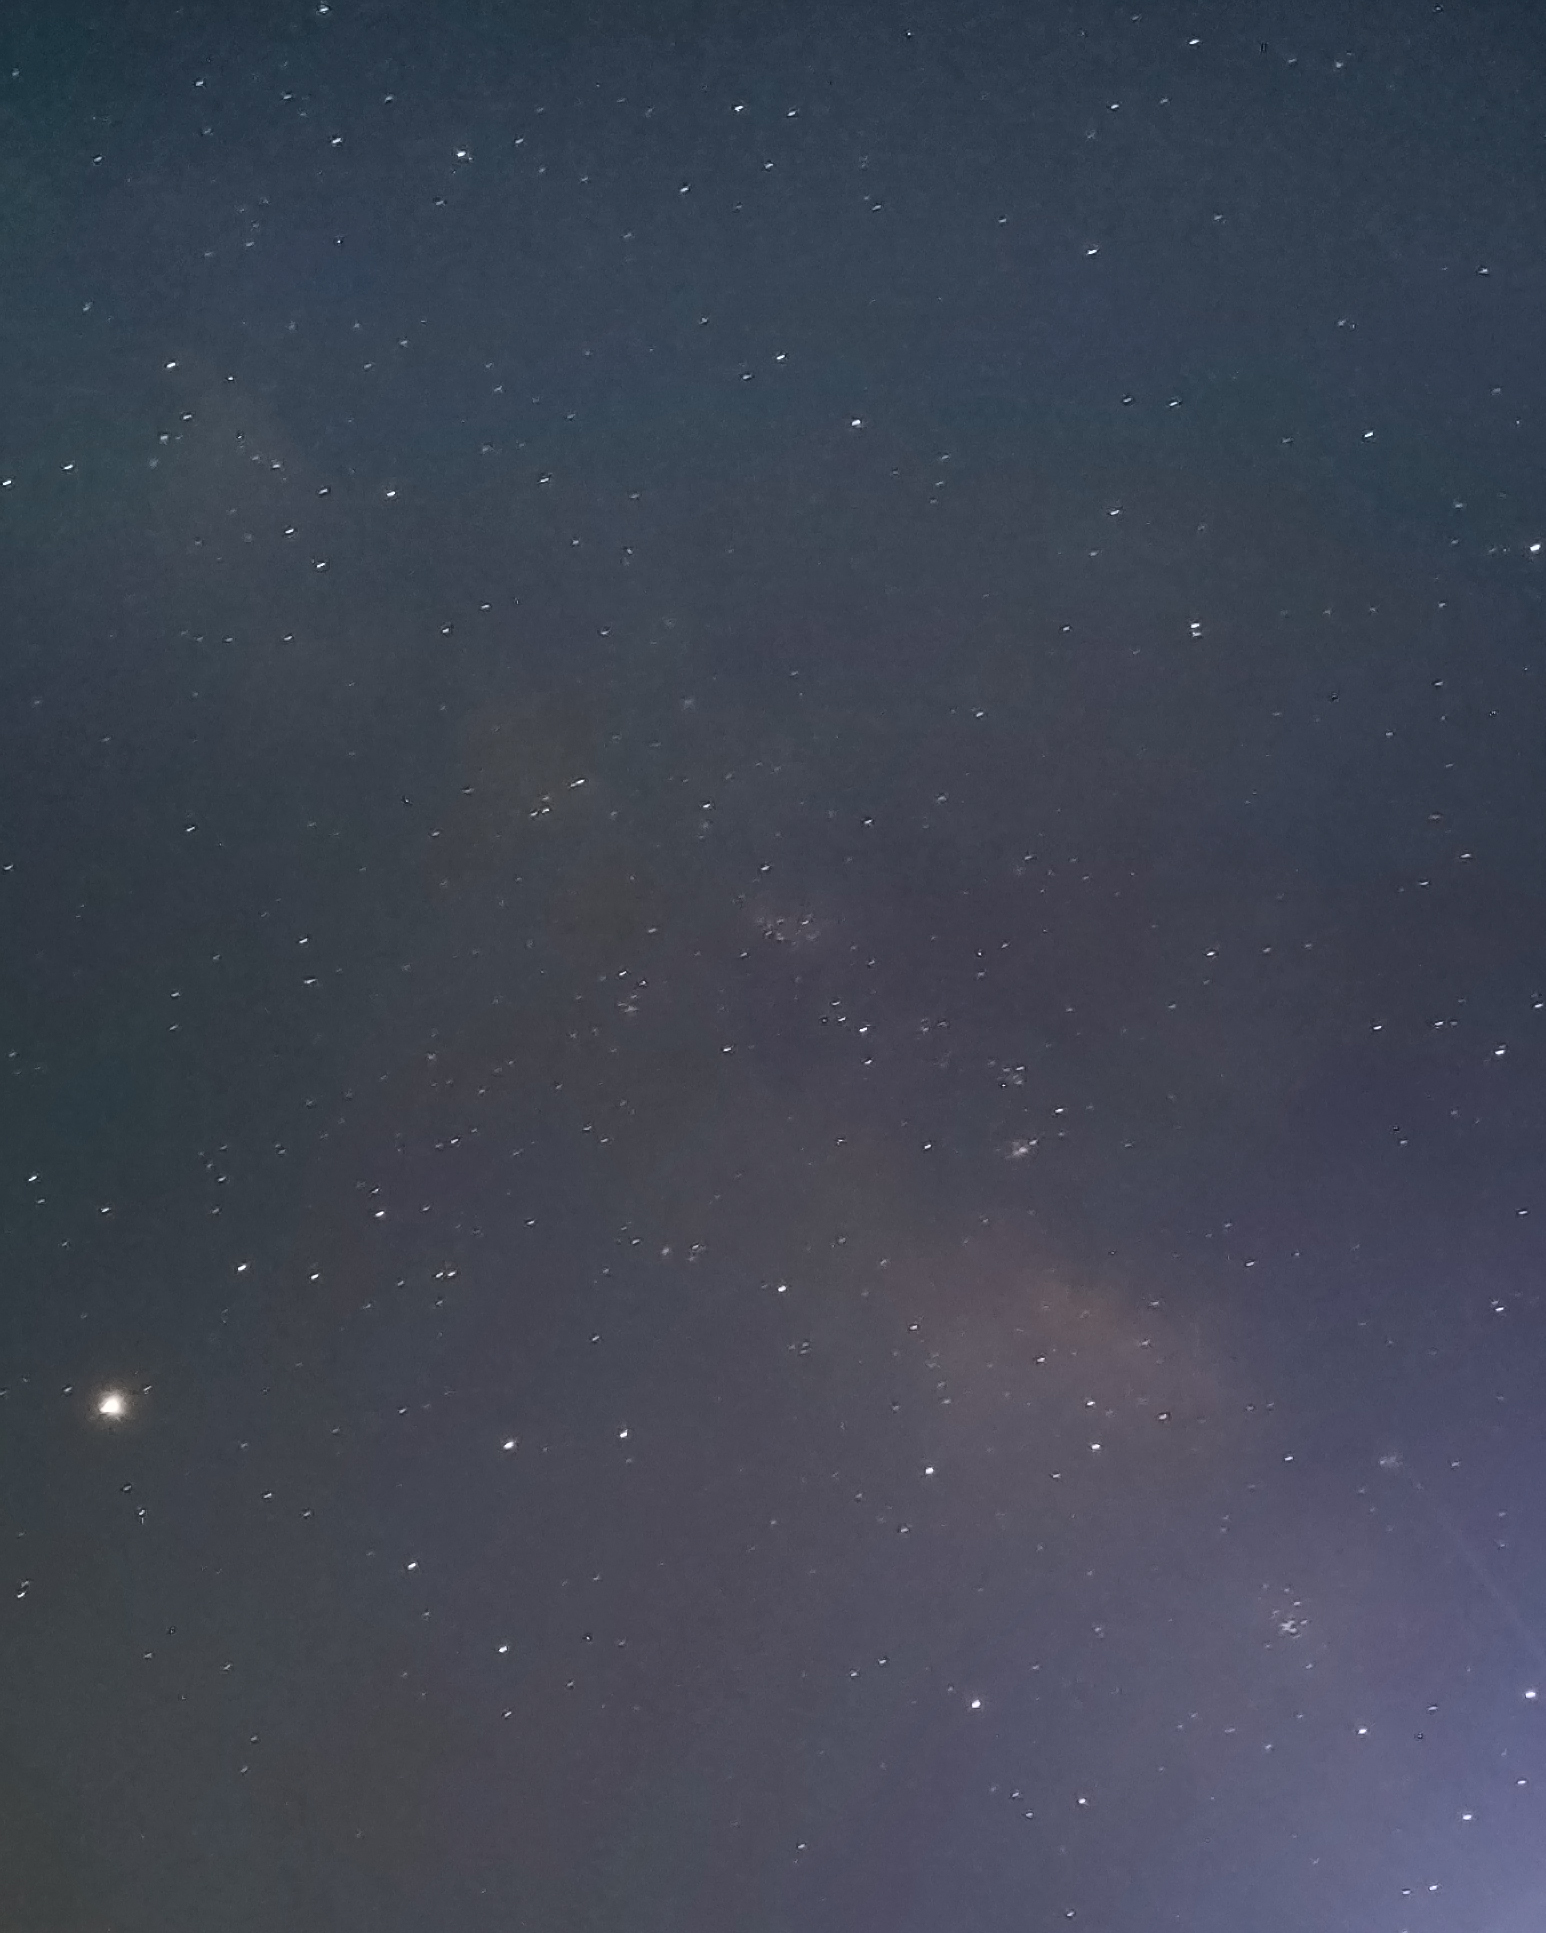
In recent years, astrophotography has become possible with a smartphone. The most commonly shot subjects are the constellation of stars and the Milky Way. When it comes to smartphones, some devices are better than the others in terms of low light and high iso performance, better sensor and manual control of exposure.
Some smartphones have native camera apps that help with manual control of exposure. If that is not the case, there are many long exposure apps like NightCap Pro, Pro Cam, Camera +, Slow Shutter, that can be used to accomplish this.
Make sure that you support your phone on a tripod, use a manual exposure control app and a remote shutter or timer delay when photographing the night sky using a smartphone. Some of the subjects you can photograph are the Orion constellation, Milky Way, the big and small dippers, and other constellations like the Cygnus, Leo, Taurus, etc.
17. Other Tips For Astrophotography:
Besides the gear discussions above, it is important that you keep yourself comfortable and your gear safe when photographing the night sky. Nights can be sometimes very cold depending on where you live and the shooting locations and most of the time it can be very windy making the cold weather even worse. Taking these factors into account is important for you, to have a relaxed experience when out at night, photographing the sky.
Here are some other things that you need to take care of when photographing the night sky:
- Wear comfortable clothes depending on the weather. If it is a hot summer night, wear light clothes that will keep you cool. For cold nights, dress warm and keep a spare jacket or two in case it is required.
- If you will be hiking to locations, wear a good pair of boots that can keep your feet comfortable during the hike.
- If you are traveling to remote locations with less or no network coverage, have a GPS system in hand to find your way.
- Have hand warmers and other warm clothing that you will require when staying out in the cold for a few hours.
- You can also take along a few warmers for the lens if you think there would be chances of lens fogging up. Do not blow on the lens for any reason as it can make the fog worse.
- Take some warm drinks, water and snacks to get you through the night.
- It is good to have insect repellants as remote areas are prone to have insects that can make you feel uncomfortable when shooting out in the night.
- If you will be shooting for a few hours, it is good to carry a blanket and a foldable chair for you to relax when the camera is doing the job.
We hope that these tips and resources will help you to capture some stunning shots of the night sky. If you have any tips, please share with us in the comments section below.

