We are all used to using the default focus and shutter release button during the early days in our photography journey. While this may seem the easiest way to focus and photograph, there is another way in which this process can be performed but by using two buttons instead of one and most photographers are not aware or shy away from using this feature. This is called back button focus and this article provides a tutorial on back button focus.
What Is Back Button Focus?
Back button focus is a feature that comes with almost all of the latest cameras and in most advanced level cameras. As the name suggests, you set or assign a button at the back of your camera to focus on the scene you wish to photograph (to control focus) and use the shutter button to only meter the scene and release the shutter. This way, instead of one button for focus, metering and shutter release, you use two buttons – one for focus and another one for metering and shutter release.
What happens here is, when you set up your camera for back button focusing, the auto focus feature assigned to the shutter button is transferred to the back button that you have chosen this function to be assigned to.

How To Use Back Button Focus?
- Press the back button (the button that you have assigned this feature to) using your thumb to focus on your subject.
- Recompose if required.
- Press the shutter to take the image.
- Take as many shots as required as the focus is now locked on the subject.
- You need to refocus only if your subject moves, the camera moves or you change the focal length.
- If your subject is moving, keep the back button pressed to track focus and keep shooting.
Benefits Of Back Button Focus:
You may be wondering, why get into the trouble of setting up back button focusing and if there would be any benefits in activating this feature. There are quite a few advantages to using back button focus although it could take some time for you to practise and get used to this feature.
So, Why Use Back Button Focus?
- Back button focus separates the focusing part from the shutter release part allowing you to focus more on the scene and provides greater flexibility with composition
- Back button focus lets you shoot faster as you can lock focus on a subject with one press of the back button. The focus is locked at that point and does not change till you press the back button to focus again. The advantage here is, with the default focus feature, with each press of the shutter release button, the camera refocuses, but with back button focus, once you lock focus with the back button, you can keep clicking using the shutter button and this is great for subjects that are not moving.
- Since the focus is locked on your subject, even if something enters the frame before you press the button, the focus does not change
- Similar to how easy it is to shoot static subjects, it is also easy to shoot moving subjects using back button focus. You can continuously shoot with the back button pressed, and the camera will focus track your moving subject. This takes away the hassle of switching to “tracking focus” when your subject is moving where you may miss the shot during that process.
- Switching between single and continuous auto focus is very simple and can be done by continually pressing the back button provided your camera is set for continuous autofocus. Keeping the back button pressed continuously takes the camera from single autofocus to continuous auto focus mode. Once you release the button, the focus is locked on the subject.
- Focus recompose is a breeze with back button focus because you will not lose focus once you recompose the shot (as long as the subject and the photographer do not move). With default focus feature, you will need to focus-recompose for each shot, but with back button focus, just focus and recompose, then take as many shots as you need.
- Manual focus becomes quicker by assigning the focusing feature to the back button. Just turn the focus ring manually to fine tune autofocus if necessary without having to switch the lens and/or camera to manual focus mode.

Situations Where Back Button Focusing Will Be Beneficial:
Not all scenarios may benefit from back button focusing feature, but it can be perfect for certain shooting scenarios. Here are some of the situations where you will find back button focusing to be a great and beneficial feature.
1. Shooting Weddings: In a wedding shoot you may come across a variety of scenarios where your subjects (especially the bride and the groom) may be static for quite some time and then situations when they or the guests may be moving. When they are static, just focus once using the back button and keep shooting. At times when you want to capture candids and situations where the couple and other guests are moving, you can continuously press the back button and track your subjects maintaining focus on them.
Moreover with the default focusing mode, the shutter may not fire if the camera does not correctly lock focus, risking losing important shots. With back button focus, you can just set the focus for some important shots on the area where you want the focus to be and then keep shooting.

2. Portrait Sessions: Portrait photography is a genre that will greatly benefit from back button focusing as the subjects tend to move quite quickly while striking different poses. Using the continuous focus feature along with back button focus will help you track your subjects keeping them in focus even if they move. This would also help with photographing kids or where you want your model to walk and take images while they are moving.

3. Sports Photography: Sports photography is where the subjects are constantly moving and you want to keep your subject in focus and photograph them sharply. In these situations, lock the focus on the area where you think your subjects would be or the action is going to happen and keep clicking. This way, you can be sure that the focus will not shift to another person in the field.
On the other hand, if you are shooting a subject that is constantly moving, then you will need to use continuous tracking to keep your subject in focus while they are moving. For this, keep your back button pressed for tracking.

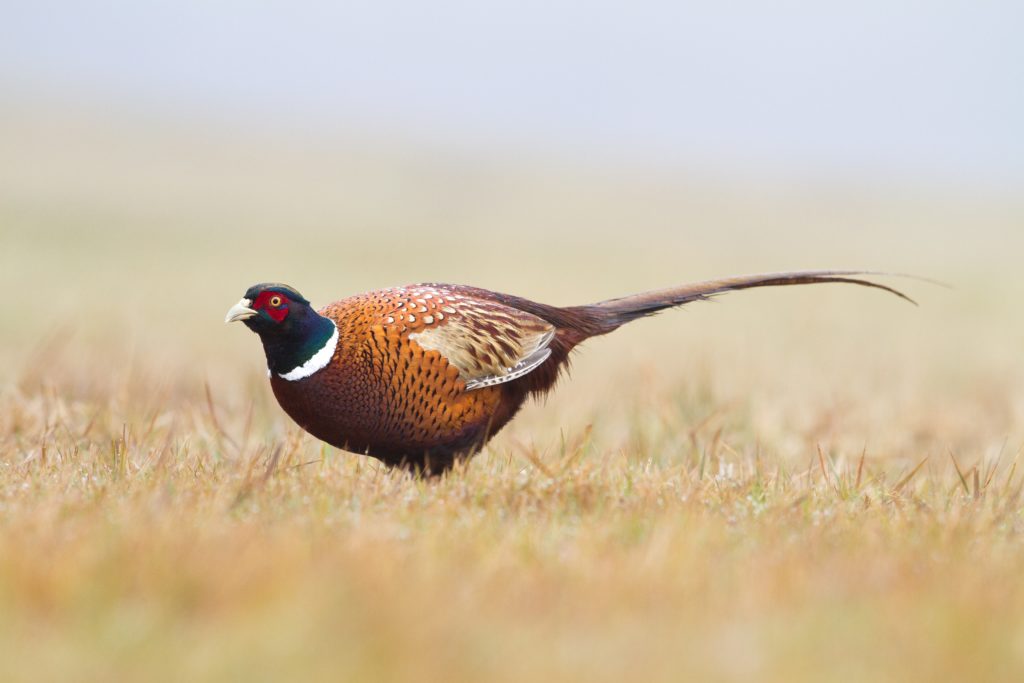
4. Wildlife Photography: When shooting wildlife, most of the time the subjects are moving and you will need to keep track of focus. Focus your subject by pressing the back button and keep it continuously pressed to track focus as your subject moves.
Setting Up Back Button Focus:
Setting up back button focus is quite easy and can be done by pressing a few options in your menu. If you are unsure of how to set this up for your camera, make sure you refer to your camera’s manual. Here is an outline of the general settings for each camera, but this may slightly vary for each camera model and can be found in the user manual of your camera.
Nikon:
- Press the “Menu” button
- Choose “Custom Settings Menu”
- Scroll to “Assign AE-L/AF-L button”
- Select “AF-ON”
- Pressing “Ok” should assign Auto Focus to the “AE-L/AF-L” button


Canon:
- Change the AF mode to AI Servo
- Press the “Menu” button
- Locate the “Custom Controls” or “C.Fn” option
- Remove AF option from your Shutter Release button
- Set “AF-ON” button to “Metering + AF Start” and this will assign autofocus to your “AF-ON” button.
Here is a detailed guide on how to set up back button focusing on a canon camera.


Pentax:
- Press the “Menu” button
- Choose “Button Customisation”
- Assign “AF” button to “Enable AF”
- Set “Shutter Button Half Press” to “Off”
- This should assign Auto Focus to the “AF Button” at the back of your camera.
Fujifilm:
- Press the “Menu” button
- Go into “Set Up” and then “Button / Dial Setting”
- Go to “Shutter AF” and set it to “Off”
- Then go into “Fn/AE-L/AF-L Button Setting”
- Select “AF-L” or “AE-L” button and set it to “AF-On”


Sony:
- Press the “Menu” button
- Choose “Menu” and “Custom Settings”
- Set “AF w/shutter” to “Off”
- Again in “Custom Settings” choose “Custom Key Settings”
- Choose “AEL” button and set it to “AF on”
- You will also have to switch off “Pre-AF” to “Off” as this kind of keeps tracking for focus even when shutter is not pressed
- To toggle between Auto and manual focus, choose “Custom Key Settings” and set “AF/MF” to “AF/MF ctrl Toggle”


Olympus:
- Press the “Menu” button
- In “Custom Menu” in settings “A” choose “AF/MF”
- Scroll to “AEL/AFL”, press and select “S-AF”
- Press right arrow on “S-AF” and select “mode3”
- This will assign “S-AF” to the “AEL/AFL” button and “AEL + Exposure” to the Shutter release button
- The same way, you can set up “C-AF” to activate “C-AF” via back button
- Now under settings “B” choose “Button Function”
- Choose “Fn1” select “AEL/AFL” and click “Ok”
- You can use this process to also assign back button focus to any function button of your choice.


Panasonic:
For the FZ and G Series
- Go to custom settings menu which is the wrench + C
- Select the AF/AE Lock which is by default set to lock focus and exposure – Set this to AF-ON
- Then come down to Shutter AF which is by default set to ON – Set this to OFF
- Now by Pressing the AF/AE Lock Button on the back of your camera, you can auto focus.

For the S series
- Instead of the AF/AE Lock Button, you will need to set this for the AF-ON button
Using your camera is not about using the automatic features it comes with, but using it in a way that you can control how it works for you. Back button focusing is one such technique and just like any other technique will take some time to practice and get used to. Once you get used to it, you will appreciate how powerful and convenient it is.
But again, back button focus may not work well for everyone and if you find that back button focusing is not for you, you can always revert back to the default settings and continue shooting as you did before.
Do you use back button focusing? If yes, what is your experience and what are your comments about this feature. Let us know in the comments section below!
Further Resources:
- 15 Things You Should Know Before Pressing the Shutter Button to Take a Photograph
- 6 Reasons Why Your Images are Out of Focus
- Bite Size Tips: How To Nail Focus Every Time
- Get To Know Your Camera’s Buttons & Dials With Ease
- Get Sharp Images Now – Use Your Camera’s Focusing Tools
- Back Button Focus Explained – What Is It & Why You Need It!
- The Ultimate Guide To Back Button Focus
- Back Button Focus for Photographers: The Essential Guide
- 3 Reasons Why You Should Switch To Back Button Focus
- Back Button Focus Will Change The Way You Use Your Camera
Shareable Images for Pinterest


4 Comments
Back Button focus is Great…
Back button focus is great, but not so much when using a remote shutter release.
Nothing on setting back button for Panasonic..example.S1 & S1R.
I have always used back button on my fuji and Sony cameras.
Hi Ed, the article has been updated with information on setting back button focus for Panasonic cameras too. Thank you for reading 🙂