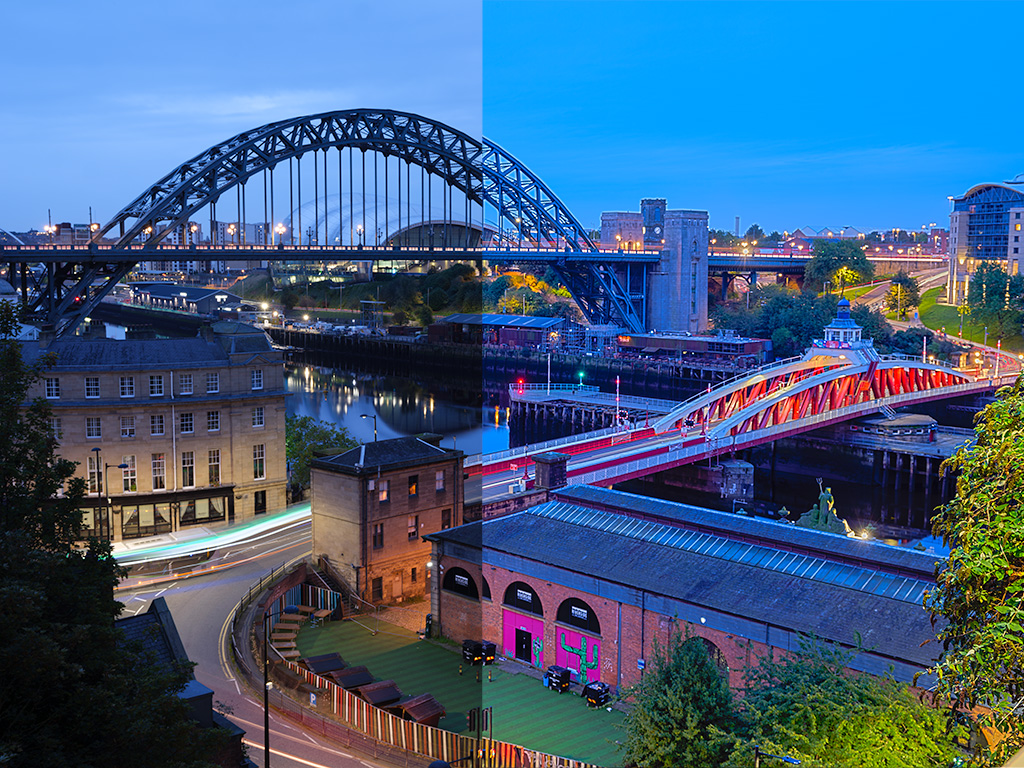
Every photographer knows that after all the photos have been framed, metered, captured and transferred from memory card to computer, there’s still more work to be done.
Post-production is an important part of the image-making process and learning to use your preferred photo editing software effectively is the final step in realizing your photographic vision.
It’s also easy to go overboard with image editing, especially when you’re new to the process. While you’ll almost certainly refine your technique in due time, here are 5 things you should actively try to avoid when editing your photos.

1. Oversharpening/Too Much Detail
I know several photographers who don’t crop in post. I know fewer to don’t sharpen in post.
Sharpening your photos is how you bring all that beautiful detail to life, but if you apply too much sharpening your photos will just end up looking harsh and unrealistic. Then when you add clarity and texture into the mix, things can quickly escalate from bad to worse.
Detail is important but pushed to the extreme it can ruin any photo. You want to add just enough sharpness, clarity and texture to give your image depth and enhance its richness.
If you see halos you’ve gone too far.

2. Oversaturation
Rich, vibrant colors can add interest and character to an image. Getting heavy-handed with the saturation slider, however, will result in a garish image devoid of any charm or beauty.
Yes, color is meant to “pop” but it can pop and still be subtle.
Raw photos do tend to look a bit drab when you first import them into your image editing application; it’s understandable that you would want to boost saturation. To avoid overdoing it, try taking the saturation slider all the way down until there’s no color left in the photo, then gradually increase the slider until an optimal saturation level is achieved.

3. Imbalanced Exposure
You won’t nail exposure every time. That’s nothing to be ashamed of. Photo editing software is amazing in its ability to recover shadow detail and (to a lesser extent) highlight detail.
If you don’t know all that your editing application can do, however, you might simply reach for the exposure slider to fix any too bright or too dark areas. It is important to understand that this is a global adjustment, meaning it applies equally to the whole image.
When you need targeted exposure adjustments, reach for the individual highlights and shadows sliders balance things out.


4. The Horizon Isn’t Straight
Unless it’s part of some (possibly questionable) artistic effect you’re going for, there’s no excuse for a lopsided horizon.
Image editing software makes it incredibly simple to straighten out your horizon — it’s something that can be done in a click or two. So do it.
5. Unnatural Tones/Color Casts
Like colors, tones are a vital part of the image you’re creating, but tones are even more subtle than colors — when applied with some expertise.
The first place to start when dealing with the tones in an image is white balance. This is how you give your shot either a “warm” or “cool” tone. Too much of either will make your image too orange or too blue.
Then there's the tint slider, with which you can imbue your image with a magenta cast by sliding to one extreme, a green cast at the other. Again, you want to avoid extremes.

Final Thoughts
Always bear in mind that post-processing is immensely subjective. Everyone has different stylistic tastes and preferences. But it’s important to learn a few fundamental photo editing concepts so that you can apply them creatively and in a way, that enhances all your work.
Further Reading
- 10 Post-Processing Terms Every Photographer Should Know
- 5 Ways To Improve Your Post Processing With Masking
- 7 Signs That You Have Over-Processed Your Photographs


