Click! Too dull. Delete! Click! Too blurry. Delete! Click! Hmm. Nice enough. Wait! The walls are slanting. Ugh! Delete!
If you’re always obsessing about getting that perfect interior photograph, then you understand what we’re talking about. You cringe at the thought of tight spaces, cluttered rooms, and the differences in intensities that a professional photographer has to navigate to obtain that outstanding photo.
How Do I Get The Best Interior Photos?
Before you try to understand how the pro effortlessly goes about getting that breathtaking shot, first ensure that you have a basic understanding of what the right equipment is. Second, you need to master how to set the stage for your shoot.
When it comes to photography, there’s no one size fits all, so feel free to try things out and see what works for you. For now, we’ll delve into an interior photography guide that helps you tell your story.

Ideal Equipment For Shooting Interiors
If you’re an interior photographer, then you probably have most of these tools. But just like a pilot going through his pre-flight checklist, it doesn’t hurt to ensure you have the essentials before clicking away.
Camera
This piece of equipment will probably take up a sizable chunk of your overall budget. Though you don’t need the best or most expensive camera, aim for a decent DSLR full-frame model.
Check to ensure that it allows you to manually set your shutter speed and aperture. Interior photography often requires you to take photos in poorly lit areas. Having these camera settings ensures that your DSLR camera will perform optimally in these scenarios.
Moreover, most cameras have a grid guide on the viewfinder, which helps you align your camera angle with the vertical lines of your walls and furniture. Alternatively, you could replace this functionality with an in-camera tilt sensor. Remember that these recommendations aren’t cast in stone. For example, if your camera doesn’t have an in-built sensor, feel free to use a tripod with bubble levels instead.
Wide Angle Lens
As an interior photographer, you may be forced to work within small spaces and capture as much detail as possible in a single shot. This makes the use of wide-angle lenses an essential tool for real estate photography, for example. Using it allows you to capture a wider area when photographing interiors and gives the photo an immersive effect.
A quality photograph can take in every aspect of the interior space and make the viewer feel like he’s inside the room.
When choosing your lens, consider one that covers a range of focal lengths. A 16-35mm lens would be a great option for use on a full-frame camera. While shooting, keep within the 22-24mm focal length to get the most natural-looking interior shoots.
What if you’re using a crop camera? Stay within the 13-14 mm range. Don’t limit yourself to one type of lens. Aim to buy more for different uses over time. Beware of shooting at wider angles, as it creates line distortions. If these distortions cannot be avoided, you can use editing software to clear them out post-production.
Tripod
Why do you need to spend more money on a three-legged stand when you’ve got the most sturdy hands in the business? Here’s why:
- Clear shots: Interior photography can be synonymous with low light intensity. These conditions require a longer exposure time for the camera to soak in enough light. A sturdy tripod holds the camera in position for longer, allowing you to take all the stunning photos you need.
- Helps you to shoot straight: Interior spaces are filled with straight vertical and horizontal lines from furniture, countertops, walls, and doors. To ensure that these lines remain straight in the photo, the camera should be positioned from the hip or chest height. A tripod gives you this functionality, enabling you to avoid the hassle of trying to maintain your balance while taking photos.
Consider getting yourself a strong, reliable tripod with bubble levels that’ll last you a lifetime, and with proper use, you’ll be well on your way to taking better photos.
Editing Software
As you prepare to put your killer skills to good use in your interior photography, remember that the work continues off-camera. Not all photos are perfect, and even very good shots can be made better through post-processing. That’s where photo editing software comes in.
Editing software such as Adobe Lightroom can transform your RAW files into a true piece of art. With these tools, you can change the exposure, temperature, and even crop and rotate your image to your liking. A correct application of these tools can enhance the quality of your interior photographs by cleaning out blemishes and correcting errors for better photos.
Other examples of editing software include Photoshop, Aurora, and Capture One. While the Adobe suite is a dominant brand in the software editing space, it wouldn’t hurt to try out other options. Each comes with its costs and range of tools, so choose wisely.
Set The Stage
Imagine you’re a professional photographer out on a photo shoot with a model slated to appear on the cover page of Vogue.
Aside from having the appropriate gear, you’d have to ensure that the subject of your shoot looks gorgeous. No expense would be spared to get the right make-up, killer outfit, and ideal background (this is Vogue, remember!). In interior photography, your space is your model. While you don’t need to be a professional make-up artist (phew!), you can take measures to enhance your space for a better outcome.
Here are the key areas of interest to consider:
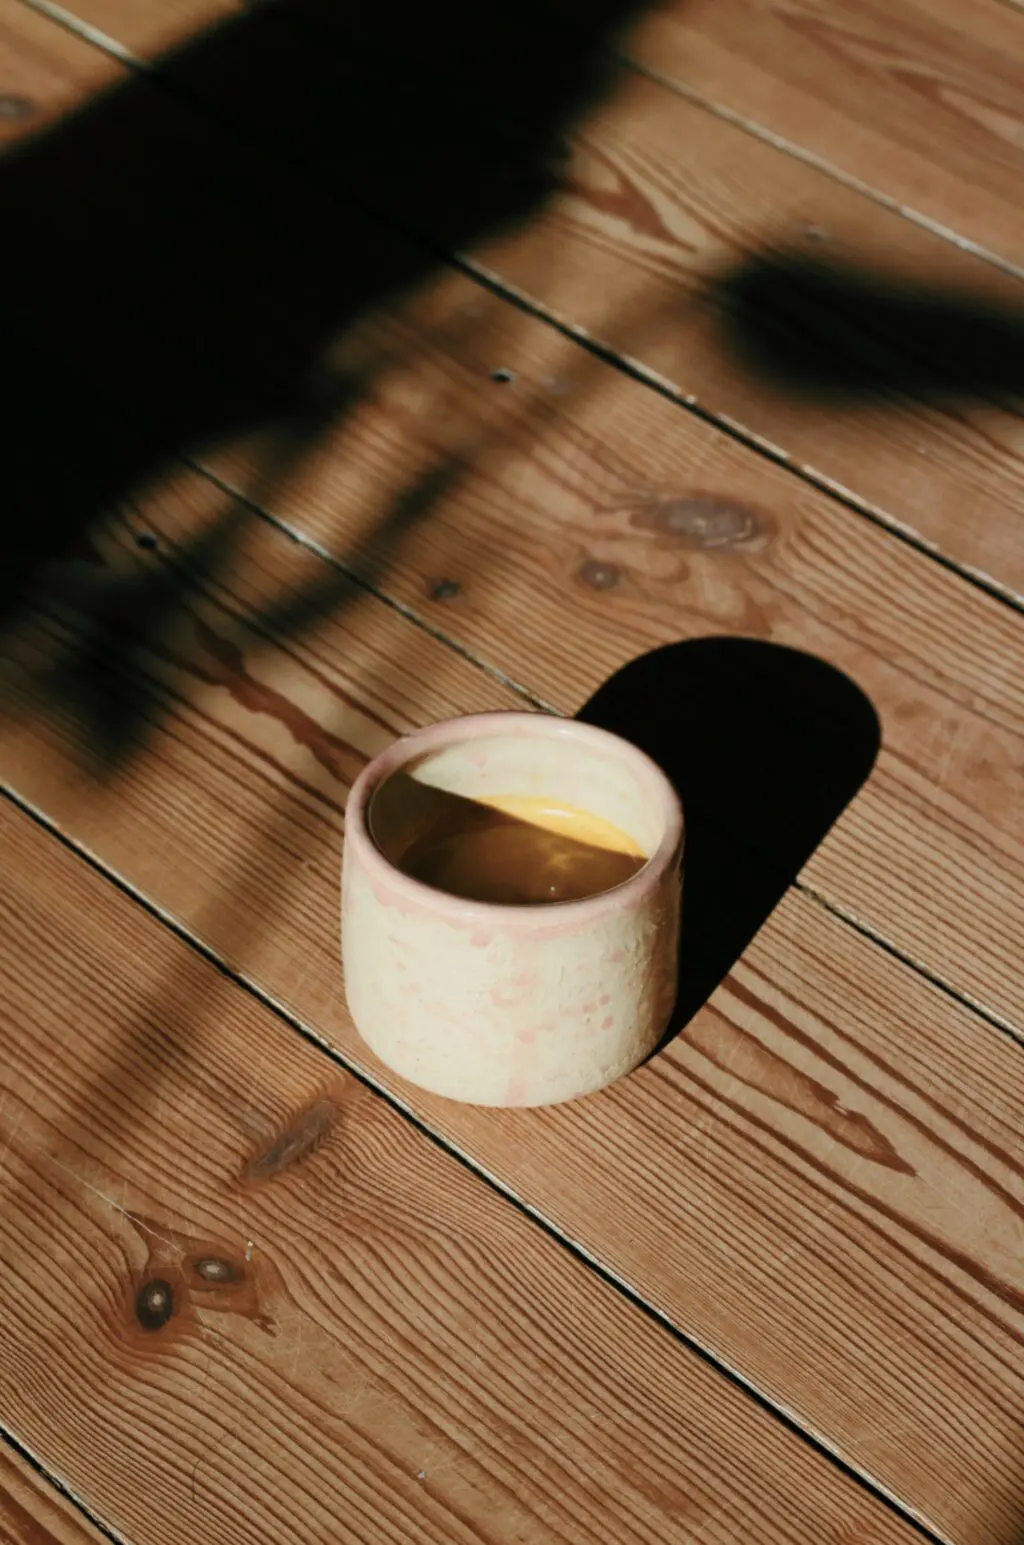
Use As Much Natural Light As Possible
The number one rule in interior photography is this: natural light is the best light! Avoid supplemental lighting.
Why?
Unlike the human eye, your camera isn’t able to process and appropriately adjust to artificial light. That means more work for you adjusting the white balance of your photos post-production.
On the other hand, soft sunlight creates a massive difference in the color of your photos, making them look clean and beautiful.
However, avoid shooting when the sun is shining directly through the window. While it’s ideal for exterior real estate photography, it creates too sharp a contrast between the dark and lit parts of the interior space.
Instead, a cloudy day is exactly what you need. The clouds act as a natural softbox, diffusing light evenly throughout the entire room and creating soft, even shadows.
What if you don’t have enough light coming in through the window?
That’s what your tripod and shutter speed are for. Slow down the speed to increase exposure time and allow your camera to take in as much light as possible. As you shoot, your tripod will hold your camera steady for long periods, preventing motion blur.
Make Room
The most common problem you’ll face when shooting interiors is the lack of space. You’ll often agonize over where to place your tripod for the widest shot. Your first instinct will be to use the lens as broadly as possible. Fight it.
Broadening the lens creates a ‘fisheye’ effect, which distorts your image. And while this can be corrected through editing, you risk cropping out vital parts of your image while at it. Here are a few photography tips that can help you think outside the lens (pun intended):
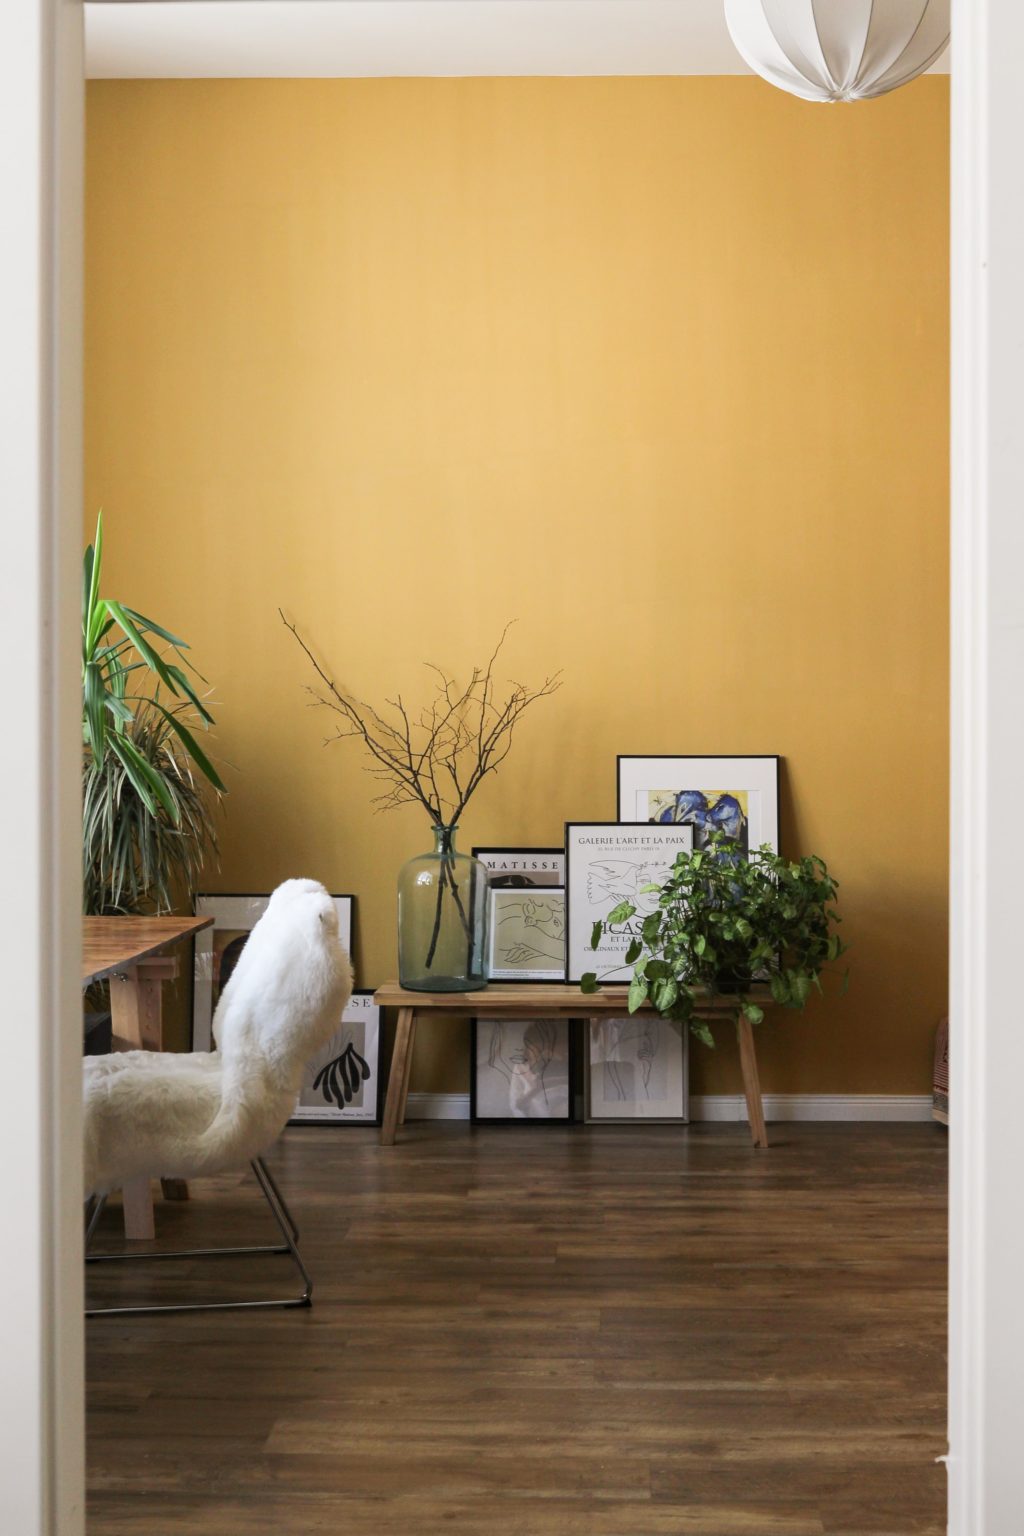
- Shoot from the corner: Positioning yourself at the corner is a double win. Firstly, it takes full advantage of your lens, enabling it to get a sweeping view of the room. It also makes space look bigger, which is useful to real estate and architectural photography.
- Move stuff around: In interior photography, you’re the master of your universe. If there’s a flower pot standing between you and your photo, move it. If a table is resting on the spot where your tripod should be, get it out of the way. Unless it’s screwed to the ground (or impossibly heavy!), no furniture formed against you should prosper! This especially applies to interior design photography. If there’s a book that’ll look good on that dining table, throw it in there and take your interior shots.
- Shoot from the outside in: For really tight spaces, consider shooting from the next room, or even the hallway. You can position your camera in a way that blocks out the doorway from the viewfinder. However, it’s not a rule of thumb. In some interior photos, including the doorway compliments the final shot.
Do You Want to Learn More About Photography?
Navigating the do’s and don’ts of interior photography may not be a walk in the park, but it’s just a matter of time with proper direction and practice. Join our amazing community of talented photographers just like you, and get the best photography tips.