Photoshop Layer Masks are simply a copy of the original image where we can black out parts of that image. This enables us to work on parts of it without affecting the areas that we have masked.
Recently we published a beginner’s guide to layers in Photoshop. It was intended as a basic introduction to the concept of layers rather than a tutorial on how to use them.
A few people got in touch and asked if we could expand on the article with some tutorials about layers.
Today we are happy to give you the first of those, how to use Photoshop Layer Masks.
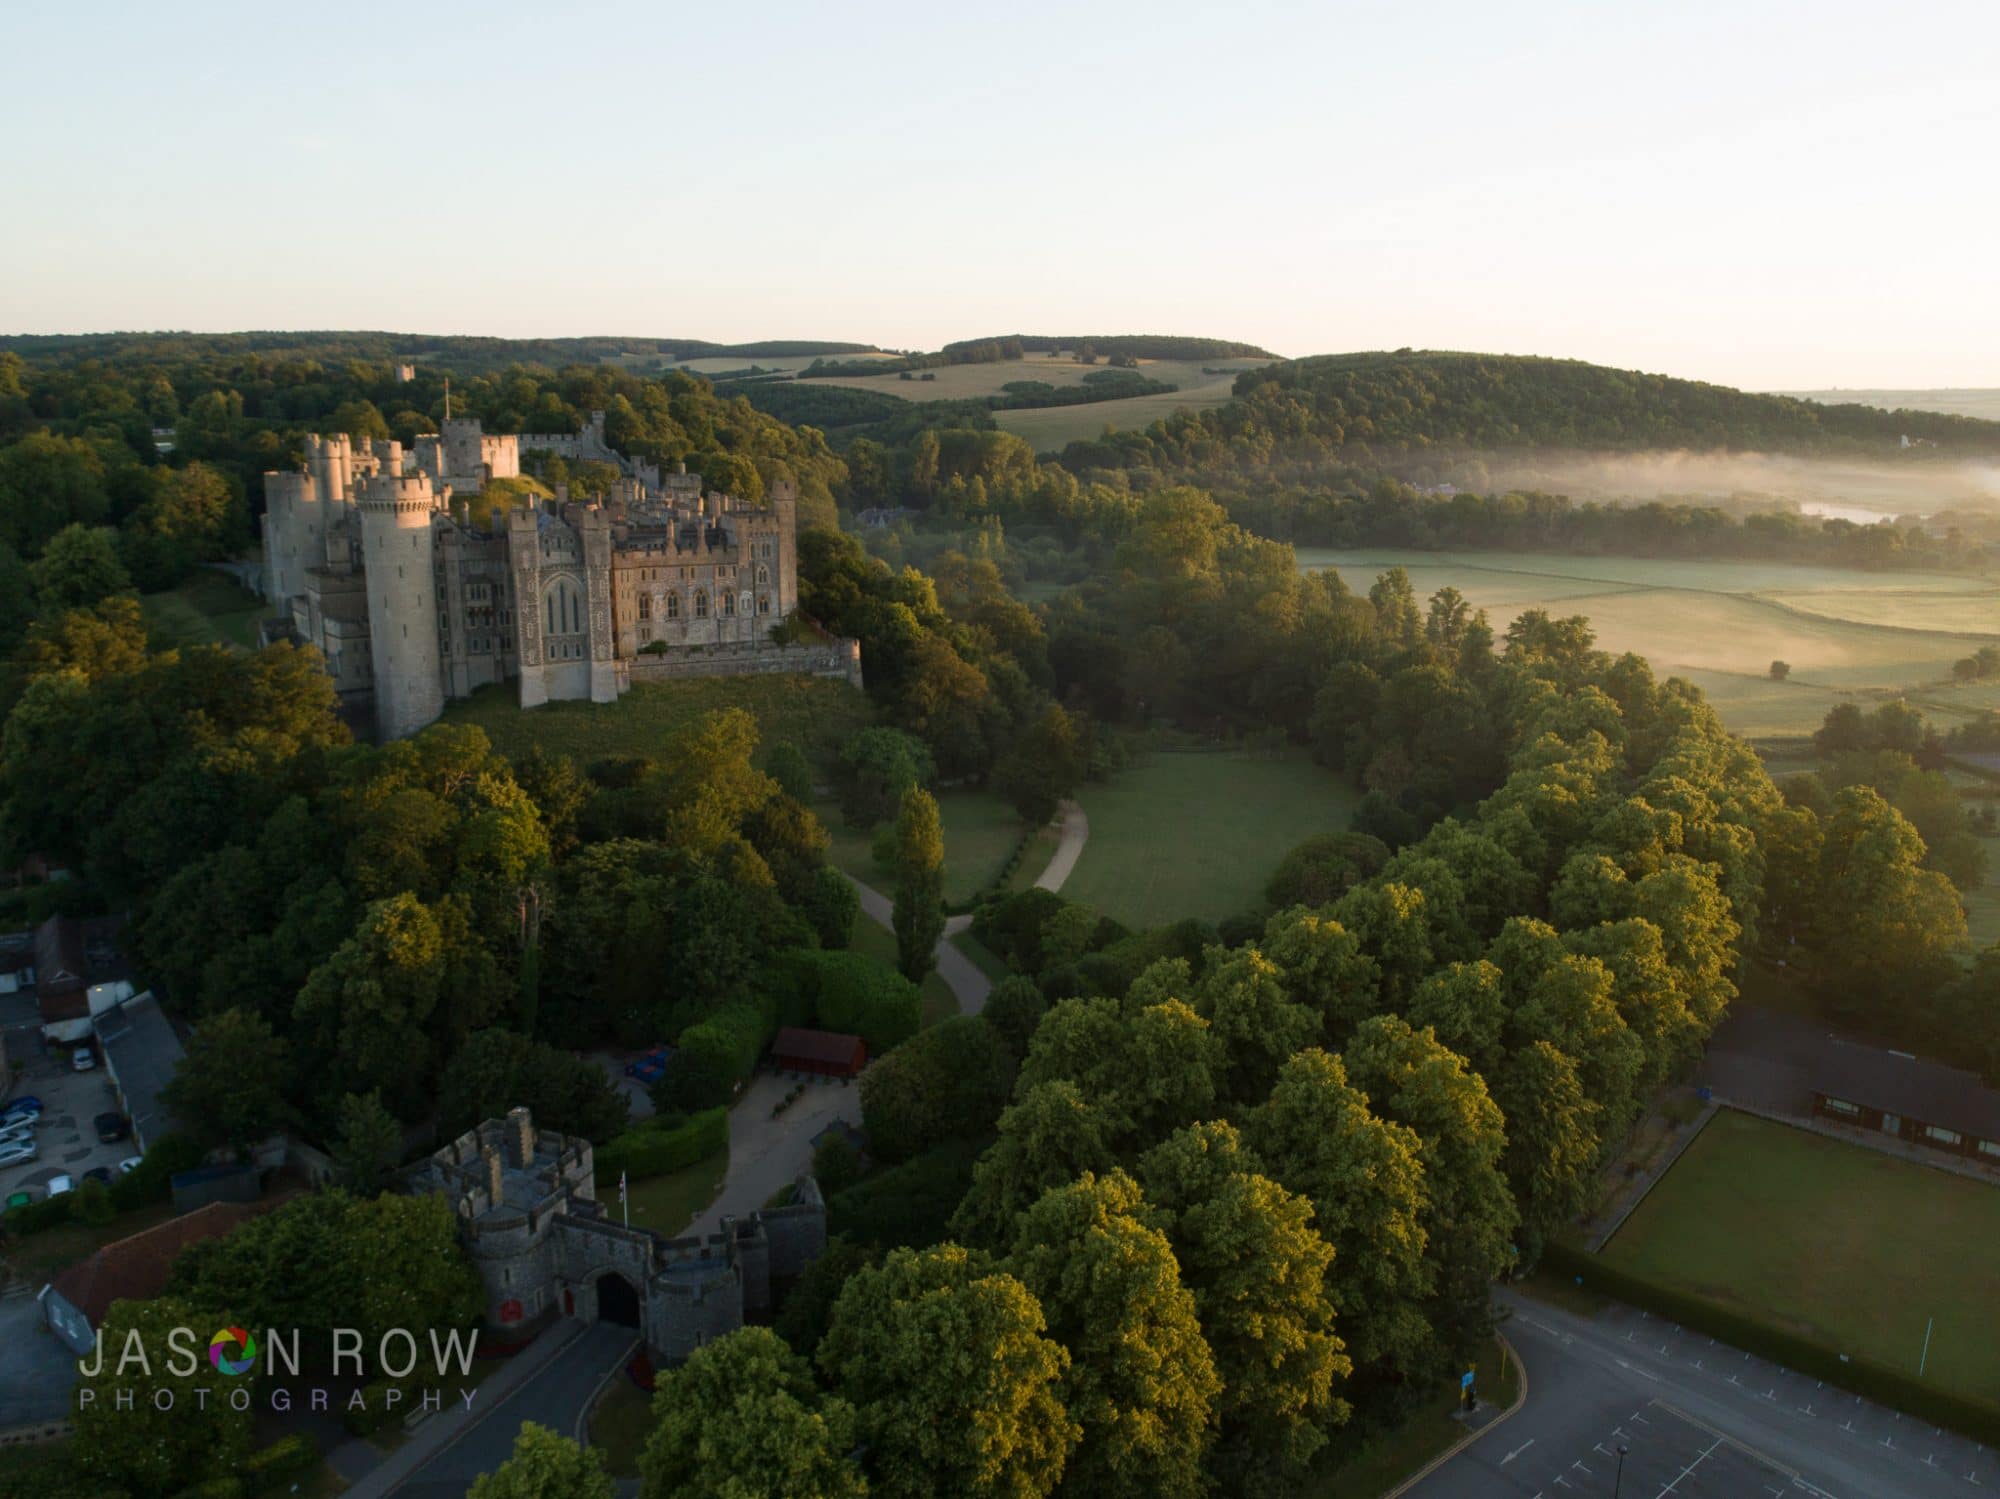
In the tutorial, we are going to simply replace the sky of this drone image, with one taken of the sunrise at the same time in a different direction. Before we go too far let's have a basic recap on what Photoshop Layer Masks do.
Understanding Photoshop Layer Masks.
Imagine you have two identical prints and you lay one over the other. The bottom one cannot be seen as it is shielded by the upper one. Now if we take a pair of scissors and cut out a section of the upper print, we will see the lower one beneath.
In Photoshop we can use the same principle. We might have two different exposures of an identical scene. We can cut out the sky on one to reveal a better-exposed sky on the lower version. Alternatively, we can replace the sky completely with one from a different shot.
Adding A Sunrise To Arundel Castle.
In this tutorial, you will see that we have set the layers up already. The bottom layer was the original sunrise image. We cut that out, cropped it and pasted it into a new layer so that it will align nicely with our castle image. The castle image, the uppermost layer, has been edited for color and contrast and is now ready to be masked.
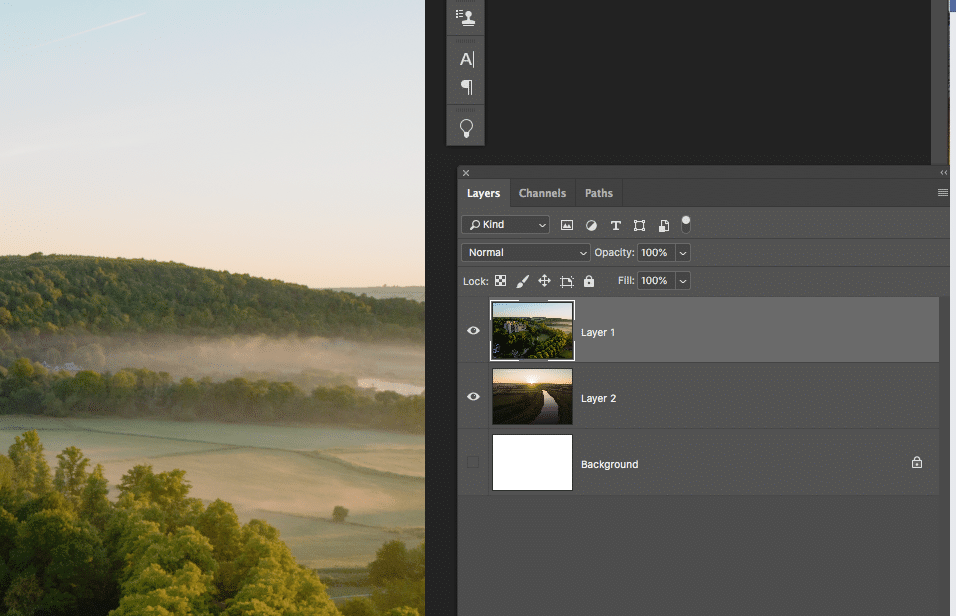
Making sure the castle image is selected we click on the Layer Mask icon at the bottom of the Layer Palette. You will see a large white box appear next to the castle layer.

In it’s most simple form, we reveal the layer underneath by painting black on the topmost layer. From the toolbar on the left, I have selected a large, hard brush and also made sure the brush is painting pure black.
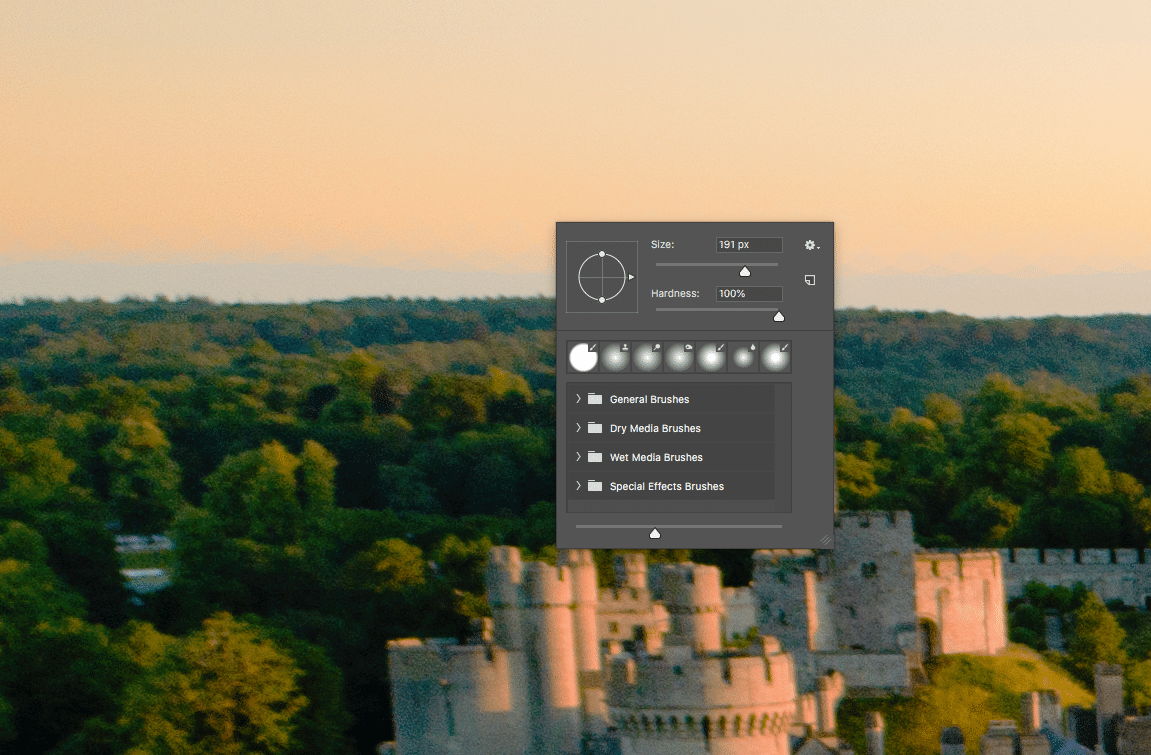
Painting Out The Sky
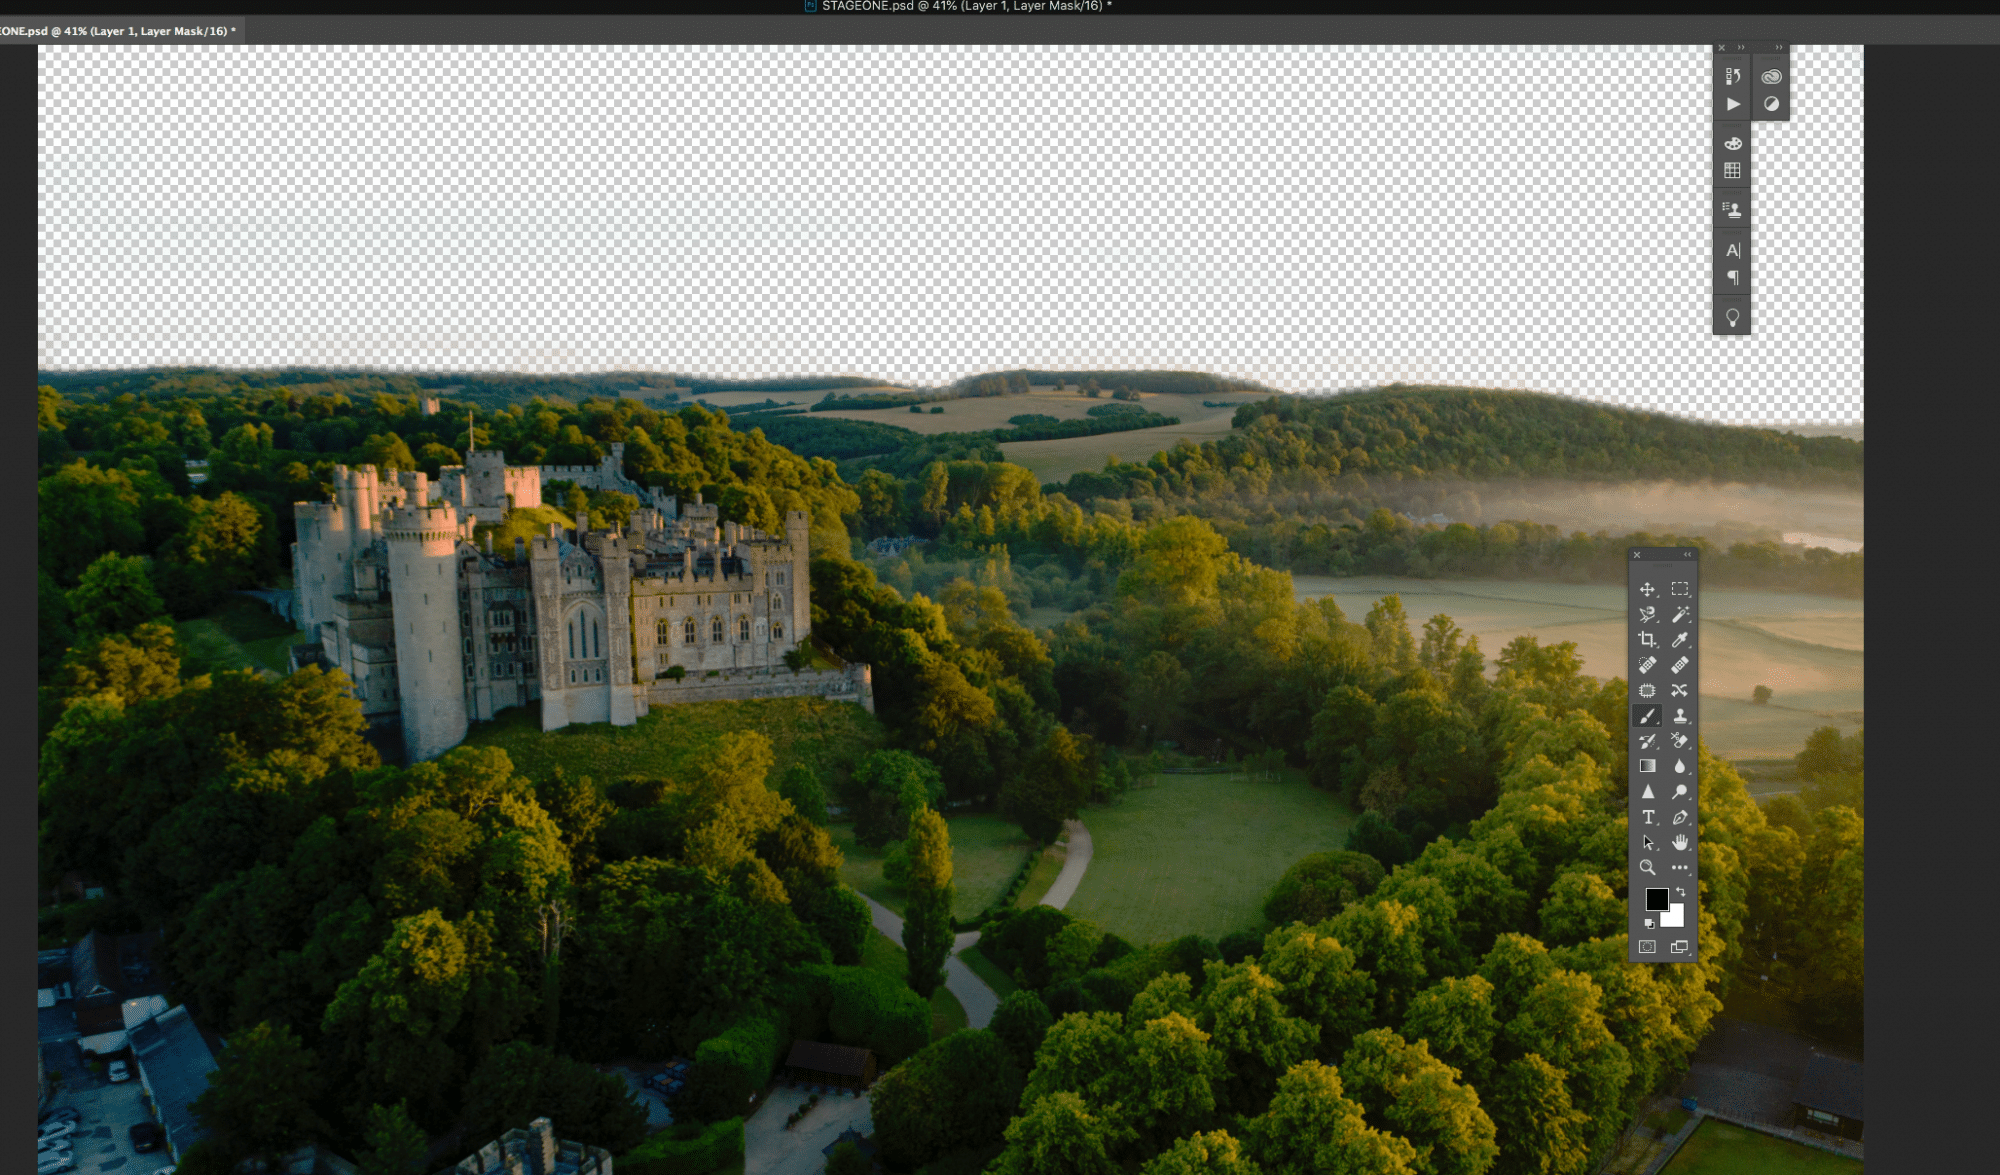
Making sure the Layer Mask is selected not the actual image, I now paint over the sky in the castle image. As I do so, you start to see the sunrise sky revealed underneath. As I get to the horizon, I select a smaller softer brush as gently merge the sunrise sky with the castle horizon.
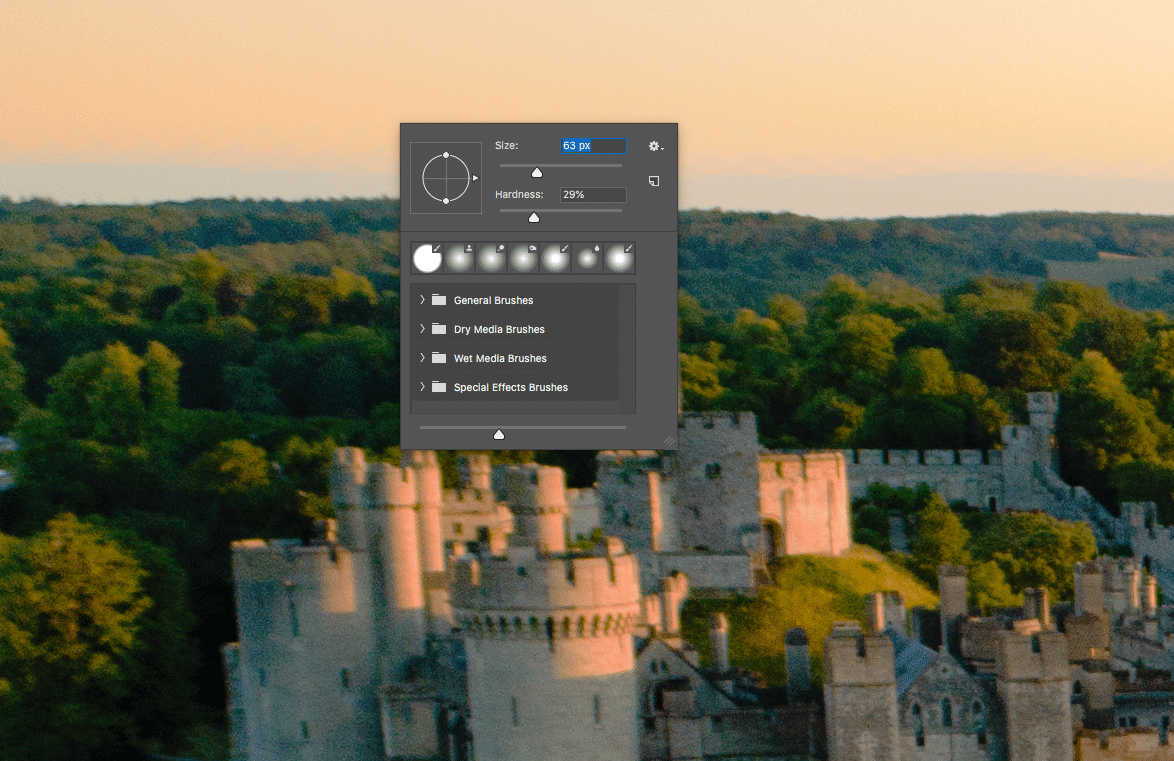
If I make a mistake, I simply change the colour palette from pure black to pure white. Painting in pure white restores the areas of the Layer Mask erased by the black brush. It helps to zoom into the image to paint the more intricate details.
To further aid the masking I can switch off the lower layer by pressing on the eye icon. This leaves me with the castle image and a checkerboard showing where I have erased the sky.
Final Adjustments.
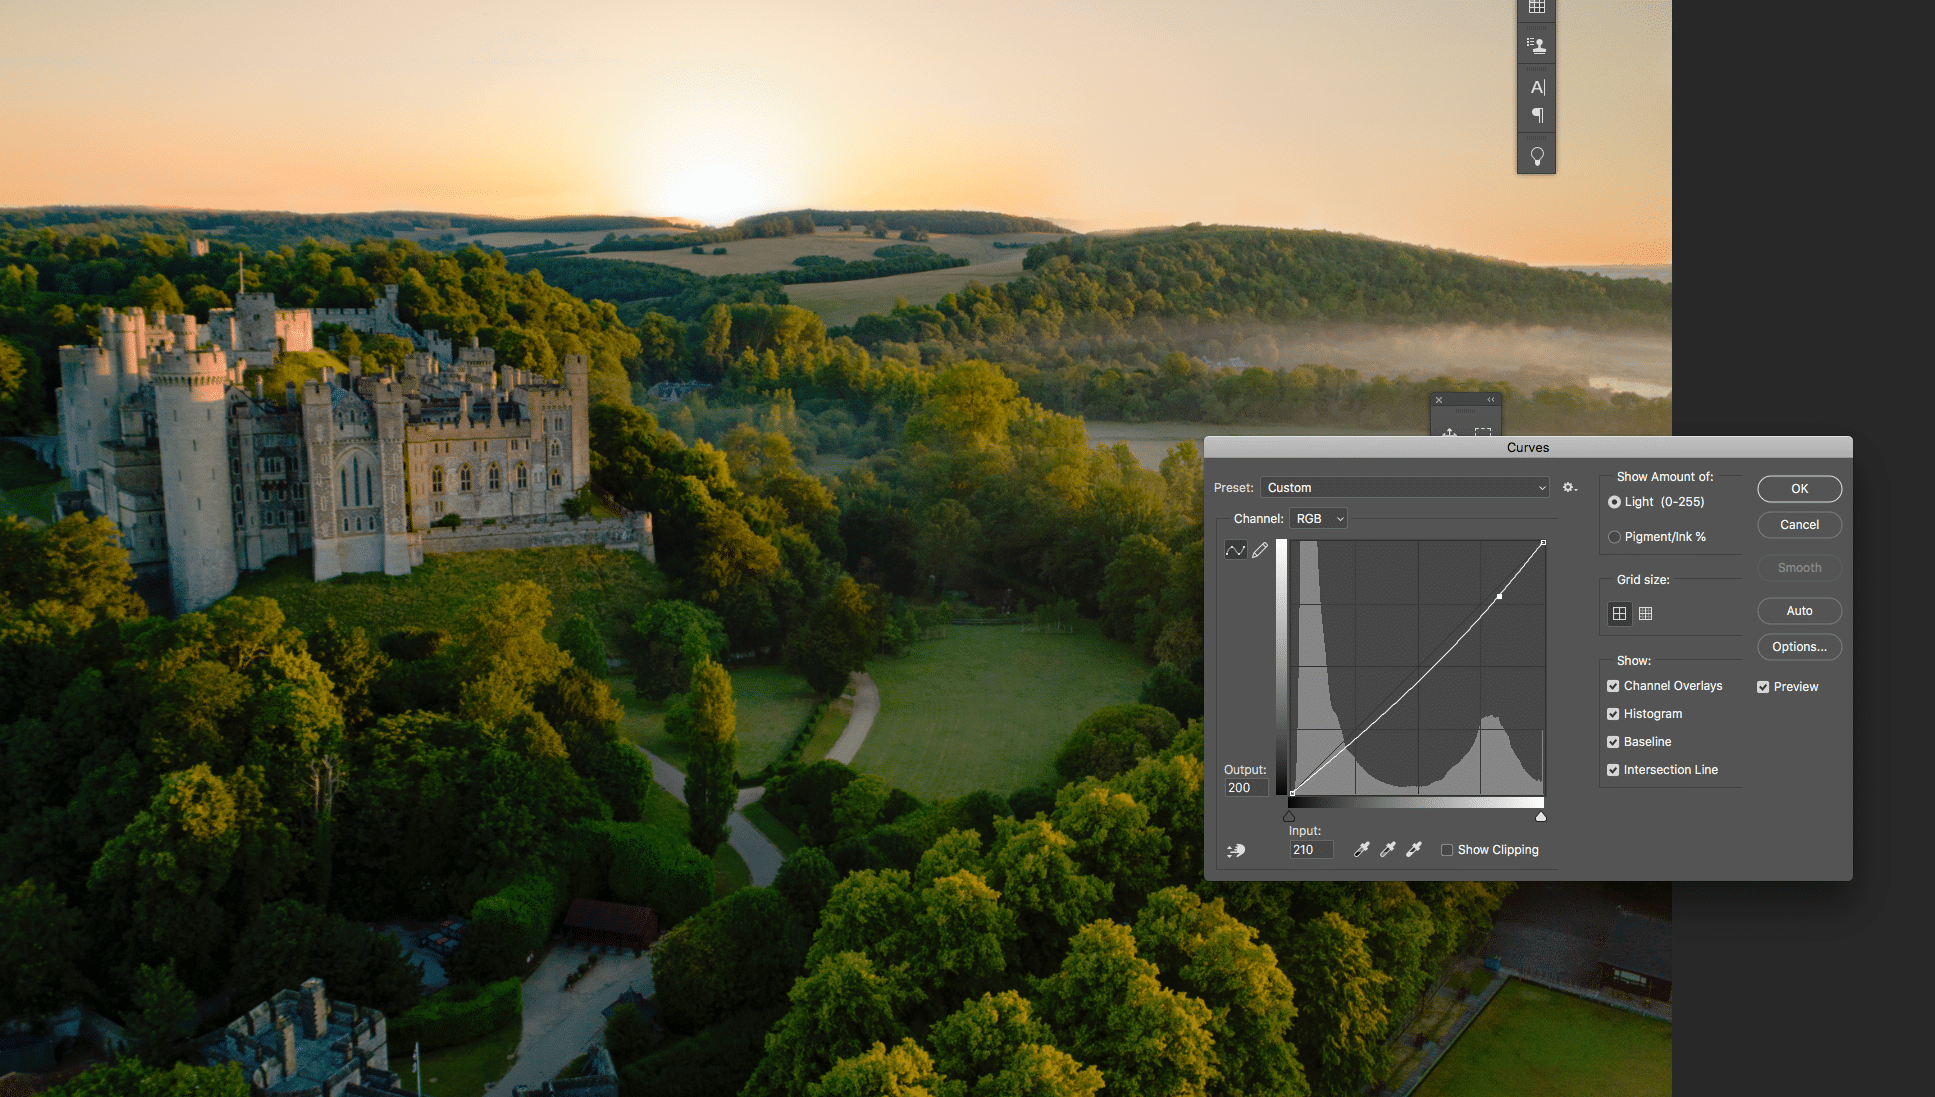
Now, I can individually adjust either layer to make sure the merge looks natural. In this case, the castle image looks pretty much ok but I could make the sky a little darker.
With the sunrise layer selected I pull up Curves from the Image – Adjustment menu. Using the eyedropper I click on the sky region and the luminance level is shown in the curve. I then drag this down very slightly to reduce the sky’s exposure. I also very slightly increase the saturation using the Hue/Saturation panel, again in the Image – Adjustments menu.
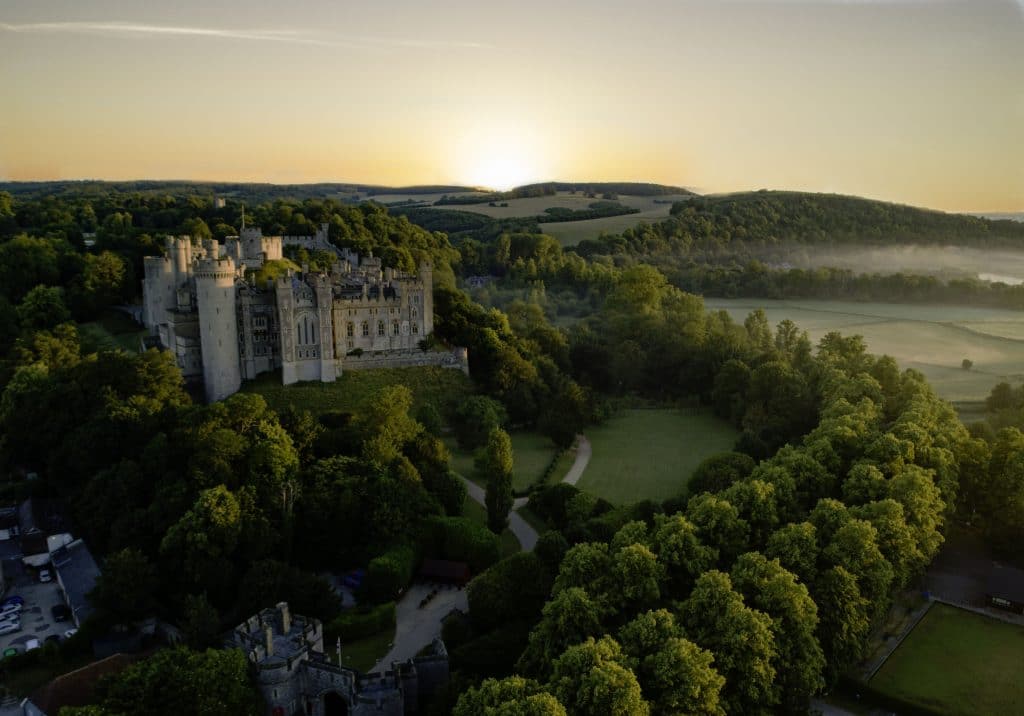
Photoshop Layer Masks can seem daunting but once you master the basics you will see just how powerful they can be.
Once you remember that painting in black will erase portions of the upper image and painting in white will restore them you will be well on your way to understanding this powerful tool.
In future articles, we look at little more in detail at some other fairly simple things that you can do using Photoshop Layer Mask.


