I rarely shoot video. It’s just something that doesn’t usually pop into my head when I’m out with my camera; I’m so consumed with capturing still images that the idea of capturing video is an afterthought for me. There have been times when I walked away from a scene thinking, I could have gotten a cool video out of that. And then I’m over it. When I do record video footage it’s usually with my iPhone and it’s significantly better than the videos my 1-year-old nephew makes by accident, but that’s hardly a point of pride for me.
So, I don’t find it surprising that people don’t ask me questions about video editing. I can tell you how to use the templates in iMovie. That’s about it. But I’ve recently had a number of people ask me specifically about video editing…in Lightroom. Of course Lightroom will import videos from a memory card, but what’s the point since you can’t edit videos in Lightroom. Or can you?
Yes, it is possible to edit videos in Lightroom. Here’s how to do it.
Locate the Video You Want to Edit
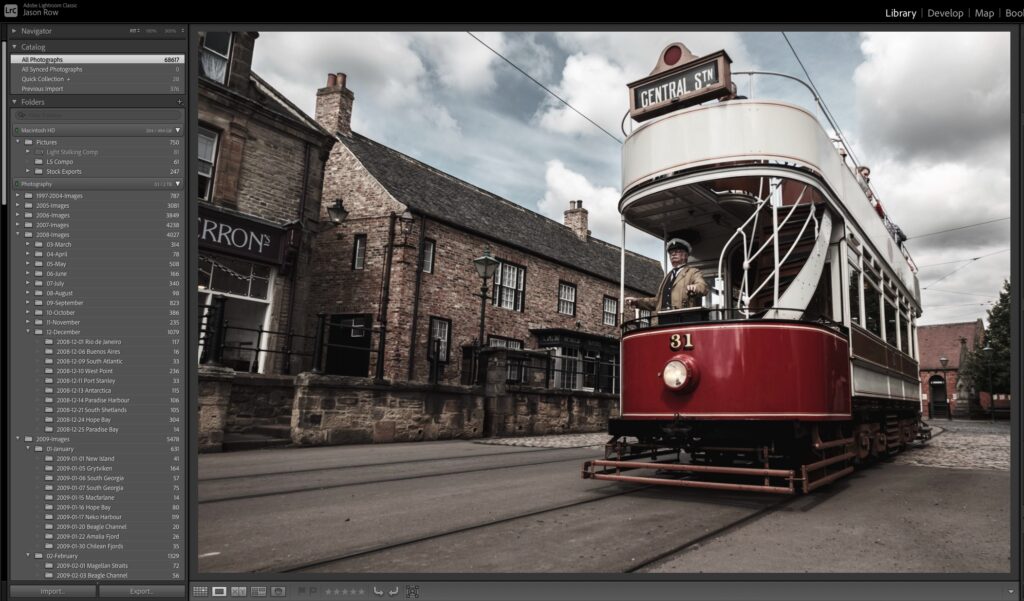
Videos show up in the Library module, right alongside your photos.
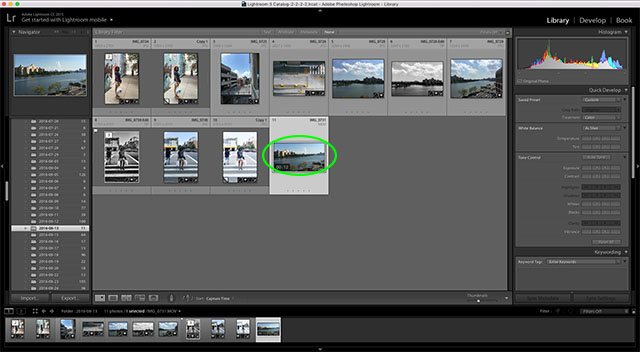
Select Video and Click on the Develop Module
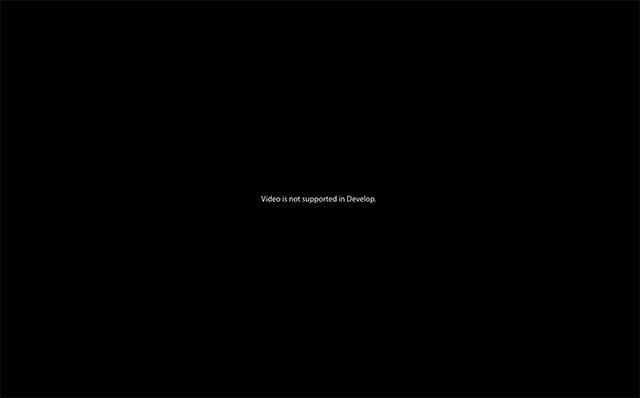
This is probably the point where most people assume video editing is a no-go in Lightroom and just give up. With your video selected, once you open the Develop module you’re greeted with this somewhat annoying message: Video is not supported in Develop. That tells you everything you need to know, right? Not really.
Return to the Library Module
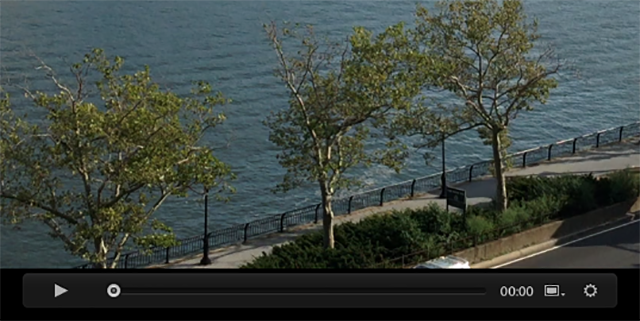
Switch back to the Library module and beneath your video you will notice a bar containing playback controls.
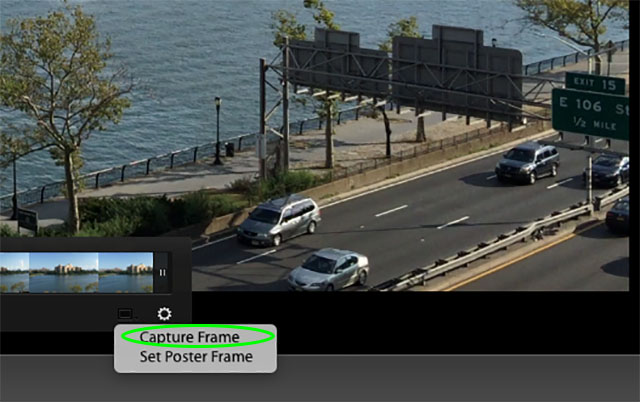
Click the little gear icon at the far right end of this bar to bring up a frame-by-frame view of your video.
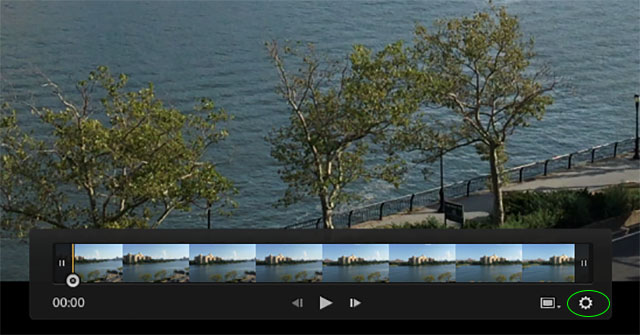
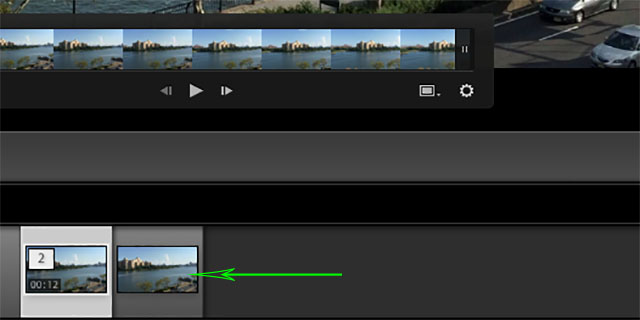
Drag the playhead to select a frame — any frame you like, really. Then click the box just left of the gear icon and choose Capture Frame. This will create a separate .jpg of the selected frame.
Now Back to the Develop Module
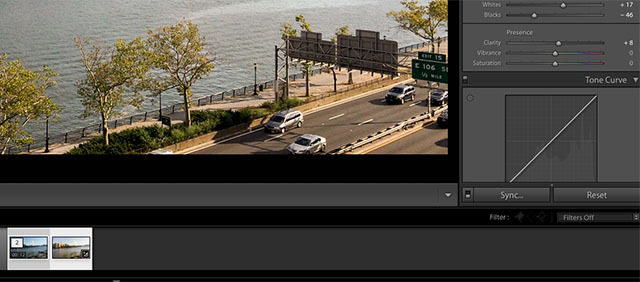
Now that Lightroom has given you a good old fashion image file, you can head back to the Develop module and edit it as usual — apply sharpening, contrast, clarity, adjust white balance, even apply a preset. Once you’re done editing, select both the video file and the image file (Cmd-click for Mac, Ctrl-click for Win). Then click Sync…
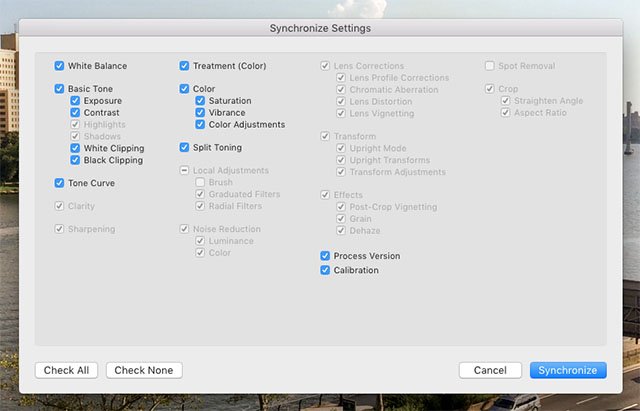
A dialogue box will appear. Click Synchronize. The changes you made to the .jpg file will now be applied to your video file. Head back over to the Library module to play your beautifully edited video.
Final Thoughts
I doubt this will cause anyone to excitedly make Lightroom their go-to video editing application, but apparently there is an audience out there that’s curious about how to go about this. As I always, options are a good thing. And now that you know how to edit video in Lightroom, you’ve got one additional option…in case you can’t get your hands on one of the dozens of better options available. As you can see, it’s limited and the process is somewhat obtuse, but it works!




4 Comments
Good to know, it makes for some easy basic editing
I’m searching for advice on how to do this on a mobile device (if possible) and all is comming up is PC devices.
Is it possible to apply this in the mobile app version??
My video is not changing after sync.
Great tutorial, but what about exporting the video? I followed this all the way, can see the changes in my Library view, but the original file remains the same. How can I have the changes I made following this method actually apply to the video file?