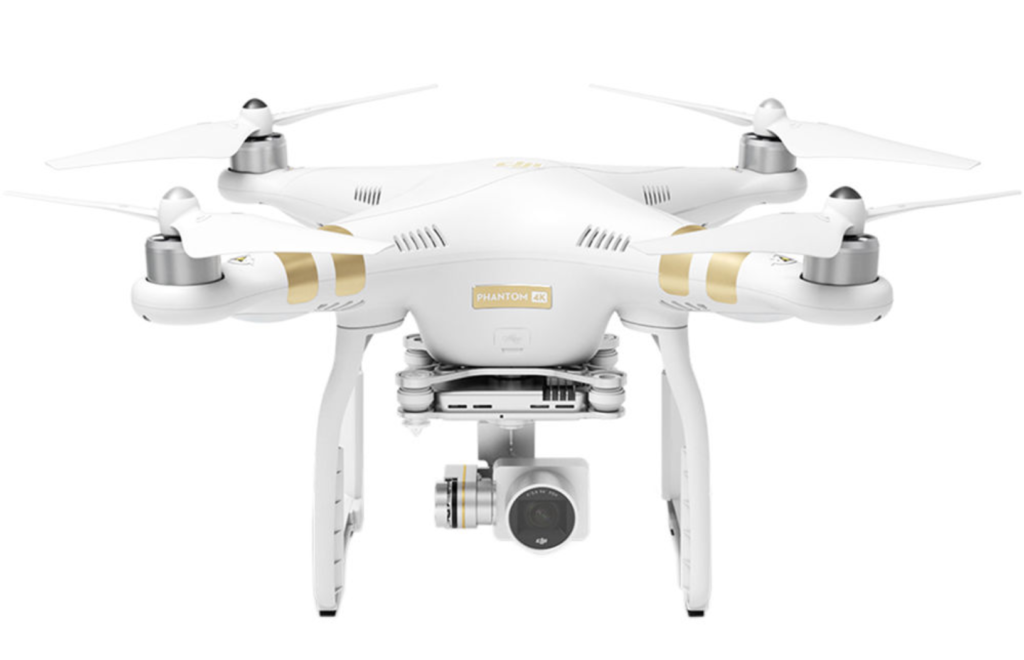
Reviewing a quadcopter on a photography website might seem a little odd. Certainly a few years ago it would have been considered entirely unwarranted.
Phantom 3 4K Quadcopter
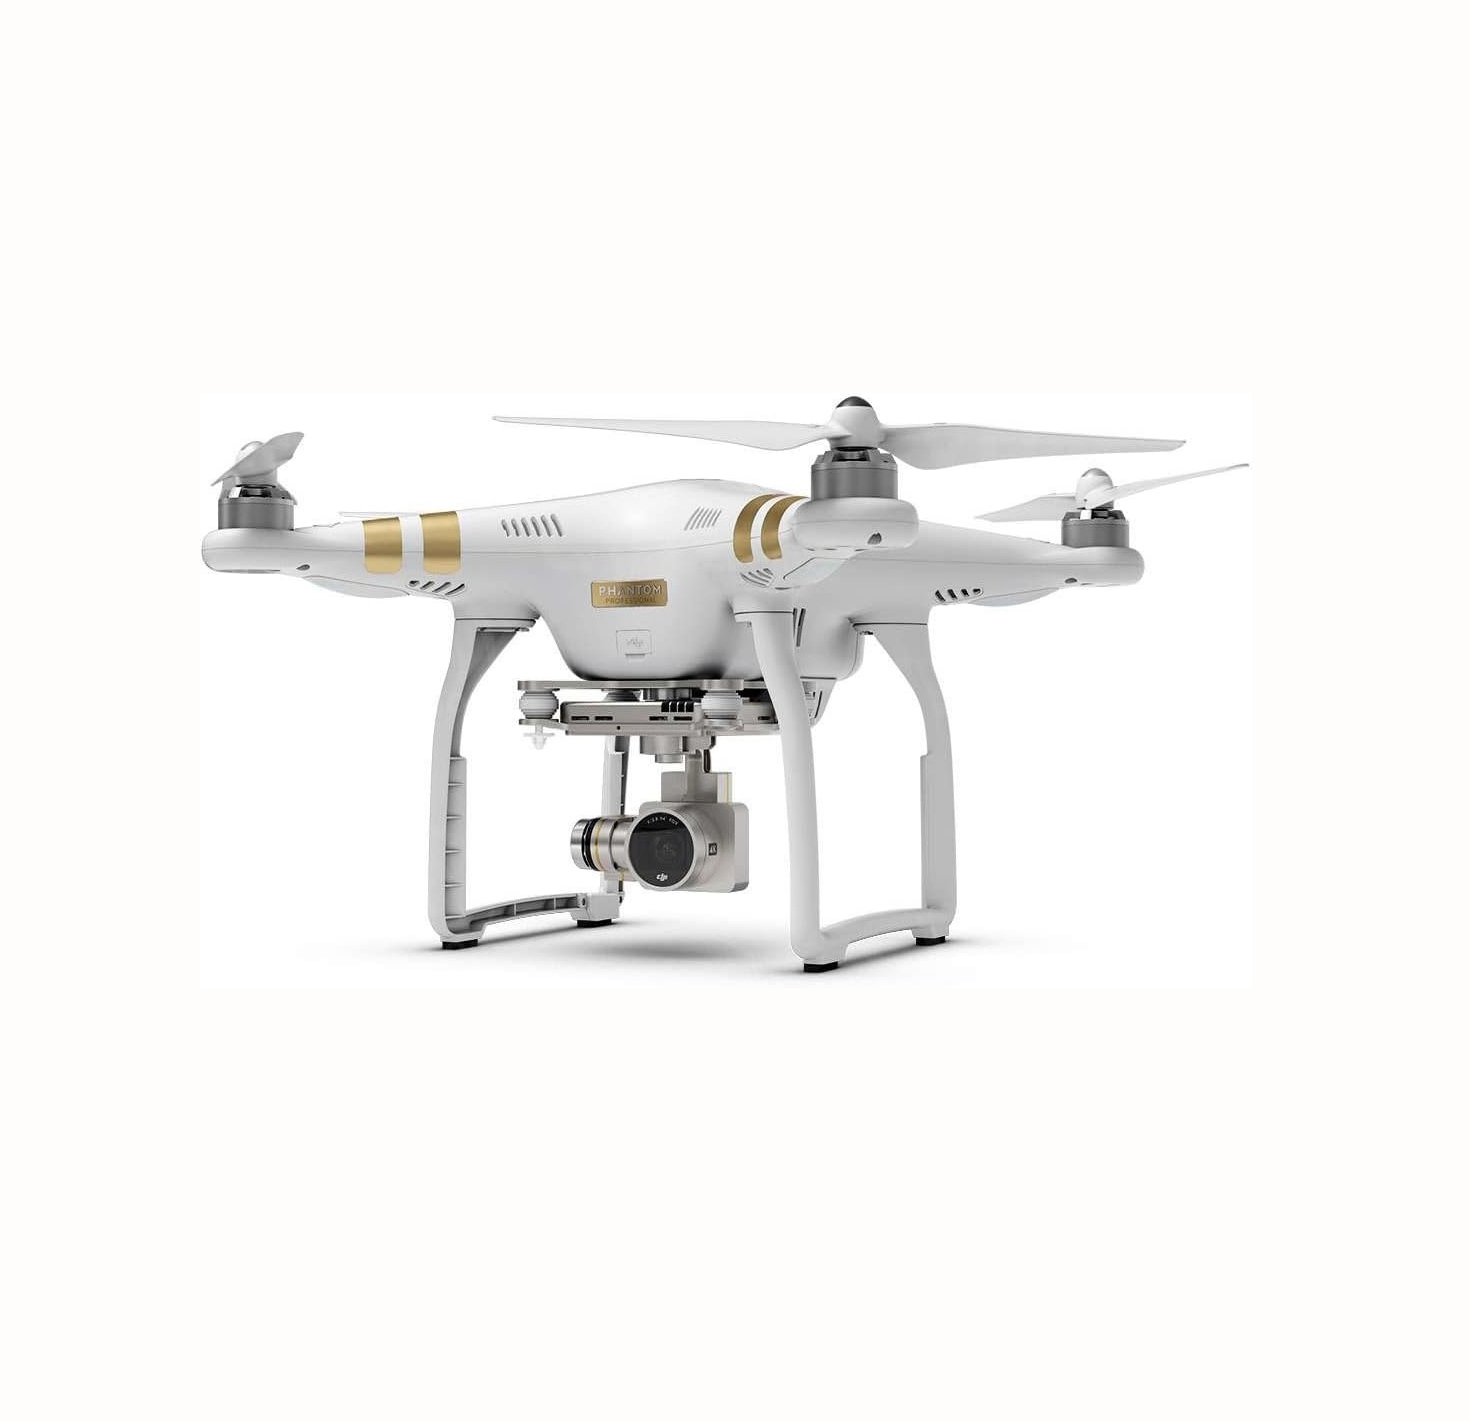
4k UHD video recording with fully stabilized 3-axis gimbal
Times change though and quadcopters or drones as they are sometimes called have gone from rich kid's playthings to become very useful tools in the photographer’s kitbag.
My reservations about buying a quadcopter has always been twofold, image quality and price. In the last year or so I feel that both have become acceptable to my needs and so recently, I purchased the DJI Phantom 3 4K.
Fancy getting uber-creative? Why not try this cool “Trick Photography Techniques” Guide? Learn some great tricks and how to further expand your skills, your portfolio and abilities as a photographer.
What Is A Quadcopter Then?
DJI are one of the world's biggest and most respected manufacturers of quadcopters, from prosumer models like mine all the way up to high end commercial aircraft for professional broadcast. My purchase is a marvel of modern technology.
It can fly up to 25 minutes on a single replaceable battery, 1.2km from the point I am standing and up to a limited 120m above ground level. It contains a 3 axis gimbal that stabilises the 12mp/4k Sony Exmor powered camera.
The radio control unit allows you to mount a smartphone or tablet and watch live feedback from the copter as well as control many of the advanced flying and shooting options.
Fly before You Shoot
For a photographer, the most important first step is to become competent flying the copter before committing to shoot. For my initial flights, I allowed the 4K video camera to record the flight but concentrated solely on controlling the copter.
Control is relatively easy as the Phantom will lock onto multiple GPS satellites and hold it steady in the sky. The radio control unit has two sticks and a number of buttons. The left stick controls up and down and pans the copter left and right. The right stick moves the copter forward and back and left and right.
On the back of the RC unit are buttons to take photo or record video and a scroll wheel that tilts the gimbal and camera up and down.
DJI provide comprehensive tutorial videos online on how to fly the Phantom and they should be a must watch for any new purchaser. Also very important to understand are the rules and regulations about flying quadcopters or drones.
Many of them are common sense and will come as no surprise but its important to know them.
My first flight was entirely nerve racking but immensely fun. I am a secret flight sim and aviation enthusiast so flying the Phantom appealed to both my photographic side and aviation side.
Be prepared to become the centre of attention when flying. People are curious as to what you are doing but stay focused on the flying and keep your eyes on the quadcopter. People will understand this.
Once you have mastered the flying, you can devote more time to capturing great images and footage.
If you fancy something a little different to get your creative teeth into, why not try this “Trick Photography Techniques” Guide? Really learn how to further expand your skills, your portfolio and abilities as a photographer.
Shooting With The Phantom 3
The model I purchased, the Phantom 3 4K features a 2/3rd inch Exmor sensor, the same found in GoPro cameras. It shoots a highly respectable 12mp both in jpg and in Adobe’s DNG raw format.
The lens is a fixed focus 20mm f.2.8 giving a 94° field of view. Shutter speeds run from 8s to 1/8000s. Importantly you can choose to shoot manually, controlling shutter speed or ISO or by using exposure compensation.
One issue for cinematographers is that the f2.8 aperture leads to very high shutter speeds in bright light so there is a need to purchase a set of ND filters to cut this down to more acceptable speeds. Video can be recorded in 4K (3840×2160) at 24/25/30 frame per second as well as 1080p at up to 60fps. The 60fps is useful for slowing down footage.
I have put together a rough cut of some of the video footage I have taken on my first forays with the Phantom here.
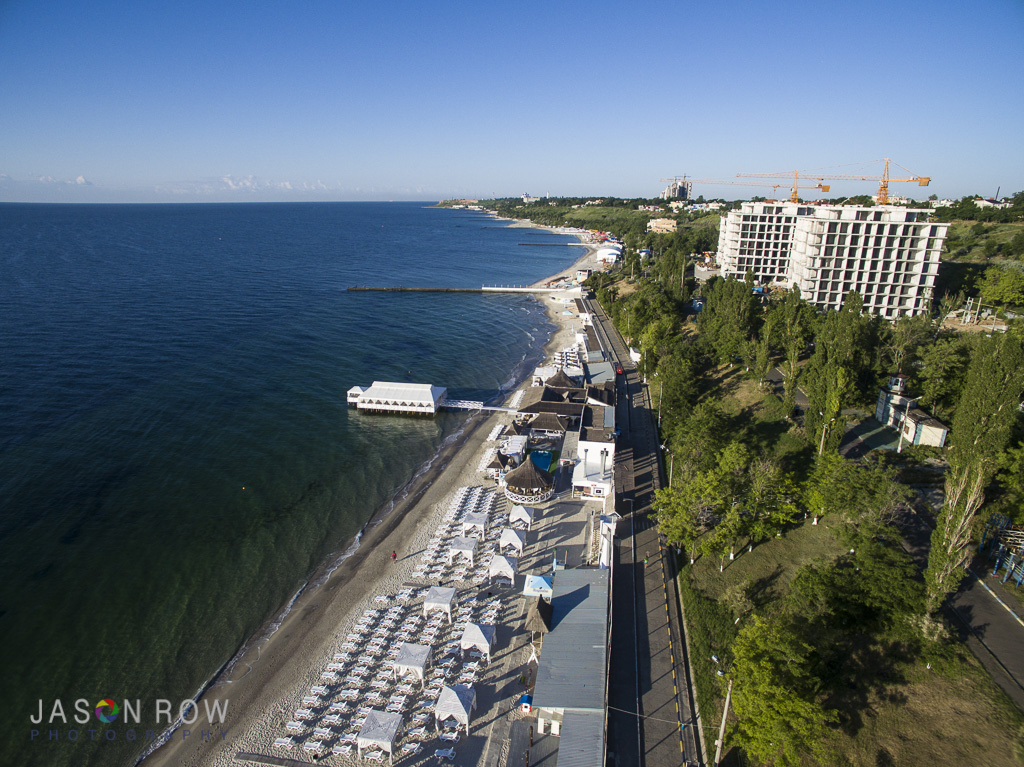
Image Quality
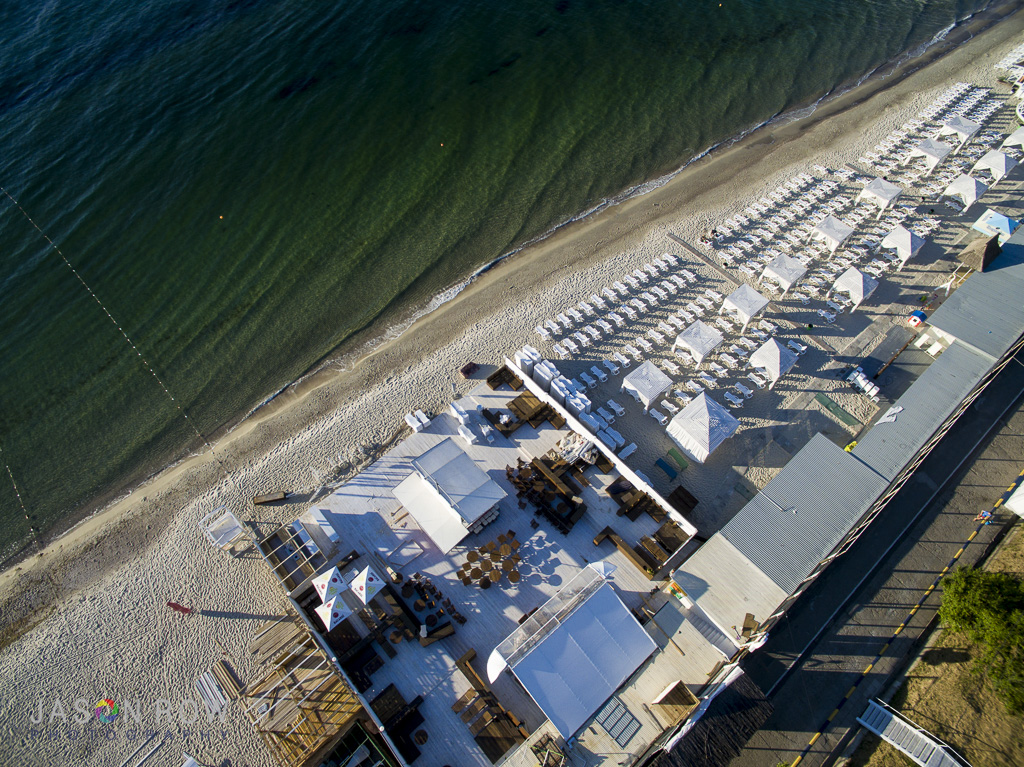
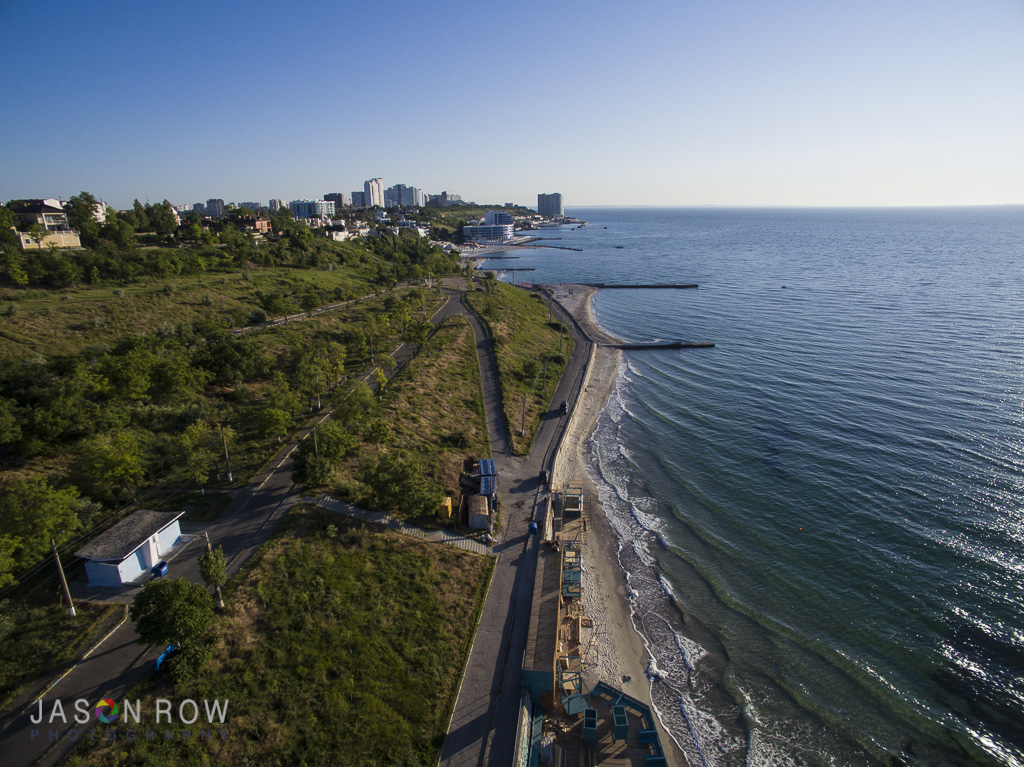
Image quality is never going to be on a par with DSLR or compact cameras but by creating your own presets that reduce sharpness, contrast and saturation – all too high in my opinion – the results can be very very good.
Once you become competent flying and manoeuvring the Phantom it is pretty easy to shoot video and stills using the buttons on the RC unit and the many controls on the DJI Go app on your smart device.
Footage and stills are shot to a supplied class 10, 16gb micro SD card that slots into the gimbal mount under the camera.
Phantom 3 4K Quadcopter

4k UHD video recording with fully stabilized 3-axis gimbal
Summary
I have been highly impressed with the Phantom 3 4K so far. Its immense fun to fly and capable of some amazing aerial shots and footage. Flight time at 25 minutes is impressive but I plan to buy more batteries so that I can keep the copter in the air longer on location.
These are not cheap but a worthwhile investment as are the ND filters. If you have been considering adding a quadcopter to your kit bag, the Phantom 3 4K at $800 represents very good value.
If you fancy something a little different to get your creative teeth into, why not try this “Trick Photography Techniques” Guide? Really learn how to further expand your skills, your portfolio and abilities as a photographer.


1 Comment
You are absolutely right that this drone is worth the investment
It is simply incredible! The flight time can be more for professionals though but obviously you can buy the extra batteries along to make it fly longer! Phantom 3 4K is certainly worth it!