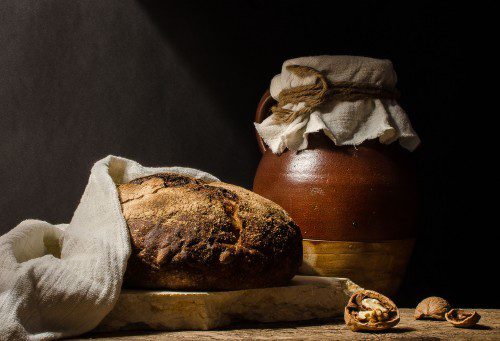
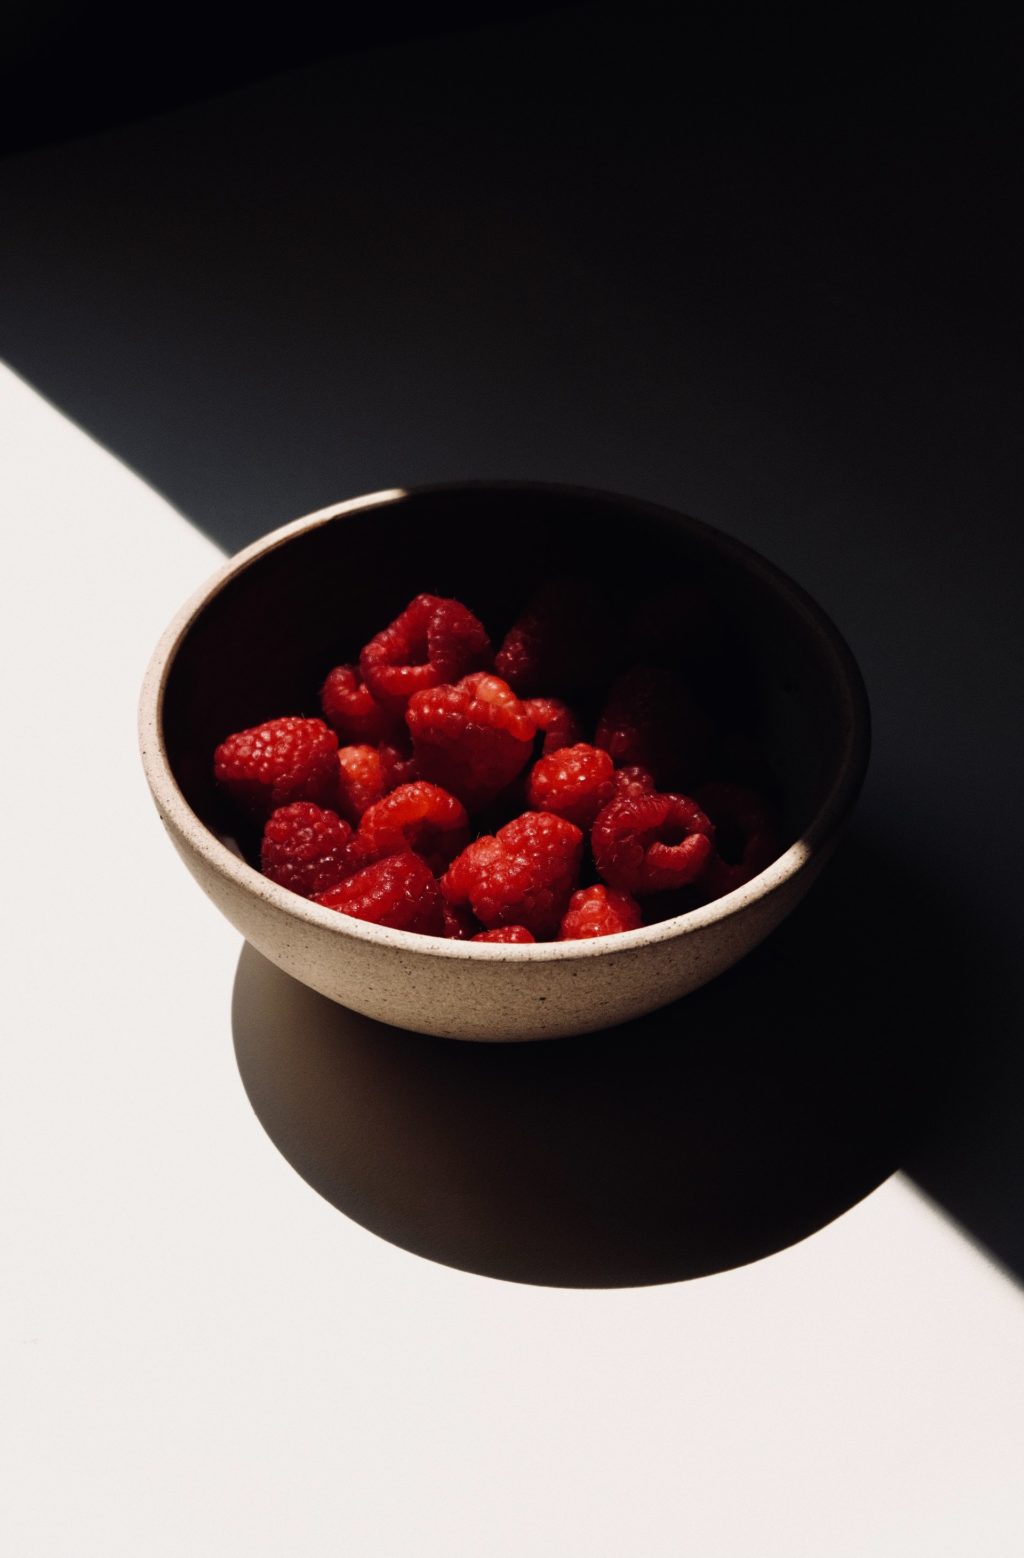
Think about the many times you scroll Instagram, poring through millions of pictures shared from around the world. So many images of foods, vegetation, buildings, drinks, and other scenes are captured on camera every day.
If you form part of this ensemble of digital photographers, do you know you’re continuing an art practice born in Europe in the 17th century?
And now you’re thinking, “What are you talking about?”
Still life.
Though ancient, still life is a special genre of photography. It represents an assemblage of objects (everyday objects or inanimate objects) organized as a composition subject. Strangely, many modern photographers struggle to wrap their minds around this old-age practice.
To succeed in still life photography, you’ll need to use various techniques to bring your images to life. Over time, it’s these techniques that will help you stand out in the sea of amateur photographers.
If you’re interested in starting a journey as a still life photographer, you’re in the right place. This is a complete guide to still life photography that will break down everything you need to know about this craft.
Ready? Let’s get started.
Understand Lighting Basics
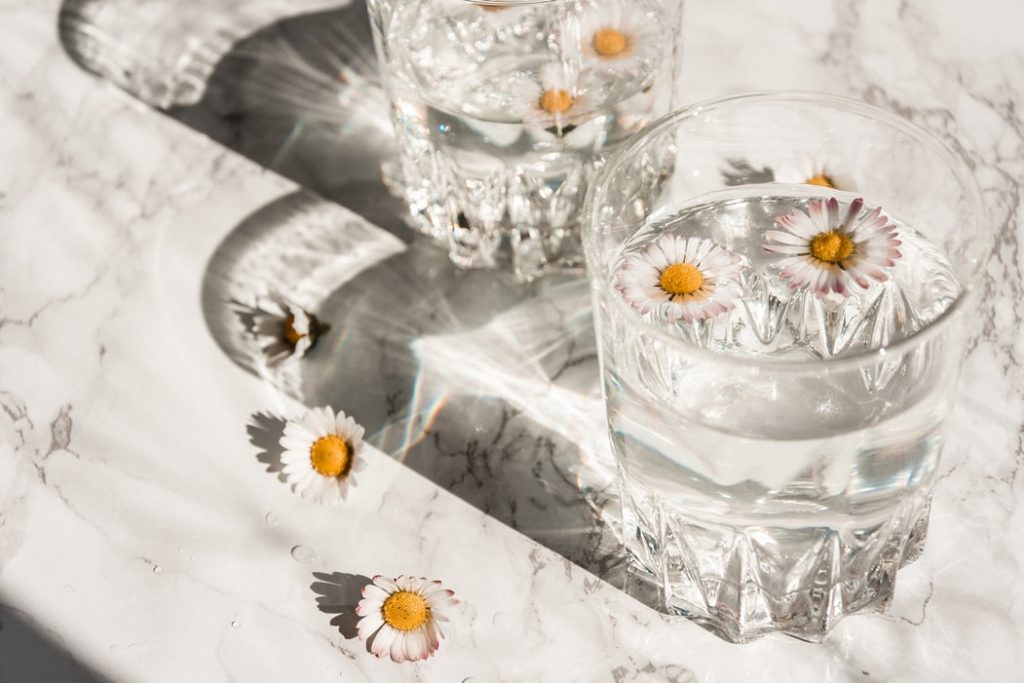
What sets apart mediocre and good-looking photography? It’s light. Or put another way, how a photographer uses light.
Yet, lighting remains a complicated aspect of still life photography. The good news is that it doesn’t have to be. In still life photography, light is an indispensable ingredient that allows you to view the world and capture photos of it. If used well, light can be the difference between vague still lifes and well-thought-out images.
When working with lighting, you have the luxury of choosing between:
Natural Lighting
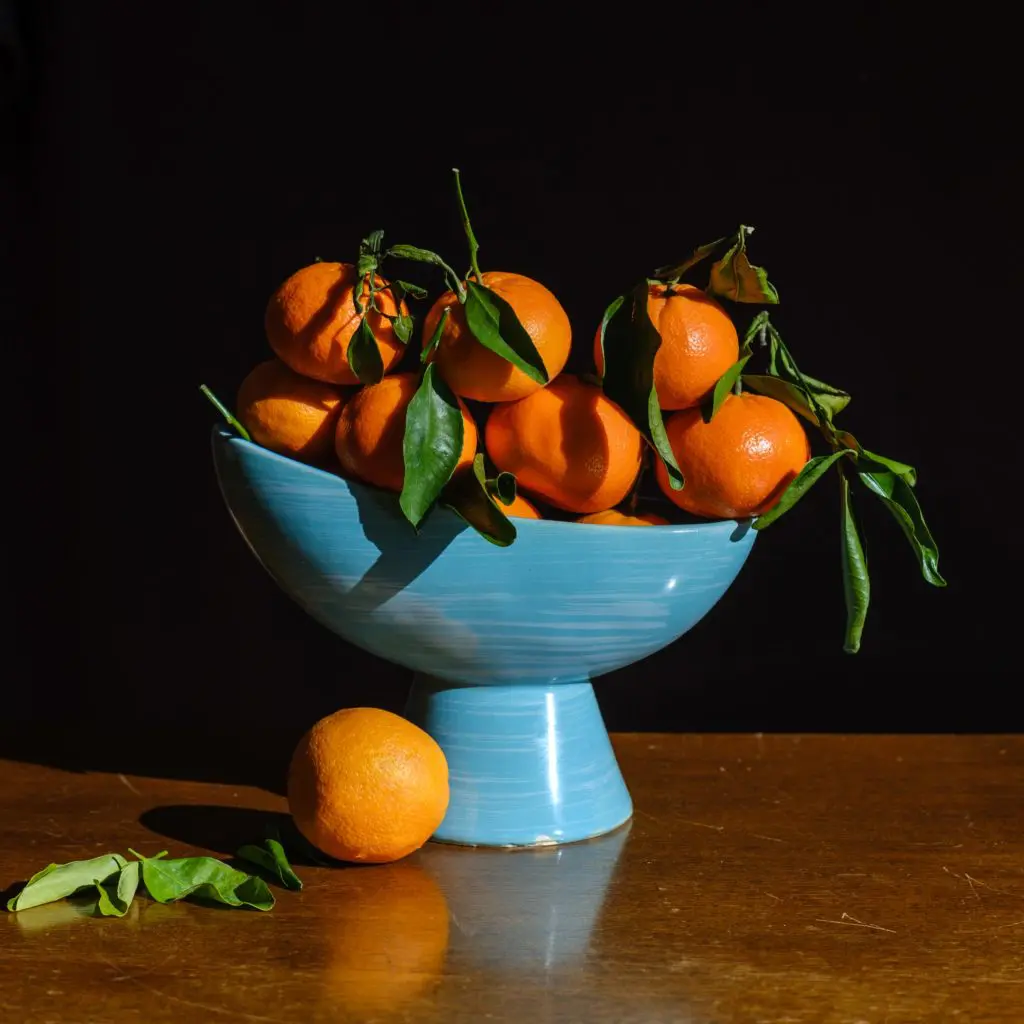
Natural light or direct sunlight helps define the features of your natural objects. It also helps eliminate unnecessary elements in your composition by reducing their exposure.
Note: Working with natural light is challenging since you have little to no control of how light falls on your subject and how the shadows form on your frame.
Artificial Lighting
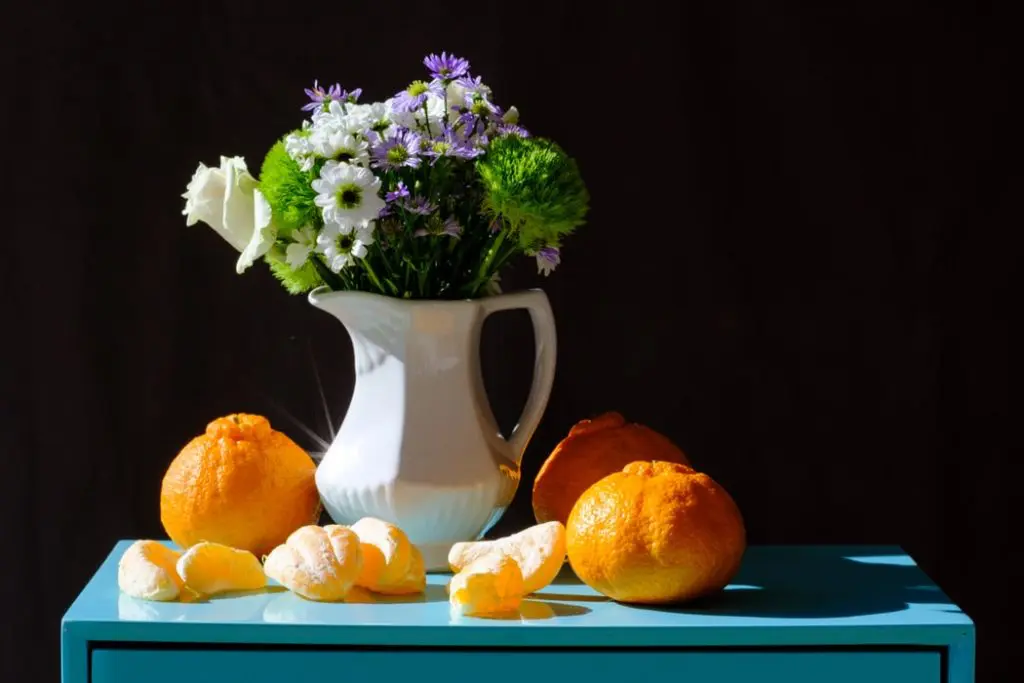
You can use artificial lighting to create stunning still life photographs.
Why?
You have complete control of lighting options. You’re not limited to only using studio lights. You can use different lights such as hair lights, accent lights, or fill lights.
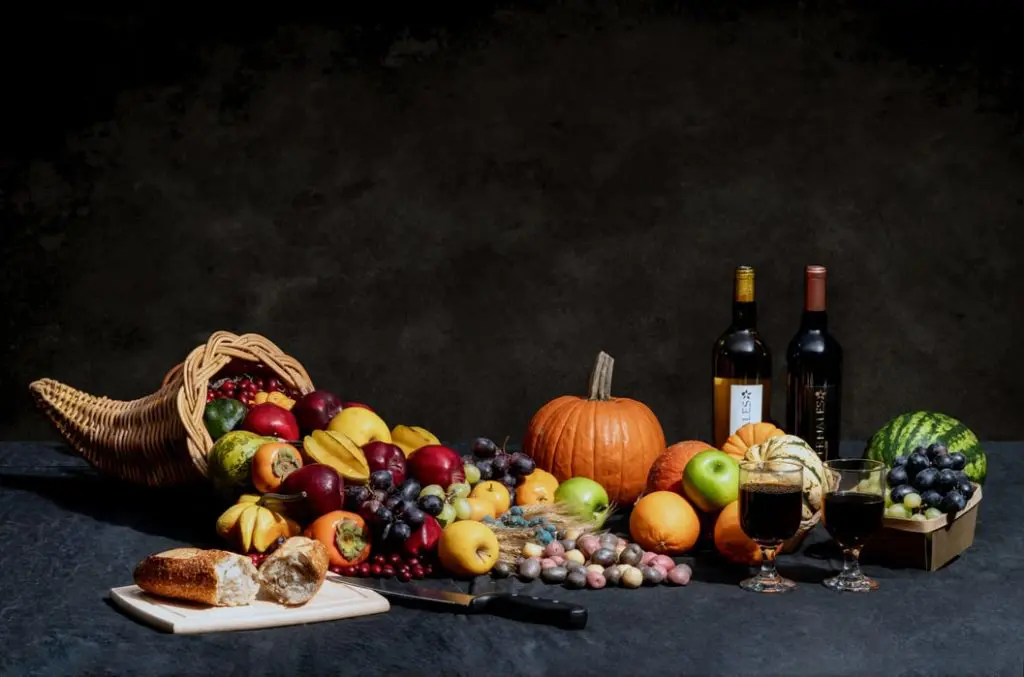
| 💡Bonus Tips! Now that you understand these two types of lighting you can work with, use the tips below to shape and control how light falls on your still lifes: Use mirrors to intensify, focus, and bounce light back into your subjects. Consider using reflectors as they add more light to a scene. To add depth to your shadows, try blocking the light. Use a black background to add drama to your shadows. Use different color lights and hues (applies only in artificial lighting). |
Learn Good Composition
Many still-life photographers focus too much on lighting and neglect composition. Even though lighting is vital in still life, understanding composition is invaluable too.
Often, it’s the few photographers who focus on good composition that end up with vivid and artistic still-life images.
To improve your compositional options, use the rule of thirds.
You’ll also need to introduce several objects in your composition. This way, your final image is more detailed and piques interest in a viewer’s eye. Still, you want to pay close attention to empty gaps in a busy image before you start shooting. These gaps can distract a viewer from your principal subject.
Ask yourself: does this gap direct the viewer's eye to what I want them to see? Or does it go towards a distinct part of the composition?
Sometimes, a minor tweak in your composition arrangement can make all the difference. Besides bending the rules, you can try open and closed composition techniques in your still life photography.
Open Composition
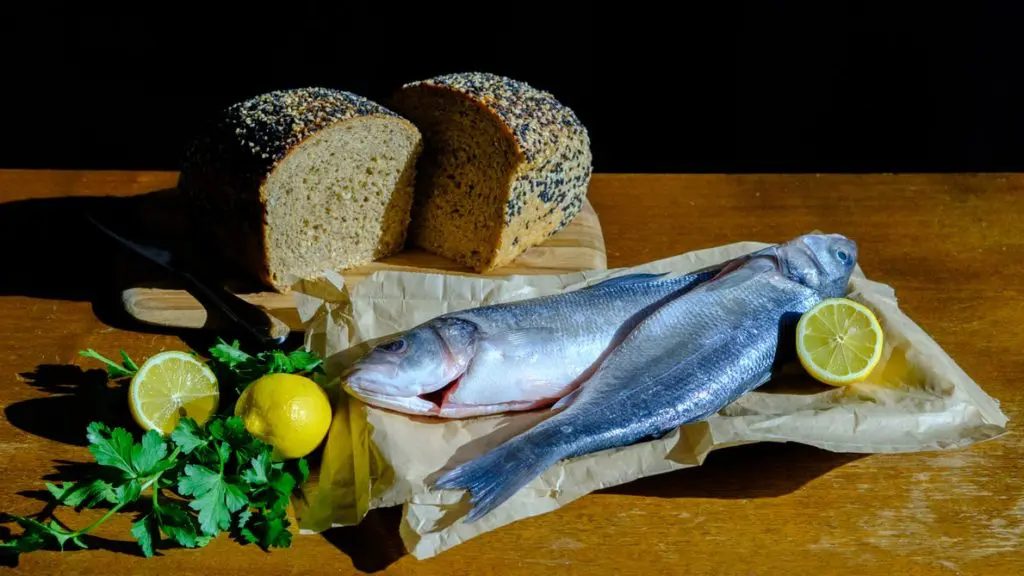
Elements in open composition aren’t fixed. Try to push your elements past the edges of a frame. This can be anything from lines, textures, or colors that extend past the frame. Here’s an example below:

See how the photographer pushes some elements outside the frame?
Closed Composition
This type of composition focuses on one subject, and many photographers use it in portrait photography. You’ll need to arrange your primary subject neatly within a frame.
Highlight Your Subject Matter
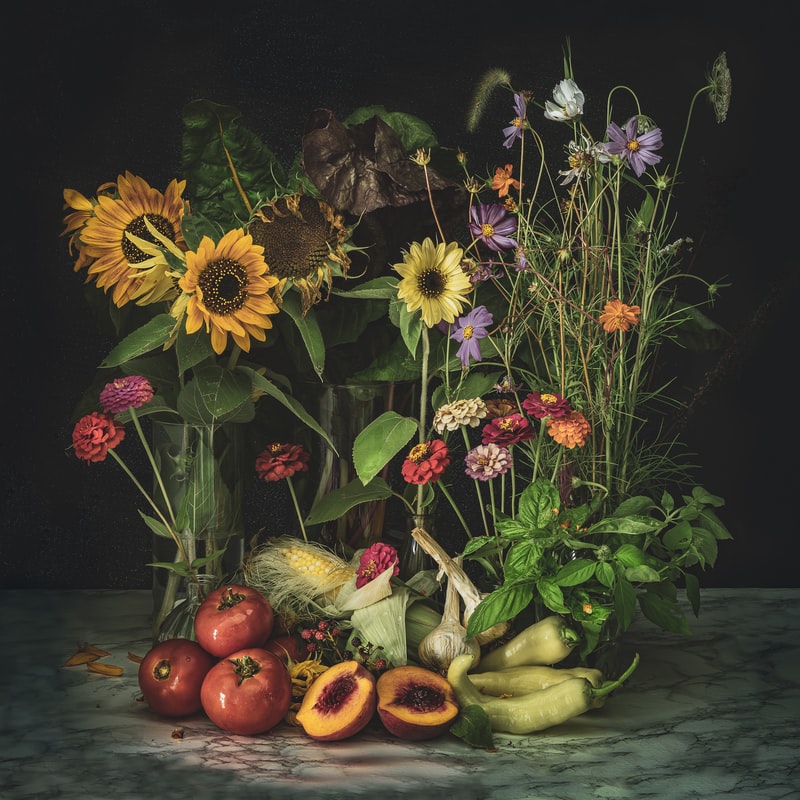
In photography, an inanimate subject matter means the top point of interest on which the photographer’s camera focuses.
For instance, a photographer can focus on faces, landscapes, buildings, or street signs as his primary subject matter during a photoshoot. To bring out the best in your subject, work with mundane subjects. Pick subjects other than a vase of flowers or a bowl of popcorn.
In short, choose subjects that aren’t commonplace. Like a torn leather seat, a cup with a broken handle, a table with a missing leg—even a single shoe!
However, subject matter varies with every photographer. But this shouldn’t deter you from using the techniques of grouping and theme to give your still lifes more intensity and depth.
Grouping And Background
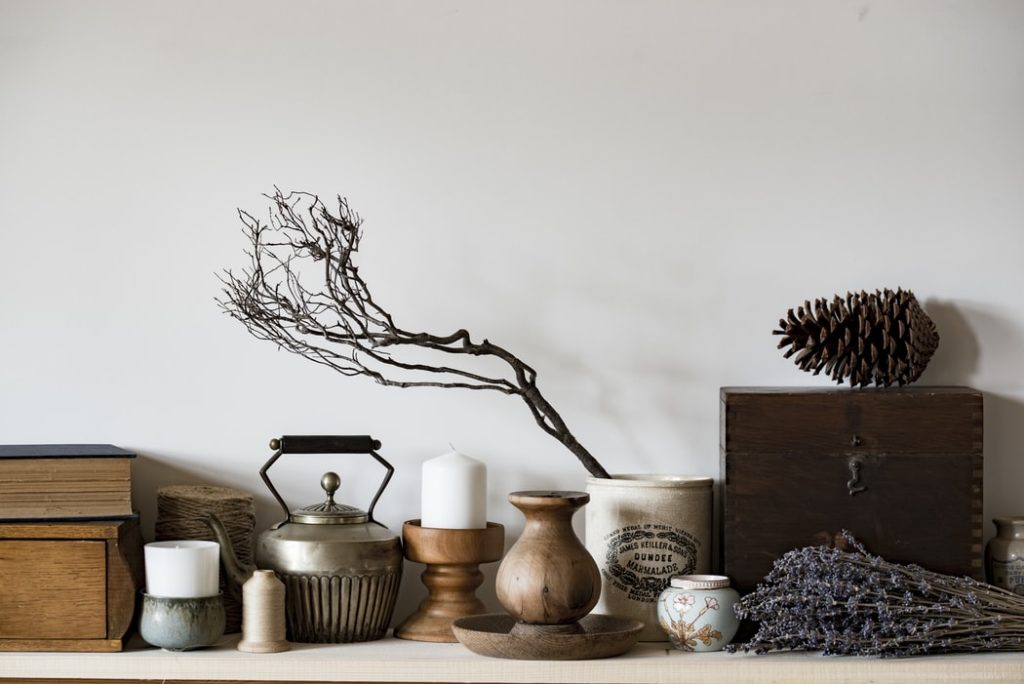
Group your subjects under the same pattern or shape to create consistency. This helps to revamp the visual aspect of your still life image.
Grouping also helps capture the viewer's attention. It adds to the overall feeling and strength of the image.
Use A Common Theme
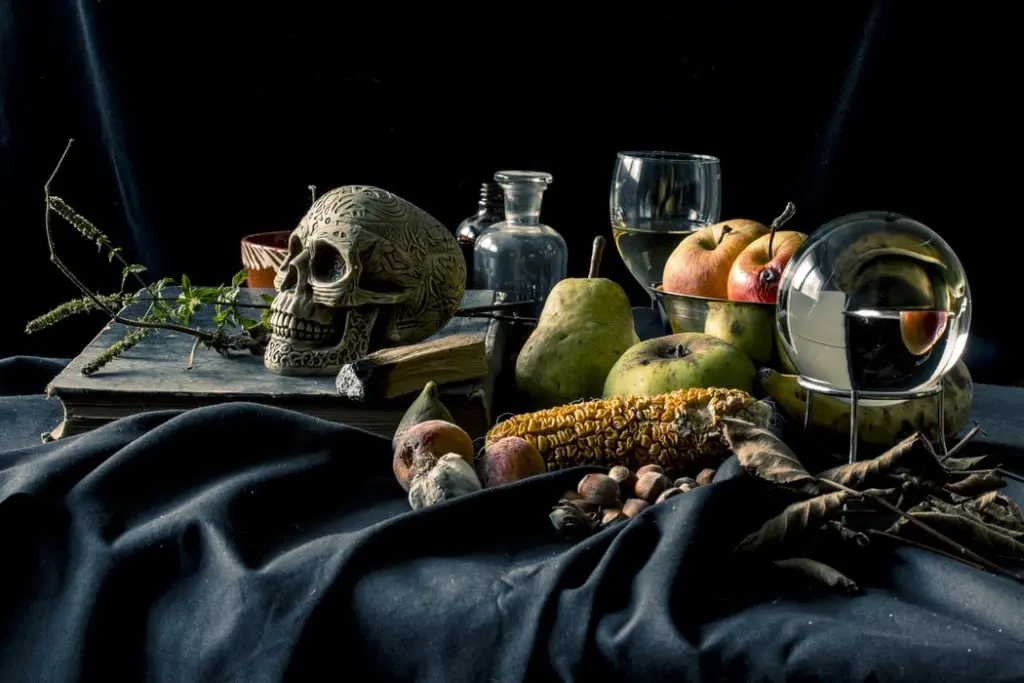
If you’re working with multiple subjects for your still life, they should follow a consistent theme. This could be color, shape, texture, etc. A common theme — using the same patterns. Repetition helps guide the viewer’s attention from point to point. This way, the viewer can explore the composition with ease.
Remember: A bigger part of your creative photography journey goes into self-discovery.
Edit To Perfection
There’s a heated debate among photographers whether photo-editing software has its place in photography. Whether or not it has, even devout digital photographers recognize that some low-key images need slight tweaking of color and saturation to bring them up to par.
Editing your still lifes offers you more freedom and endless possibilities to tweak your images as needed. The different editing stages can improve the final feel and look of your still-life images.
To improve your images through editing, we recommend using the tips below:
- Use Presets: Presets are resourceful elements for your still life photographs. However, you’ll need technical knowledge of Adobe Lightroom to use presets successfully in your images.
- Adjust Contrast And Exposure: This means making a photo brighter or darker as you want. Try to balance low, medium, and high contrast so your elements can stand out in the frame.
- Crop Out Distracting Elements: It’s best to crop your still lifes to help refine the compositional details (like unnecessary objects at the edge of the frame).
| Recommended Learning Resources: To succeed as a still life photographer, taking a course—online or enrolling in a college class—is critical. Be sure to check out The Best Free Online Photography Courses. |
Now that you’re a master of still life, let’s learn some more about it.
Learn From The Greats: A Brief History Of Still Life Photography
Still-life art is not new. It is, in fact, ancient, as the first still life painting can be traced back to Egypt in the 15th century BCE. Then, the Egyptians believed inanimate objects painted inside tombs would accompany the dead in the afterlife.
Fast forward to the 16th century, the Greeks and Romans adopted still life art and started using it in paintings. The results were much better, detailed, and sophisticated. Much like today, the Greeks and Romans used still life to convey religious symbolism through consecrated Christian manuscripts.
In the Renaissance period, the Dutch got wind of still life art and tried their hand with still-life paintings. Unfortunately, their still life compositions were subpar, and it took some time before they could make their mark on the craft. Yet like with everything in life, determination fuels success, and with time, the Dutch made their first true mark in still life art.
Take, for instance, The Well-Stocked Kitchen Scene by Joachim Beuckelaer: A classic still-life painting that depicts food and kitchenware in admirable detail.
Modern photographers can borrow a few still life photography ideas from the old masters.
Remember, these artists had to rely on raw talent to succeed. You could even argue only skillful artists succeeded back then—you couldn’t buy your way to fame, nor could you hire an artist to “brush up” your work.
There were zero shortcuts to success: you had to put in the work!
Still Life Photography: The FAQs
What Camera Do You Need To Shoot Still Life Photos?
The biggest advantage of still life photography is in its simplicity. And if you want to succeed in this great genre of photography, the key lies in having the right equipment.
And the good news is… You don’t need much.
You can shoot your still lifes with any camera. In fact, all you need is a phone and a ring light to start.
But if you want to create stunning shots, a full-frame camera, mirrorless cameras, or a medium format camera will do the work.
Which Lens Is Ideal For Still Life Shots?
You don’t have to break the bank to buy a super fancy lens. We recommend using long-focus lenses (telephoto lenses). They provide a small angle view which comes in handy when you want to fit your subjects within a frame.
Does Food Photography Classify As Still Life Photography?
Yes. It’s the easiest and is a unique genre of still life art. Even better, you can use some of your food images as part of your photography portfolio.
Now, don’t allow the words “easiest” to fool you. A lot of work goes into organizing your scene and arranging food items around the subject. You’ll need to get your creative juices flowing if you intend to succeed in this genre of still-life photography.

Over To You: Bring Your Creativity To Life
Now you know exactly what still life photography is and the techniques that will help you succeed at it.
As a last piece of advice: practice makes perfect. In a world where some photos barely last a minute, it’s the consistency coupled with discipline that will set you apart from the crowd.
Remember, don’t beat yourself up if you can’t create awe-inspiring still lifes right away.
The trick is to keep learning and improving.


