It might sound cliched but macro photography really does give you access to a whole new world of photographic possibilities. Looking on sites such as 500px you can see that great macro shots are as popular as beautiful landscapes or stunning portraits. To a newcomer, though, the technical aspects of this hidden world can seem a little daunting. Today we are going to shine a light on the equipment and techniques you need to get started in macro.
What Equipment Do I Need for Macro Photography?
The obvious answer is a macro lens but that’s not the full story. If you are on a budget you can use close-up filters. These screw onto the front of your lens and magnify the image by varying degrees. Obviously, there is some image quality loss but on a strict budget, they will get you into macro photography.
A reversing ring is another option. This reverses your chosen lens so that the front element actually becomes the rear element. You lose all forms of electronic communication such as exposure and focus. This will have to be done manually but the results can be very good.
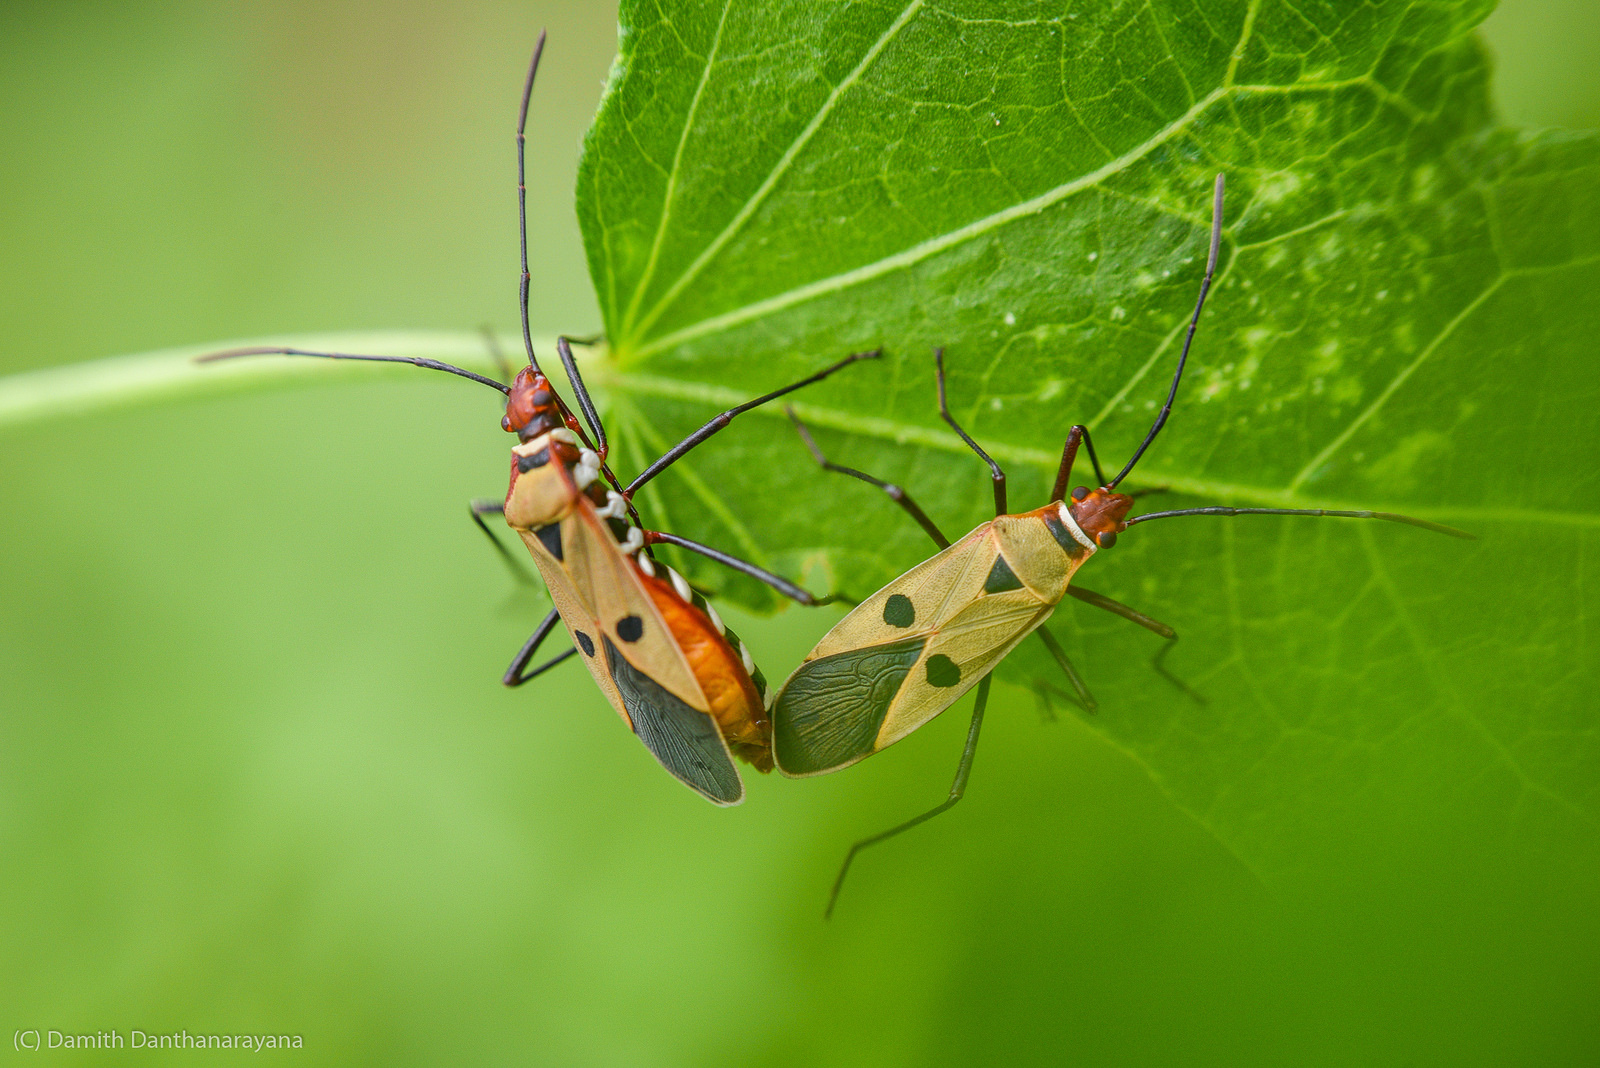
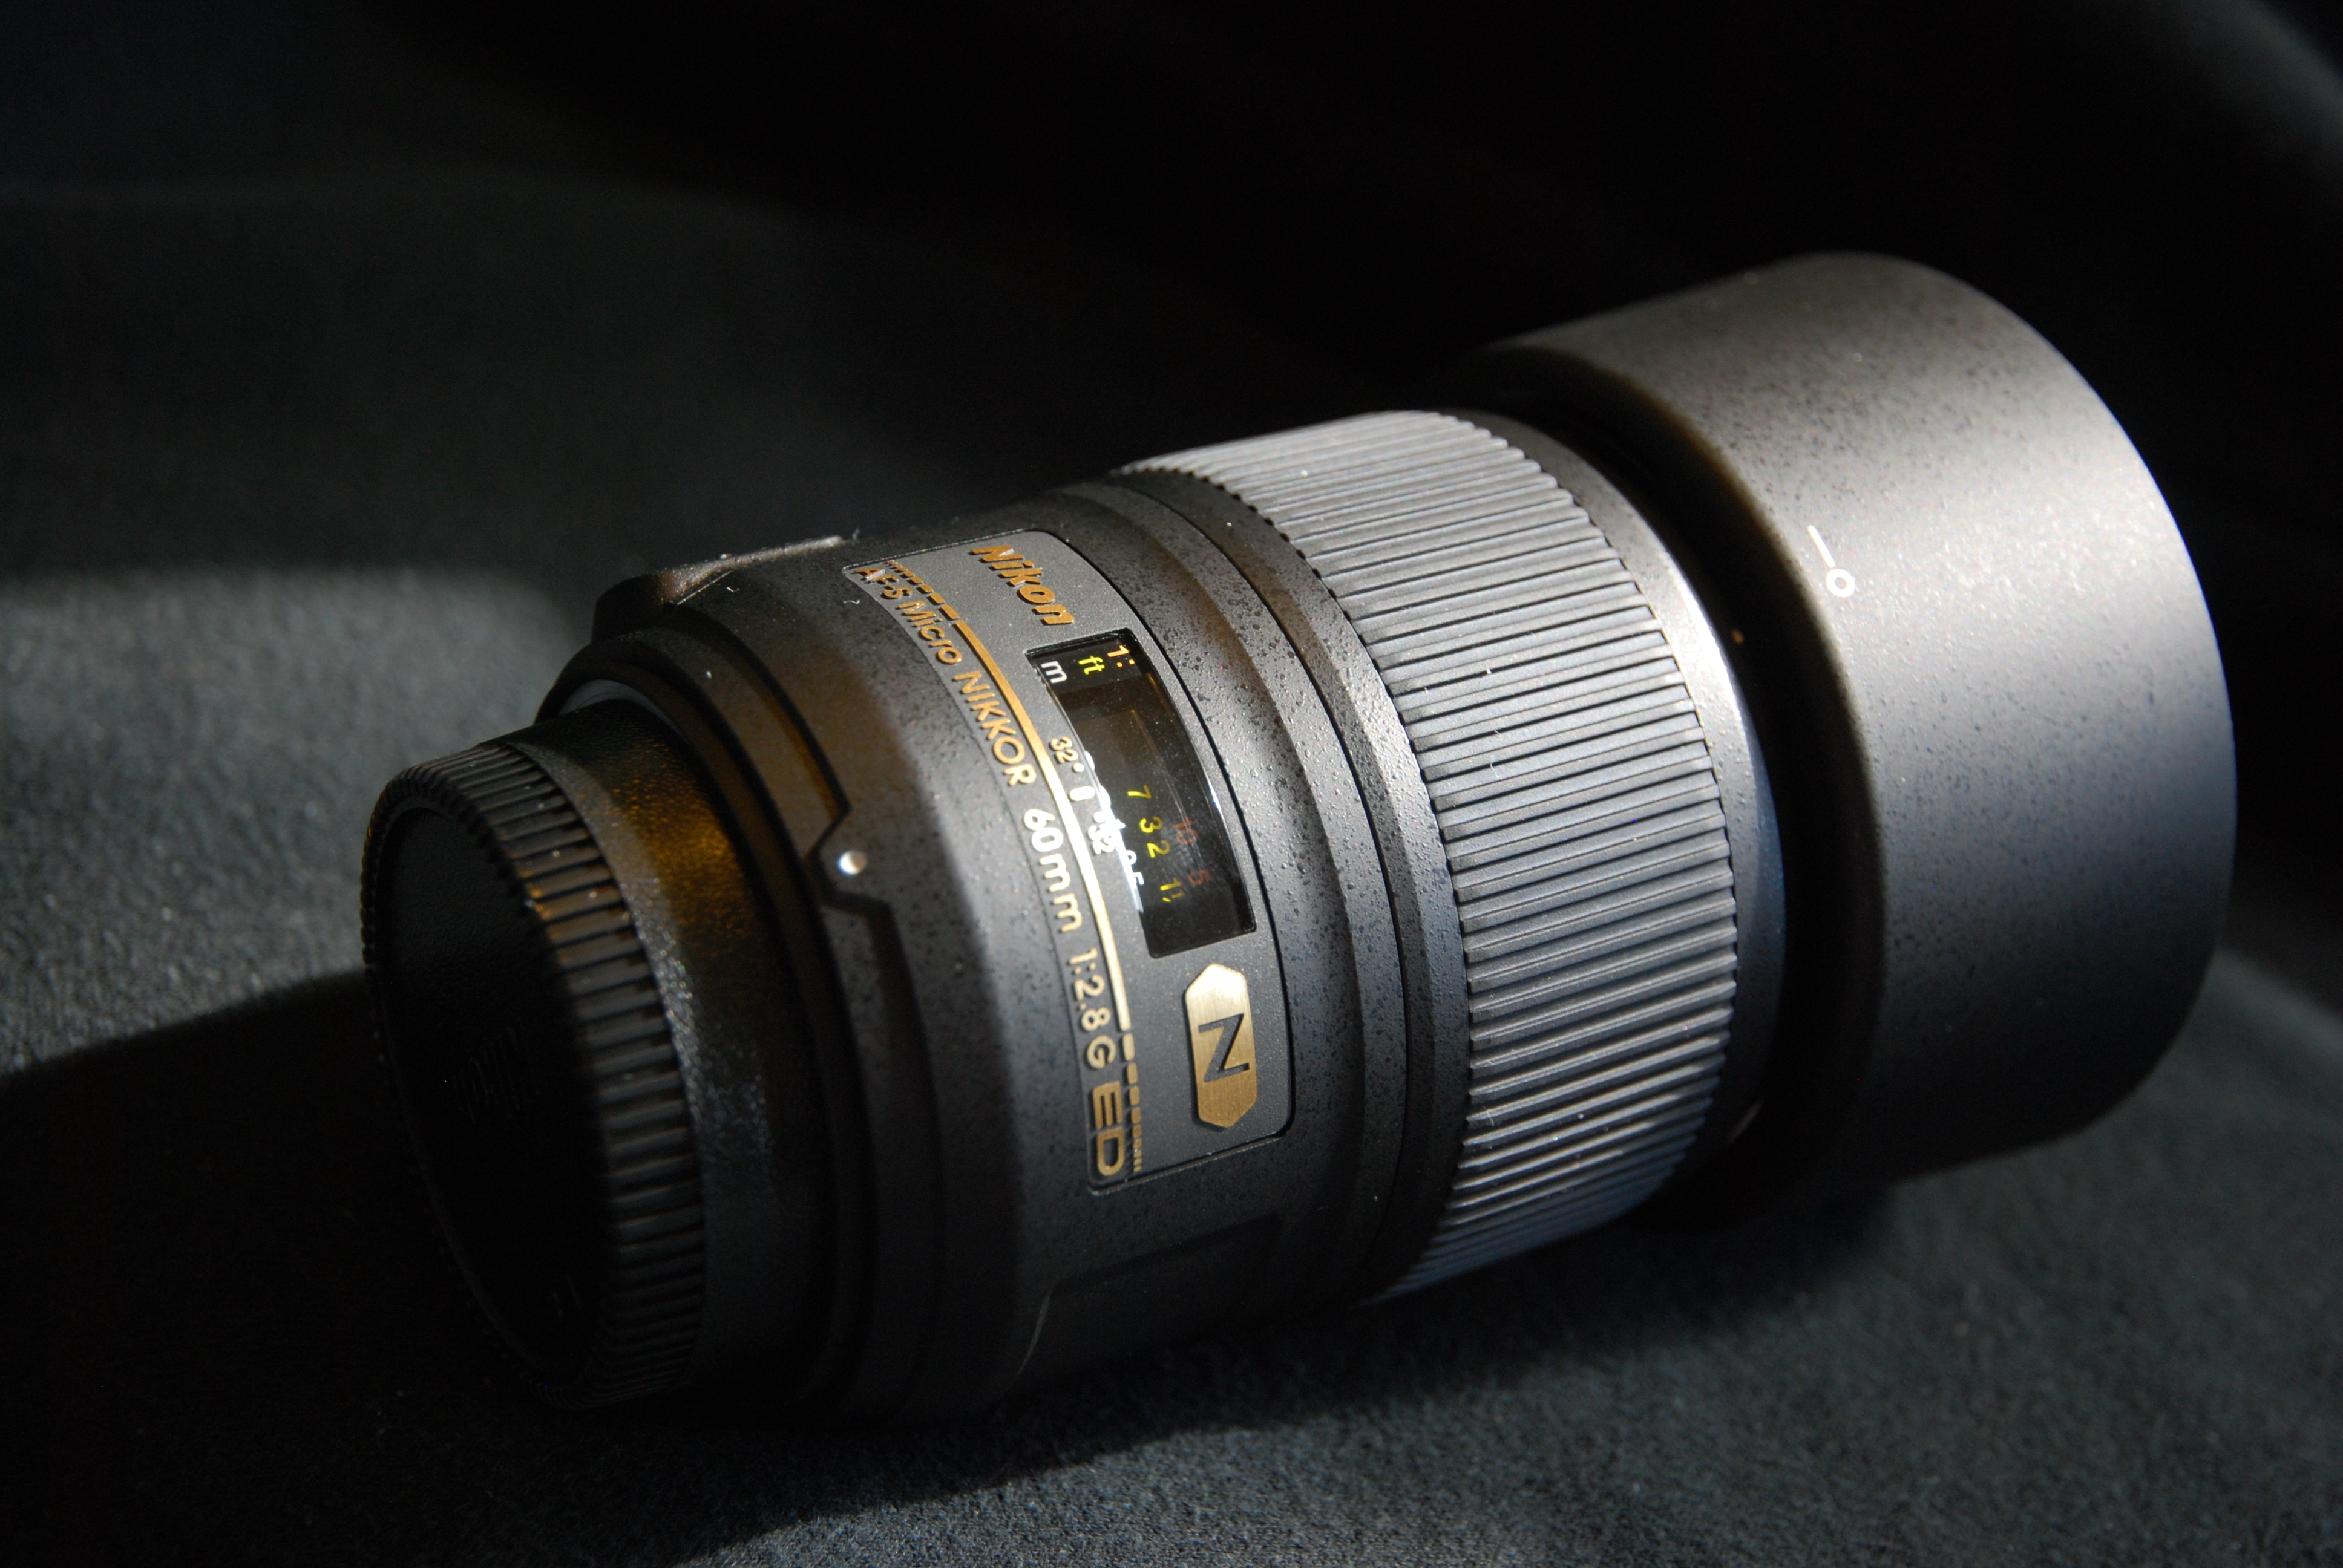
Returning to macro lenses, there are two options. The first is standard lenses with macro capabilities. This capability is often activated via a switch on the lens itself. These types of lenses are usually more close-up that true macro, allowing the lens to focus closer to a subject than if the switch was off.
The best option is the dedicated macro lens. These are nearly always primes and usually in the 50mm to 105mm focal length range (for a full-frame camera). As well to the camera manufacturers, virtually all third-party lens companies produce a range of macro lenses, often at more competitive prices.
A macro lens will, at a minimum produce a 1:2 image size. This means a subject that is 2cm long will produce an image 1cm long on the sensor. Most macros these days will reproduce 1:1 or in other words a life-sized image. When choosing a macro, minimum aperture is an important consideration as you often need to get a large depth of field.
One vital piece of equipment for macro is the tripod. Not every tripod is suited to macro work. You are looking for a highly versatile tripod where the legs can be folded out to a very wide aspect. This enables you to get the camera down very low. Reversible centre columns are also highly recommended as they enable you to get into tight hard to access locations. For the tripod head, a ball and socket is often the best option. This allows you to quickly reposition and fine-tune the camera.
Depending on your subject you may need to light your images too. Many people will already have flashguns. These can be used with remote triggers, off camera and with a softbox to provide flat even lighting to your subject. Another pricier option is a ring flash. These are literally flashguns that sit around the outside of your lens providing even omnidirectional lighting to your subject.
Some Macro Techniques To Consider
Stability is a big requirement for macro. The high magnification of the subject can easily lead to camera shake and motion blur if the camera is not solidly locked off. This is compounded by the fact wildlife macro subjects are often very fast. Knowing your subject well is useful as you can pinpoint locations where they are likely to be. Having the camera locked and focus preset can enhance your chance of a good shot. If you are locked off on a tripod you also need to make sure any image stabilization is off.
Depth of field at high, close magnifications is often very shallow. This means you will need to stop the lens down to get a suitable depth of field. The problem is that when you go beyond f11 you start to hit a problem called diffraction. This is a lens effect that can reduce image quality. If you need a deep depth of field you can use a technique called focus stacking to eliminate diffraction. It works by taking several images at different focal points throughout the scene and stitching them together in Photoshop or similar.
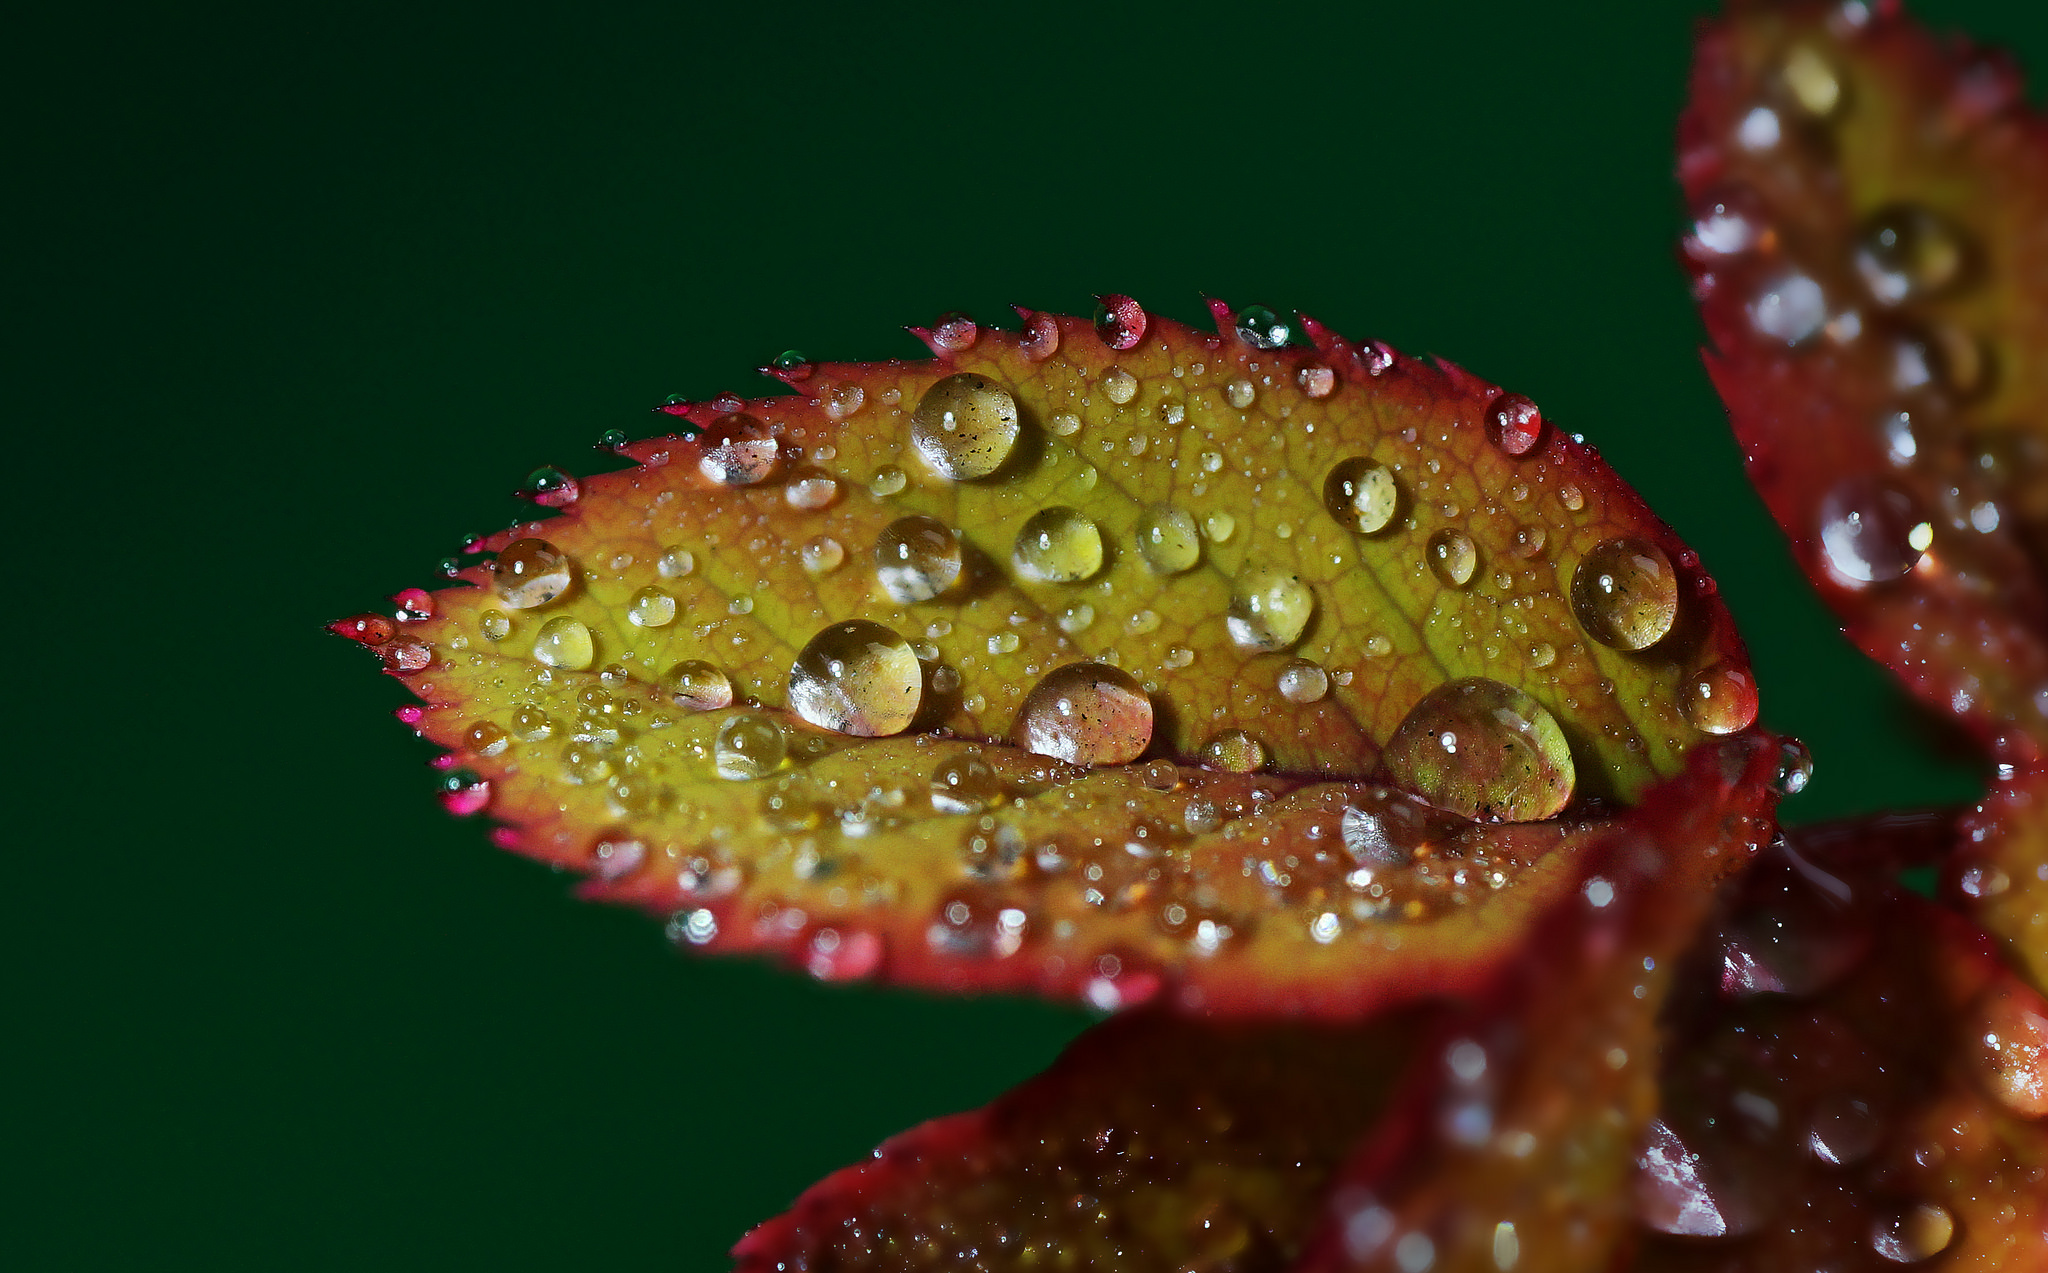
Focusing is very important in macro photography. Being slightly off on your selected focus point will look very obvious in the final result. The best option is the prefocus the shot manually and then fine-tune the focus, again manually, once the subject is in the frame. You will need to work fast and quietly in order not to scare any living subjects away.
Macro photography is a fascinating and beautiful world but it can be hard for newcomers to get into. This is mainly because of the equipment and techniques required to get the shots. Using some of the above advice, you should be able to get some great macro shots fairly quickly.
In Depth Articles on Macro Photography
- A Two Part Macro Photography Video Tutorial by Karl Taylor
- Rocking at Macro Focus: 3 Steps to Tack Sharp Images by Matt Krumins
- Tips and Tricks in Macro Photography by Zeiss

2 Comments
Is there a reason why there is no mention of extension tubes?
Good question! I use a 12.5mm extension ring on y 24-105mm zoom lens and this can produce excellent shots of a flower’s internal structure.