Well, specifically a lack of light and an understanding thereof is what will cause harm to your progression as a photographer. The thing is, without explicitly taking the time to understand how light works, you're kind of wasting your time.
Why is that?
Well, because if you understand light, your photography WILL improve. But if you don't, it won't.
That is exactly what these TOP TIPS are about. Getting the basics down and being armed with the essentials means you're gonna rock at this!
About Light
Light is the basis for photography and photography simply means, painting or drawing with light. In order to be a better photographer, one needs to know how light works and how it affects everything around us.
Understanding light and knowing how to control light is where we start making huge leaps and bounds in our photography.

Here are Some Tips on How Using Light Efficiently WILL Improve Your Photography.
Develop an Understanding of Light
As most of us know, light travels in straight lines and when it comes across an obstacle, depending on the type of obstacle, it either gets reflected (i.e. bounces back), refracted (changes direction when passing through a medium) or absorbed.
Light reflects off at the same angle as it hits the surface (angle of incidence = angle of reflection).
The amount of reflected light depends on the color and type (texture) of the surface.
For example, shiny smooth surfaces reflect a lot of light and this is called direct reflection, whereas, reflection from a rough surface like a white ceiling is called diffused reflection.
Understanding this will help you to modify and control light falling on your subject, the way you want it.
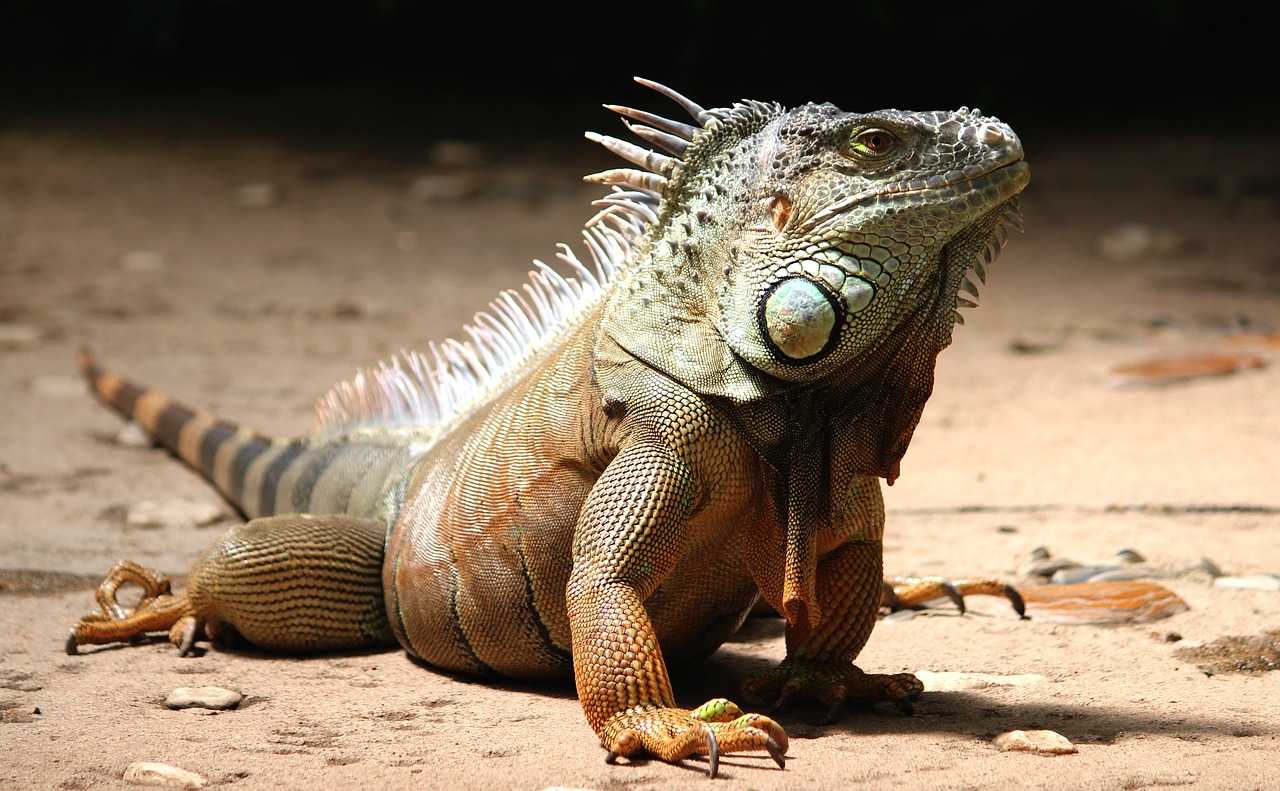
Understanding Natural and Artificial Light
Natural and artificial light are the two basic categories under which light falls and as we all know, natural light is the light produced by the Sun, Moon, while artificial light is any manmade light like fluorescent bulbs, studio lights and others.
Whichever type of light it is, they each have different characteristics.
Natural light such as sunlight has different characteristics at different times of the day.
For example, morning and evening sunlight are soft creating soft shadows whereas the sunlight at noon is harsh (high intensity) and produces dark or sharp shadows.
As a photographer, one needs to make the best use of the available light at any time of the day.
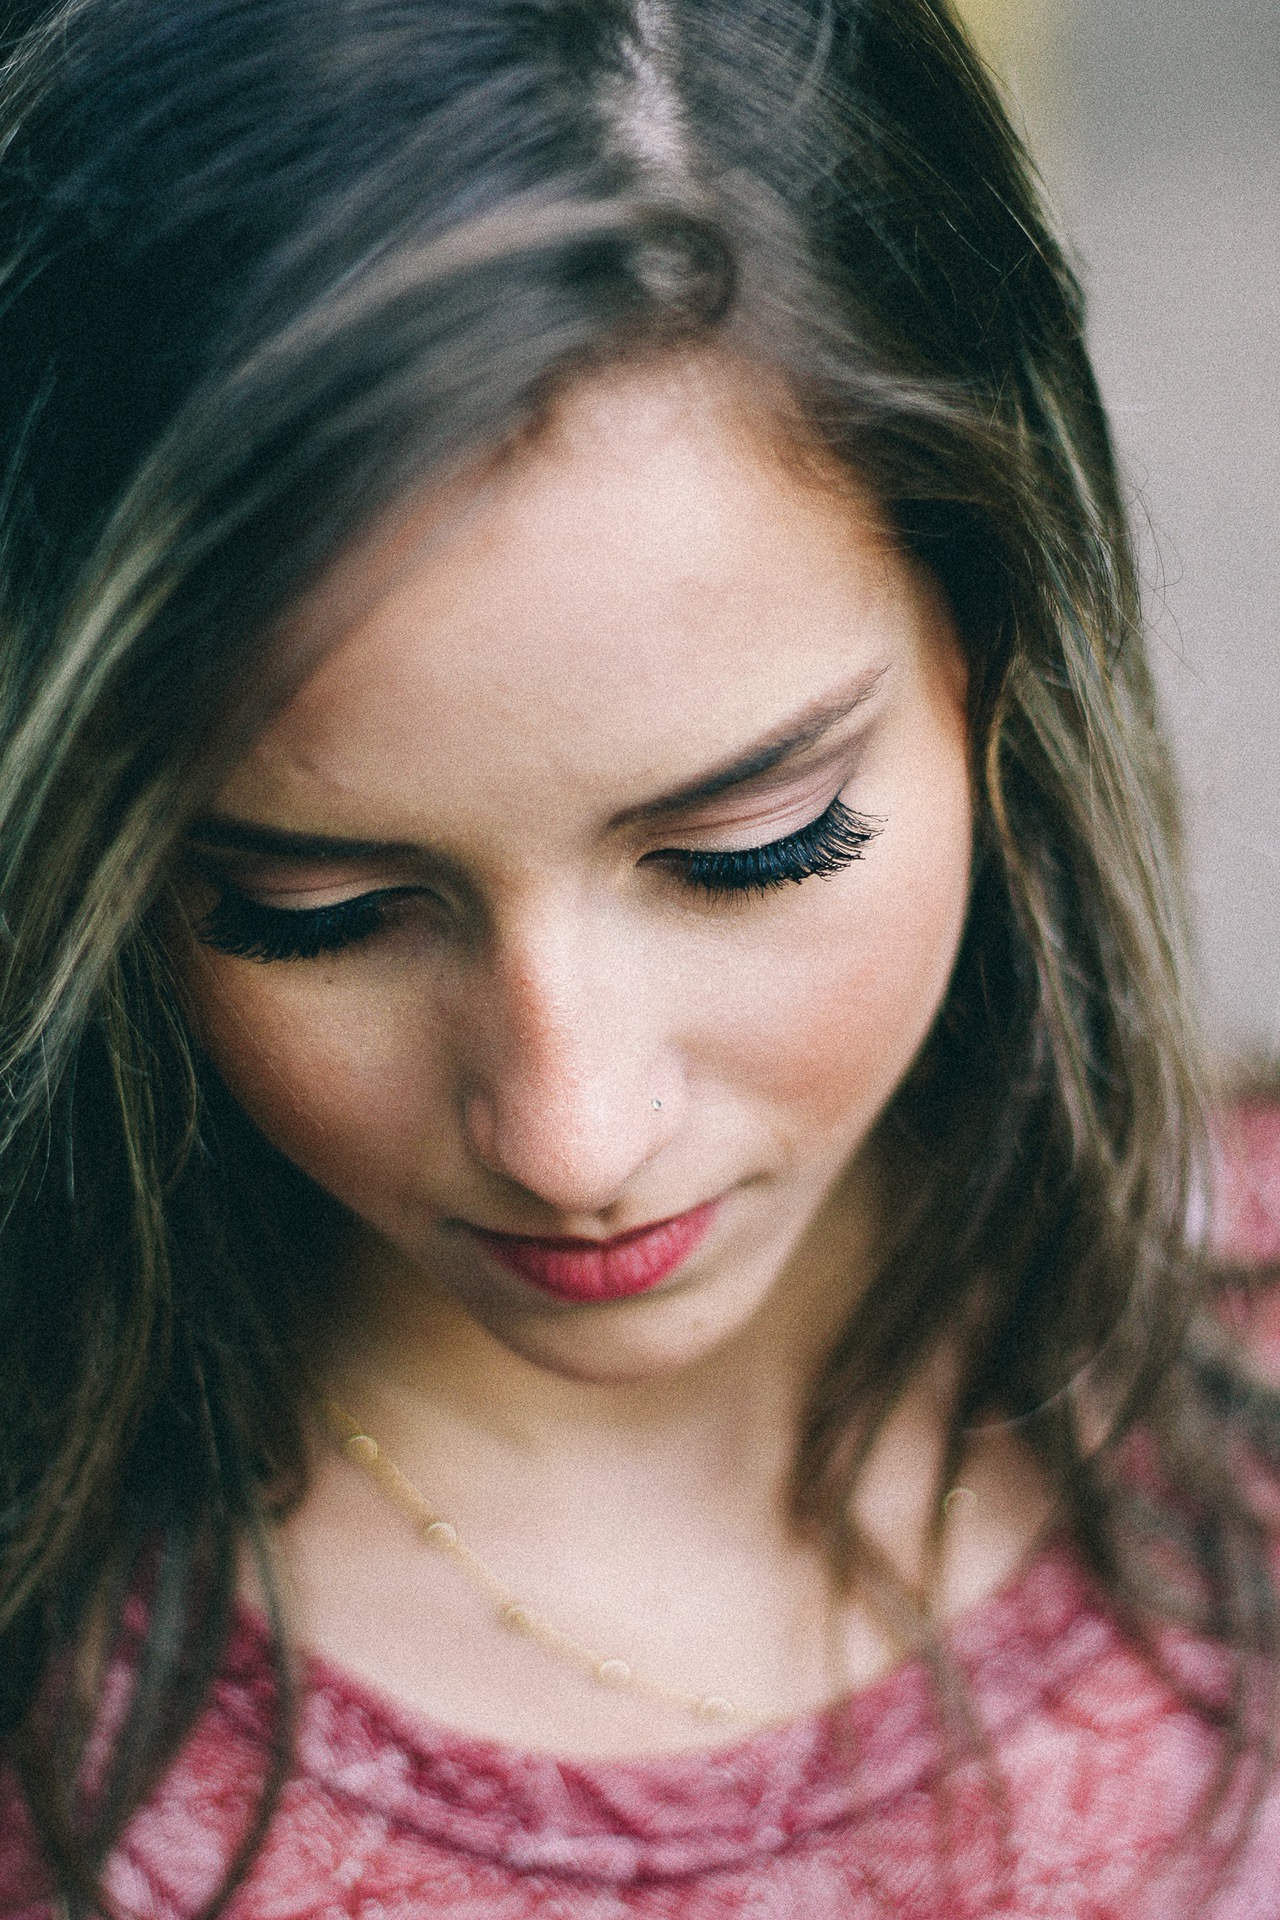
Understand Light and Its Direction…
The direction of light plays a very important role in photography and it even affects the quality of the photograph.
There are various ways in which you can illuminate a subject depending on the direction of light, i.e. front lighting, back lighting, side lighting, top lighting, etc.
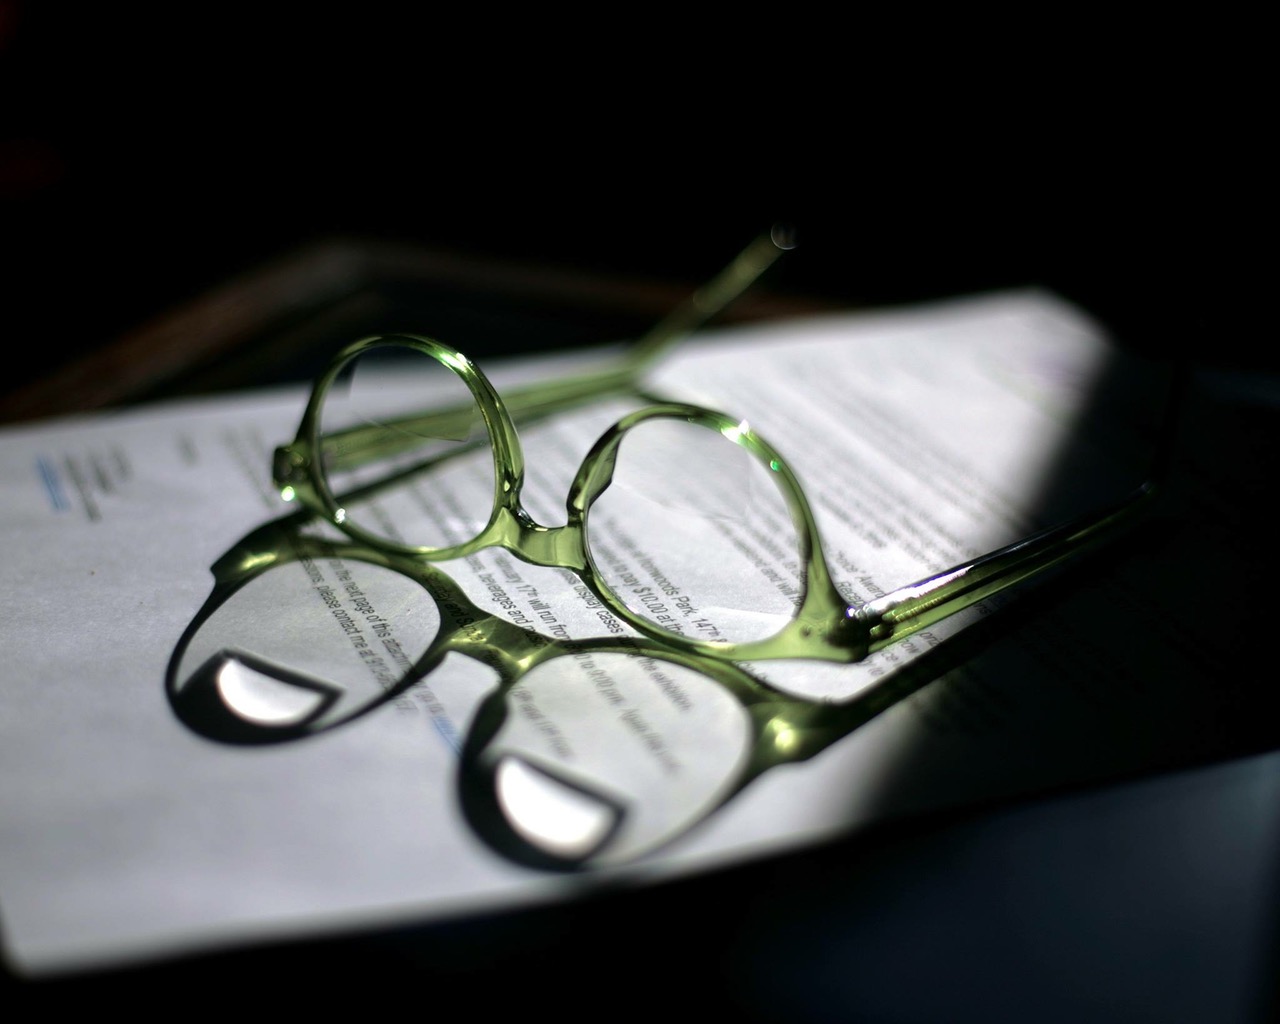
Different types of lighting brings in a different mood to a photograph.
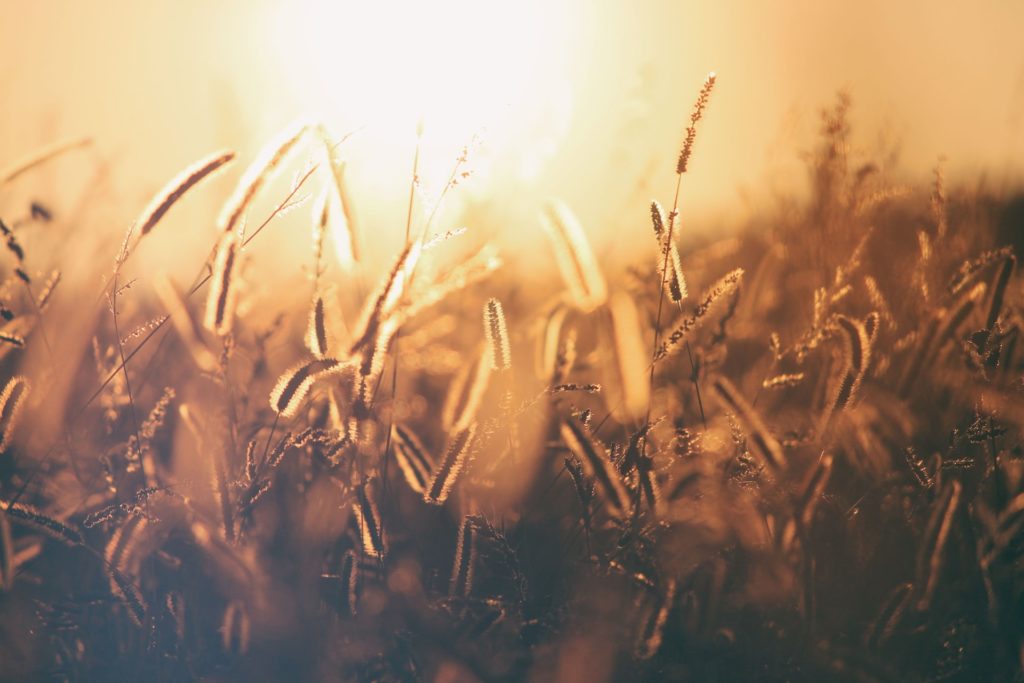
For example, side-lighting can bring in that dramatic feel with long shadows (happens during sunrise and sunset time) and back-lighting can give that magical feel to the photographs (example shooting during the golden hours).
Note – this is a very important factor to consider when shooting portraits, both indoors and outdoors.
Diffusion of Light
Diffusion of light relates to the hardness or softness of light and is another major factor that needs to be taken into account while shooting.
The diffusion process scatters light making it soft, which means, harsh light can be made softer using a diffuser, as hard or harsh light can create sharp-edged shadows which may not be very appealing to the viewer.
Some examples of diffused light include – overcast skies, fog, bouncing light off a ceiling or matte surface, etc.
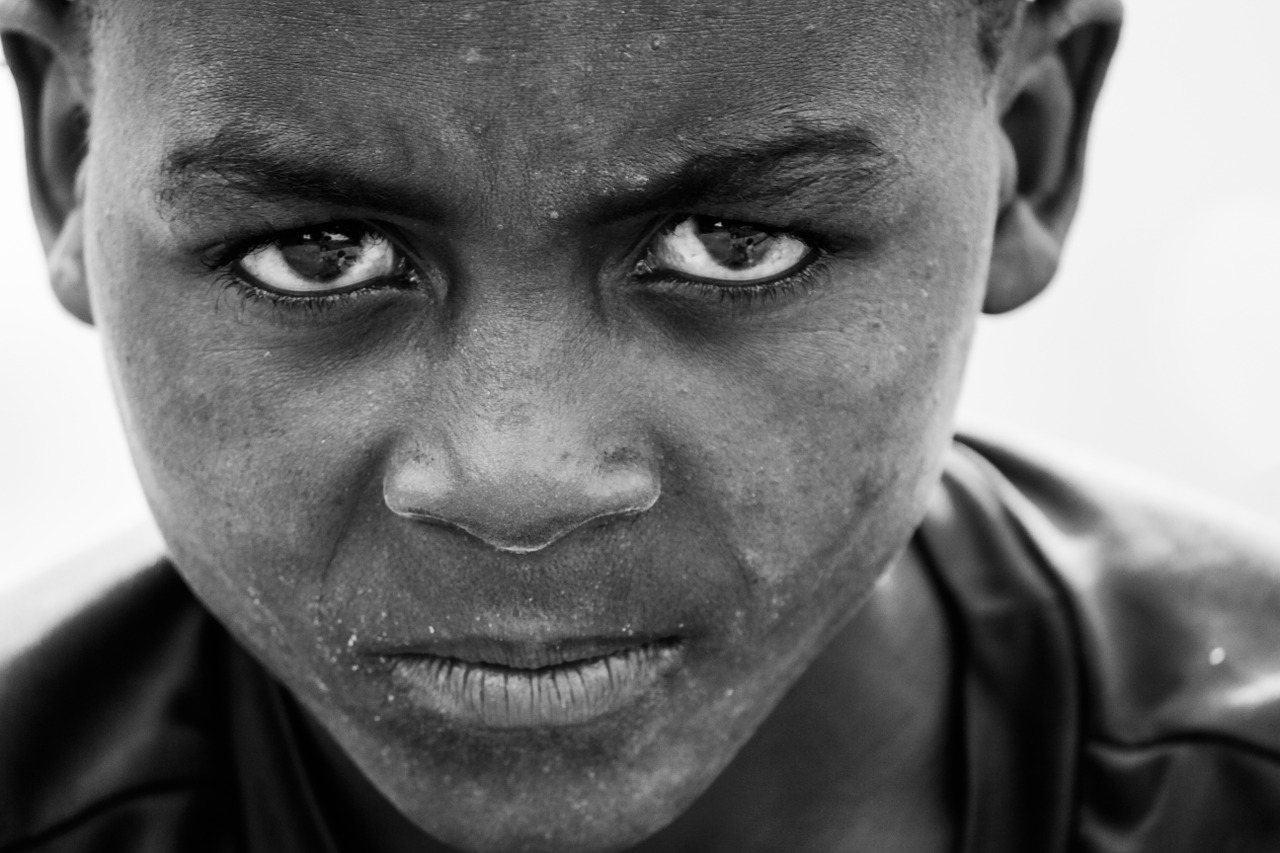
Color Temperature or White Balance
White balance is adjusting the colors in the image (removing color casts) to make them look natural. Essentially, it's the color temperature of the environment that you are shooting in, whether it is indoors or outdoors.
Does that sound confusing?
To put it in simple words, different types of light have a different color cast. For example, an indoor lamp has a different color cast compared to the sun outdoors.
Make sure you shoot white light as a neutral white color and not as a warmer yellow or colder blue color. Pretty simple!
This color temperature is measured units called Kelvin (K).
With modern DSLRs, there are various white balance presets to choose from like cloudy, candlelight, fluorescent, daylight, etc.
Some advanced-level cameras even let you further fine tune the white balance settings manually! That way you have the image with the correct color. Shooting RAW has an added advantage where you can fine tune the white balance while post processing.
4 QUICK TIPS
- The intensity of light depends on many factors like the type of source, the distance between the source and the subject and others. Soft light helps have a tonal range whereas hard light can result in very dark shadows and blown out highlights.
- The best time to shoot portraits is the “Golden Hour” as the light is soft and diffused, casts golden magical hues and creates soft shadows. Also, the long shadows add interest and depth to the images.
- The main factors that control the light in your camera are exposure (more exposure, more light), shutter speed (faster shutter speed, less light), aperture (wider aperture, more light) and ISO (higher iso, more light).
- Remember, the narrower the light source, the harder the light; the broader the light source, the softer the light.
So there we have it, a load of tips and information for you to begin your journey to taking better photos simply because you now have a better understanding of how light works.
Further Resources
- The Ultimate Guide For Mastering Light In Your Photography by Dzvonko Petrovski
- 4 Straightforward Ways Photographers Can Light Up Their Portraits by Dzvonko Petrovski
Further Learning
Fantastic Fundamental Light Skills will teach you how to understand light, use it and produce images you had only dreamed of whilst browsing your favorite blogs online. Don't wait around, get practicing and get learning.

3 Comments
Hi Dahlia – were you looking over my shoulder, as you wrote this article? I am a “natural light” enthusiast, and understanding light is very “near & dear” to my heart. While you were putting your thoughts to paper, I was engaged in a rather special task. A dear friend of mine has two Dachshunds, and one – the girl – is getting quite old. I realized she may not last too much longer and to make sure my friend isn’t going to be unecessarily devastated when her pup disappears to the Rainbow Bridge, I started to create a portfolio of photos of her.
Light has been a major issue in achieving this. One issue in particular – what to do (or not do) about the little girl’s “grey hairs”? (Actually they’re more white, than grey). One solution was timing – use the “golden hours”. Well maybe not QUITE that early, but between breakfast and mid-morning.
The remaining soft yellowish tint the sun’s light has been enough to put a bit of “natural colour” back into the fur around her face My objective in doing this was to minimise retouching, but at the same time seek a way of “extending” the apparent age profiles in the photos in the portfolio. In an attempt to compensate for the lack of photos taken in past years, and to give my friend a selection of photos that showed how her pup looked at different times in her life.
She has only just realized that her pup is heading towards the end of her life, and these photos have given her an enormous support and boost during what will be a difficult period for her. The photos are now plastered all over the place in her house, and given her so much happiness. It’s been a real pleasure to create these photos for her, and an understanding of the lighting has played a vital part in producing a satisfactory result.
Hi Jean,
Thank you so much for stopping by and sharing your valuable experience here! Nothing to beat natural light in my opinion. To be honest, I dread using artificial light.
Good to hear that your photos have made someone happy! Keep clicking 🙂
LOL – me too! It isn’t that I don’t have flash, or studio lighting. It’s just that my preference is “natural light” – because to me, the study of light is a basic of photography.
Granted that that statement doesn’t preclude the use of artificial light – but my main fascination with artificial light is the “natural light” of the period between sunset & sunrise, which of course includes a variety of artificial lighting.
Of course this recalcitrant attitude inflames some ‘togs. It’s like long exposure – I like my waterfalls to show droplets of water, just as I saw while I stood watching the water falling – turning it into something that looks like someone is pouring custard over a cliff has no “interest factor” for me – it just leaves me feeling stunned by whatever it’s supposed to be.