As photographers, many of us have used YouTube to learn something. There is a plethora of amazing videos covering everything from attaching a lens to advanced post production. It’s also a place for showcasing your talent, often within the form of a tutorial or vlog (video blog – for those of a certain age)
We have talked a fair bit about the capabilities of video in our stills cameras. So what about putting those capabilities to good use? One way is to start up your own YouTube channel and bring your creativity to a wider audience. Today we will show you how!
Before You Start
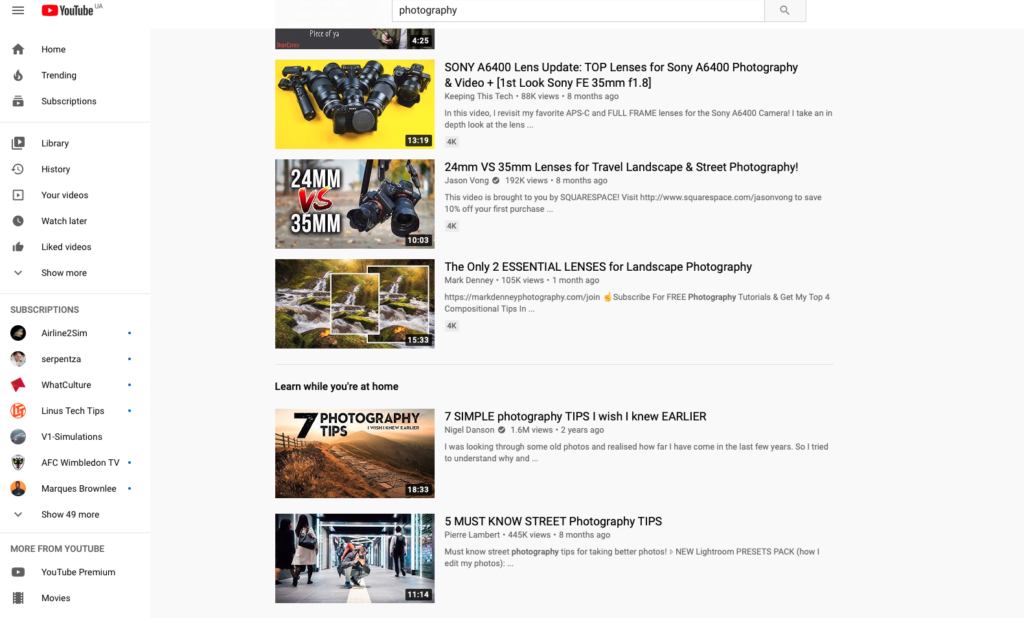
Creating a YouTube channel is not as daunting as it sounds. In fact it’s pretty simple. But creating a YT channel that grows requires a little forethought at the beginning! The objectives of the channel is what matters the most. The biggest faux-pas of the new creator is to simply upload a multitude of different videos that are not related to each other or have no theme.
A major misconception is that you can easily monetize your channel. That used to be the case a few years back but now YouTube requires:
- 1000+ subscribers
- 4000 hours watch time over the last 1 year period
- Channel must meet Google’s Advertiser Friendly Content Guidelines
As a newcomer to YT you can pretty much forget about monetization, unless you are prepared to devote some serious time to quality content.
However, it’s not all about monetization! YouTube can be a great place to showcase your talent, skills and educate others.
Finding Your Niche
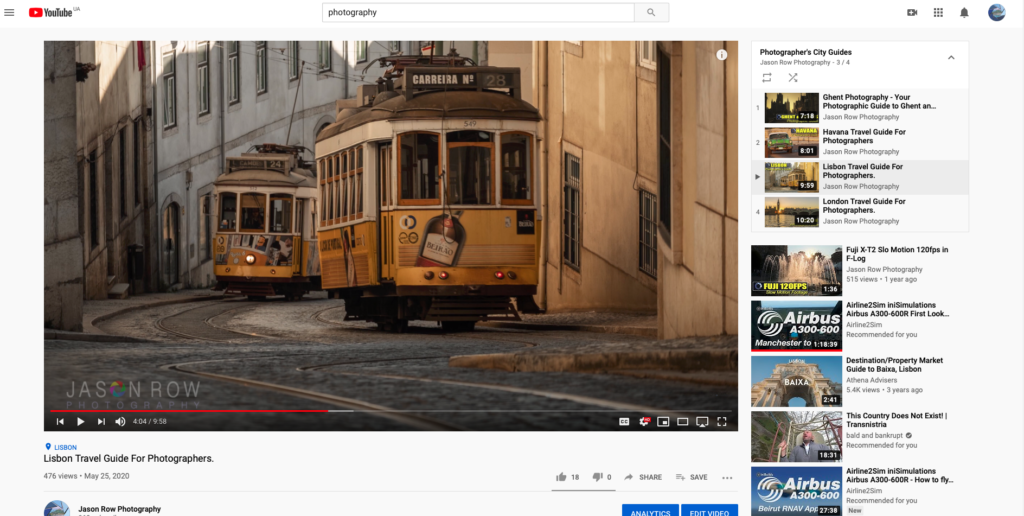
The key to growing a YouTube channel is finding your niche. You need to find a speciality or way of doing things that resonates with your audience. Some ideas might be:
- Showcasing your photography through slideshows
- Creating Lightroom or Photoshop tutorials
- Vlogging about the way you tackle a shoot
- Reviewing or demonstrating how to use equipment
You need to showcase your talents! If you lack confidence in front of camera then maybe screen-casting tutorial is your thing! If your are not comfortable with your voice, then slideshows or even creative travel videos might be the way to go.
One thing is for sure, you won't know what your niche is without trying several different options. Don’t be afraid to leave your comfort zone when making videos, it’s the only way to find where your YouTube talent lies.
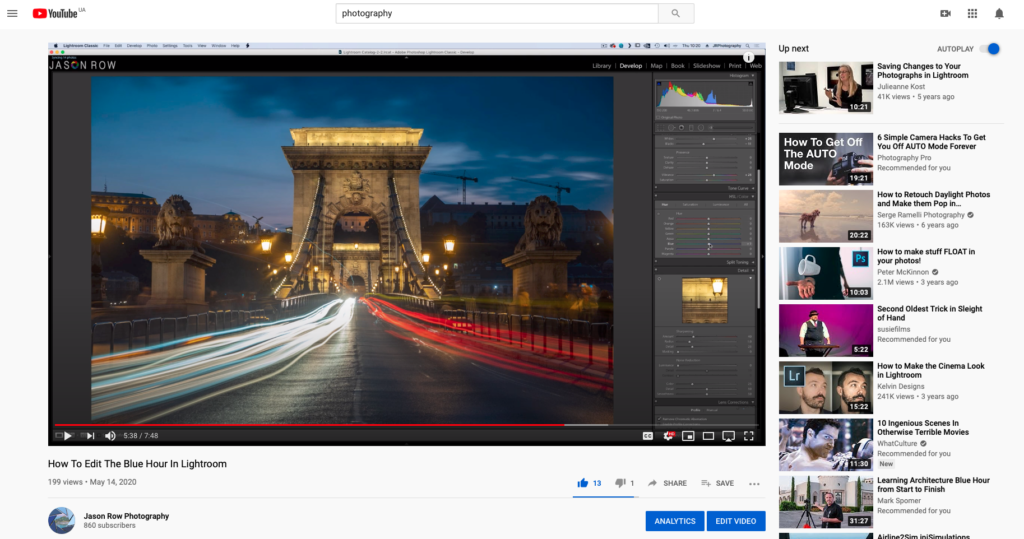
Getting Started
Like it or not, the first thing you are going to need is a Google account. With that in place, make sure you are signed into Google then head over to YouTube. Click on your profile top right of the screen, then go to settings. Here you will find the option to Add or Manage Your Channels. Click on that and create a new channel.
The first thing you need to do is give your channel a name. Think carefully about your name – it’s your brand, it’s how your subscribers will return to you and how your new viewers will see you.
As soon as you have added name, you will be able to upload videos. However, it’s best to customise your channel first.

Clicking Customise will take you through to your Channel main page. Here you can add Channel Art – the channel’s header image. You can add logos, write an About description and add tags to describe your channel. Once you have “branded” your channel, it’s time to upload your first video.
Uploading A Video
Although it’s a simple process to actually upload a video, there are a number of things that you need to get right. Firstly upload in the highest quality possible, 4k is best but 1080p is fine. Do not go below this. Make sure you output the video at the best quality and preferably in the h.264 codec. YouTube will take care of the rest.
When you upload you will go through three pages – each of them is important!
The very first thing you need to add is a title. The wording of this is vital if your video is to be seen. Make it short but descriptive, but also friendly. Avoid terse or clickbait titles.
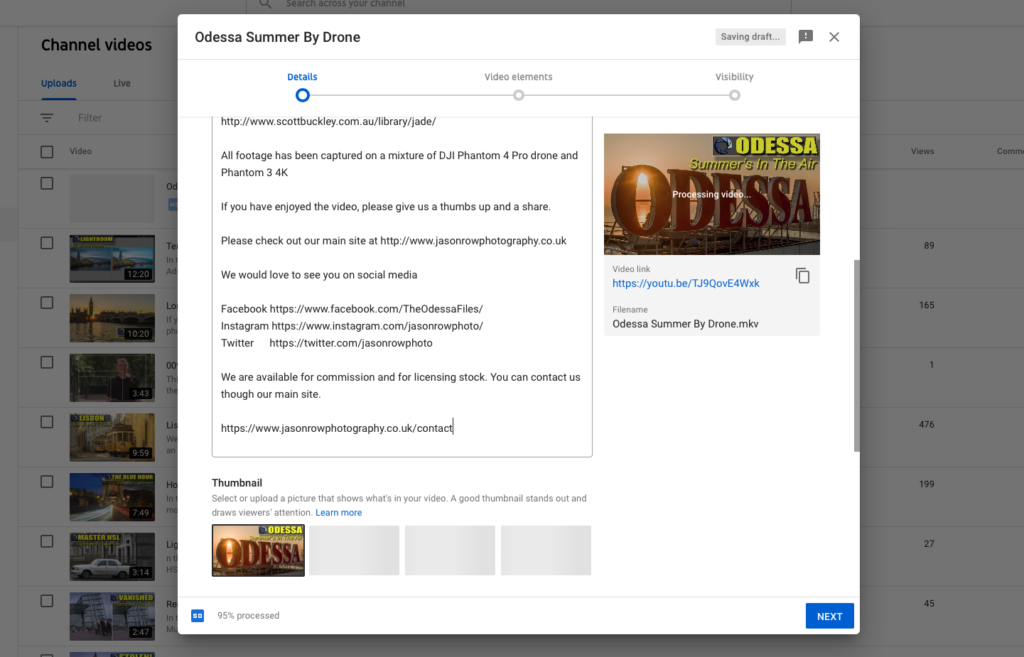
Repeat the title in the first line of description. Then go on to further explain what the viewer will see in the video. You can add external links in your description too. Add a call to action such as “like and subscribe if you enjoyed this video”.
Scroll down the first page and you will find further options. First is adding the thumbnail. Don’t let YouTube simply create the thumbnail. It’s much better to create your own in Photoshop. The thumbnail is a another hook for the potential viewer, it needs to stand out!
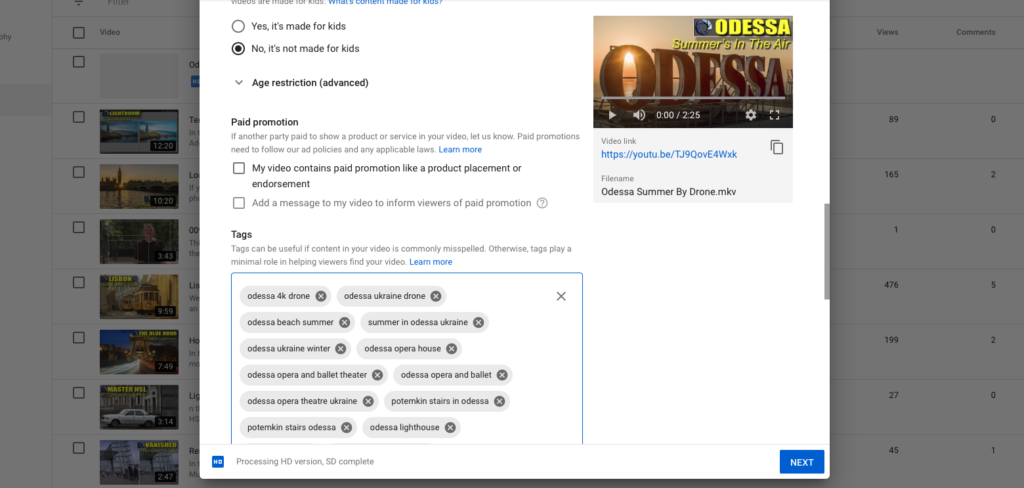
Another important aspect is your audience. Unless your video is aimed specifically at kids, then check the No, it’s not made for kids box. Clicking more options allows you to add tags, select a language and upload subtitles.
The second tab of the upload process allows you to add some marketing to your video. This is in the form of end screens and cards. End screens are calls to action that ask the viewer to subscribe or link to further videos or playlists. Cards are similar but allow for only one link from a small discrete card placed somewhere during the video.
The third tab is visibility. Here you can choose to keep your video private, unlisted or public. Private can only be seen by you and people you want to see it. Unlisted videos do not appear in a YouTube search but can be watched by anyone with the link. Public videos appear in search and can be seen by anyone. On the third tab you can also choose to publish the video immediately or to schedule it.
After Publishing
Getting the video seen requires some work after the video has been uploaded. If you already have subscribers, they will see the video in their subscriptions list. However, for the most part you will need to do a little self promotion.
You can announce it to your friends via social media or actively promote your content through forums and groups. Don’t just sign up to a forum and start posting links to your video. Become an active and helpful member and people will be more likely to watch your video. Also, only promote the video in suitable groups. A travelogue video is not going to go down well in a Photoshop group.
Learn to use YouTube Studio. It is a very powerful tool for seeing which videos are working best. It can show you when is the best time to publish, the demographics of your audience and where you viewers are finding your video.
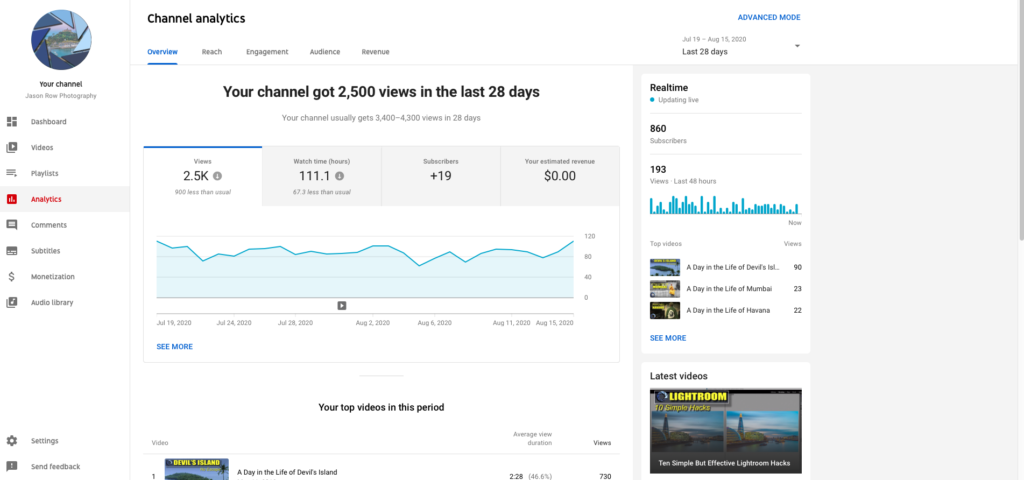
A YouTube channel is not for everyone. However, if you enjoy showcasing your work or giving back to the photographic community it can be very rewarding. If you want to grow your audience you need to upload quality content and do it frequently. That can be time-consuming but the fact that people are learning from your work is truly rewarding.
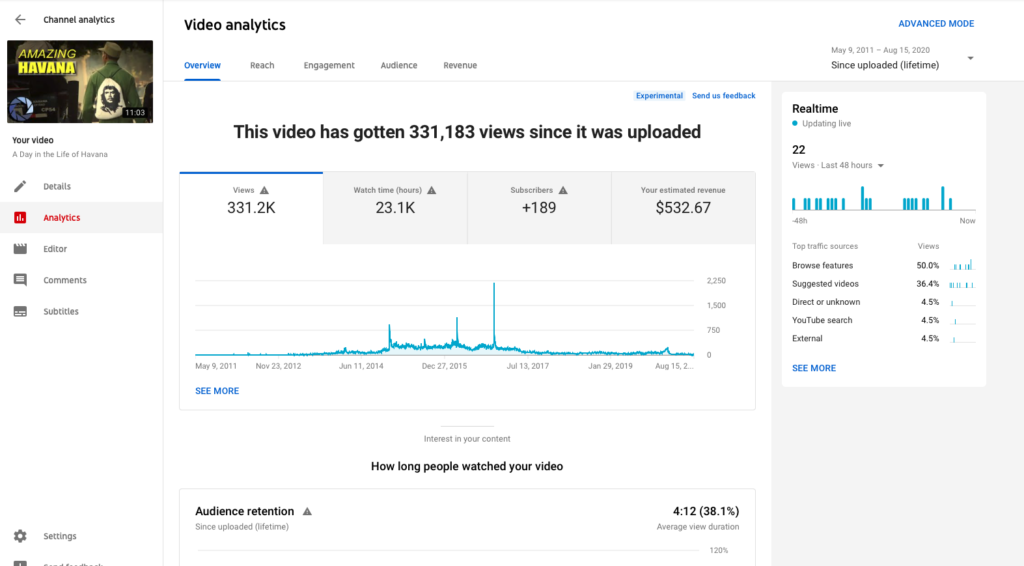
Over the last few months, I have been focusing on growing my own channel, adding around two hundred subscribers so far this year. If you are interested in taking a look, you can check it out here:
Further Reading:
- Are YouTubers Driving Gear Acquisition Syndrome?
- These 3 YouTube Channels Will Help You Become A Better Photographer
- 5 Awesome Photography Related YouTube Channels You Probably Don’t Know About
- YouTuber Entrepreneur Sued by “Malicious” Photographer for Stealing Copyrighted Photo
- YouTube Execs Under Fire for “Toxic Videos”


