Like it’s sister program Lightroom, Photoshop can be an incredibly daunting program for newcomers to photography.
And, as with Lightroom, Photoshop is not a necessary requirement for the up and coming photographer, however, the program will give you much more creative control over your final image.
Learning Photoshop is a lifelong exercise; Adobe constantly updates the application and artists constantly find new techniques and new ways to use the program. However, everyone has to start somewhere, so today, we are going to give you a very basic introduction to Photoshop. We will concentrate on what it is, what it does and its basic interface.
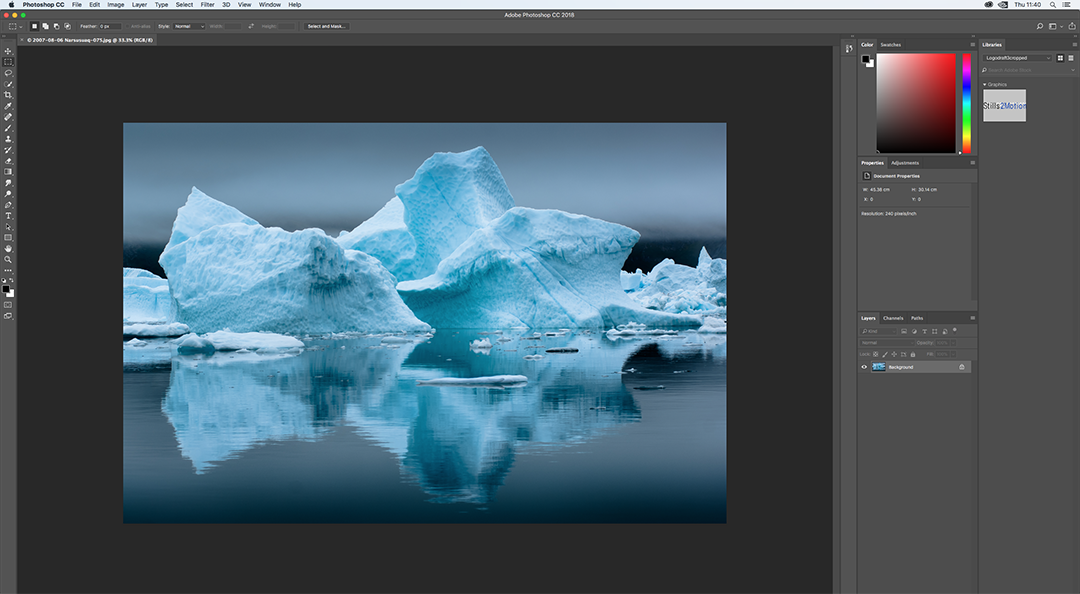
What Is Photoshop?
Adobe’s Photoshop is the world’s premier photo editing software. Although it is used by designers and graphic artists, its predominant focus is as a tool for photographers. It allows us to import images in traditional digital photo formats such as jpeg, tiff, BMP and RAW.
When you open a RAW file in Photoshop, the program will open the built-in RAW processor, Adobe RAW. Here you can carry out image edits, across a spectrum of variables, before opening that image in the main Photoshop program.
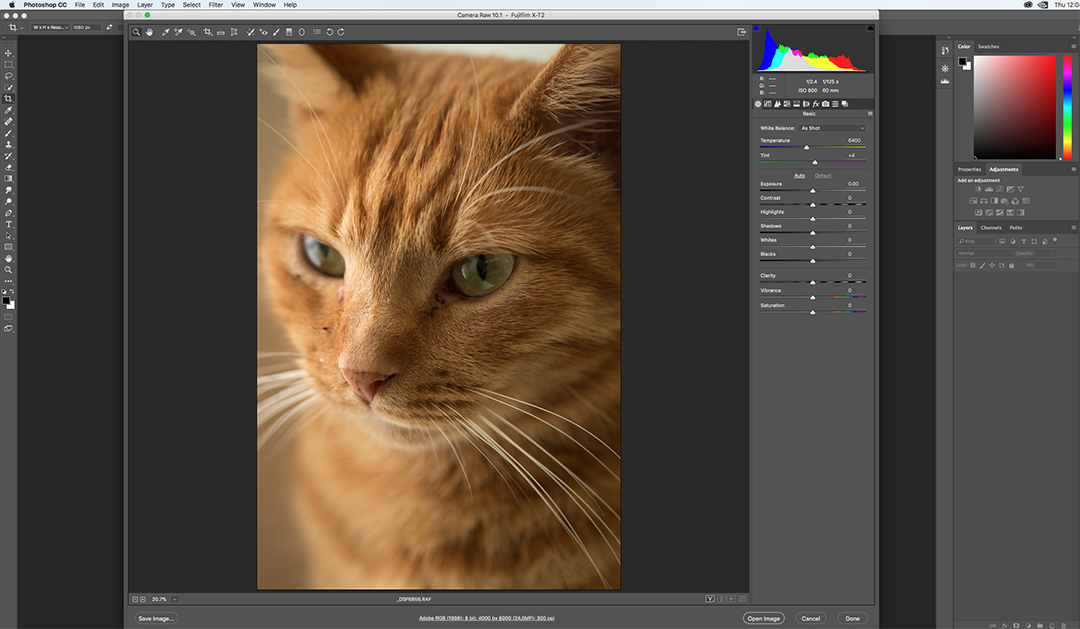
Once in the program, we can manipulate our image – editing every detail from basic exposure and colour correction to producing highly complex composites and photo merges. The sheer breadth of tools available often means that there is more than one way to achieve a certain look, but happily, the basic tools are fairly easy to learn.
Unlike Lightroom, Photoshop only has a very basic image photo management tool in the form of Adobe Bridge and, unless you are using a tool like adjustment layers, most of the edits are known as destructive. This means that there is a slight image degradation for most edits.
Photoshop’s Interface
On first opening, the latest version of Photoshop now presents us with a window of our recent opened files. We can choose to open one of them or we can go to the File menu at the top and either open an image from our folders or create a new image canvas to work on.
For a newcomer to Photoshop, the key menu items at the top are File, Image, and Filter.
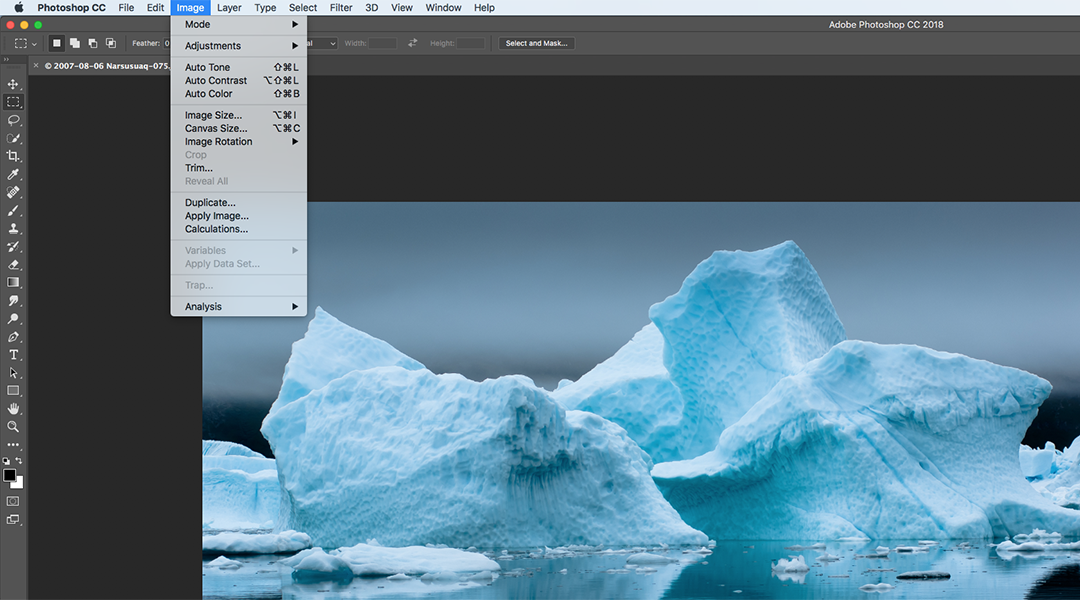
File – is where you can open images, save them, save them as an alternative file type or export them, for example, to a preset file type.
Image – is Photoshop’s main manipulation section. The tools here affect the entire image. Here, under the adjustment section, you will find the tools for simple editing such as color, contrast, and saturation.
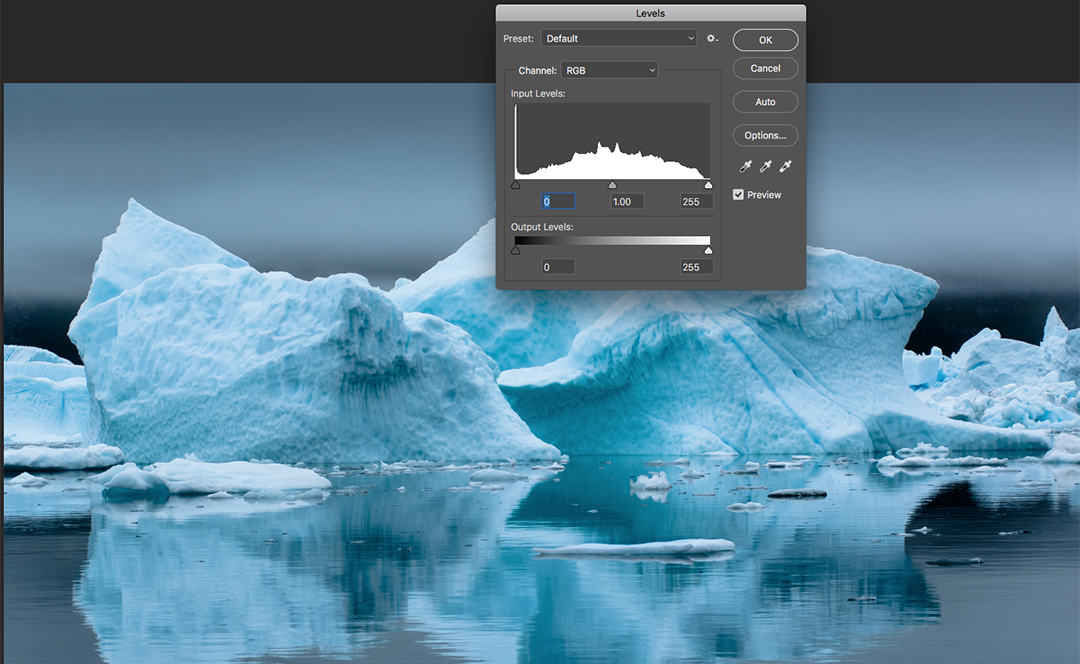
You will also find more complex tools like levels, curves and HDR and Black and White. Also under Image, you find Photoshop’s resizing tools.
Under the Filter menu, you find a range of filters to manipulate the final look of an image. For newcomers, the most important section among this is the sharpen tools.
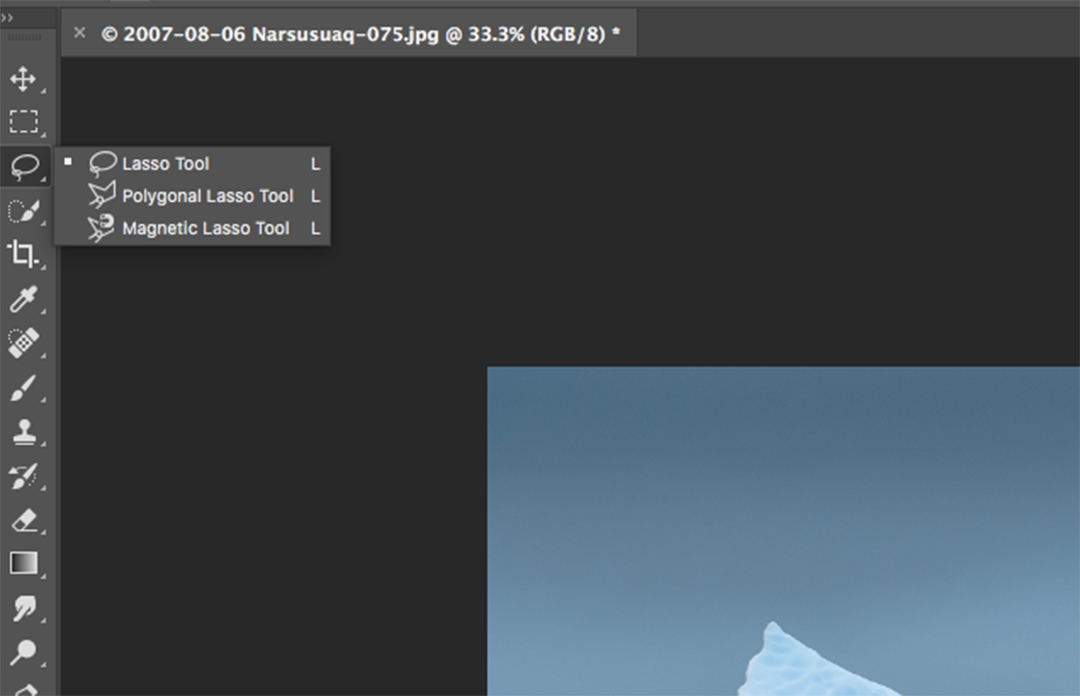
As well as the features in the menu, Photoshop has a wide range of tools for manipulating parts of the image. By default, these are found on the toolbar to the left of the screen. Here you have tools for selecting part of the image, brushes for painting on the image, cropping tools and image repair tools amongst others. All the tools on the toolbar have a little triangle to the bottom right. Right-clicking on these will reveal a range of sub tools. For example, a right click on the Lasso tool near the top reveals three versions, Lasso, Polygonal Lasso and Magnetic Lasso.
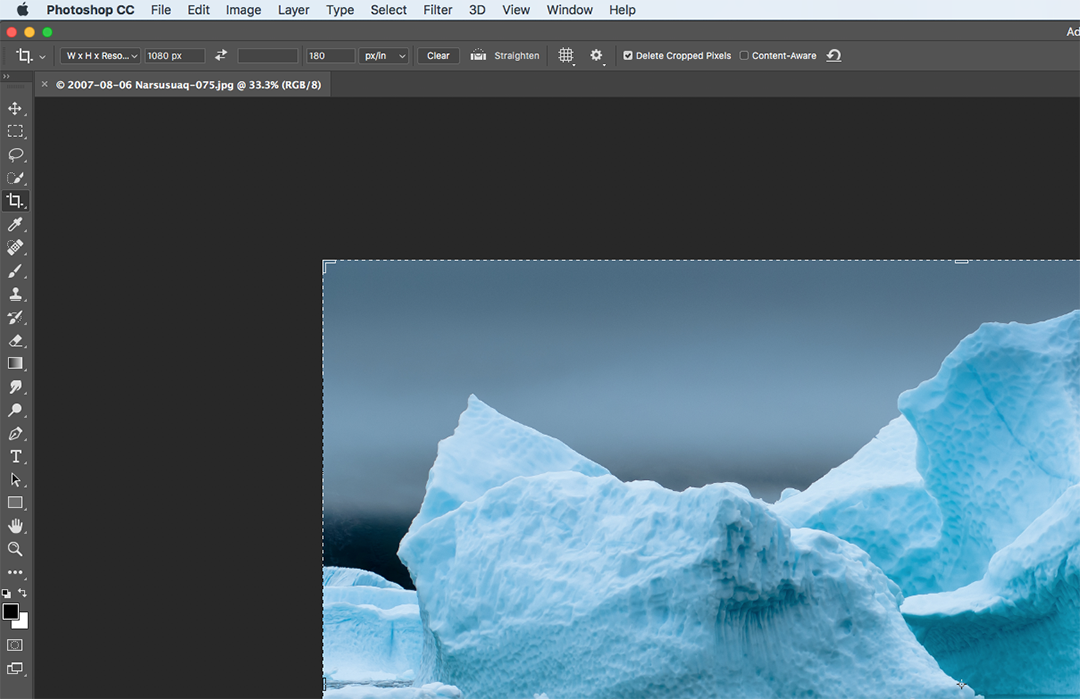
For each tool you use from the toolbar, a further menu level is shown at the top. In the example of the Lasso tool, the menu allows you to change items such as feathering contrast and frequency. All tools for helping you define more easily the area you wish to select.
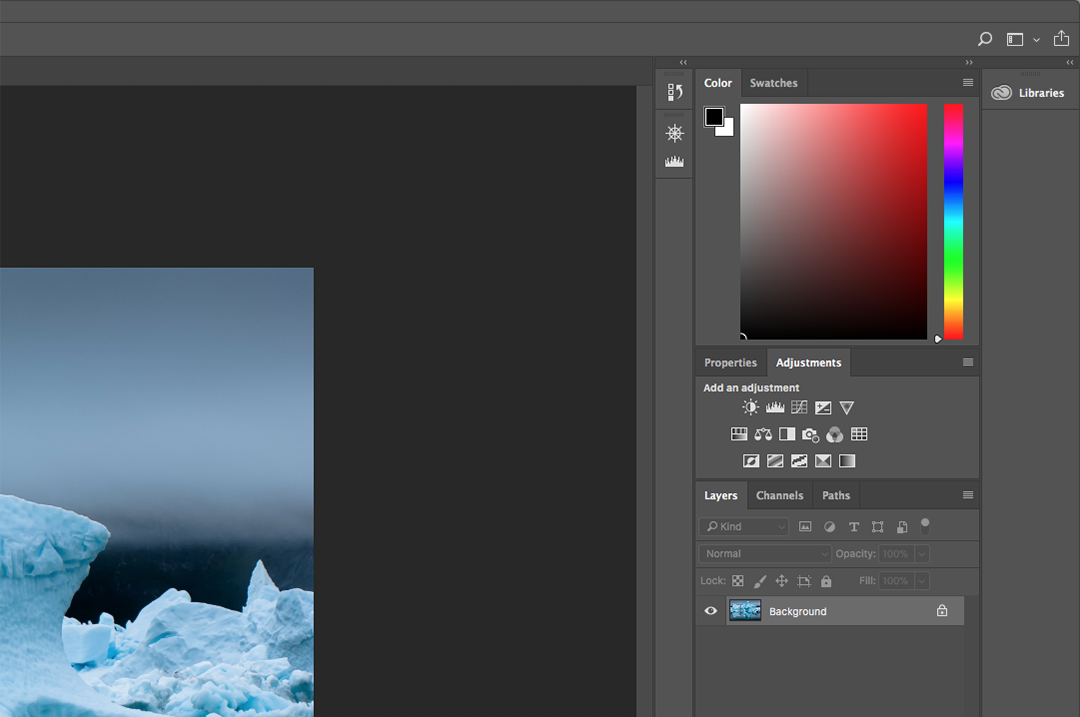
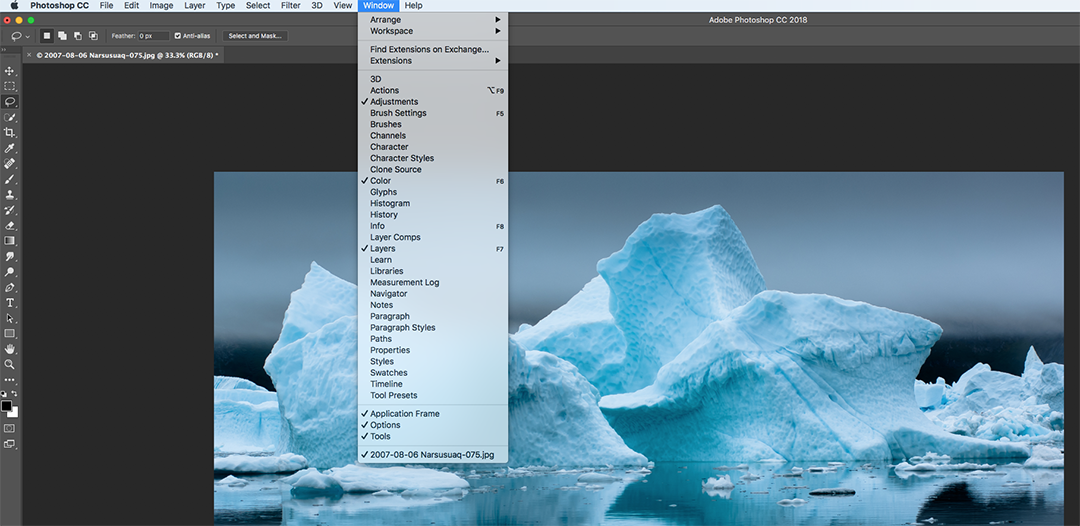
To the right of the screen, we have the Photoshop Palettes. These give us access to items such as color swatches, layers and adjustment layers, text formatting and actions. We can define which palettes we see on the right of the screen from the Window section of the top menu. Clicking on this reveals all the palettes available, the ones that are ticked are already visible on the screen.
As mentioned at the top, to newcomers, Photoshop can seem very daunting. Once you find your way around the interface though you will soon come to appreciate its many and varied tools.
As it can be a destructive editing program, make a copy of some images that you wish to work on and save them in a separate folder. Then use them to help you understand what powers lie beneath Photoshop. The more you play with the program the more you will appreciate it’s usefulness.
If you are new to Photoshop and are daunted by its scope, let us know in the comments below what you would like us to create a tutorial on.


