Have you tried to enlarge a photo but ended up with a blurry, pixelated mess and wondered if there is any hope for showcasing your favourite memories on the wall in full size? The truth is—once you resize the photo, it’s never going to be the same. Increasing the photo size comes with inevitable quality loss because you’re altering pixels images are made of.
You’re either stretching the existing pixels, or the editing software is guessing and adding new pixels based on surrounding ones to create a larger image that still looks natural.
But you can salvage all those great photos you took with your phone and would love to see printed in larger formats or even old photos you want to show off in all of their glory.
Which Photo Enlarging Software Should You Use?
Your options include:
- Photo editing software
- Photo resizing sites
- Plugins for Photoshop
Some of these digital photo enlargement options are easy and intuitive, while others require extra editing and advanced technical skills.
How to use photo editing tools to enlarge photos digitally without sacrificing quality? Should you use Photoshop or let AI do all the work for you?

Can I Enlarge My Photo Without Losing Quality?
Consider the Image Quality Of Your Starting File
Before you jump right into editing software or instant resizing websites, consider the photo file you have— its limits due to quality.
Resizing results will depend on the following:
- Original image resolution
- Details on the image
- Digital image or scanned physical photos
High-Quality Resolution for Photo Enlargements
High photo resolution is considered to be 300 dpi (dots per inch on printed image). When setting the width and height when enlarging a digital photo, this resolution might drop, making the image low quality. Starting image resolution limits to which extent you can enlarge the image. Enlarged pixels highlight the poor quality of your image and result in a blurry image. Enlarging the image without losing quality should always be the goal here.
Pro tip: you can get away with a lower dpi than 300 for prints that are larger if the viewing distance is more than arm’s length. It won’t be blurry if you downgrade to 150 dpi.
Details On Images
Images with many intricate details also emphasize the poor quality of the image after you alter the image size. You’ll have to edit the image in software, before printing to avoid blurry letters. Format (raw, jpeg) will also determine the extent to which you can stretch the image without losing details.
Photos taken with a mobile phone that result in low-quality images in jpeg format differ from professional camera photos shot in the highest quality raw image file that you can scale all you want.

Can You Enlarge Old Photos?
It’s possible to enlarge a picture of old photos and turn them into quality prints. You’ll have to scan them at the highest resolution available for a larger photo print (600 ppi-1200 ppi). However, to keep the quality following the scanning, don’t enlarge them to more than double their size—aim at 10%. Going overboard with the largest size will cause blurry prints.
The same applies to old photos that are stored digitally but were taken before you got your hands on better equipment or captured them by mobile phone camera.
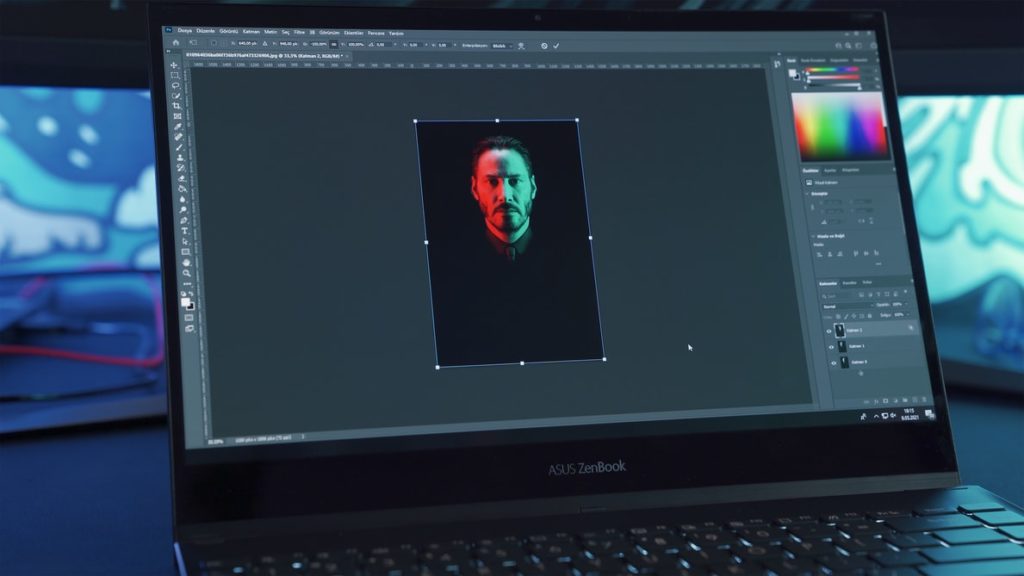
Enlarge Photos Using Adobe Photoshop
To upscale photos and retain their quality in the editing program, you’ll have to:
- Resample photos (for dpi lower than 300)
- Set the ideal size in the image size dialogue box
- Sharpen image details
Photoshop is a varied tool and you can also upscale the image without losing quality with more advanced techniques such as smart objects.
Resampling Photos
The perfect resolution for printing is 300 dpi, but your original image doesn’t have it.
Resample image to get higher dpi following these steps:
- Upload image to Photoshop
- Press cmd + opt + i to open image size dialogue box
- Set the wanted width and height
- Enable resampling
- Increase resolution by 10%
- Continue increasing it by 10% up to 450 pixels
Steadily increasing pixels will indicate how large you can go. If you surpass 450 or start with a low-quality image, it’s going to become blurry early in the process.
Sharpening For Larger Photo Prints
After resampling to a minimum of 300 pixels per inch the human eye requires to perceive the photo with continuous colors instead of blurry pixels and rescaling—sharpen the image.
Rescaled images tend to look soft and can be blurry if you zoom in. Sharpening the image and adjusting the noise is a trick that makes prints look good.
For high-quality print, you’ll have to do more than changing pixel dimensions. Tweaking it to retain the details that make the image special once it’s printed in a larger format is a must.
Watch how can you achieve that by editing the image here:
Use Smart Object
Working with layers of images (smart objects) preserves the original and enables you to alter the size without impacting the quality.
To create smart objects:
- Upload the image to Photoshop.
- Open image size dialogue.
- Type in the wanted photo size.
- Enable resampling of the image.
- Set the resolution to 300.
- Duplicate the image.
- Convert a duplicate to a smart object.
If you want to stretch the image to enlarge specific detail without compromising quality, smart objects will save you a lot of frustration.
Smart objects prevent blurry and pixelated images you can end up with while resizing the image because you edit both images at once.
Watch how this works in practice here:
Let AI Do The Work For You
User-friendly image resizing sites and plugins for Photoshop edit the image for you to hide pixelated parts.
The AI approach works for images that are already large or you don’t intend to use them in print.
They are ideal for slightly increased high-quality photos for your blog as you don’t want images that are too large as they’ll slow down your website. Stretching them for printing will highlight the limitations of the original size because they resize all the images automatically and in the same way.
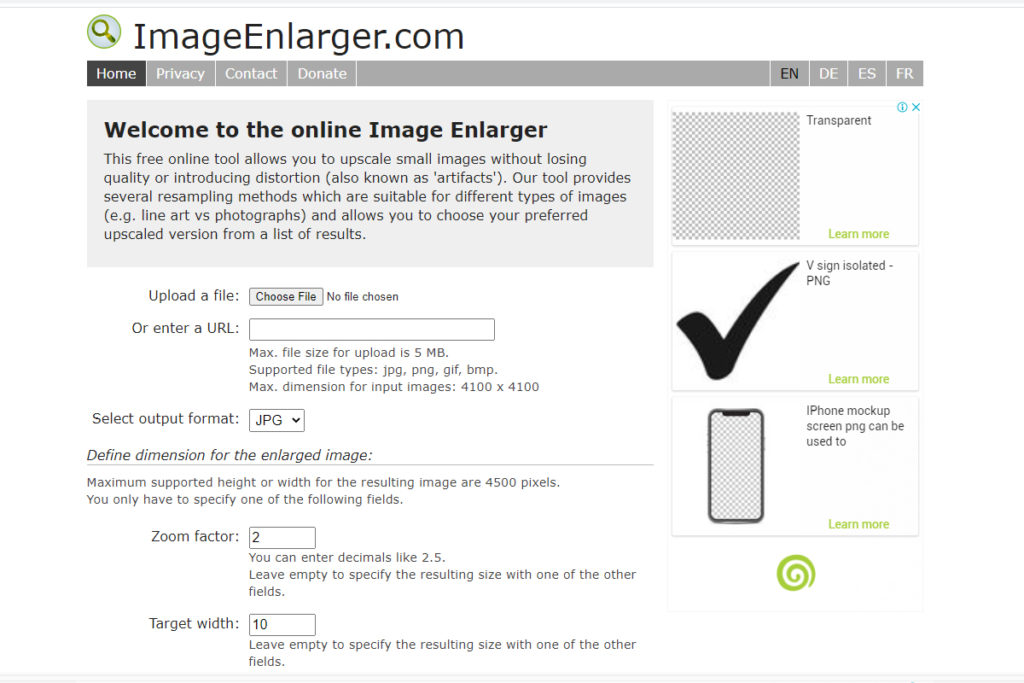
Photo Resizing Sites
Popping your jpeg file into one of the sites that increase the size of an image can work with smaller formats. The best sites automatically edit the photo to hide blurry pixels after upscaling.
All you have to do is select your image, choose the size, and press convert.

Sites For Resizing Images With The Best Results
If you don’t have enough space on your computer for editing programs and need a slightly larger image for web posting—photo resizing sites require the least effort and technical skill.
Photo Resizing Plugin
If you use photo editing software, but don’t have time to set every detail right after you enlarge images, plugins such as ON1 Resize that automatically clean up photos can save the day.
The plugin applies the fractal interpolation technique that creates new pixels and increases the image size and resamples them for printing.
It’s a step up from resizing sites because it keeps the images sharp in the process.
Watch how to use it here:
Dot-Art Mosaic
Another way to enlarge your image for posters that will be viewed from a distance is by converting them into dot-art.
Sites such as Rasterbator enlarge the image not by increasing resolution but by converting it into dot-art that is more forgiving for printing as it doesn’t just stretch the image.
The quality will not be ideal if your starting point are low-quality old photos.
How To Get That High-Quality Enlarged Image?
Photoshop or the plugin ON1 resize are your best bet for enlarged photos without losing quality.
They result in professional-looking photographs because you can get the nuances right for those high-quality prints.
However, while the editing program will lead to the best results, it’s more time-consuming because you have to refine all the details after setting a larger right width and height. This level of customization is ideal for printed posters that require larger image dimensions of sharp images and that will display any imperfection and pixels that are out of place.
For digital images you’ll use on your website or printing on smaller formats, websites for image resizing will do the job. That’s the easy and fast way but often will result in poor image quality if you increase the image too much.


2 Comments
Why not convert to a smart object before resizing?
Can you recommend a free app for resizing pics? Thanks