Photographing general events like parties, ceremonies etc while often simpler than weddings, aren't always as simple as you might think – at least for photographers new to the business. There are many areas to cover and I will try to go over all the bases and create a list for you with everything you need to bring and look out for.
In the beginning, it is important to consider that not every event is the same. They differ throughout cultures and geo locations, but the general concept remains pretty constant.
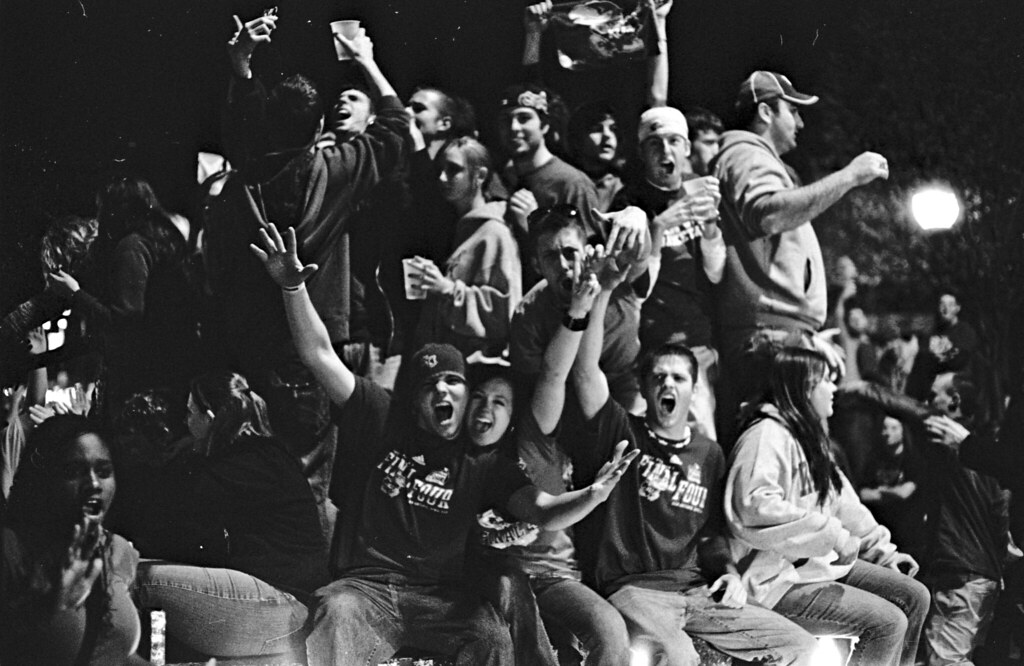
Photo by M31.
First we start with the preparation process. As with any other job, you need to try to get as much info as possible beforehand in order to know the general details that you should expect when you get there. Then it's time to prepare your gear accordingly.
While this article will largely deal with the process and requirements of successful event photography, if you are looking to refine your relevant camera craft and event photography skills, then you will want to take a look at Phil Steele's excellent guide to the subject.
List of Essential Gear for Event Photography
What is the Best Lens for Events?
Bringing a 400mm telephoto lens into a club is likely a useless thing to do. You’ll want a medium zoom lens, something like 17-50 f/2.8 (or 24-70 f/2.8 if you are a full frame shooter). You might think f/2.8 lenses are expensive, but for crop sensor cameras they're not that much – especially if you get refurbished or used lens from third party manufacturers. I chose this focal length because 80% of the time you won’t have enough room to use a longer lens anyhow, espcially as clubs / small restaurants for events like this are tight and not well lit.

Photo by zoutedrop
You Might Need Flash
As much as I don’t like flash for this type of photography it is almost always a must. Make sure that you have at least general knowledge about operating it since if you have it on the wrong settings you might ruin all the photos (sometimes the smudges or blown out areas aren’t visible on the built-in screen).
A Few SD Cards
SD cards fail. It's just fact. They don’t fail often, but they do occasionally. Have one or two spare just in case. Also, you might fill one up and just need a backup.
You Can Never Have Too Many Batteries
Usually, for a party that lasts for 4-5 hours (like night clubs) – I tend to go when it is most crowded (the peak 2 hours) – I use at least 2 sets of batteries for my flash. So have at least 3 packs of charged batteries ready and charged.
It's wise to get rechargeable batteries, I would recommend Sanyo Eneloop, but other of the well-known brands should do good – Maxell, Duracell, Energiser, Varta etc. Same goes for your camera, if you own a battery grip make sure that you have freshly charged batteries inside, and at least one set of spare ones. Since you can’t know how long you’ll have to shoot and how much, you need to be prepared.
There's nothing worse than running out of juice in the middle of the party. Additionally, if you plan on working events like this get yourself several chargers because you might need to charge the batteries quickly and having 6-12 hours recharge rate on the AA batteries will take you a day or more to recharge them with one charger.
What Camera Body Will You Need?
This is obvious, but make sure that your camera body can go to at least ISO 3200 without having the images look like garbage. The light, or the lack of, will require that ISO amount for sure!
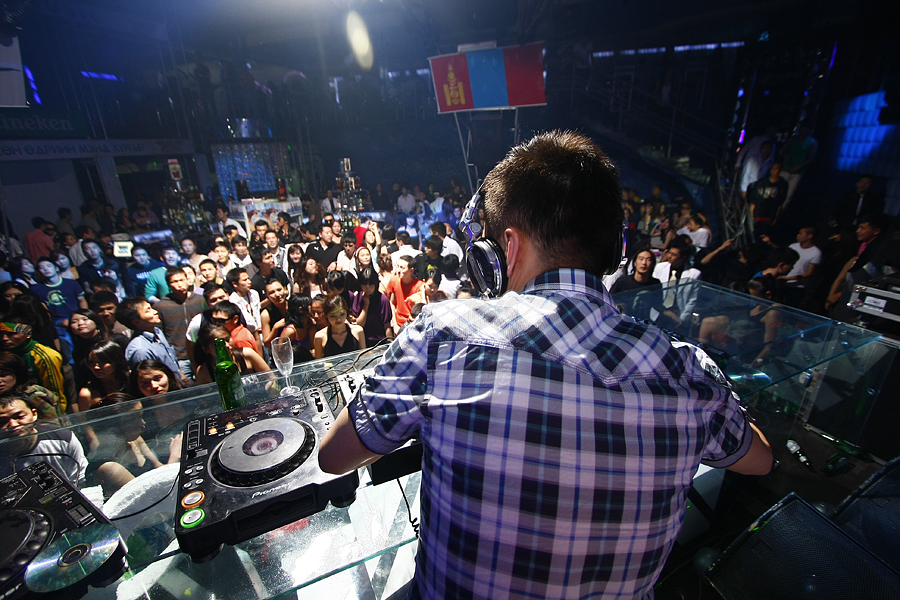
Photo by Enkhtuvshin's 5DmkII
Business Cards!
I know right? Who uses these things nowadays? Well everybody who wants to get more work and get paid, apparently. So it's wise to have some with you, in case somebody at the event asks for your contact in order to get a picture or book you. You won’t be able to tell them your e-mail or number with all that music blasting out.
It Is Time for the Main Event!
You Will Want to Be an Early bird
Get there a bit early, this is important for the next two points.
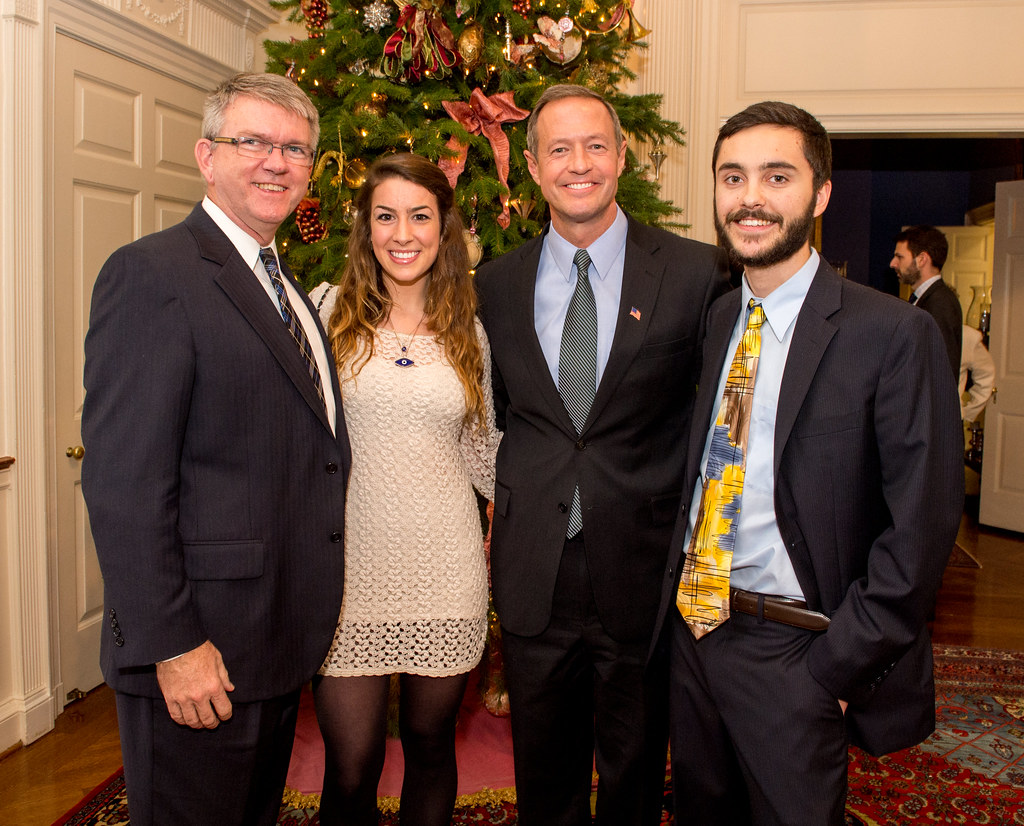
Photo by MDGovpics
Casing the Joint is Important
Not as if you were to rob it, but you will need to know basics like where the podium is, the seating areas etc, oh and where the light is utterly horrible too (maybe avoid those areas).
Learn the light
Take a moment or two to memorize the light patterns. It shouldn’t be hard, just look for the biggest reflectors and you’ll know where the most powerful and dynamic light will be. You’ll need to be careful though as it can change 3 times in a second from pitch black to blinding bright, especially at club parties.
Set your camera
Using the information gathered, set your aperture to wide open, and find the optimal shutter speed. Use manual for this, AV or TV can easily be confused by the hectic light conditions. Now mount (or turn on) the flash and set it to TTL or manual depending on your preference.
Take a few shots and see if it overcompensates (as mine usually does) – if it does, tune down the flash exposure compensation. Check if your camera is set to RAW+JPEG, if not, set it. Why? Because you will need quality pictures, that is why you’ll set to RAW, and since sometimes you might need to give some quick JPEG’s right after the event for some marketing, you’ll need that too.
Motion patterns
Find a vantage point, one or two steps above the crowd height is enough and observe the motion patterns. It is usually the entrance towards the podium and back / forth from the podium to the bathrooms etc. Once you have memorised the motion lanes, it is wise to stay away from them.
Why? People often don’t look where they are going and they will eventually push you around which can end up badly, so be careful around servers and baristas – spilled cocktail over your camera, not so great.
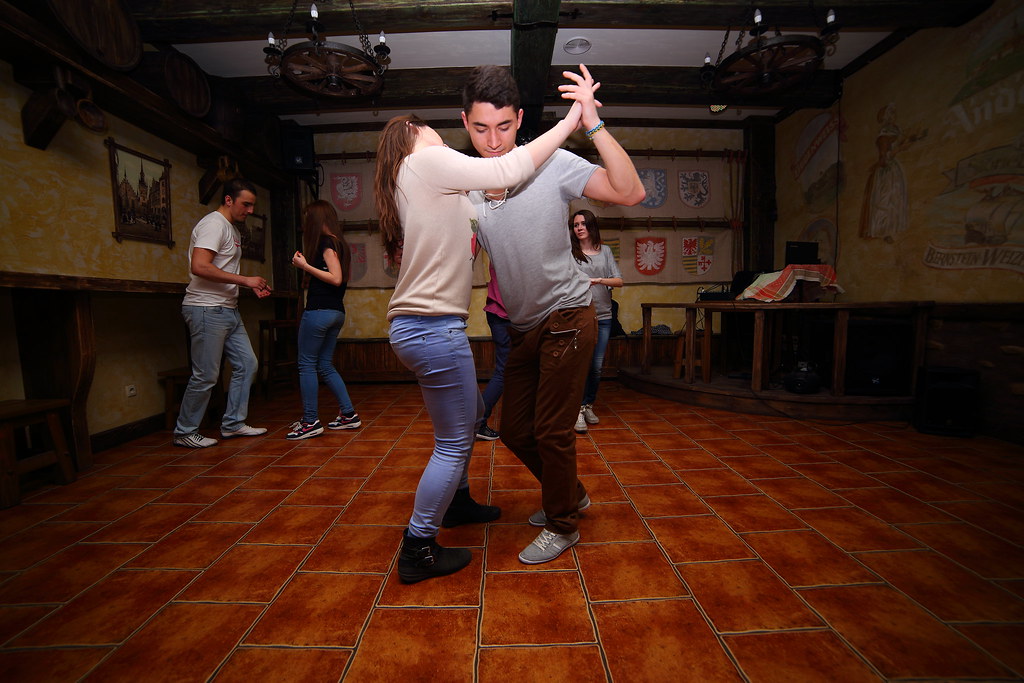
Photo by be creator
Shoot, a lot
Don’t worry, the more shots you have the better. You probably won’t use 50% of them, but it never hurts to have them. Shoot more, because let’s face it, many of the shots will contain people with weird faces or will be blurry, burnt out from random light and so on. And the more you shoot, the more people you might meet!
Move, differentiate
Don’t throw an anchor in one spot and expect for people to come and ask you for a photo. Move around, and ask the people if they are up for a photo – asking them isn’t usually necessary since you are the guy with the huge camera, but try not taking a shot for a minute or so, then ask. It is often a chain reaction, you ask one group of people for a photo, then others see that and just pull you over to take pictures of them as well.
However don’t let people annoy you with 30 photos because their duck face wasn’t hardcore enough! Make sure you capture the atmosphere and take one or two wide shots of the whole crowd. Ask the security if you can shoot from the DJ booth, with or without the DJ (that's his choice and respect it because he is responsible for the atmosphere and you don’t want to affect his mood).
For good atmosphere shots (at night clubs) wait for the “bass drop” moment since then all the lights go haywire and the crowd goes wild (hands up, jumping and all that stuff), give the DJ a high five and move on.

Photo by Dr Shaggy
When You're At Home
Once you are done photographing, it is time to go home (or office, depending on where you do your photo editing) so get back as soon as possible since your job isn’t done yet.
Import the Photos ASAP
It is good to have fast card readers and fast cards as well. USB 3.0 card readers are an awesome thing to have.
Edit
While you are importing, apply general adjustments which are always the same, e.g. lens corrections, sharpening and noise reduction. My workflow usually consists of getting all those things during import, then I select everything and push down the highlights and expand the shadows (gain dynamic range).
Then go through the images, select the “keepers” and edit them on the spot. Usually, it takes me around 2-3 hours to go through 1500 shots, select, edit and upload them.
Recharge
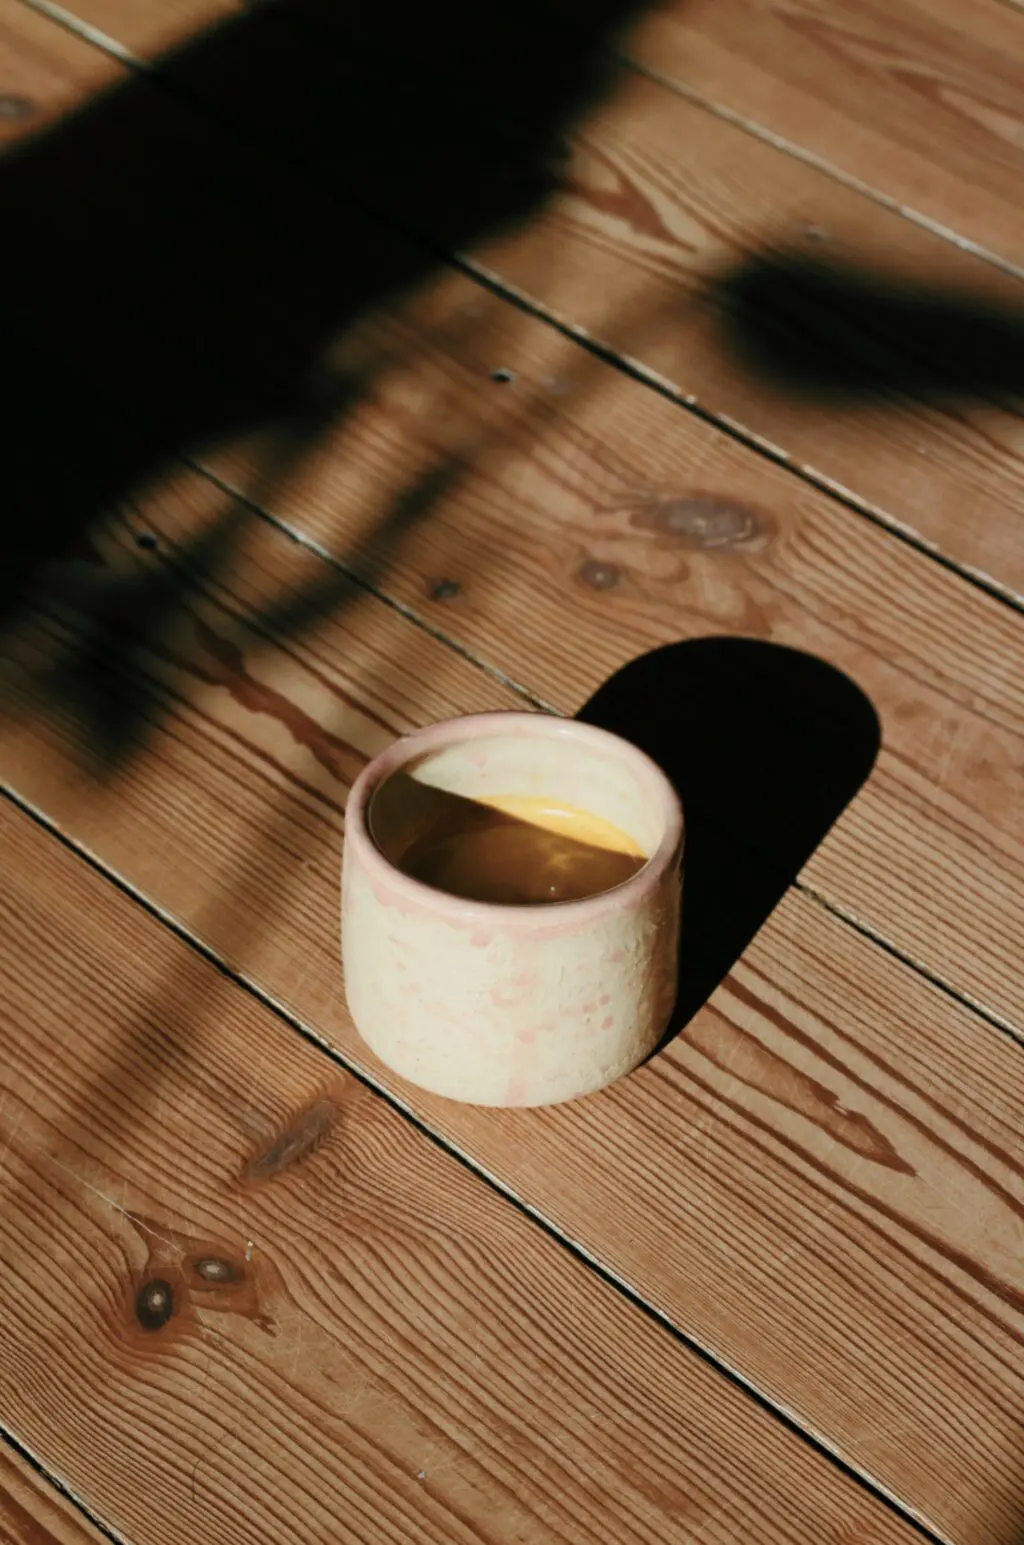
While you are editing your shots, recharge your batteries so they're ready for the next gig.
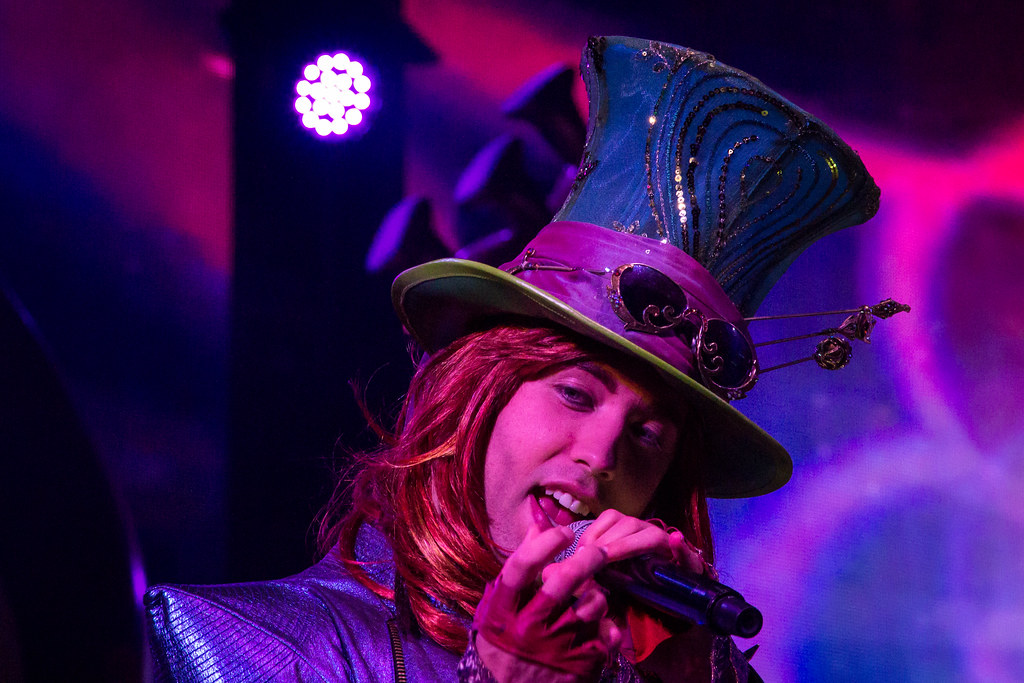
Photo by HarshLight
If you're considering moving into Event Photography, head on over to check out this Professional Guide: Steele Training Event Photography
Other Important Things to Consider
Contract
Have the contract state where the client can use your photos and for what purpose, in order to avoid photo usage which you don’t want to happen. Having a written contract gives you legal grounds to sue and ask for compensation if your photos are used elsewhere without your approval. Verbal agreements are equal to no agreements whatsoever since they can’t be proven in court.
Your info
If possible have your info (or even better have your info made in link to your website) around the photos in order to advertise as much as possible. That way people that are being photographed might hire you for something they need just from looking at your amazing work.
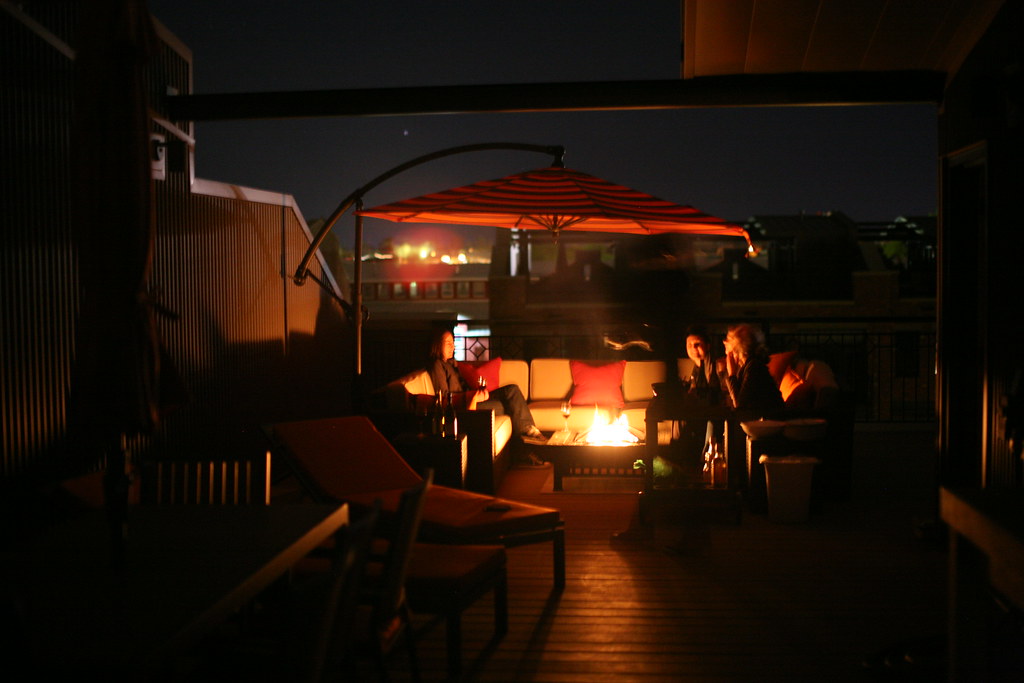
Photo by Ryan Harvey
Generosity
Throw in something extra. A few prints, free usage on few shots for limited time etc. Something that won’t cost you much can go a long way. From experience, generosity always brings more work and your time is appreciated much more. It's win-win, with a tiny investment. Just emphasize the FREE part, people always like that.
Insurance
If you are planning to do a large amount of work like this, having insurance on your gear might be a wise move. In those circumstances, damages are quite likely since there are lots of liquids in the equation, as well as people under the influence of alcohol, large crowds and so on. Even laser shows have proven to be a bad idea for the sensor if it hits the right angle, so your camera (over time) could feel the effects of this line of work.
If you think that I've missed something, please feel free to drop it in the comments below.


2 Comments
Great article! A couple of things – from my experience of about 10 years shooting club and theatrical events:
– check to see if the event wants particular images – for example shots combining the performance and the audience watching and reacting
– check to make sure flash use is OK – in my environment it almost never is.
– if possible, get in for a tech rehearsal if they’re doing one, to get some idea of what you’ll be shooting, and highlights you might want to be sure to capture. I shoot opera and make sure I sit through a rehearsal before shooting the final dress rehearsal for this very reason.
– “wide open aperture” isn’t always appropriate, so I usually test at something like 5.6 as I may be shooting a stage act where not all performers are at the same distance. I’d test at large and small depths of field to be sure I have all the bases covered.
– travel light – don’t bring lenses, other gear that your not going to use.
– bring a small stepstool – that’ll let you get a little higher angle – particularly helpful if you have tall people sitting or standing near a stage.
Last time I did a dinner event and the ceiling was too high to really bounce flash anywhere. Be aware of this as you won’t always be near a wall for diffused light, and angle your flash or use a modifier appropriately. Also, at the same event, I found 2.8 wasn’t enough so I used a 1.7 prime with a lower ISO. Shot using m4/3 and it all worked out well.