A lot of people can be put off of flash photography due to their first experiences with it. The reason for this is that they use the internal flip flash unit on their cameras. These tiny little flashes push out a harsh, very direct flash that can give a very unflattering shot.
Take a look at a professional working with flash photography and you will notice something. They will nearly always be using a mounted flash unit or studio flash equipment. Successfully shooting with flash takes a little learning, some extra equipment, and the right environment.
Want to see how a professional puts these ideas into practice? Take a look at Ed Verosky's video course on getting to grips with flash portraiture. Watch it here.

In this flash photography primer, we are going to introduce you to all the things you need to know in order to take amazing flash photographs.
What Is Flash?
Flash exposure is a type of artificial light that we use in low light conditions, flat light, or when the natural light is causing shadows on our subject. An electronic flash is incredibly bright but very short in duration. It is also very directional.
Because of these factors flash can be difficult to work with. Its directness can lead to harsh shadows and its short duration requires us to think differently about exposure when compared to images taken in natural light.
Most modern flash units are powered by rechargeable batteries. The batteries feed a capacitor that builds up a high voltage it fires the electronic flash tube. If you have ever been close to a flash unit, this is the high-pitched sound you hear as the capacitor charges up. Let’s take a look at some types of electronic flash units you might encounter.
What Types Of Flash Units Are Available
If you are an older photographer like me, you might remember the old flash cubes. As the name suggested these were cubes, with each side containing one disposable flash tube. As the flash fired, you would rotate the cube to the next one.
Thankfully we are unlikely to encounter this type of flash anymore. There are three common types of flash units you might see as a photographer. The first is the built-in camera flash. Lower-end DSLR and mirrorless cameras may have these in the form of a pop-up flash unit built into the top plate of the camera. We mentioned how harsh these can be at the top.
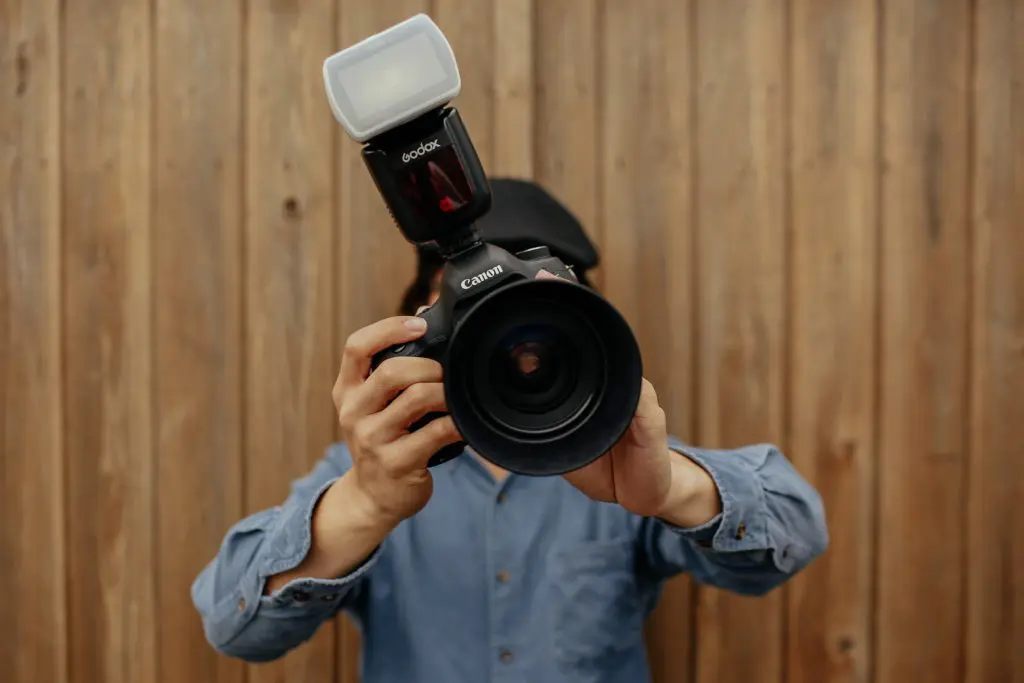
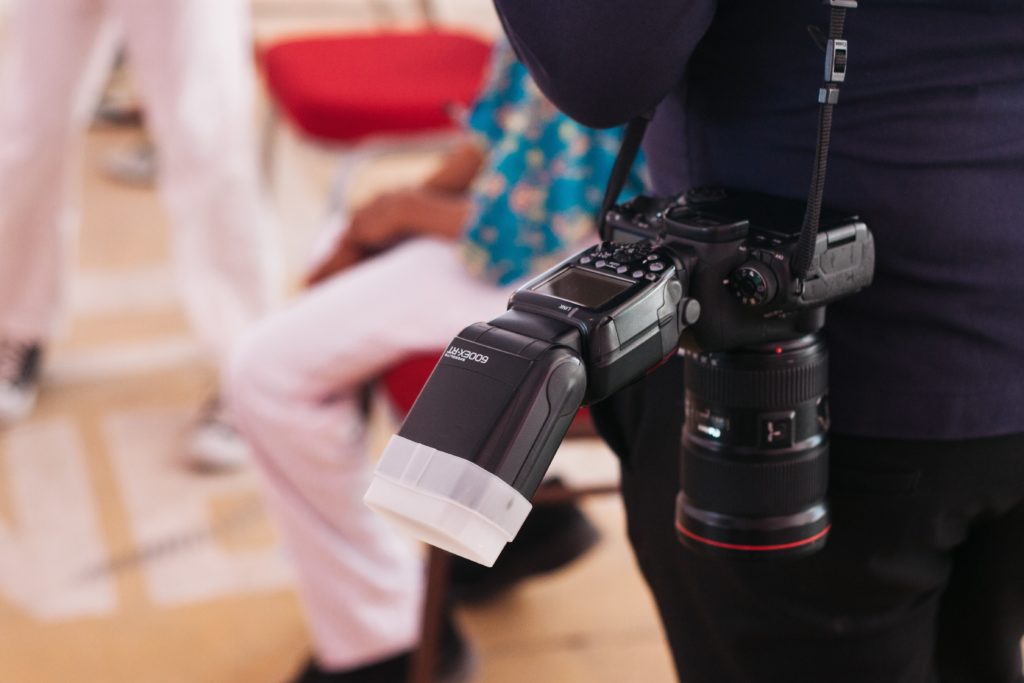
Next is the external flash unit. Sometimes called flash guns these can sit on your camera’s hot shoe or be used away from the camera, triggered wirelessly or less commonly by a sync cable.
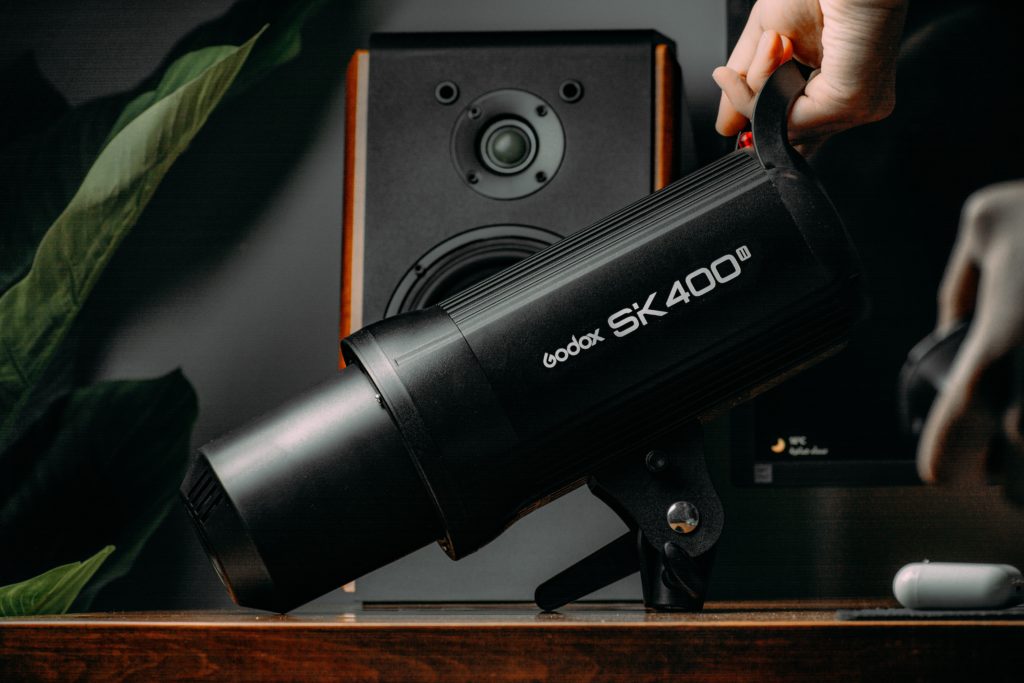
Lastly, we have studio flash. These are large flash units that are mounted on dedicated stands and often come this a plethora of accessories to help give more flat lighting. These large units often require electrical power from the mains or from large rechargeable lithium cells.
One thing all these flash units have in common is a power rating. It’s called the guide number and we will look at it now.
What Is A Guide Number?
The guide number defines the flash power. It is expressed like this, “80 feet at ISO 100” and what this tells you is the maximum flash-to-subject distance that the flashgun can deal with. The figure assumes a lens aperture of f/1 so if apply the figures to a more usual f stop, for example, f/4 then it means that the flash will correctly illuminate a subject at 20 feet with an ISO of 100. This is an important number as it tells you how powerful the flashgun is, the higher the number the more powerful.
You need to read the guide number carefully. Some units will be rated at ISO 100 some at ISO 200. So if a flashgun is rated 80 at ISO 200, it is technically half as powerful as one rated 80 at 100 ISO. This might sound confusing but think of the ISO number. ISO 200 is double the sensitivity of ISO 100 and hence requires half the amount of light to get the same exposure.
An important thing to note is that this rating is achieved from a full power flash. In most cases, the flashgun will not be outputting this amount of light intensity. The actual light will either be metered from the attached camera or as a preset power rating on the flashgun itself. The first is called TTL or dedicated flash and the second is manual power.
Dedicated, TTL, And Manual Modes
Virtually any flashgun that you buy these days will have some form of auto-exposure mode. At a basic level, this will be a TTL flash mode. In this mode, the flash unit electronically talks to the camera. As you half-press the shutter release, the camera reads the exposure and sends this information to the flashgun. The flash is able to decide exactly how much power to send to the flash lamp to get the correct exposure.
A dedicated TTL mode is very similar to TTL however it often reads a lot more information from the camera. This might include the exposure mode that the camera is in, the subject focus distance, and the white balance. The flash will take all of these into account before deciding the flash power. The camera itself will have various flash modes that will communicate with the electronic flash and give the correct exposure.
In flash photography, most of us will use the dedicated TTL mode as this will automatically adjust as the ambient light levels change. For example, if you have a dark scene, perhaps inside a church, the flash will measure that correctly. As you come outside into natural light, the dedicated flash device will take this into consideration. Let’s take a look at why the different ways we can use flash.
In manual mode, the flash will send out a fixed power output every time it is fired. This is a useful mode to use when you have a constant set up such as consistent lighting and the same subject-to-camera distance for each shot.
Manual mode is set in fractions of full power, for example, ½ power, ¼ power, ⅛ power, and so on.
In-Camera Modes
In flash photography, if we are using a dedicated flashgun, we can use flash-specific modes on the camera. Each will have a specific function and will work with your built-in flash and with an external, dedicated flash. Let’s take a quick look at some of them.
- Red Eye Reduction. In this mode, the flash will fire a series of small electronic flashes in order to close the iris of the subject's eyes. This reduces the chance of the flash reflecting off of the retina of that subject, the cause of red eye.
- Fill-In Flash. In this mode, the camera/flash will balance the exposure for both the flash output and the ambient light. We will look in detail at this later.
- Slow Sync Mode. This mode will allow you to set very slow shutter speeds in low light to keep detail in the background.
- Rear Curtain Sync Mode. This is a mode where the flash fires just before the shutter closes. The effect of this is that it allows anything that is moving, to have motion blur. Typically in normal flash mode, the output of the flash will completely freeze a subject.
Understanding Direct Flash
Direct flash is perhaps the most common way to use a flash head by newcomers. It is where the flash lamp is pointed directly at the subject. As mentioned, this gives us a very harsh type of artificial light that can be very unflattering to our subjects.
This harsh light is caused because the flash exposure itself is very close to the axis of the lens, giving a frontal light that can cast very strong shadows. This will be particularly noticeable from the nose and the eye sockets. Where possible it’s best to avoid direct flash unless it is being used as an addition to existing ambient light.

Understanding Bounce Flash
Most modern electronic flash systems will have what’s known as a bounce/swivel head. This allows the photographer to bounce light off of nearby surfaces. Typically this would be a ceiling but walls can also be used. The result is a much more diffused light that is more flattering to the subject.
There are some considerations to using bounce in flash photography. The first is to use a TTL mode. This is because the actual flash exposure will be complicated by the distance to the ceiling or wall. In TTL mode, this will be automatically calculated.
Because flash power is often quite limited you need to make sure that the surface you are bouncing the flash from is relatively close. You must also take into consideration that the power output will be much more than that of a direct flash. This will have an effect on your battery life.
Bouncing light is one of the most common forms of flash photography due to the diffused light it gives.

Understanding Fill-In Flash
In many scenarios we will not be in a completely dark environment. Very often we will have ambient light as well. In these scenarios, we can use fill flash. Fill-in balances the light coming from the background to the amount of light needed to illuminate the subject.
It is often used when we are shooting outside. We might be in strong sunlight (another very direct light). This could be casting hard shadows over the subject’s face. We can eliminate these shadows by using fill-in flash.
Again using a TTL mode will nail the exposure better than we can manually. A dedicated TTL mode may even have an inbuilt fill-in flash setting. This will be set from the camera itself.

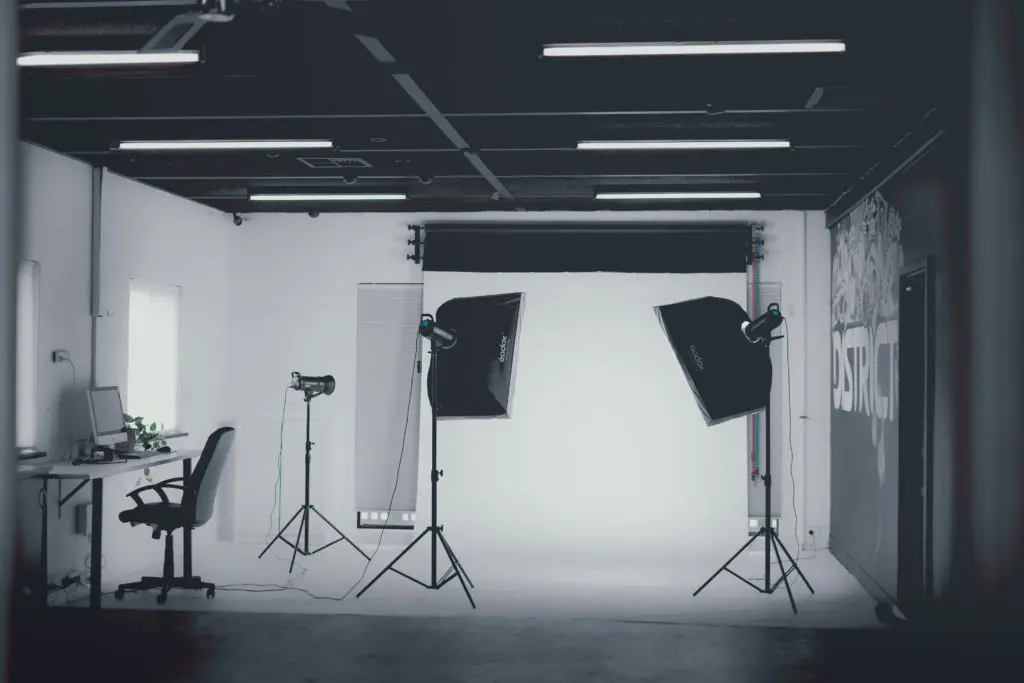
Using A Studio Flash
Whilst most of us will not have access to studio flash, we may come across it sometimes. In flash photography, we will often use multiple units to light different elements of the scene. Typically in a studio environment, we might use one to light the background, one as the main light, and one to remove shadows.
Basic studio flash systems tend to use manual exposure. This is where we set each unit to a fraction of full power and use a flash meter to determine the correct exposure. The synchronization between each unit is done via a flash sensor and we are connected to one unit through a flash synchronization cable. We can also use a small low-powered on-camera flash to trigger the studio units.
More advanced flash systems will have wireless triggers and dedicated units that will communicate with the camera.
Why Flash Synchronization Is Important
One of the more difficult concepts in flash photography is synchronization. Flash synchronization is needed because the actual duration of a flash is extremely short, in the region of 1/10000th of a second or less.
As you can imagine, getting that 1/10000th of a second to synchronize with two curtains traveling across a shutter can be problematic. If the flash fires as the shutter begin its journey, the light might never reach the sensor.
For this reason, camera manufacturers have what is known as a flash synchronization speed. This is the maximum shutter speed that can be used to ensure the flash burst exposes the full image.
Go above this and you might find a black line across the image. This is actually the effect of the shutter curtain closing before the light has fully reached the sensor.
Typical flash synchronization speeds vary from camera to camera. Lower-end, budget DSLRs may have a sync speed of as low as 1/60th of a second, higher end cameras are typically 1/250 of a second. Of course, we can use an exposure time that is much longer than the sync speed in order to let in more ambient light.
Flash White Balance
Another important element in any flash exposure is the white balance. The light from a flashgun is very blue. It has a color temperature of around 10,000k.
Whilst a camera will know when a dedicated flashgun is attached, it is not always good at correcting the white balance for flash. This is because it also takes into account other ambient light as well as blocks of color in the scene in front of you. This can cause problems when shooting scenes with constantly changing colors. A prime example of this might be a studio portrait session with many different people. Although the color balance for the studio lighting and background will remain the same, people will be wearing different colored clothes, and this will throw off the white balance. In turn, this will give us variable colors in the final image.
To counter this you can set your camera to the flashgun preset or manually set a suitable white balance.
Flash In Camera Phones
In recent years some smartphones have incorporated flash into the camera systems. These are usually tiny LED flashes built into the back of the phone around the lens cluster. Like the small in-built camera flashes, they are fairly limited in their ability, giving a hard direct, and fairly low-powered flash.
As yet, as far as I am aware, there are no flashguns for smartphones. However, there are plenty of continuous LED lighting systems available. These are much better suited to smartphone photography.
Third Party or OEM Flashguns
One major thing to consider when purchasing a flashgun is whether to buy one from your camera manufacturer or a third-party company. Now whilst your camera manual may advise you to only use its own flashguns on your camera, there are a number of very good third-party manufacturers that can provide excellent guns, often at a lower price.
The issue that you need to consider when buying a third party is the flashgun dedication. A dedicated flashgun is designed to integrate with the electronics of a particular camera manufacturer.
Obviously, if you buy a modern Nikon flash it will fit any modern Nikon DLSR or mirrorless camera. However, if buying third-party flashes, you need to make sure that it is dedicated to your camera brand. Many do these days and there are some excellent offerings from companies like Godox, Neewer, and others.
Another major consideration when making a purchase is tilt and swivel. As mentioned earlier, this means that you can move the flashgun head both vertically and horizontally, and is a vital consideration in getting diffused light.
Flash photography is a complex but very rewarding genre. Whilst the built-in flash in your camera is going to give you harsh light, an external flashgun will open up many new options in lighting up a dark scene, removing harsh shadows, or providing fill-in light. Hopefully, this flash photography primer will help you on the way to better flash images.
Want to see how a professional puts these ideas into practice? Take a look at Ed Verosky's video course on getting to grips with flash portraiture. Watch it here.


