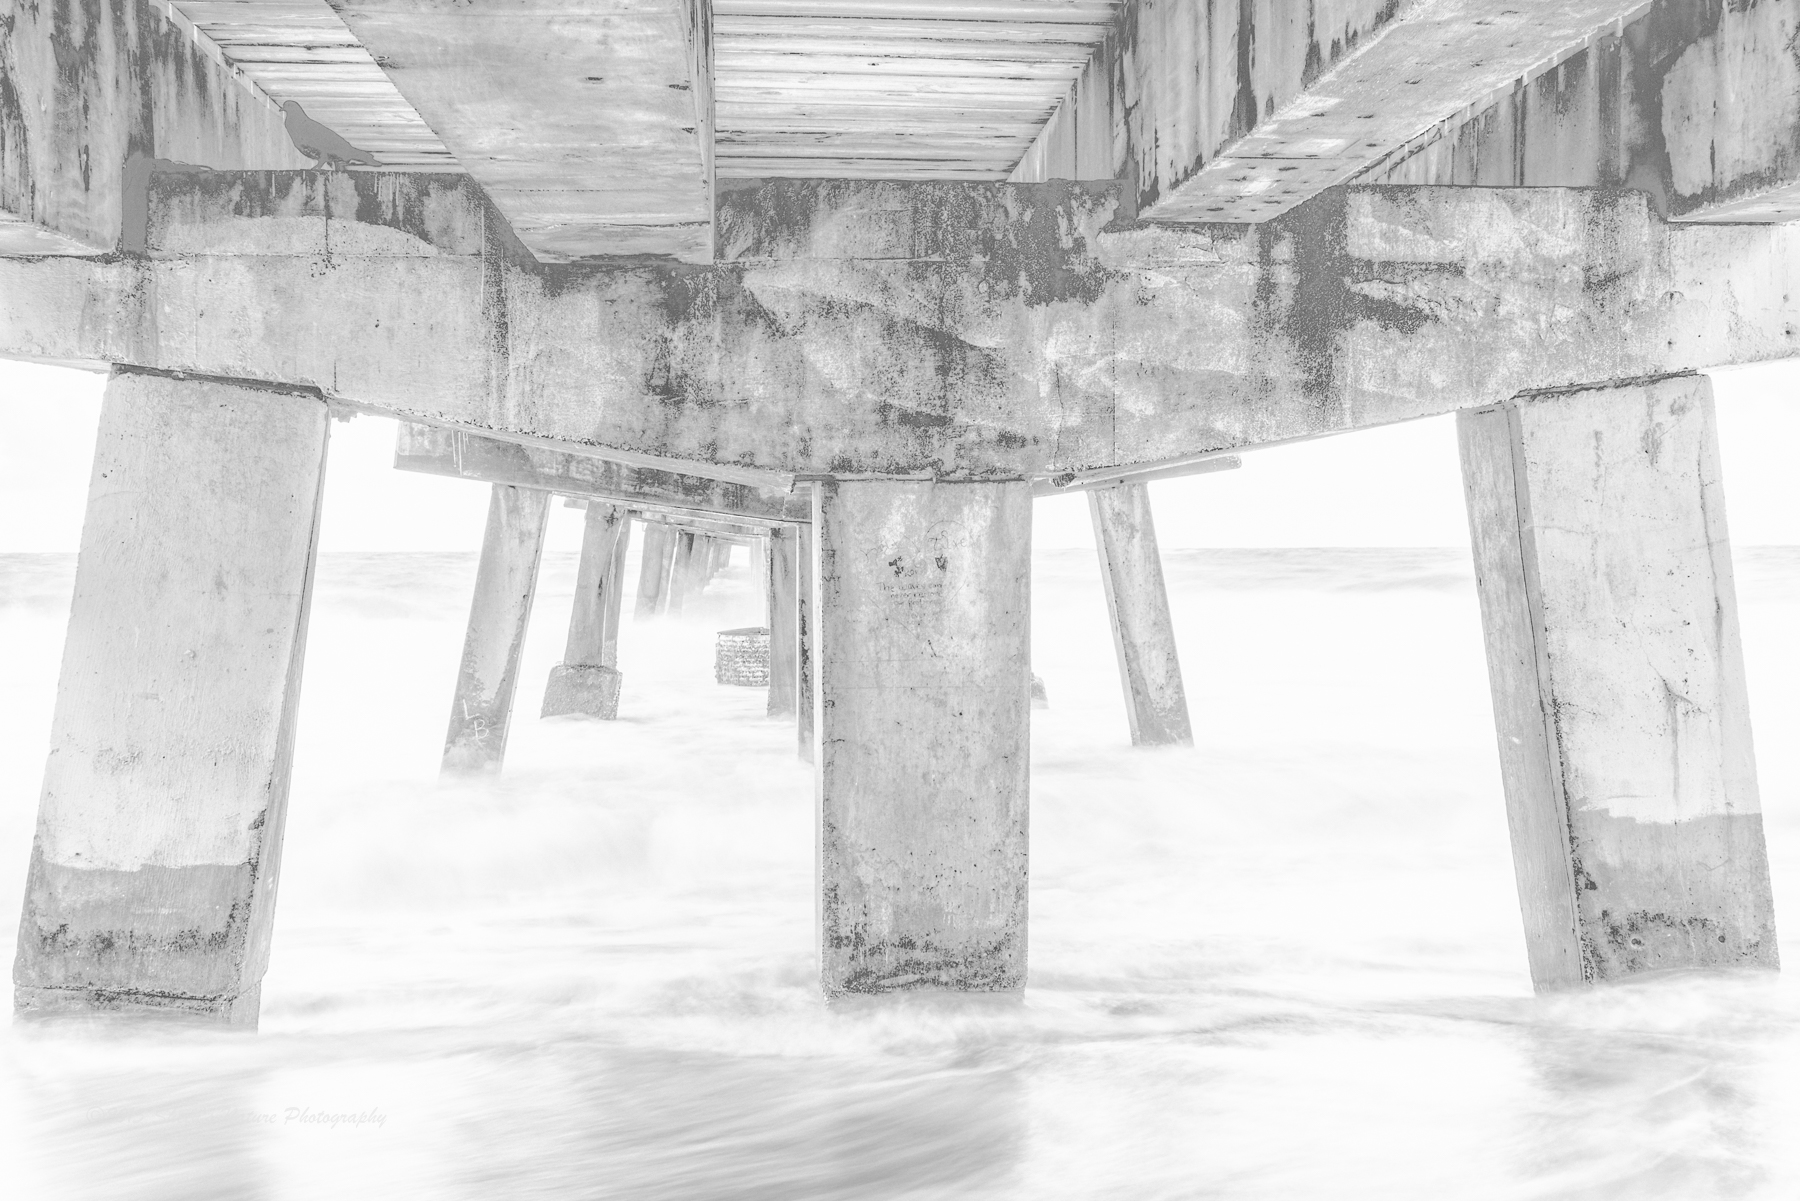
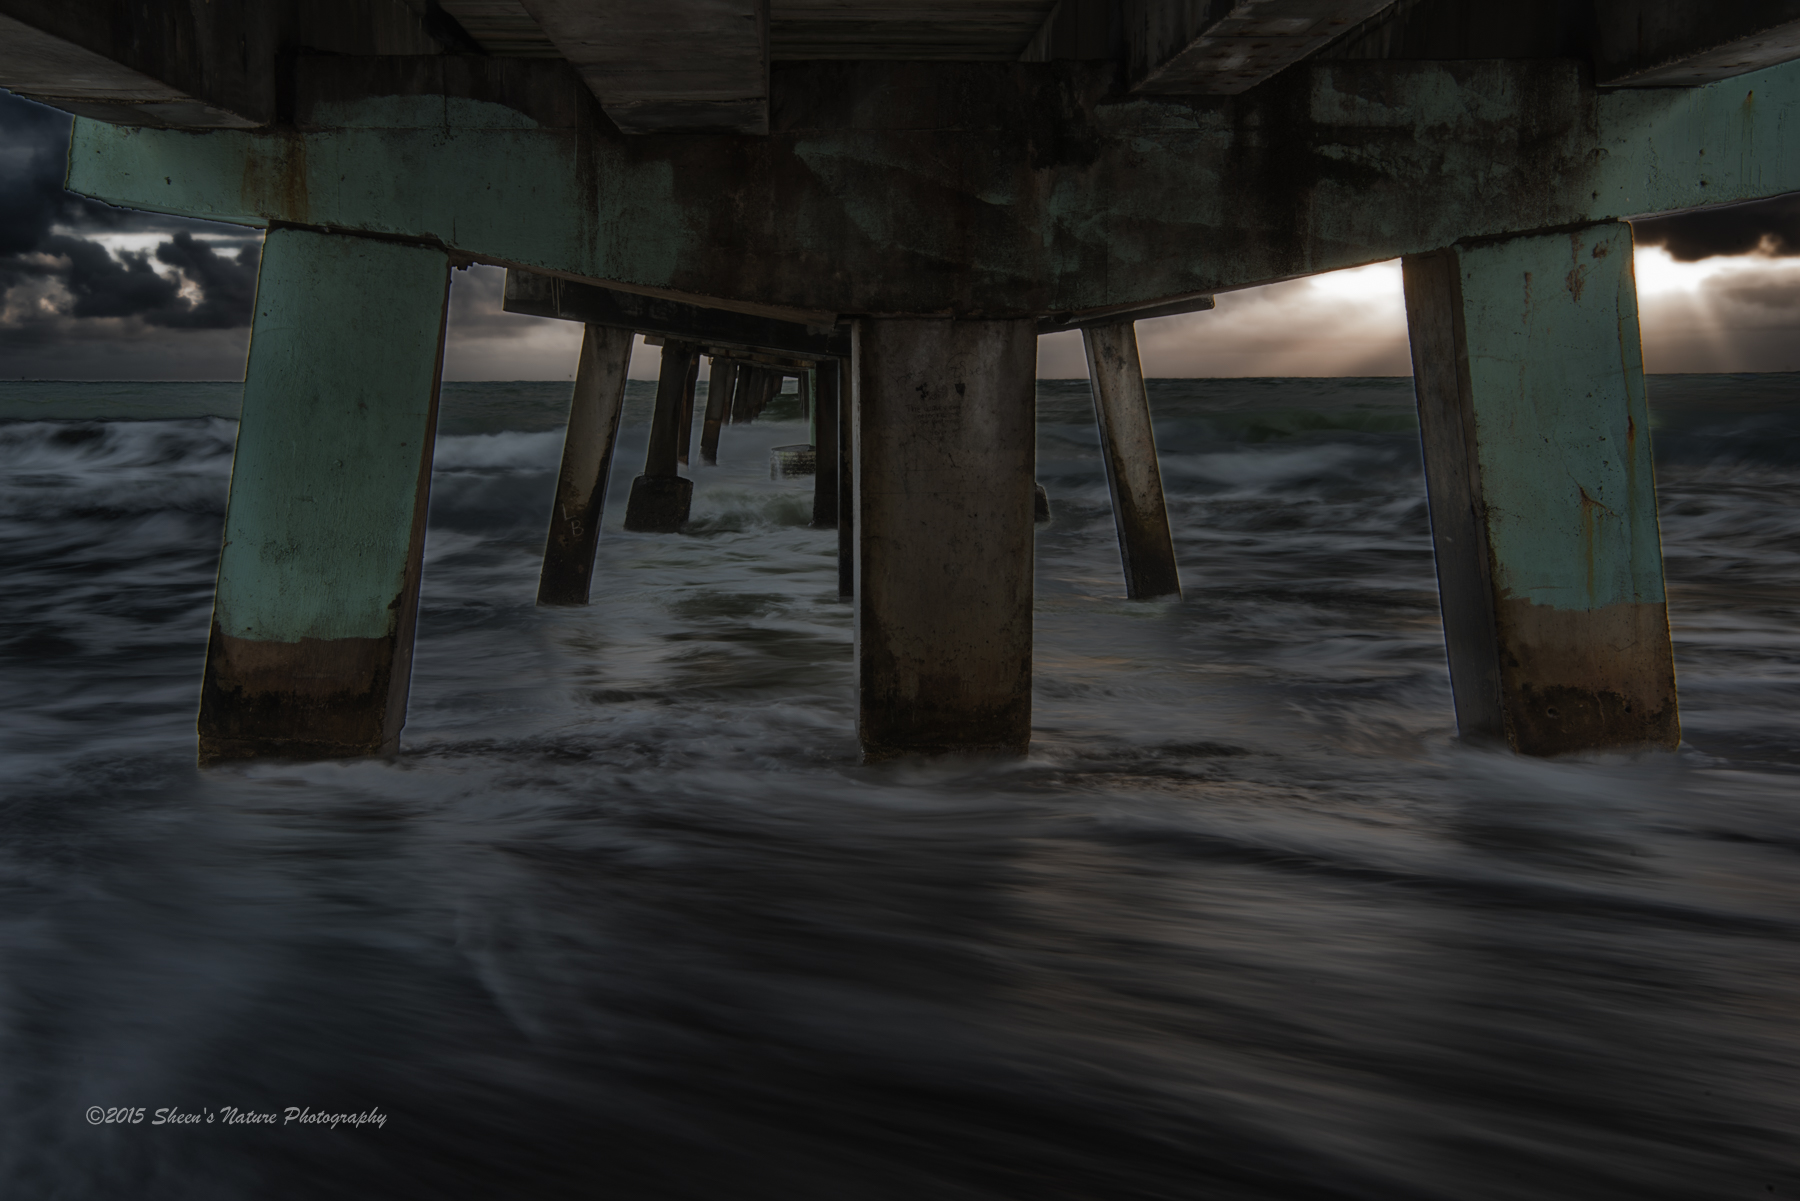
High key photography and low key photography are stylistic approaches that are used to convey a moment, a mood and ambience. High key uses brights and lights to take out all the harsh shadows in a photograph and can be created using natural bright moments or with unnatural application of bright lighting and flash. It is fun, bright, cheerful and gives a modern, upbeat feeling. In outdoor photography, high key can also convey heat and harsh bright elements.
On the flip side, low key photography is the opposite. From drama, dark, moody and broody, to sultry, low key leverages darks and contrasts. Consider the analogy of working in the dark, adding a little bit of light to illuminate the points of interest.
In addition to working with high key and low key in the field, the robust features of Lightroom, Photoshop, Google's Nik Collection and other plug-ins make it possible and easy to push photos into the high and low key realms with post processing.
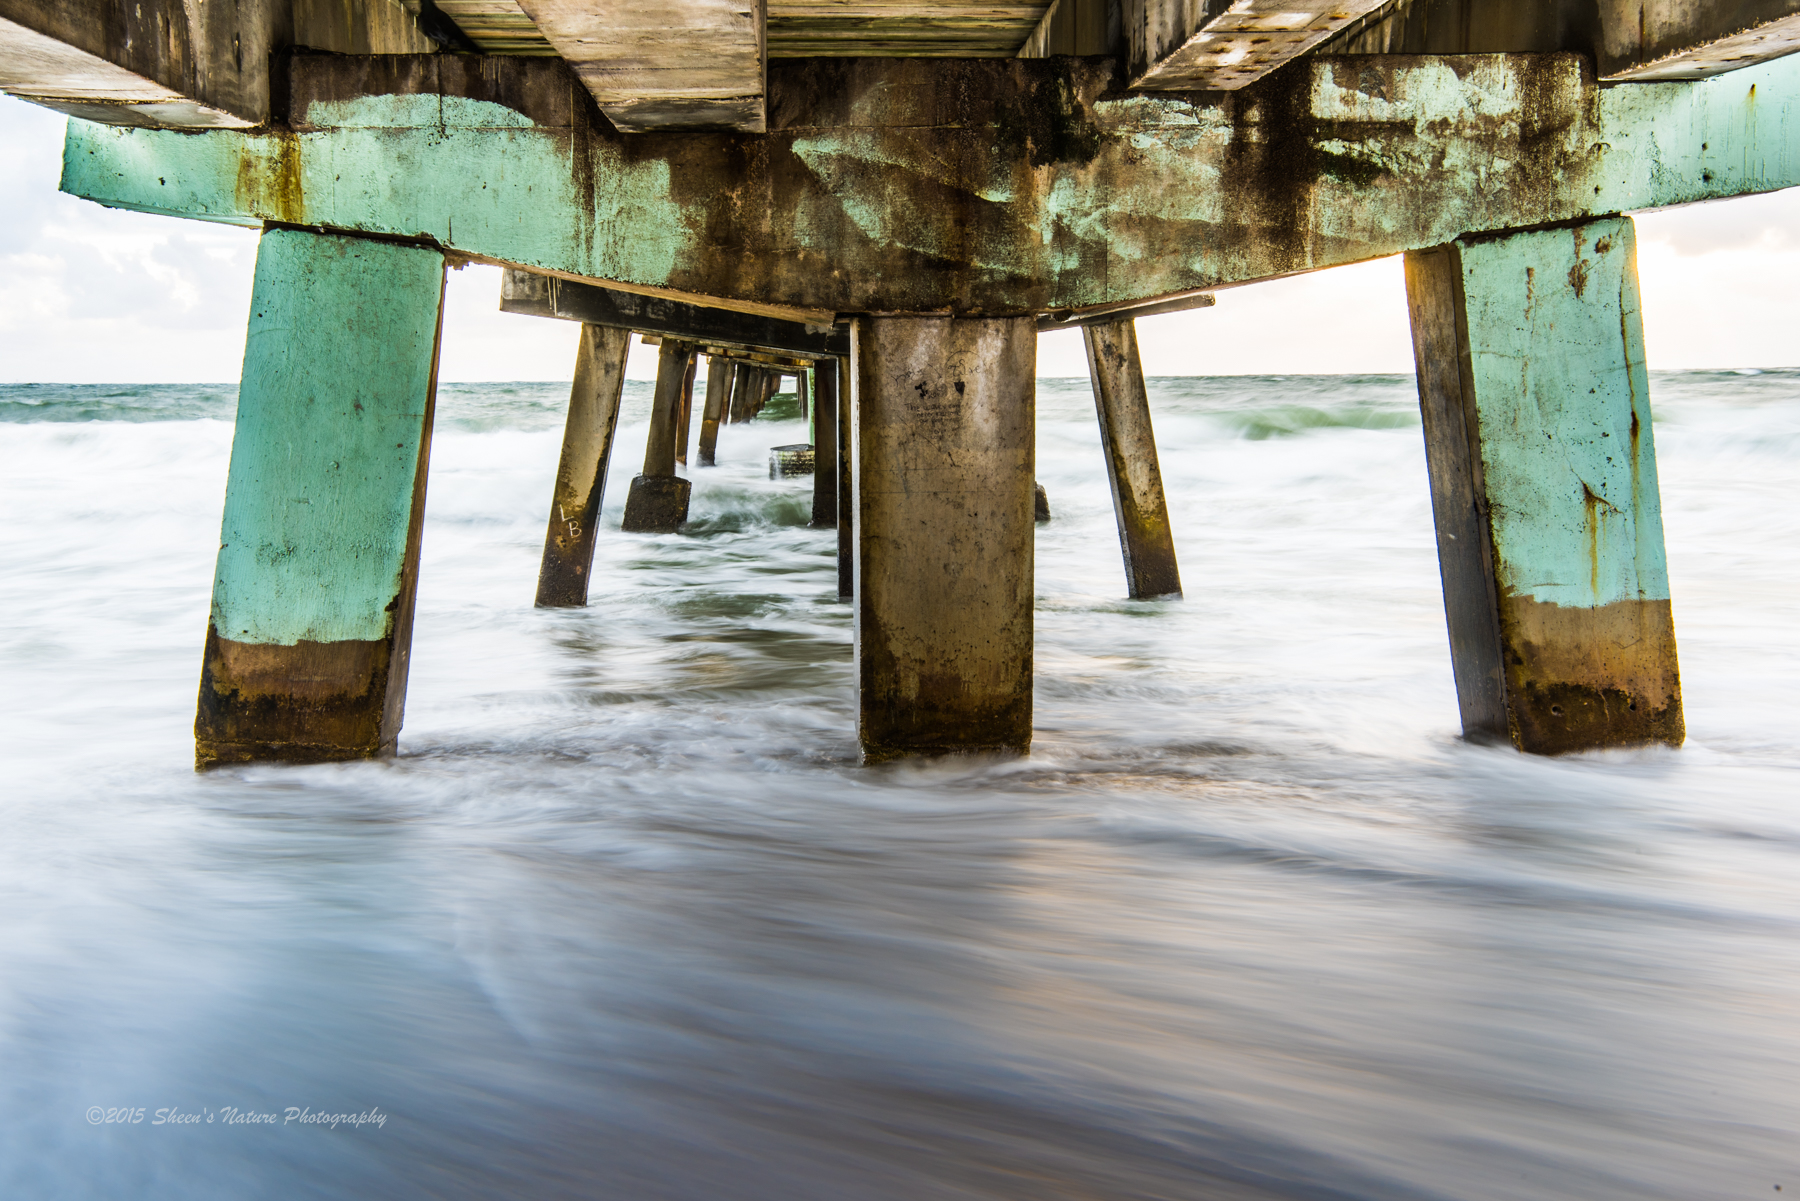
For illustration, we'll use the same subject and apply post processing techniques in high key, low key and traditional edits. To get started, I used a pier image from a recent Florida trip taken around sunrise where bracketing was used to get three different exposure settings.
The photo that was the brightest (longest exposure) was processed using Lightroom to achieve a high key effect. The photo was created by pushing the white, highlight, shadow and exposure sliders to the right. The further to the right these sliders are pushed, the brighter and lighter effects take over. Clarity and contrast sliders were pushed to the left to further soften the darks. The desired effect was bright, misty waves balanced with a bit of hard texture in the pier.
The image that was the darkest (faster shutter speed) was taken into Google's Nik Software Color Efex Pro where I applied the low key preset and made additional adjustments. After saving the file, I continued to modify in Lightroom.
Initially, the photo was too dark. To add a hint of mystery and illuminate the points of interest, I lifted some of the shadows and darks. The gentle glow of the sun from behind the beams and on the water provided the soft light I was looking for. The temperature slider was also slightly pushed to the right to add warmth to the overall image.
The third processing technique started with natural adjustments. However, after working with high and low key, the traditional edits appeared a bit boring. To give it a bit more punch, the pale green paint on the pier beams was intensified by adding a lot of saturation using green and aqua. The support beam's texture was further emphasized by pushing contrast and clarity heavily to the right.
Going back and processing older and recent files with different creative processing techniques may bring new life to what you initially felt was an average photo. By average, I'm referring to those photos you weren't “wowed” by but still couldn't press that delete button for some reason. High and low key post processing approaches encourage pushing sliders and pushing creativity.
To learn more about high and low key photography and processing check out the following:
12 Unmissable Tutorials on High Key Photography
Creating a High Key Landscape Using Lightroom in 6 Simple Steps
Getting Started with Low Key Portraiture
Low Key Photography for Beginners


1 Comment
By convention and tradition, a high key photograph requires at least one reference to true black somewhere within the image. High key isn’t just blowing out an image, leaving whites and light grays, although there is an awful lot of that out there these days. However, it is simply a blown-out image, not high key.