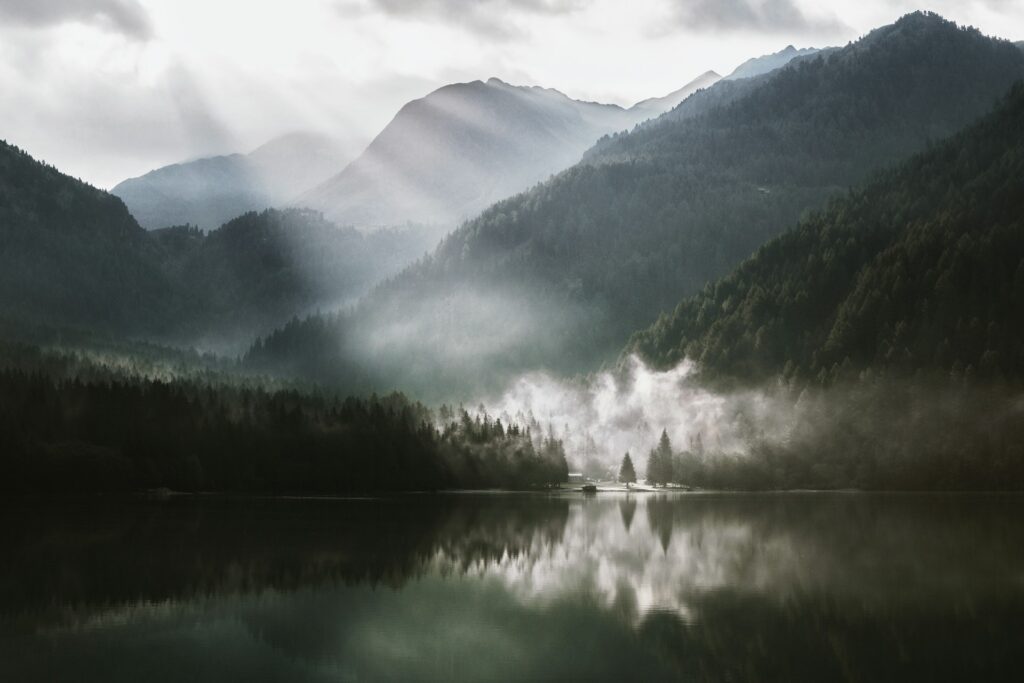
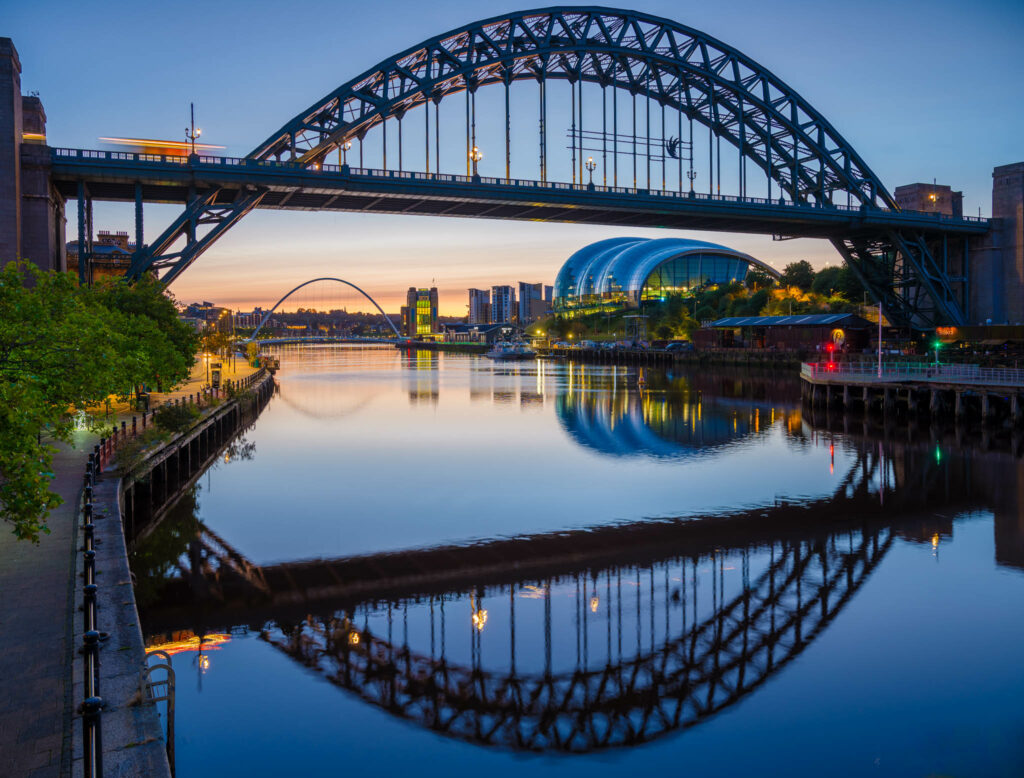
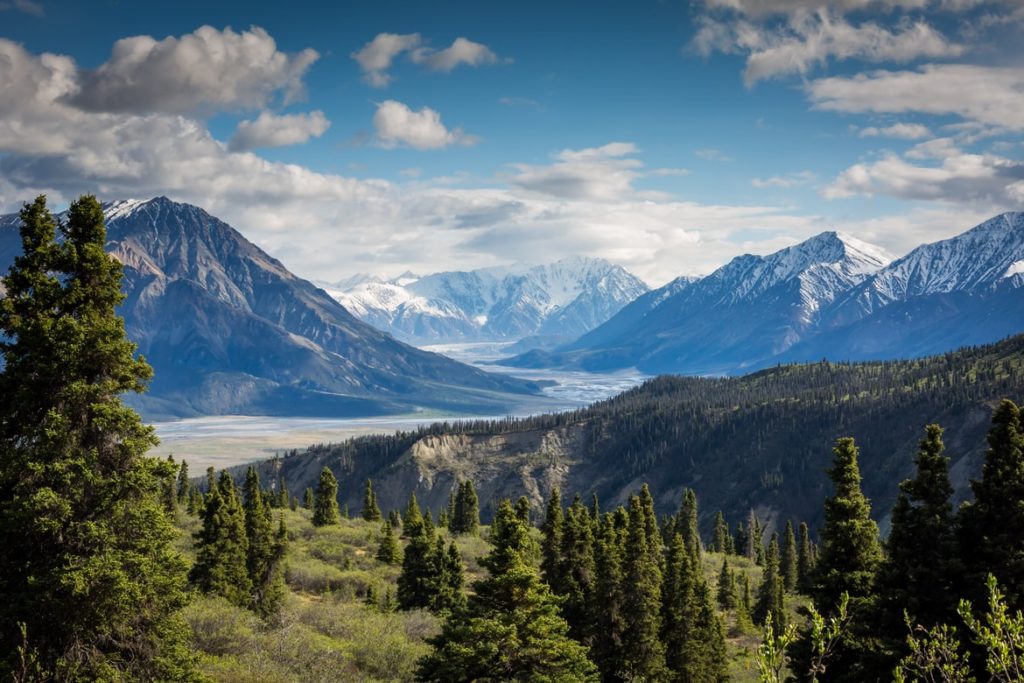
Photographing moonscapes is a photographer’s dream and it is something that requires a lot of practice and patience because you need to get the details sharp and exposure right on both the landscape and the moon. Practice is paramount. Moreover, you are not always working with very dark skies, but skies that have details and colours – the blue hour or twilight usually – and this adds an element of complexity.
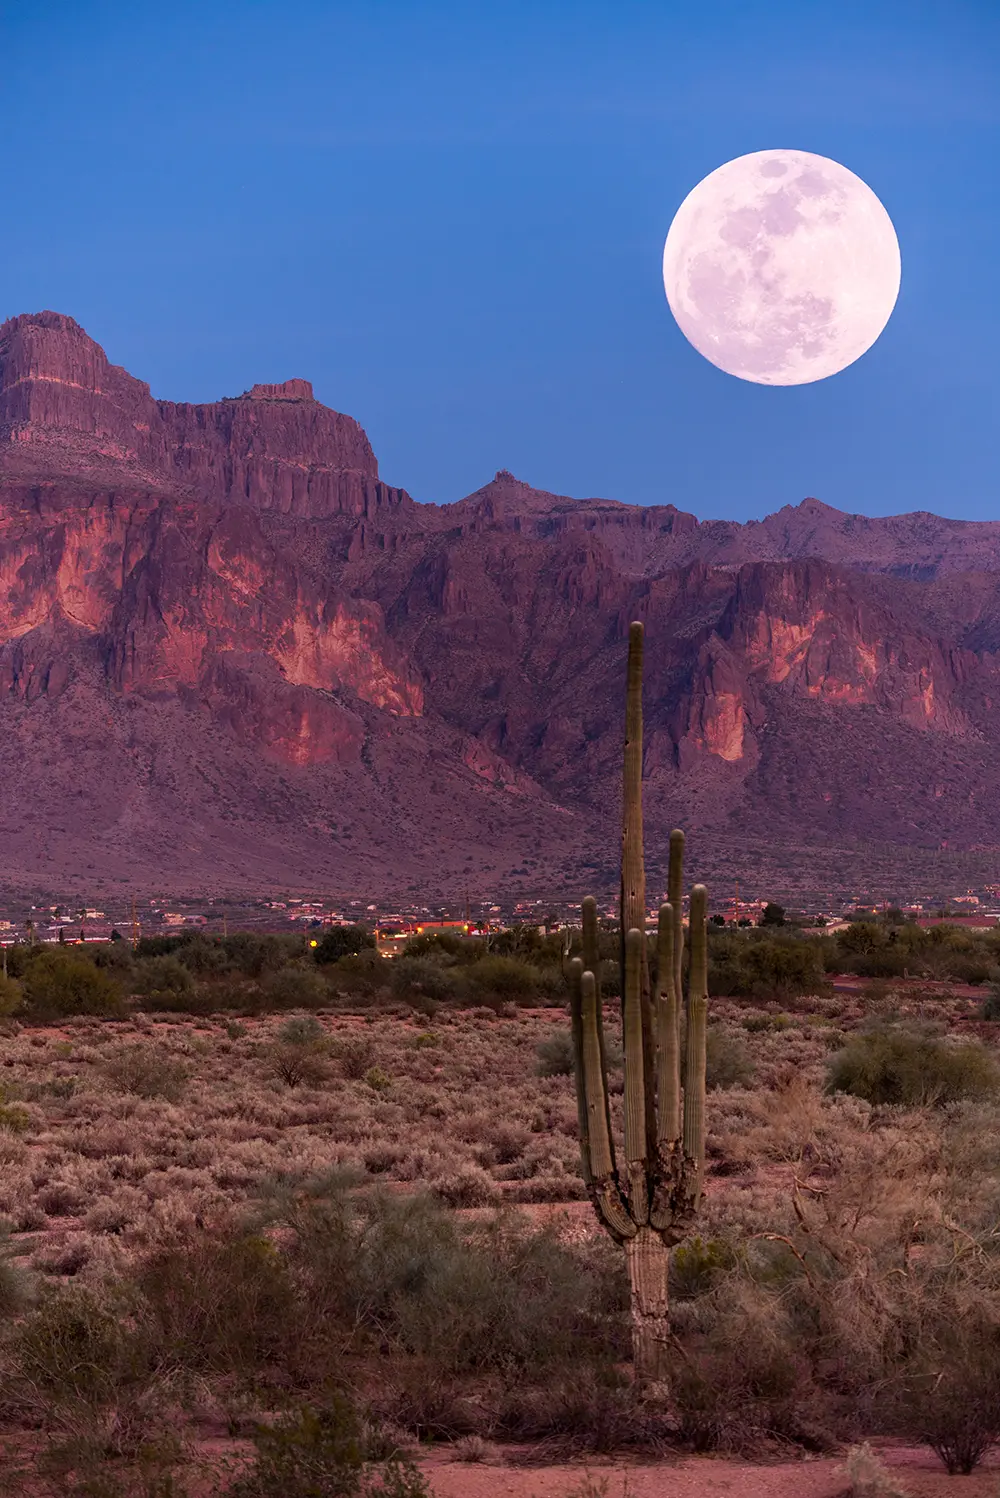
Note: If you are just photographing the moon, it can be pretty simple, but if you are photographing the moon in the background with foreground details, then it can be a bit trickier than you might think, which is what we will be discussing in this article.
Just to clarify things, “moonscape” can be a confusing word used in photography and here is the definition:
According to Wikipedia,
a moonscape is an area or vista of the lunar landscape or a visual representation of this, such as in a painting. The term “moonscape” is also sometimes used metaphorically for an area devastated or flattened by war.
In our case here, we are using the term moonscape to represent a landscape/cityscape scene with the moon in the sky. So photographing moonscape means to photograph the moon with at least some landscape or cityscape detail.
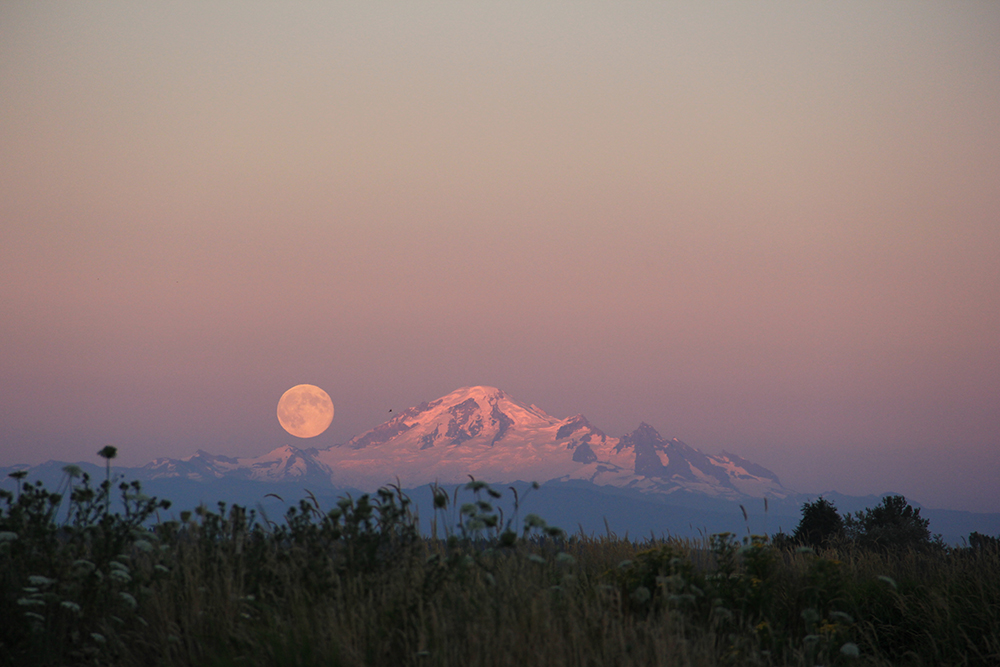
Photo by zan douglas on Unsplash
Note: These images cannot be exactly classified as night-scapes because most of them are shot at twilight or blue hour or sometimes even during the day (early mornings or late afternoons). Also night-scapes usually refer to a night image of a night scene, typically one that has a night sky with a landscape, cityscape or other elements in the foreground.
Gear Required To Photograph Moonscapes
- A camera that can shoot in manual mode
- Lenses of your choice depending on how you want the moonscape. Wide angle lenses if you want the moon to be a bright burst of light in the sky illuminating the landscape or moderate focal lengths between 70 to 200 mm if you want a detailed moon with landscape or cityscape in the foreground. If you are using a full frame camera you can go longer than 200mm.
- A very sturdy tripod with a ball head as you may be sometimes using heavy zoom lenses to photograph the moonscape
- An app to check weather and moonrise / moonset times for the location you’ll be photographing
- A remote or cable release to avoid blur due to shutter slap
Here are a few tips you need to keep in mind while photographing the moonscape because you need both the moon and the landscape in focus and uniformly exposed in the frame.
- Put your camera on a tripod, a really sturdy one because you are dealing with low light and maybe heavy lenses.
- Use the mirror lock up feature so that you can avoid even the slightest of movement that can blur the moon. When you zoom in to have a bigger sized moon in the frame, any slight movement will degrade the image and render it useless.
- Use a remote or cable release to release the shutter – again this is to avoid any shake and to have more control over the shutter speed, especially when using bulb mode.
- Use aperture values at least above f7 or f8 and preferably between f11 and f16 because you want both the landscape and the moon to be in focus. Take into consideration your lens’ sweet spot as you want to avoid any artefacts due to very small apertures.
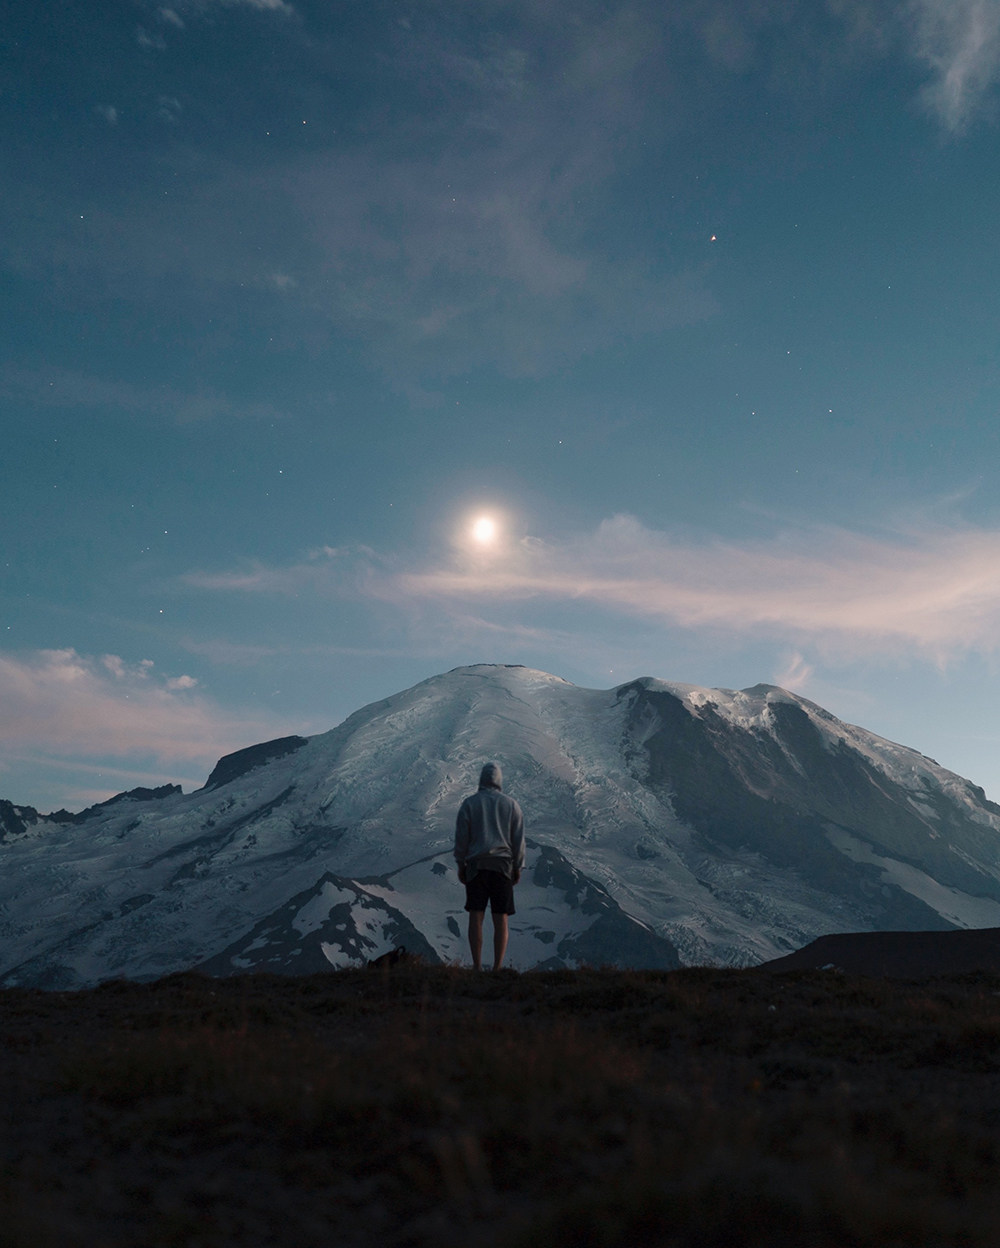
- Use lower iso values to avoid noise as you will already be dealing with low lights. 100-400 ISO.
- Use manual focus to get the moon in perfect focus. Switch to live view mode, zoom into the moon (a magnification of 10x should be fine) and make sure that you have the moon (the main subject) in perfect focus. Infinity focus does not usually work here and may throw the moon out of focus.
Note: If the majority of the frame is the landscape (shorter focal lengths), keep the focus one-third into the frame to have everything in the frame in focus. If the moon occupies the majority of the frame (longer focal lengths), keep focus sharp on the moon.
- Full moon days and the days before and after the full moon are the best days for moonscape photographs as the moon beautifully appears in the sky near the horizon around sunset and sunrise times. What this does is, it gives beautiful colours and enough ambient light to illuminate the landscape. In other words, the tonal range will be just right to record details of the moon and the landscape.
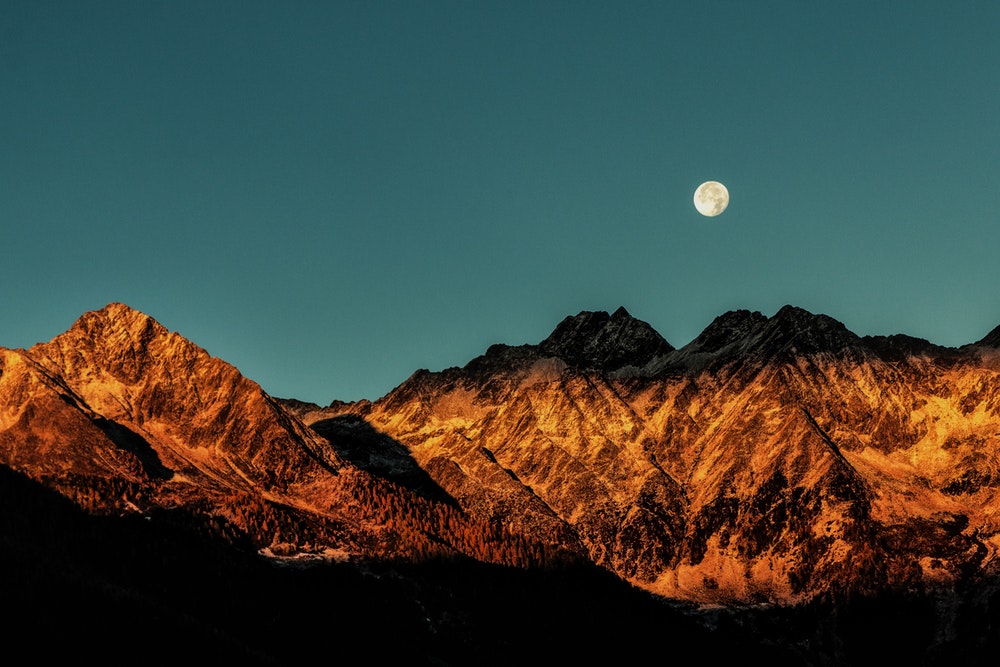
Image by Eberhard Grossgasteiger
Note: Be ready to bracket exposures if you think there is loss of details in the shadow regions of the foreground. You also need to be quick in this process as the moon will be moving quicker across the sky than you think.
- Don’t restrict yourself to photographing just the full moon. There are other phases of the moon that you can photograph along with the landscape that can be done during the day when the sun is not too bright up in the sky.
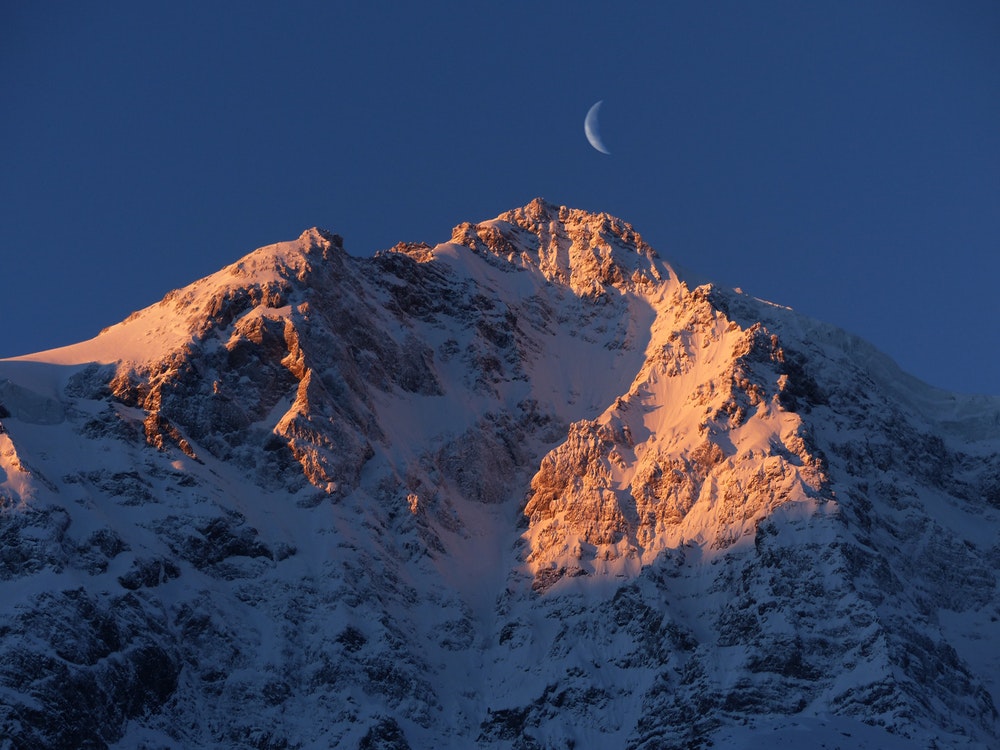
- And, remember, the crescent moon (a day or two before and after the new moon) will be rising and setting around sunset and sunrise times giving you opportunities to make some stunning moonscapes. You will be able to capture earthshine during these phases.
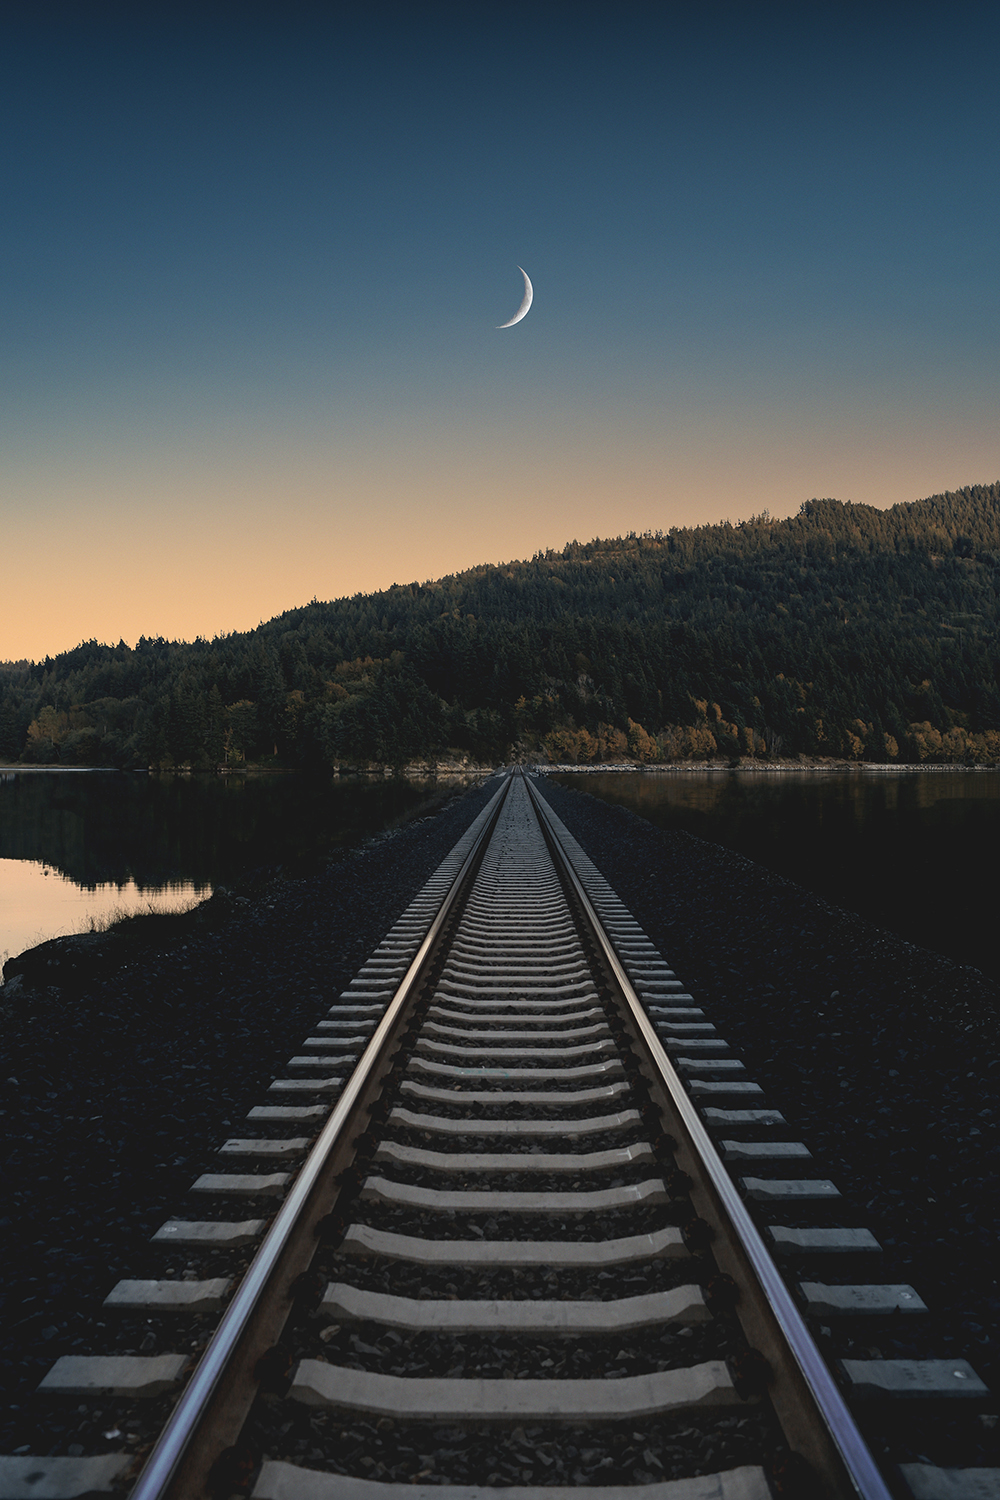
Photo by Jordan Steranka on Unsplash
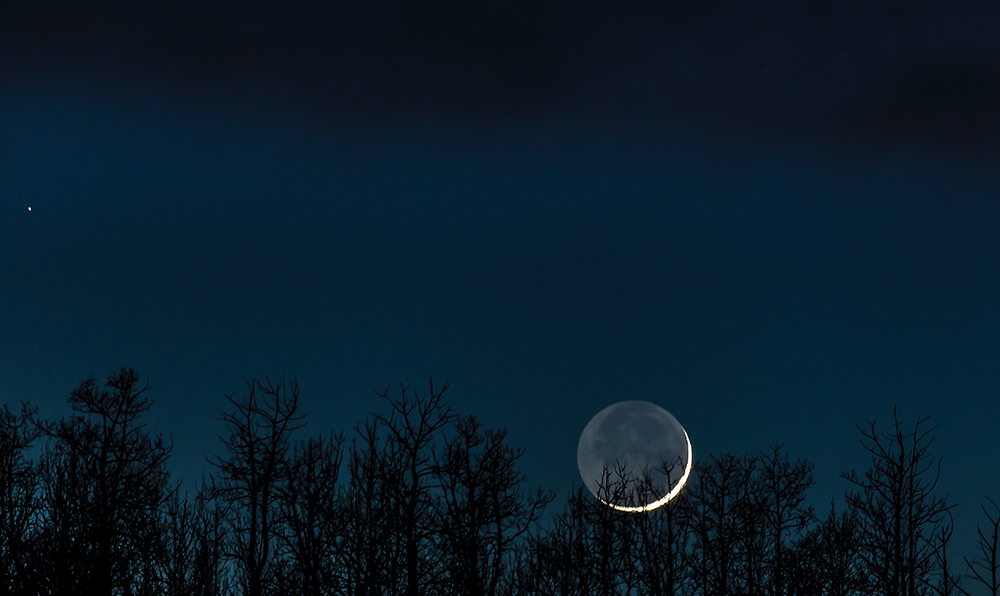
During the other phases when the moon rises later in the evening after it is dark, you can make composite images. Make an exposure exposing for the moon and another exposure exposing correctly for the landscape and blend them later while post processing. You can also go for bracketed exposures.
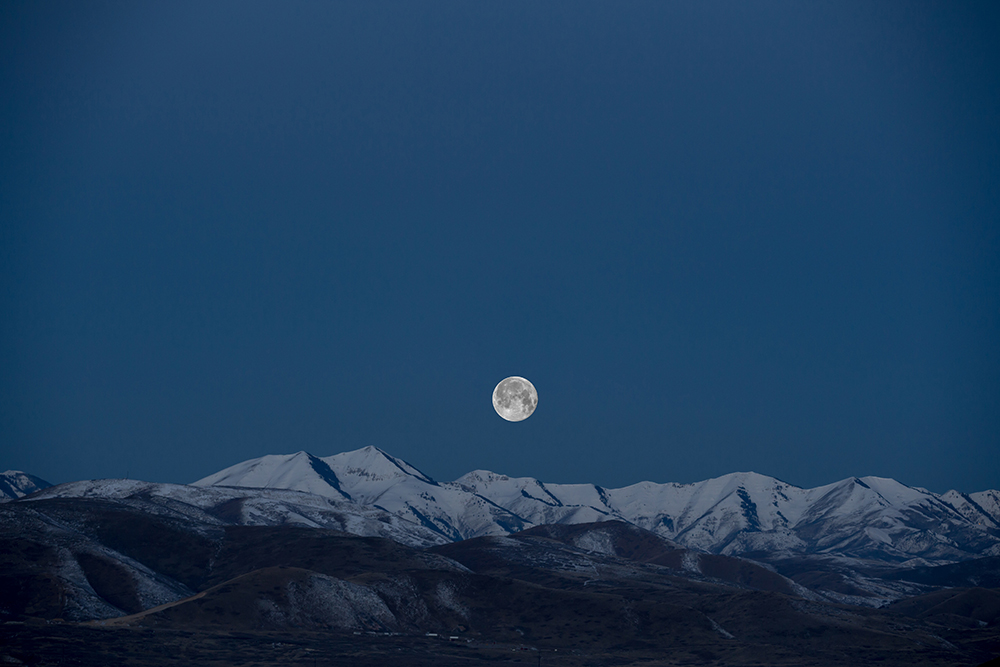
- If you are shooting wide with the moon in the dark sky, make sure that you position the moon well in the frame to avoid unwanted flares and ghosting and experiment with different exposures till you get it right. You will get the moon as a bright spot or burst of light in the night sky.
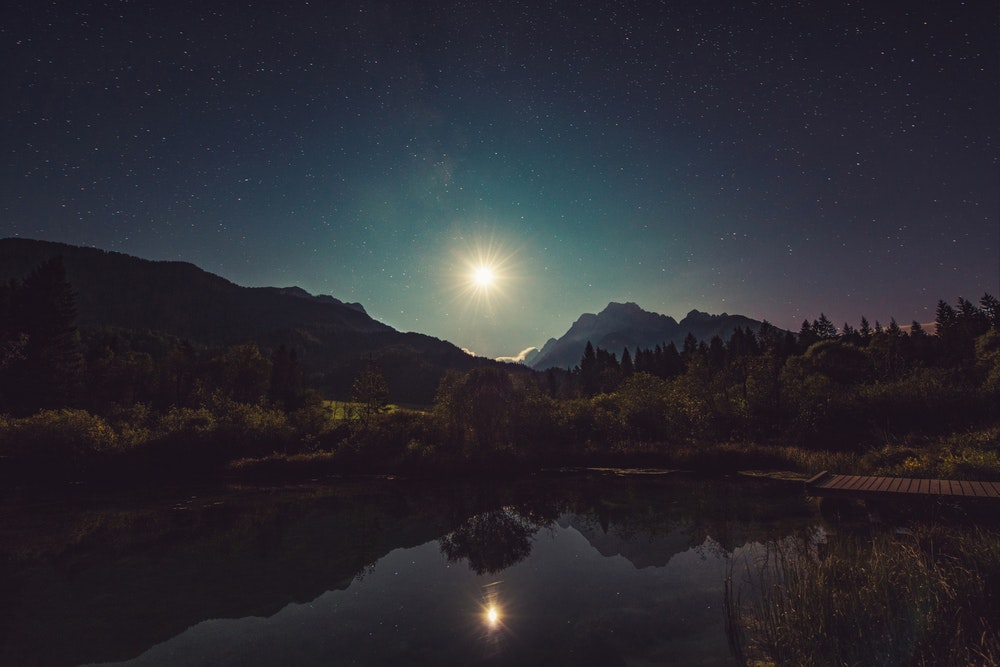
Image by Krivec Ales
- Do not forget a beautiful silhouette! You can make some amazing silhouettes with the moon in the background just like you do with the sun.
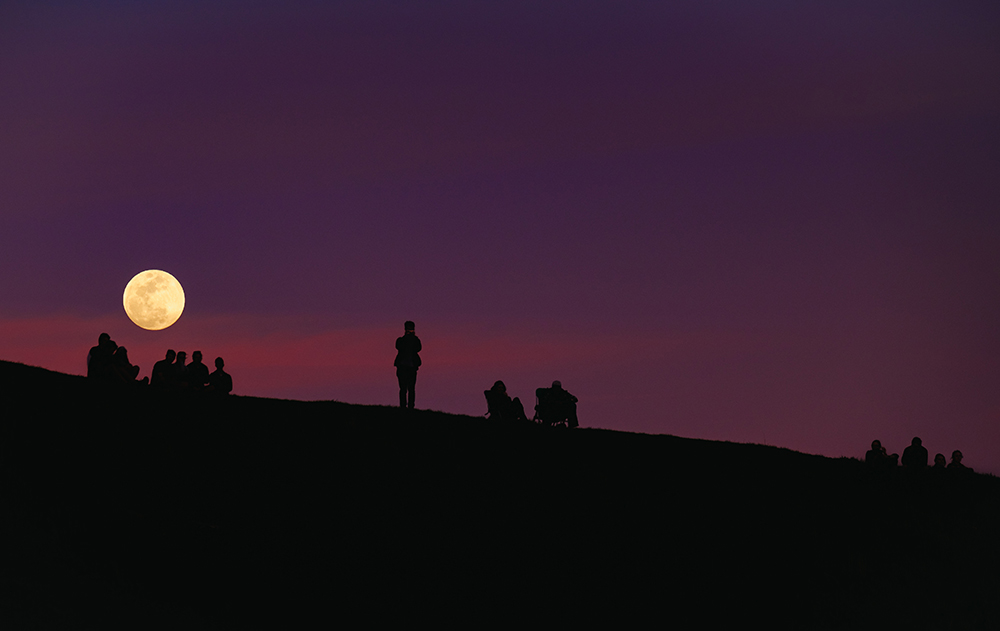
Photo by Todd Diemer on Unsplash
Here Is An Interesting Fact About The Full Moon
At full moon, the moon rises at around sunset time and sets around sunrise time. How cool is that! This will also make the moon look amazingly beautiful.
Here is an article that gives you an idea of the moon rise and moon set times for different phases of the moon and also about the position of moon rise and moon set during different seasons. Quite handy actually!
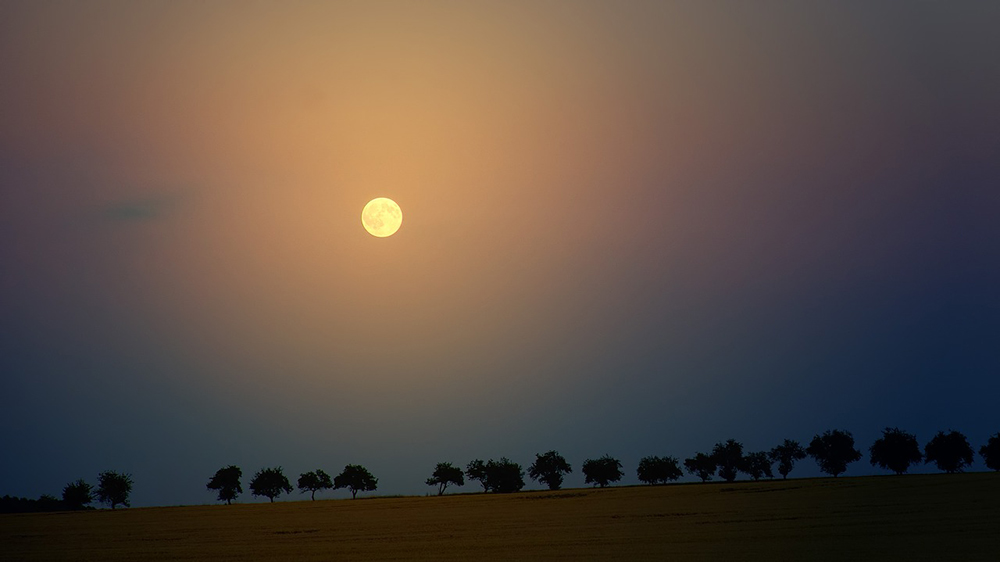
Image by Jplenio
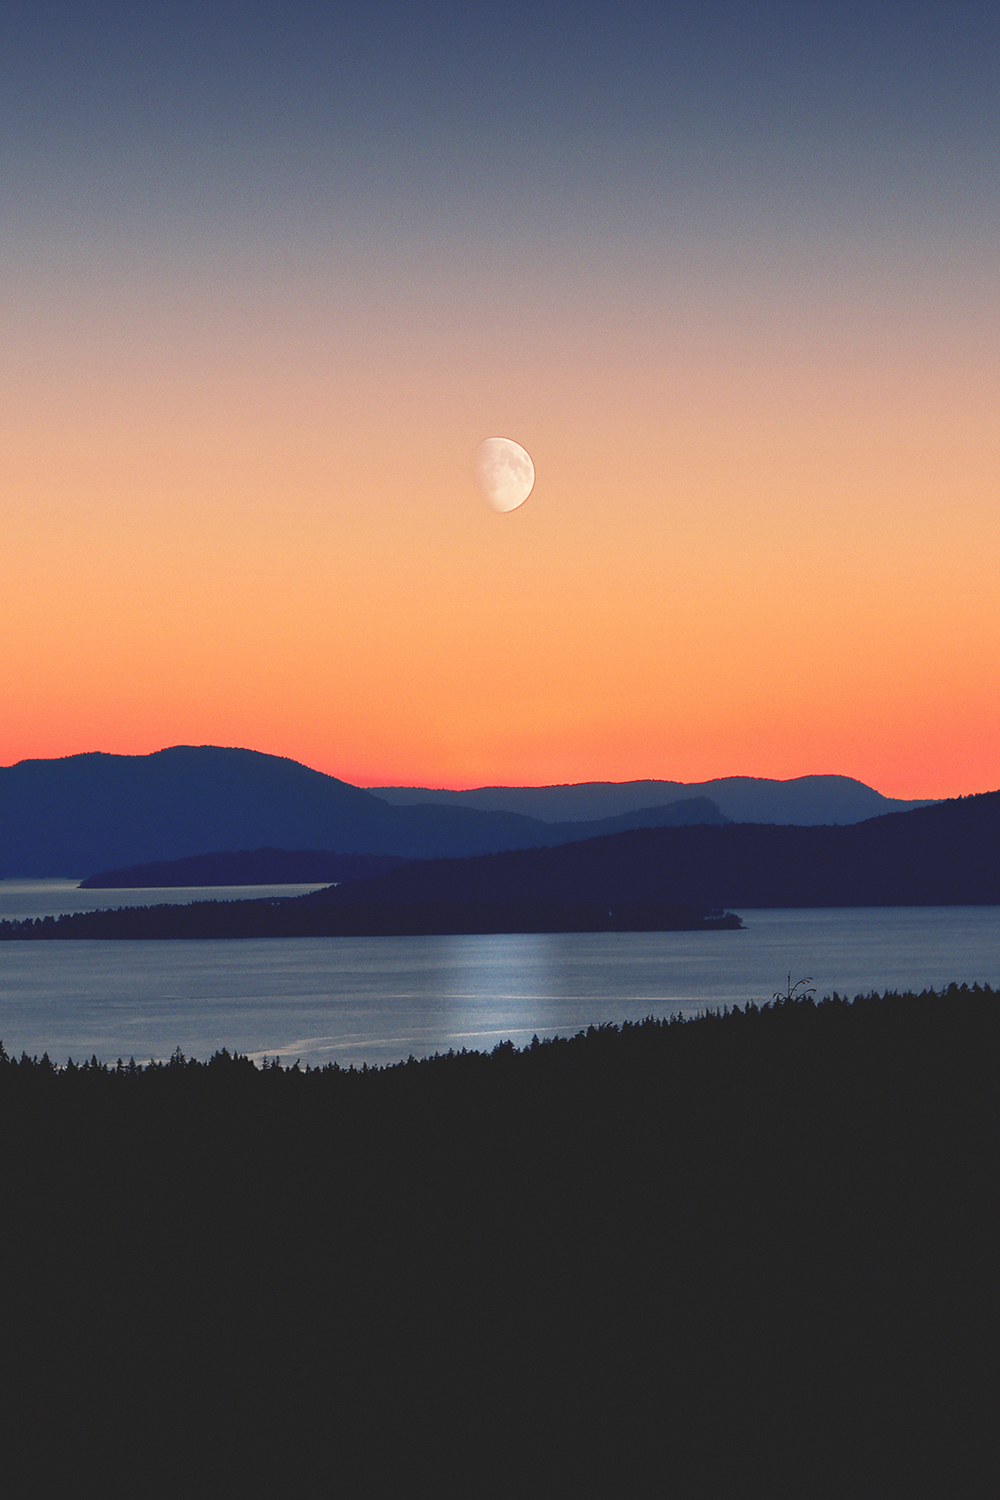
Photo by Jordan Steranka on Unsplash
How To Photograph a Moonscape
Planning is very important when it comes to photography in general, but it is even more important for moonscape photography. Here are the steps for photographing a moonscape.
- Decide on the size of moon and the phase of the moon that you need in the moonscape taking into account the gear that you have in hand.
- If you want the moon as a dot in the sky, use a wide angle lens in the 14 mm to 35 mm range. You’ll have a larger landscape / cityscape in the frame, but, you will have the moon as a small bright dot in the sky.
- If you want a reasonable sized moon in the sky with reasonable foreground, try experimenting with focal lengths between 50 mm to 200 mm
- Find an interesting location to compose the moon along with a foreground – keep an eye on the weather forecast as well.
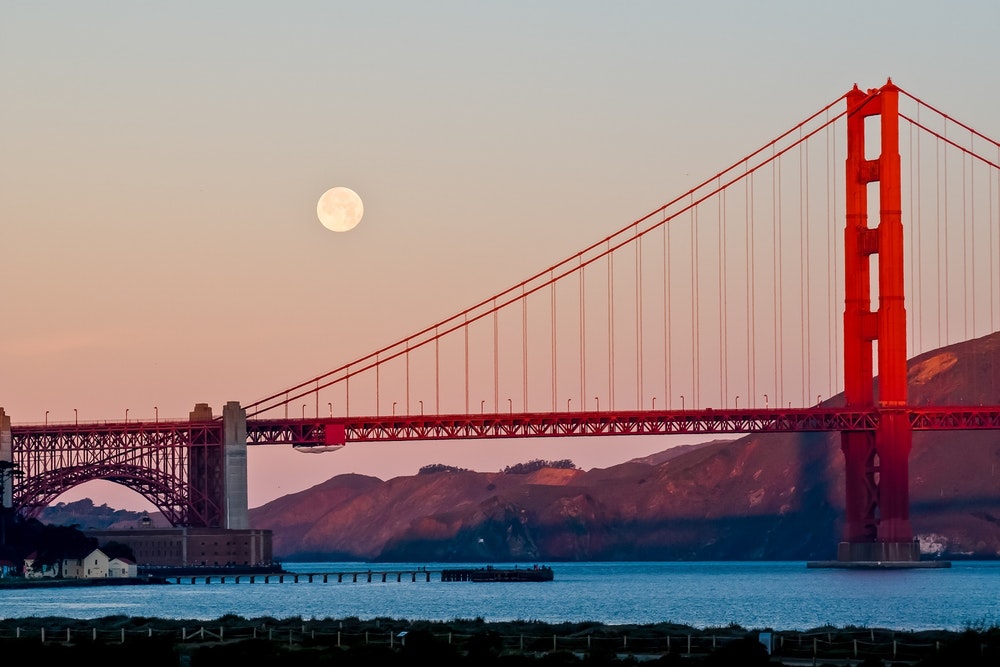
Image by Skeeze
- If you are near a lake or ocean or other water features, you can photograph the beautiful reflections the moon casts on the water.
- Put your camera with lens on a tripod. Use the mirror lockup feature and remote or cable release to release the shutter. Disable image stabilisation
- Have aperture between f7 and f16 depending on the amount of light available and the amount of light you wish to capture. Also take into account if it is a wide or narrow shot.
- Have iso very low at 100 and increase it only if necessary. Do not put it up too high.
- Manually focus on the moon.
- Remove any filters to avoid unwanted flare and ghosting.
- Shoot raw
- If you have enough light from the setting or rising sun to illuminate the foreground, start with 1/30s shutter speed. See what you get and depending on that increase or decrease the shutter speed, but it is better to not go below 1/30s shutter speed or even faster and smaller aperture than f7 (that is between f7 and f16)
- Experiment with different combinations of aperture value, shutter speed and focal lengths and decide which exposure and frame works best for you.
- Post process your moonscapes – work with the exposure, contrast, whites, blacks and clarity slider to get a neat image. Set white balance if necessary.
In order to get the best moonscapes, you need to get out and shoot. No amount of reading is going to make one an expert in photography, but practicing and experimenting will.
Taking Moonscape Photography Practice a Step Further
If you are interested in action assignments where you shoot images, review them, make adjustments till you get the perfect shot, then you will be happy to know that some of the tips in this article were from the Action Card Series from Photzy. These cards are to the point and printable so you can have them in the field with you when you shoot.
Light Stalking readers have a huge discount on these cards right now for a limited period of time. Take a look at them here!


