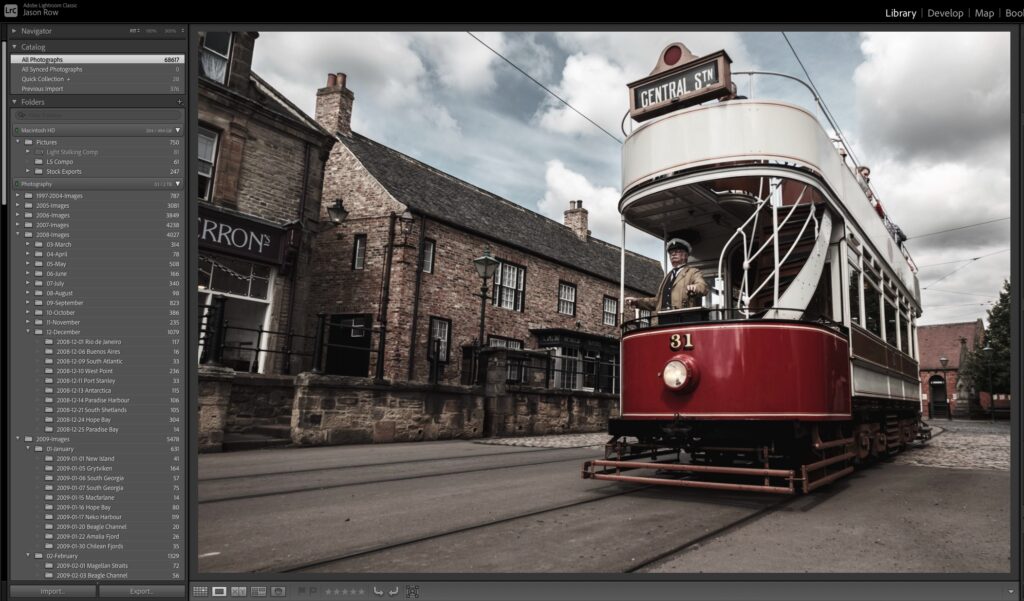
For those of us that use and love Lightroom, new features pop up from time to time. Lightroom's Color Grading feature replaces Split Toning. At first? Shock factor! Split Toning is awesome and is one of my go-to tools.
After playing with Color Grading though, my breathing returns to normal and I'm psyched. Read on for what they do and how to use them.
By the end of this article, you'll be rocking the tint adjustments.
Lightroom's previous Split Toning sliders adjusted the color tint of highlights and shadows. I apply split toning typically at the end of my post of an image to add that something extra.
Today, with the Lightroom's Color Grading, midtone tint adjustments are added to the equation. In addition to sliders? Specific tint adjustments using Color Wheels. Sliders for blending, balance, and luminance too are in the mix.
Plus, a global adjustment wheel is included.
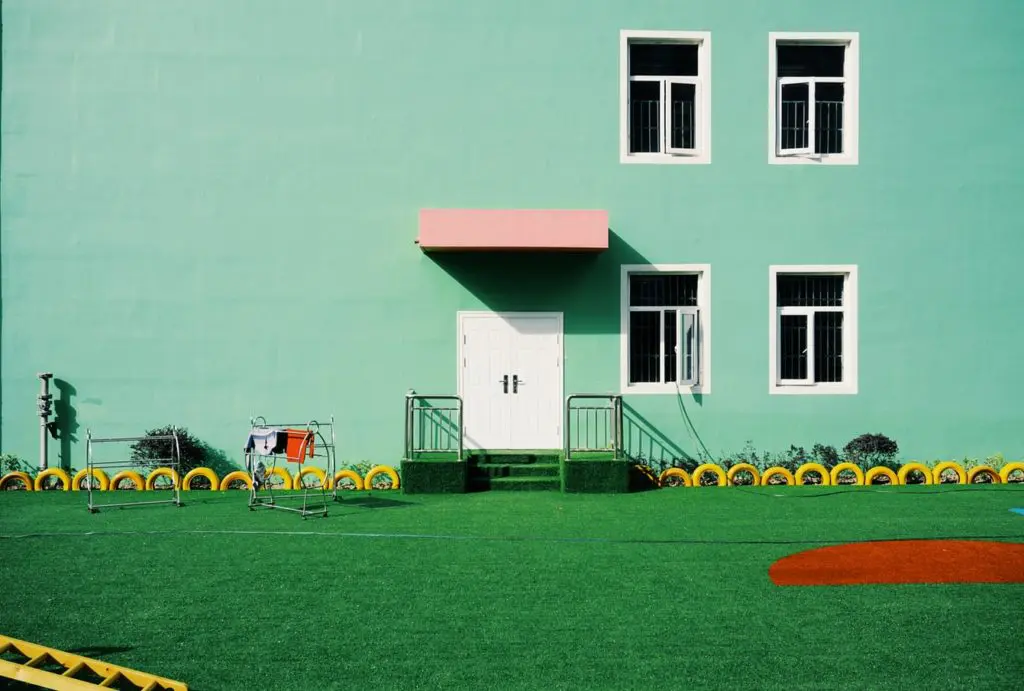
What Is Lightroom's Color Grading?
From soft complementary adjustment tints to bold moves with contrasts, or natural tints to cinematic effects, Color Grading elevates creativity with a few touches.
Lightroom's Color Grading tool takes shape using four, powerful 3-way color wheels. There's a wheel for adjusting tints with your highlights, shadows and midtones.
What I appreciate most, is how these work solo and together to create many looks. Sometimes you'll use one or two. Other's you'll use all in varying degrees.
Caution: it's easy to get addicted! It's also easy to over work images using these sliders. A rule of thumb, before publishing an image, I walk away for a bit. Then I come back and preview it full screen. Particularly when I'm going for drama!
How To Use The Color Wheels
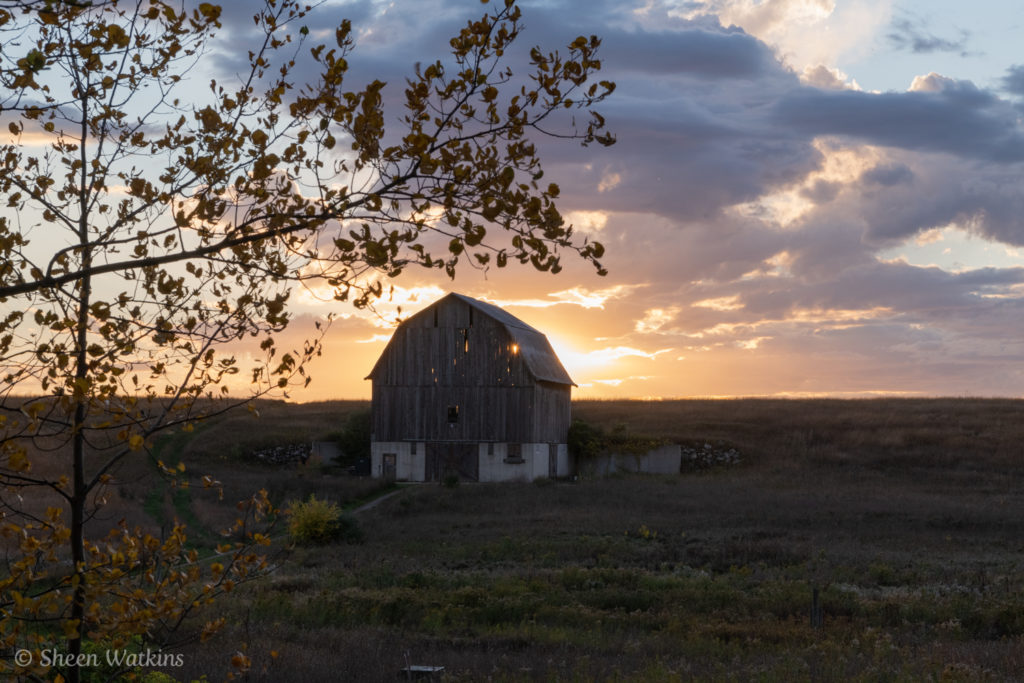
This week, many hours behind the wheel in Leelanau County, Michigan turn into many images for processing. I'll use the raw file below to make my adjustments and apply various edits including the use Lightroom's Color Grading wheels. You'll see the finished version at the end.
Learning tip: Use this article on your smartphone or laptop while making adjustments using one of your images on your computer. While I love learning via videos, sometimes it's faster reading and applying at the same time.
Lightroom's Color Grading Panel
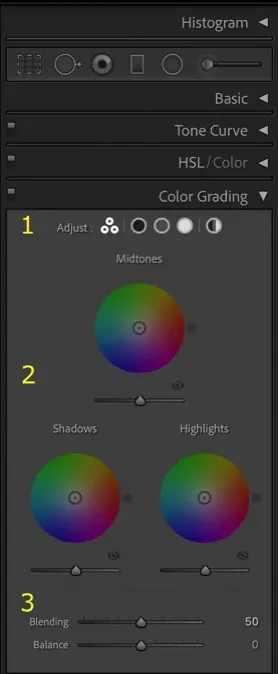
You'll find the panel underneath the HSL color panel. The panel includes:
- Adjust: Select to work on the wheels as you see below by using the three dots that form the shape of a triangle. Or, you can choose to select a complete circle that will bring up that adjustment. The circles are:
- Dark circle – shadows
- Medium circle – midtones
- Light circle – highlights
- Multi-shaded circle – global adjustments
- The color wheels automatically shown on the panel are adjustments for Midtones, Shadows and Highlights.
- Blending & Balance Sliders – Blending controls the strength of overlap between your highlights and shadows. Slide to the right for greater overlap and to the left for less. The Balance slider to applies to the ‘balance' of your effects across shadows, midtones, and highlights. Increase highlights with values of 0 and higher. Increase shadows with values below zero.
How To Use And Apply The Three Wheels
When working with the adjustment wheels, click and drag on the little dot that's in the middle of the circle. For fun (yes, my life is exciting!) drag the circle from the center to the edge and watch your image change.
Then, adjust the sliders underneath the wheel you're working on. What happens? How cool is that?!?
But wait, the fun doesn't stop there. Let's explore an individual wheel to see what happens in your image.
Lightroom's Color Grading: The Wheel Up Close
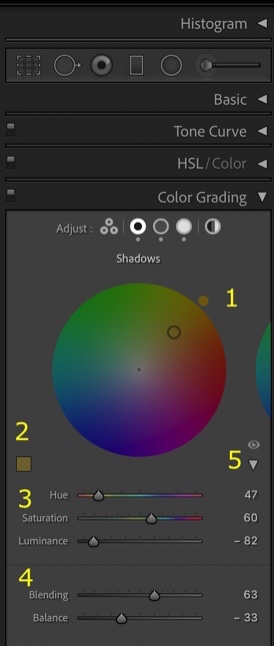
We're clicked on the Shadow Wheel in the Adjust line. Now let's use the wheel to see how robust we can go. Since you've already moved the center circle when playing with the three wheels, you already know how #1 above is done.
For #2, click on the box, hold and drag your mouse/cursor across your image. What do you notice? The image shadows in this case shift in color.
#3 is another way of adjusting hue, saturation and luminance.
#4 Move these sliders to tweak blending and balance.
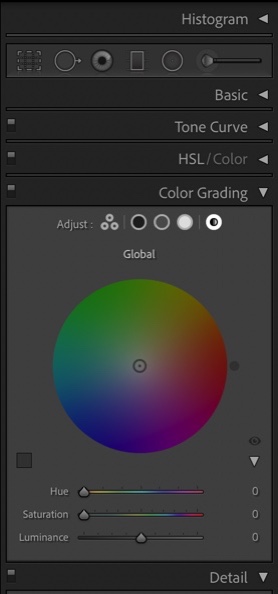
The Global Adjustment Wheel
What if you're looking at your image and desire a different look and feel? Try an overall tint change for using the Global Adjustment Tool. Color tint and luminance are applied across your images, across all ranges. For my fall images, I apply a warming shift. For winter, I'll move to the cooler range.
The raw file farm image referenced above is elevated in impact through post processing, including the use of Color Grading.
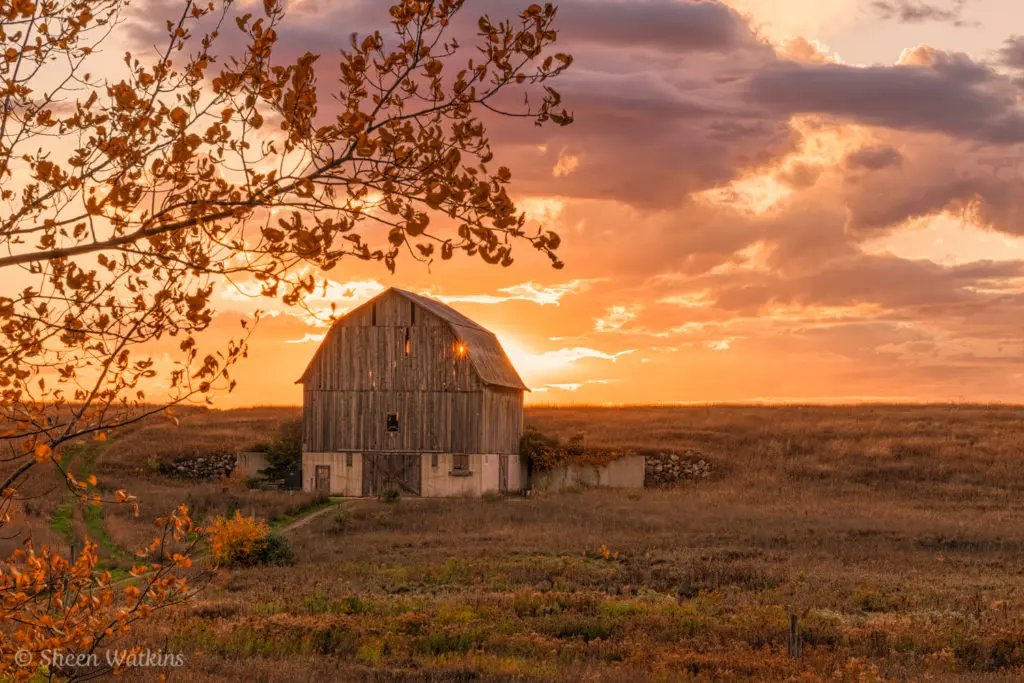
Color Grading applied to the above image:
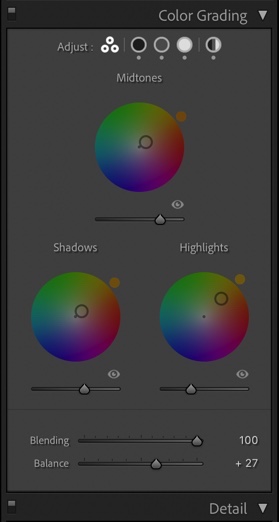
Elevate your imagery and artistry through using these new color wheels in any combination. No limits! Only your imagination, creativity and personal preference.


