Natural light portrait tips are probably the most sought-after tips in portraiture because many portrait enthusiasts rely on natural light only. Well, at least in the beginning.
I occasionally get asked some variation of the question, “What’s the main thing I can do to get better at photography?” Depending on who’s asking I might give slightly different answers, but the reply I most often provide goes something like: “Don’t let the gear get in the way of the photo.”
This philosophy plays heavily into my preference for natural light portraiture.
Natural light photographers are often accused of deferring to natural light because they don’t know how to properly use speed lights or strobes — a criticism that is, in my experience, more often than not invalid.
A good portrait isn’t dependent upon which type of lighting you use, rather it depends upon using the lighting type of your choice effectively.
So if natural light is your preference (or you think it could be) and you’ve been working on improving your craft, these five tips for natural light portrait photographers may be of some value to you.
Choose The Right Time Of Day
I use the word “right” pretty loosely here. There’s no wrong time of day to shoot natural light portraits, but certain times are considered by many photographers to be ideal — namely, those roughly two hours of the day known as the golden hour.
- Occurring approximately one hour after sunrise and one hour before sunset, golden hour provides photographers with light that all but guarantees a stunning photo.
- So what’s the big deal with the light of golden hour? It’s gentle and warm and versatile. It creates flattering skin tones, captivating shadows and can be used as backlighting, rim lighting, or side lighting.
Make The Best Of Harsh Light
Clearly, your life can’t revolve around a two-hour window every day. At some point, you may find yourself shooting when the sun seems downright oppressive. At times like this, having a modifier handy would be great.
But let’s assume it’s just you and your model versus the elements. You can definitely use that harsh light to create something beautiful.
- For starters, find shade. It doesn’t have to be a tree. It could be the side of a building, an awning, or absolutely any other structure that blocks out the sun.
- If there’s nothing useful around to create shade, the most effective thing to do in harsh light situations is to keep the sun at your model’s back. It’s simple: ask your model to look down and find their shadow, then have them aim their face in that direction. Their face will be evenly lit and they won’t be squinting.
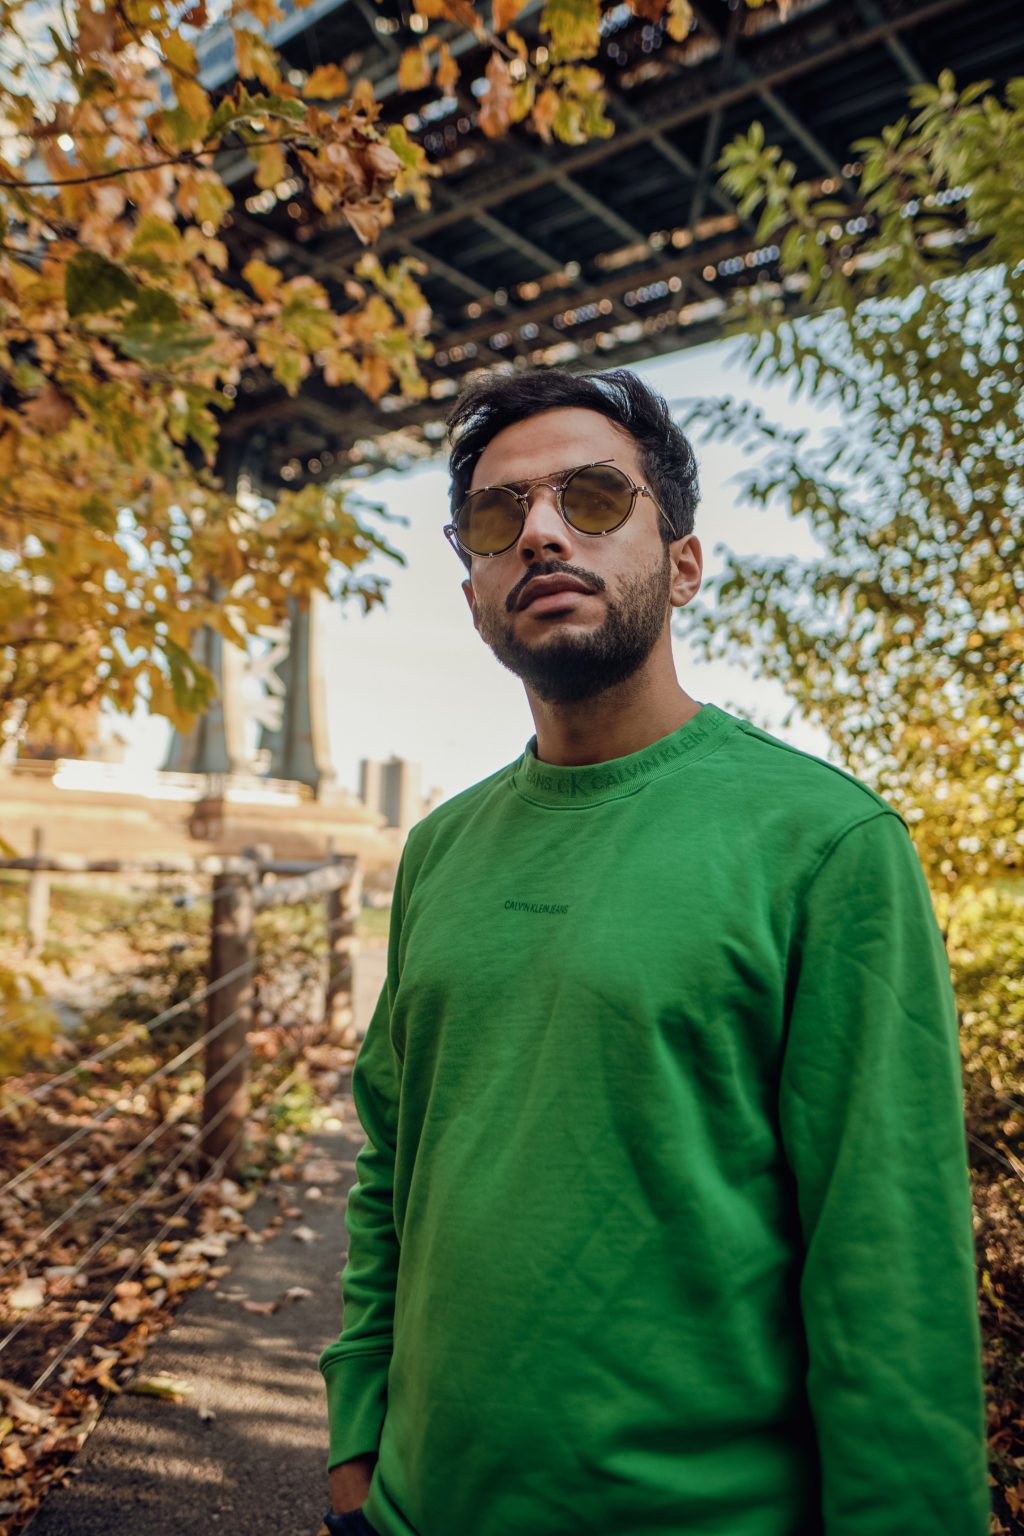
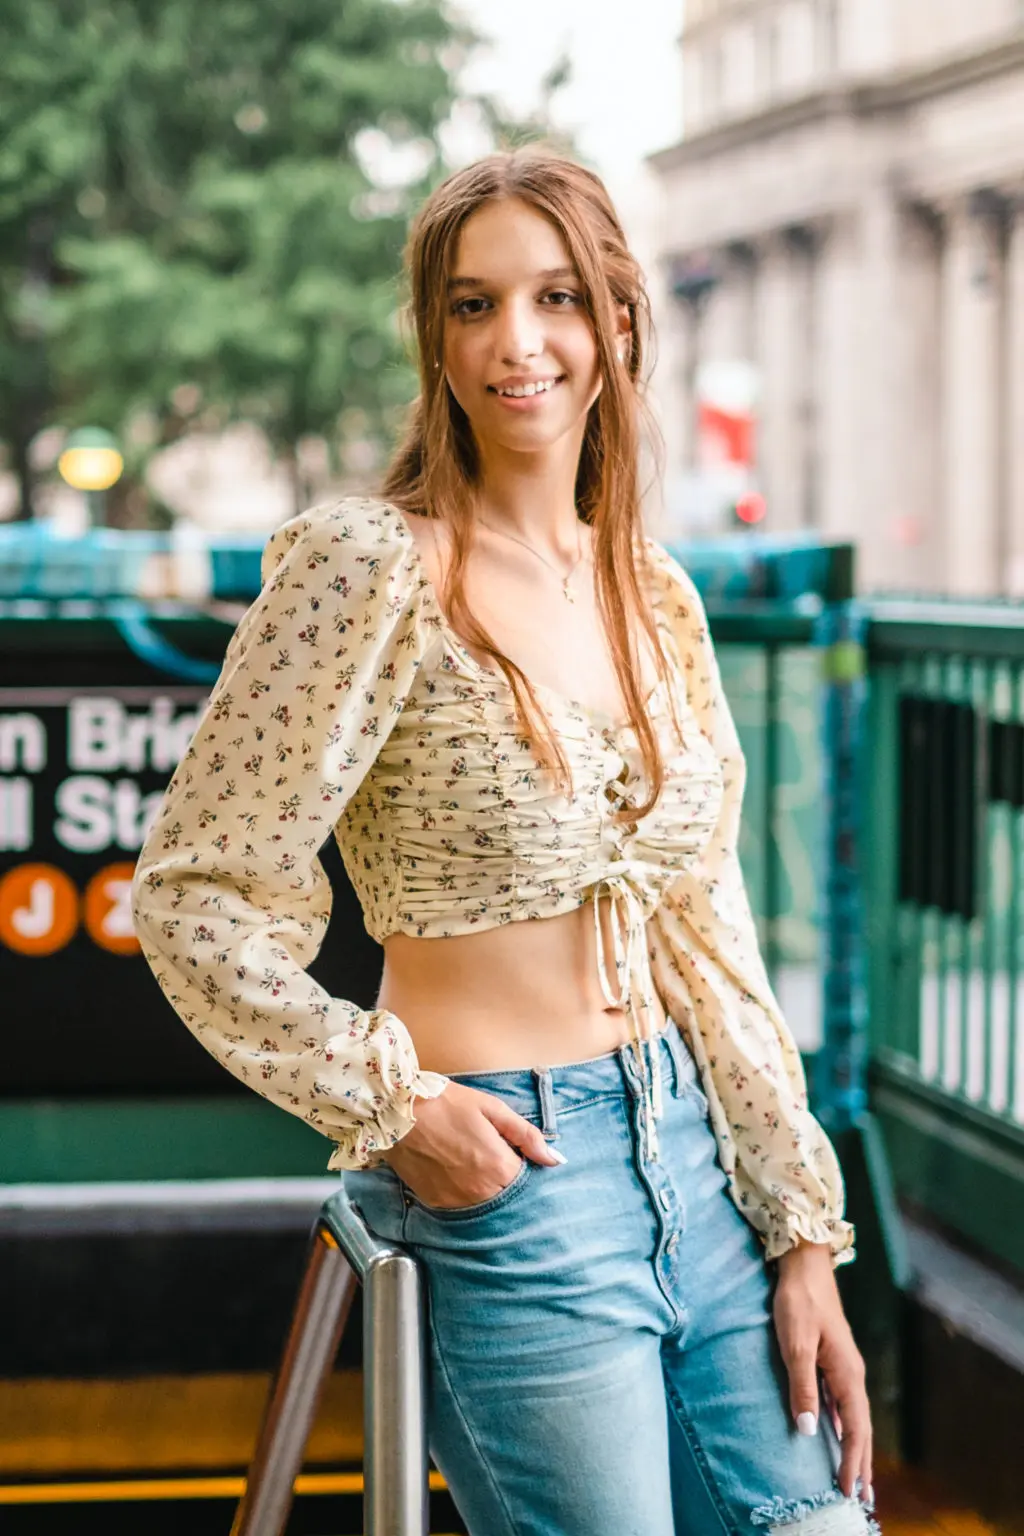
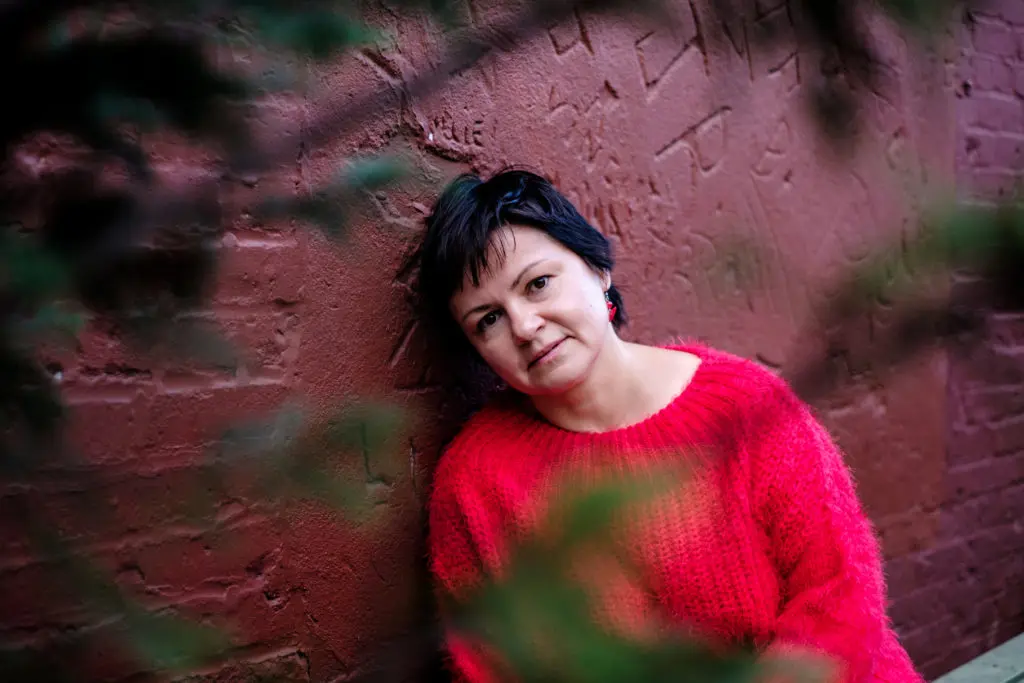
Find Interesting Backgrounds/Foregrounds
Some locations can look rather stark in natural light. Unless you’re going for a minimalistic aesthetic, search for locations that offer something of visual interest that will complement your model.
This could be seeking out a background setting that works with your model’s clothing style to create an overall mood (edgy, dreamy, retro, romantic), or it could be as simple as seeking out complementary colors or beautiful tones that enhance the shot.
Go Indoors
Yes, you absolutely can make beautiful natural light portraits indoors.
When positioning your model in front of the window, experiment with proximity and angle.
- A smaller window allows in less light, so you’ll want to have your model closer to the window; conversely, a larger window provides more light, meaning your model can stand a bit farther away. But, of course, you can vary the distances according to how much shadow you want in your portraits.
- As a rule of thumb, start by placing your model at a 45-degree angle to the window and then making adjustments based on how dramatic you want the shadows.

Final Thoughts
If there’s one thing to keep in mind when shooting natural light portraits, it’s that your light source is fixed — there are no light stands to raise or lower, no power settings to increase or decrease. Instead, you will need to move your model in relation to the light and, if necessary, you will need to move in relation to your model.
Additionally, embrace the shadows and use them to shape your model’s face and create a mood.
Finally, have fun. Making natural light portraits is, as I alluded to in the beginning, a freeing process since the only gear you have to deal with is the camera.
Further Reading:
- 13 Tutorials On Different Lighting Techniques For Portrait Photography
- Secrets to Capturing Perfect Outdoor Portraits
- 7 Portrait Photography Ideas You Can Try Today
- How to Make the Most of the Affordable 50mm 1.8 Lens as a Portrait Photographer
- Using Natural Light in Portrait Photography
- Photography 101: What Is Natural Light?


