For many photographers, the summer season represents a time to truly indulge in their craft. Not that anyone purposely slacks off during the rest of the year, but the warm weather and longer days — both of which coincide with a significant uptick in outdoor activities — are sure to inspire shutterbugs everywhere.
The summer months can, however, pose a challenge — the light is harsh for a longer period of time. Harsh overhead light is generally frowned upon as it casts deep, unflattering shadows in portraits.
Additionally, the intensity of the light during midday in summer can make it difficult — if not impossible — to shoot wide open for shallow depth of field.
Below you will find 5 strategies and accessories that you can use to alleviate some of the problems that summertime photography will present to you.
1. Start Early, Stay Late
If you simply don’t want to deal with trying to shoot when the sun is high in the sky, all you have to do is work around it.
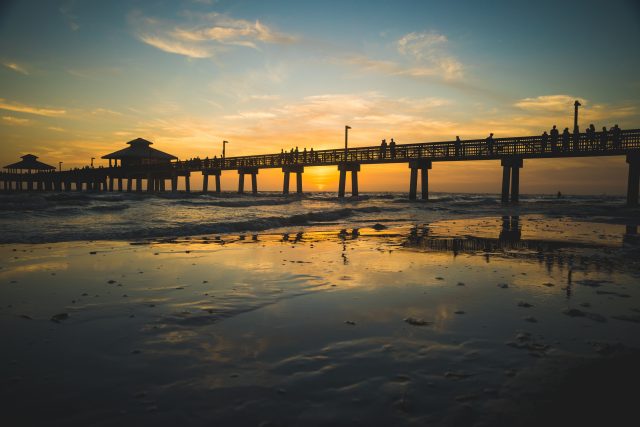
An hour or two after dawn and an hour an or two before dusk are considered by many photographers to be choice lighting scenarios no matter the season.
The so-called golden hours, however, becomes ever more valuable during summer when harsh light takes up more of the day.
Staying out later probably isn’t going to bother most people, but if you really want to maximize your opportunities to photograph in beautiful light, you’ll have to sacrifice those big plans you had to sleep in.

But if you do find yourself having to shoot in harsh light, try one of the following.
2. Use A Neutral Density Filter
The ND filter is the ideal summer day filter. There are times when setting your camera to its fastest shutter speed and lowest ISO still won’t allow you shoot at a wide aperture without totally blowing out the shot.
A neutral density filter decreases the amount of light that hits the sensor, thereby making it possible to use wider apertures.
ND filters come in different “strengths” and are referred to by how many stops of light they block. A neutral density filter labeled as ND2 cuts the amount of light reaching the camera’s sensor in half; it accounts for a reduction of 1 f-stop. An ND4 filter represents a two-stop reduction of light. ND8, a three-stop reduction.
A more convenient and versatile option is a variable ND filter. This type of ND filter includes a front ring that you can turn to select how much light reduction you need.

3. Use A Polarizing Filter
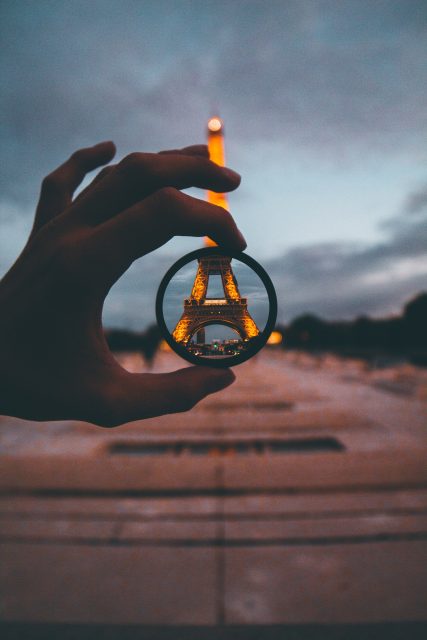
A circular polarizer (the specific type of polarizer you’ll need if you’re using a DSLR or mirrorless camera) is used to enhance saturation and clarity and to eliminate glare from water and glass surfaces.
Just like with the ND filter, you rotate a ring to achieve the desired effect.
While an ND filter is perfect for midday portraits, a circular polarizer is ideal when you’re doing summertime landscapes, cityscapes or seascapes.

4. Use A Reflector
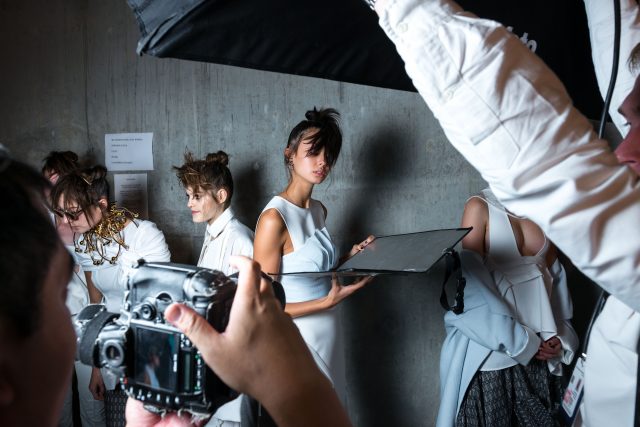
Reflectors are small, versatile, portable light modifiers that you should always have handy whenever you’re shooting on location, regardless of the season.
Reflectors are commonly sold in a kit form that includes silver, white, black, gold and translucent panels.
The translucent panel softens the light, the black panel prevents light spill and eliminates unwanted reflections, the silver panel fills in shadows and creates specular highlights, the gold panel fills shadows and adds warmth, the white panel provides a neutral fill effect.

5. Use A Flash
Another method of eliminating the unflattering shadows caused by hard midday light is to use a flash.
In a pinch, your camera’s built-in flash may very well get the job done but a dedicated flash unit is preferable if you truly want to control the light. Even better if it has a tilting head and a diffuser panel.
There’s a bit more to it than can be covered in this write-up, but the basic idea behind using fill flash in daylight is to meter for the ambient light and dial the flash down so that it makes the shadows disappear. The flash should be otherwise imperceptible.

Final Thoughts
Summertime provides so many opportunities for fun, adventurous photography projects. The challenging lighting situations are relatively easy to overcome or avoid altogether. Take a few cues from the content above and see how well these strategies work for you this summer.


