As we know, Lightroom has become a very powerful tool not only for image management but also for post production. Amongst the tools available are some excellent ones for the landscape photographers amongst you. Today we are going to take a look at ten of the best tools in Lightroom for landscape photography.
1. Graduated Filter Tool
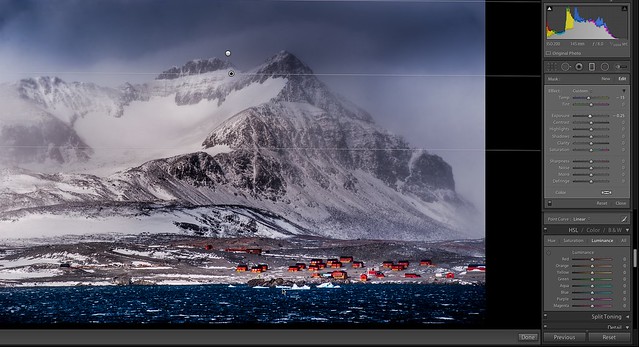
One of the biggest problems that can occur in landscapes, are washed out skies. Not all of us carry or can afford a set of graduated filters for our cameras but luckily Lightroom has its own version. Found just under the histogram, you simply drag the filter down on your image and make adjustments from the window to the right. The great thing about this tool is that not only can you change exposure to darken skies but also color, saturation, clarity and a number of other useful elements that can give you the perfect sky.
2. Adjustment Brush
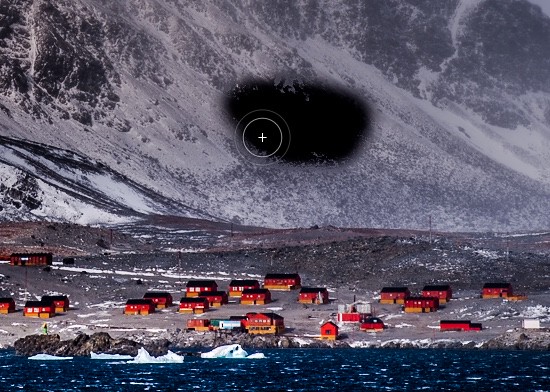
In the same section as the Graduated Filter we find the adjustment brush. This is the perfect tool for working on selected regions of your landscape. Perhaps the big boulder in the foreground is too dark. Select the Adjustment Brush and simply paint a lighter exposure over that boulder. For more defined areas their is an Auto Mask facility and you can also show a red overlay to highlight where you have painted the brush. Like the Grad Filter there are a range of adjustments that can be made, one of the most useful being noise reduction. In the case of lightening our boulder, we may have introduced noise into the image, this can be reduced in that area only with the noise slider.
3. Color Temperature
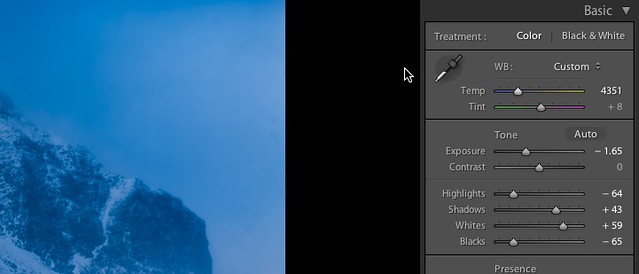
Our cameras are generally pretty good at working out color balance but not always. The Color Temperature slider in Lightroom is an essential tool for the landscape photographer, allowing him to create exactly the right mood for the shot. It works best with RAW files where the color balance has not been embedded into the image.
4. Highlights/Shadows Sliders
Whilst the Black and White sliders help us keep the extreme ends of the histogram in tolerance, the Highlight and Shadows tool allows us to make adjustment just inside either end of the graph. Highlights is ideal for bring in a little more details to a sky or light reflecting on water. The Shadows slider can lift dark areas of a shot to give us a little more definitions.
5. Tone Curve
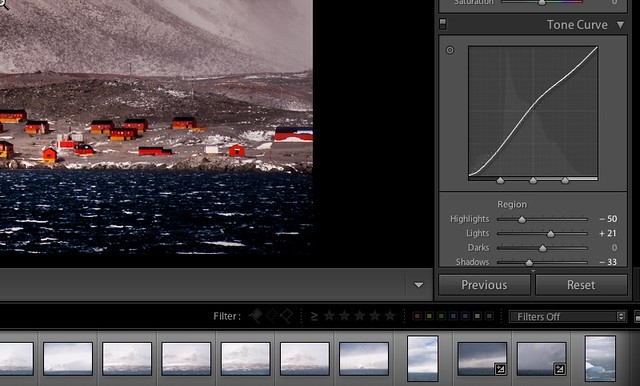
For the ultimate adjustment of your landscape image, the tone curve is the to go tool. Similar to Photoshop’s curve tool it allows you to make very precise adjustments to all tonal areas of your image. By using the picker tool at top left of the Tone Curve window you can select which tone to adjust directly from the image itself.
6. HSL or Hue/Saturation/Color
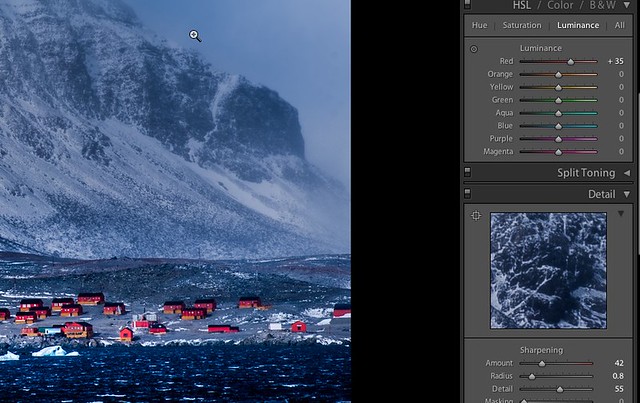
Another extremely powerful tool for landscape photographers the HSL sliders can allow you to make very fine adjustments to selected color areas of an image. For example if you have a foreground of grass that is looking dull, you can select the green slider in luminance. Sliding to the right will lighten the exposure of only the green parts of the image. You can then do the same under the Saturation tab, increasing the saturation in only green parts of the landscape. You can also change the color slightly using the Hue tab. Like the Tone Curve there is a picker tool that can allow you to accurately select an color from within the image to work on.
7. Clarity
The Clarity tool works by boosting contrast only in the mid tone regions of the image. This makes it a great tool for landscapes, allowing you to boost contrast in your image without make your skies blow out or shadows disappear.
8. Vibrance
Vibrance works in a similar way to the Saturation tool with one major exception. Whilst Saturation boosts color across the whole image, Vibrance only boosts colors that are not already highly saturated. So for example if you already had a deep saturated blue sky, using Vibrance would boost the rest of the image but leave that sky alone. It also tends to avoid adding saturation to reds, yellows and oranges, all colors that can oversaturate on digital sensors.
9. Straighten Tool
Whilst we try out hardest to get a horizon straight, it does not always work out right. Perhaps the camera was set so low down it was impossible to determine the right horizon level. Lightroom actually has two tools for straightening a wonky landscape. The first is found in the Crop Tool and involved drawing a line along the intended horizon. The second is found in the Lens Corrections Manual section. This one allows you to use a slider or input a number to correct the horizon line.
10. Sharpening
We expect a good landscape to be a pin sharp image but sometime, particularly if we shoot RAW, there will be some inherent softness to our image. To add sharpness we can use the Sharpening tool in the Detail section. Always do the sharpening at a 100% view and only after you have made all the adjustments required to the shot. Also bear in mind that your landscape will require different levels of sharpening depending on it’s intended output.
So there you have it, ten powerful tools amongst many that are ideal for the landscape photographer to make his images pop.


8 Comments
These are great, I end up using the spot removal tool for long exposure landscape images too. Lightroom is amazing though.
I think, along with Photoshop, Lightroom is the best tool a photographer can imagine. In fact it was designed with the help and comments of the widest Internet community of photographers who were invited to participate in the different aspects of the final product. And as you may know is constantly updated to bring the best out of our photographs. If you shoot in RAW is much better to edit your final pics.
Re:HSL – grass actually responds mostly to the yellow sliders, not green.
Thank you
I am going for 40 days to the Himalayas, so I put some of the tips to use.
Nico
It would’ve been great to include a before and after image showing what the final product looked like after all these tools have been used.
My favourite doesn’t get a mention here. That’s the blue saturation slider under ‘camera calibration’ pull this up to give your landscapes real vibrance and ‘punch’.
Boosting the blue saturation slider can also make your image look over-cooked so use this technique with some restraint. Especially if the photo was taken at high altitude and the sky is already pretty deep blue.
Never tried that blue slider under calibration! Great tip!