Photography is painting with light and in order to successfully capture stunning photos, light is an important factor. We know that the intensity of light affects the exposure, but besides that it also affects the mood and tones in the photo.
One of the common ways to manipulate lighting in images is by using tungsten lighting. This type of light refers to an artificial lighting source that emits heat and produces a warm, reddish color. It is different from fluorescent lighting which produces greenish or bluish color.
Let’s talk about how you can use tungsten lights to take your photos to another level.
What Is Tungsten Lighting?
Before we dive into using tungsten lights for your photos, let’s get to know more about them.
Tungsten lights have a warm light similar to incandescent light bulbs that are usually orange or yellow.
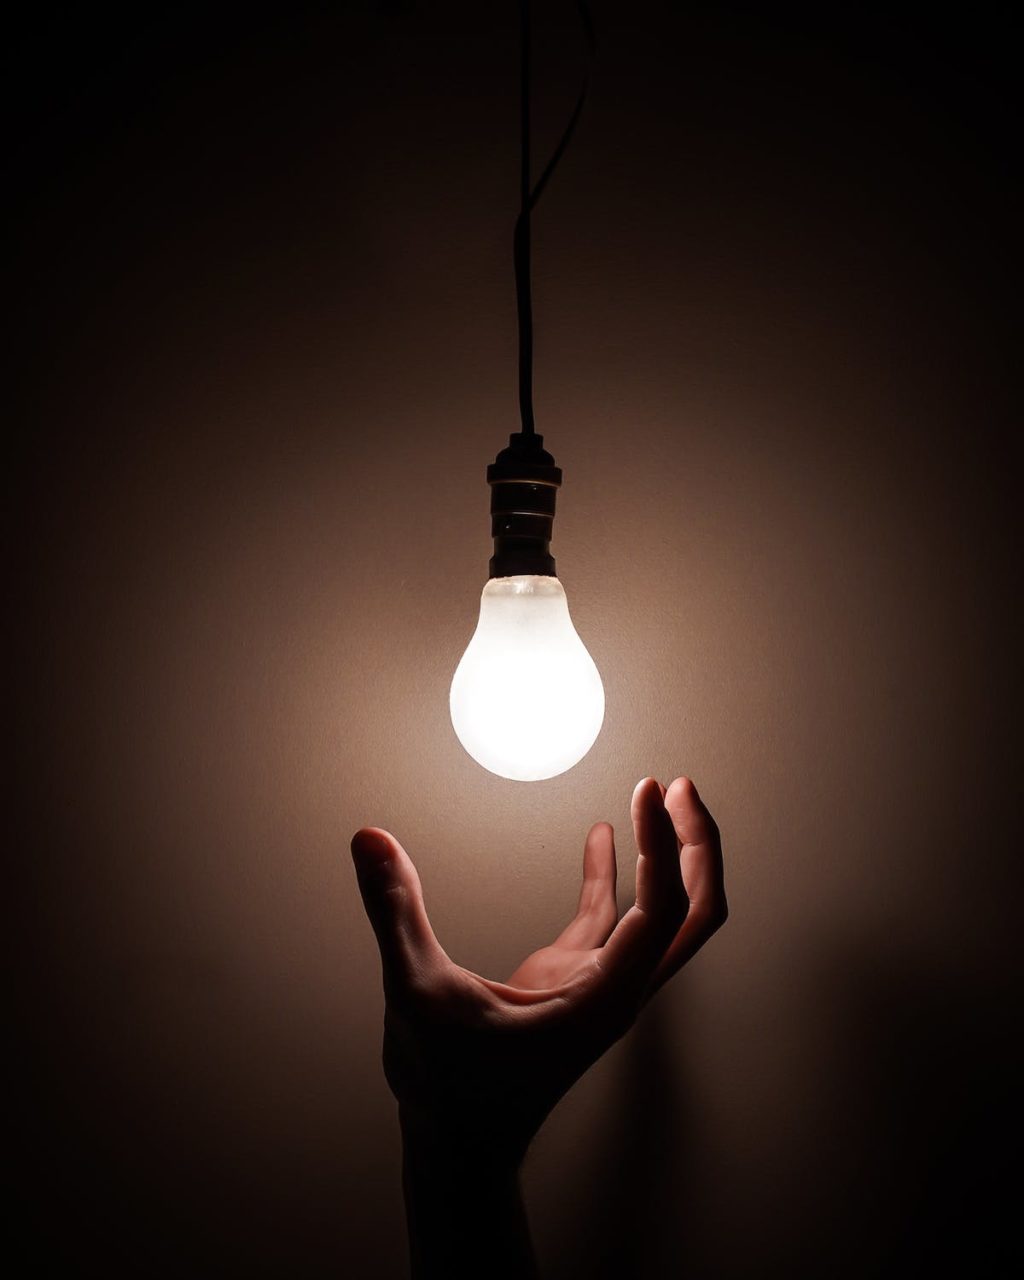
Here are a few technical facts about tungsten light sources:
- They are based on tungsten-halogen chemistry.
- They contain pressurized halogen (an inert gas).
- They produce light with a 3200K color temperature.
Note: Color temperature refers to how warm or cool a color is. It measures the hue of different light sources in degrees Kelvin (the same unit that measures temperature). The color temperature for visible colors ranges from 1,700 to 12,000 Kelvin. The higher the color temperature, the cooler the light becomes. Cool tones usually appear darker.
Recently, the term tungsten lighting has been adopted to mean any illumination that produces a warm color with a color temperature within the 2,700K to 3,200K range.
When To Use Tungsten Lights For Your Photos
Tungsten lights are versatile, you can use them for day and night shoots both indoors and outdoors.
The light emitted by tungsten lamps appears yellow or orange because tungsten halogen lights shift the color spectrum towards red. This makes tungsten suitable for both day and night time.
The yellow or orange looking cast under tungsten gives more accurate color rendition than incandescent bulbs for daylight shots. The lighting creates a richer depth which can be used to create a nighttime effect on daytime shots.
At night, the warmer tones give a more defined outline to shadows than if you were using fluorescent light or the blue cast of led lights.
Plus, tungsten bulbs are great for accurate color rendering both indoors and outdoors because they emit a light that covers the whole visible light spectrum.
However, a tungsten light bulb needs a lot more power when compared to other forms of lighting like LED lighting. Plus, they usually burn at higher temperatures than fluorescent lamps and LED lights. This means you have to choose the right power source with more energy to power your lights for the duration of the shoot. Additionally, you will need to follow some safety protocols like:
- Wear gloves and handle the bulbs with care to adjust the lighting to avoid burning your hands.
- Use tungsten lighting in heavy-duty equipment that can handle the larger power output; otherwise, you’ll damage your equipment.
- Direct the light output with a fresnel lens to avoid light overload.
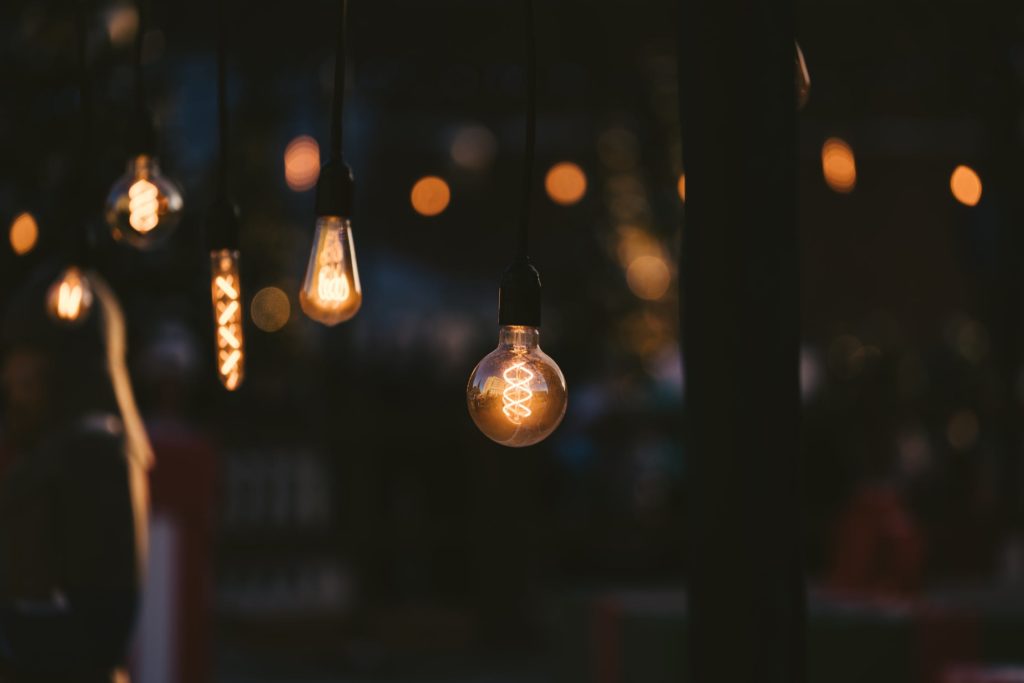
Tungsten Lighting In Practice
Casual Look For Day And Night-Time
With a tungsten light at a low temperature combined with a bit of natural light through a window, you can create a soft, fun, and slightly dramatic effect.
The tungsten light warm effect will give the subject a subtle glow complemented beautifully by natural light.
If you recreate this effect with moonlight, the warmth of the tungsten filament clashes with the moonlight creating a complex color contrast that makes your subjects stand out.

Glowing, Dreamy Look
If you are looking to create dark photos in which the subject looks like they are glowing, you can use tungsten lighting as a backlight behind the subject in a dark room.
The tungsten will bring a warmth that creates a surreal glow. The subject will glow differently when you take the image from different angles.
You can put a shade over the light to get a halo or silhouette effect around the subject.
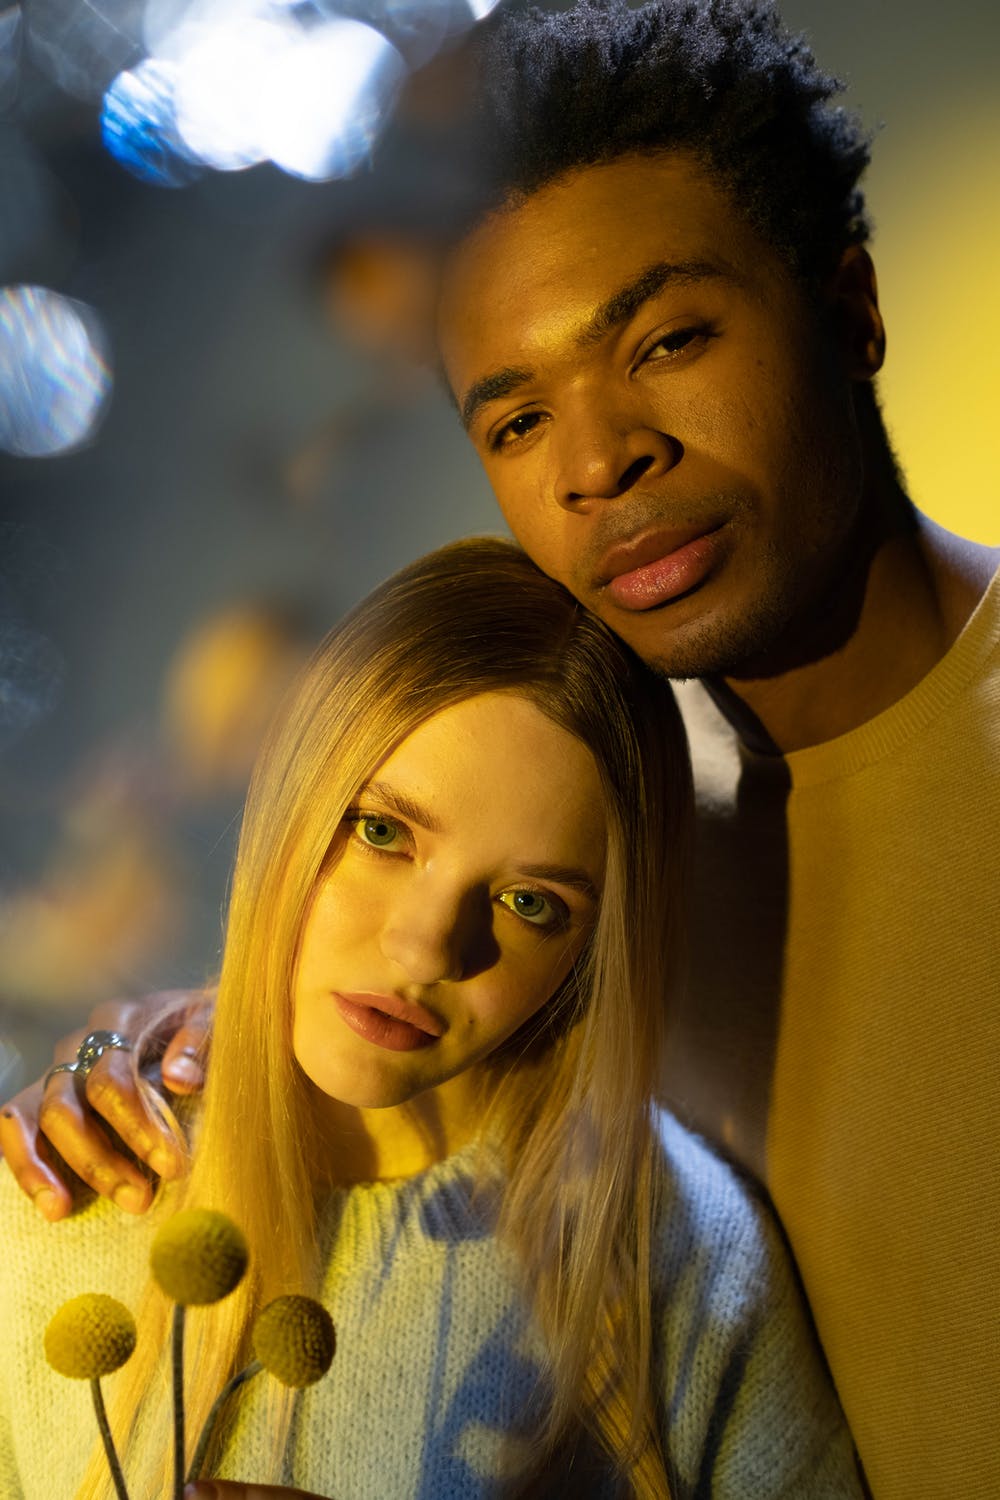
Dramatic Look
Tungsten light can be used to create a dramatic night time photography effect where the subject has a light glow around them.
The warm glow of the tungsten light source shines a light much like a spotlight on a part of the subject. The excellent evening color compliments the warm highlight of the tungsten, creating a dramatic out-of-this-world effect.
Tungsten halogen lamps are handy for portraits in a dark room because they can focus light only on the subject while everything else remains a shadow giving depth to your photograph.
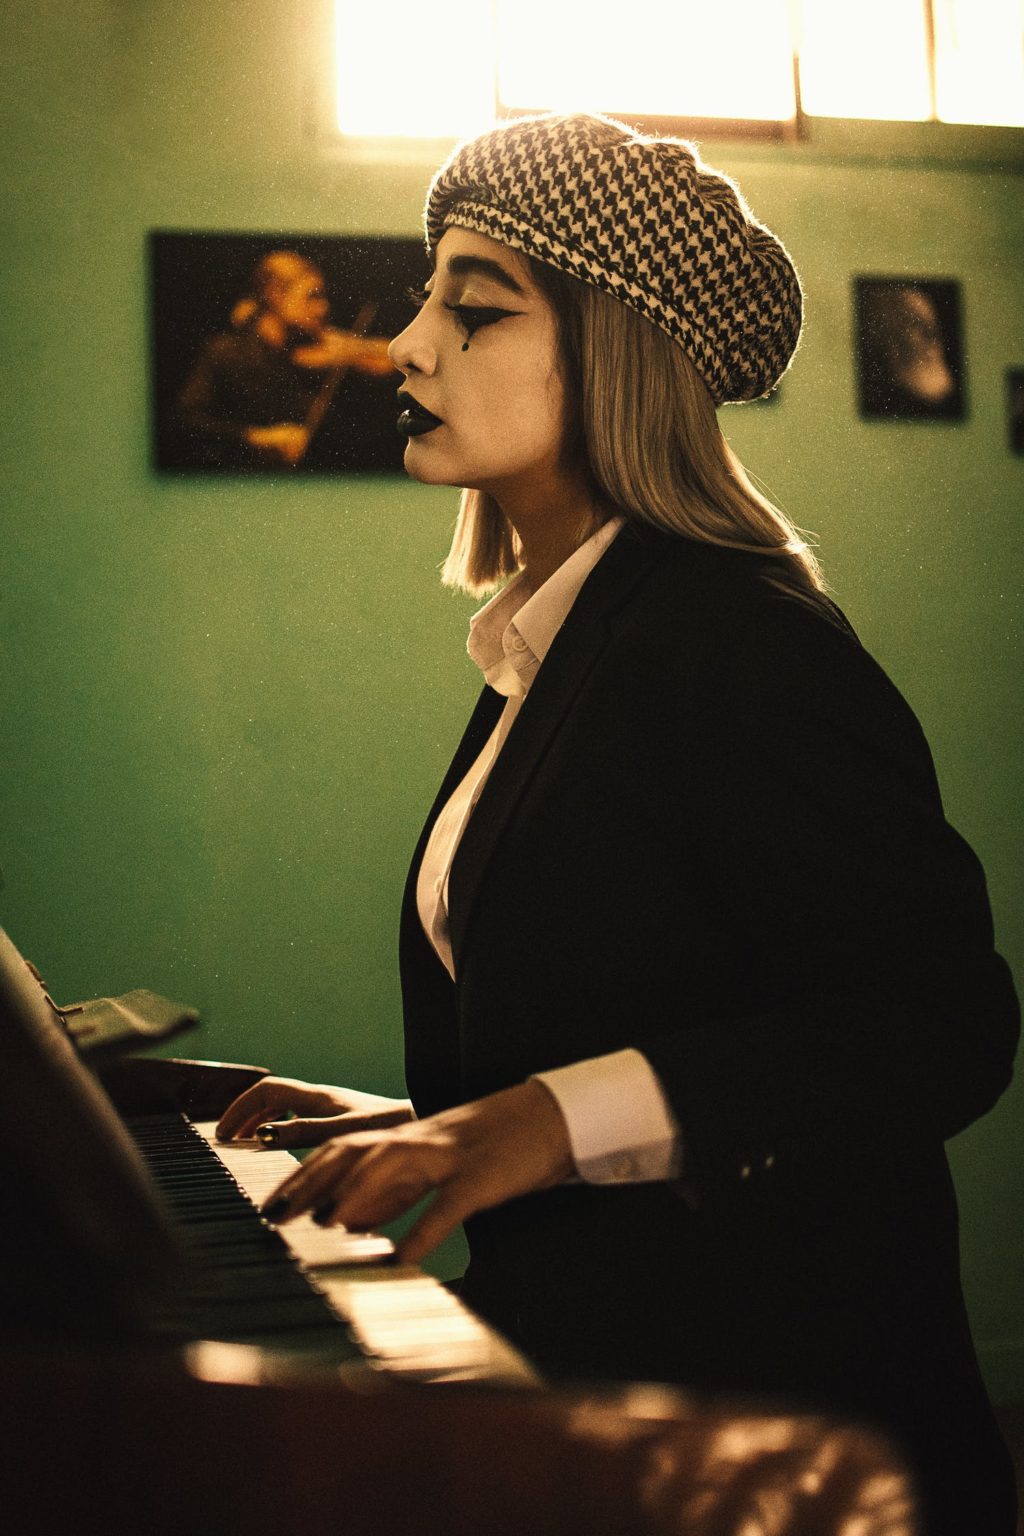
Enhancing Background
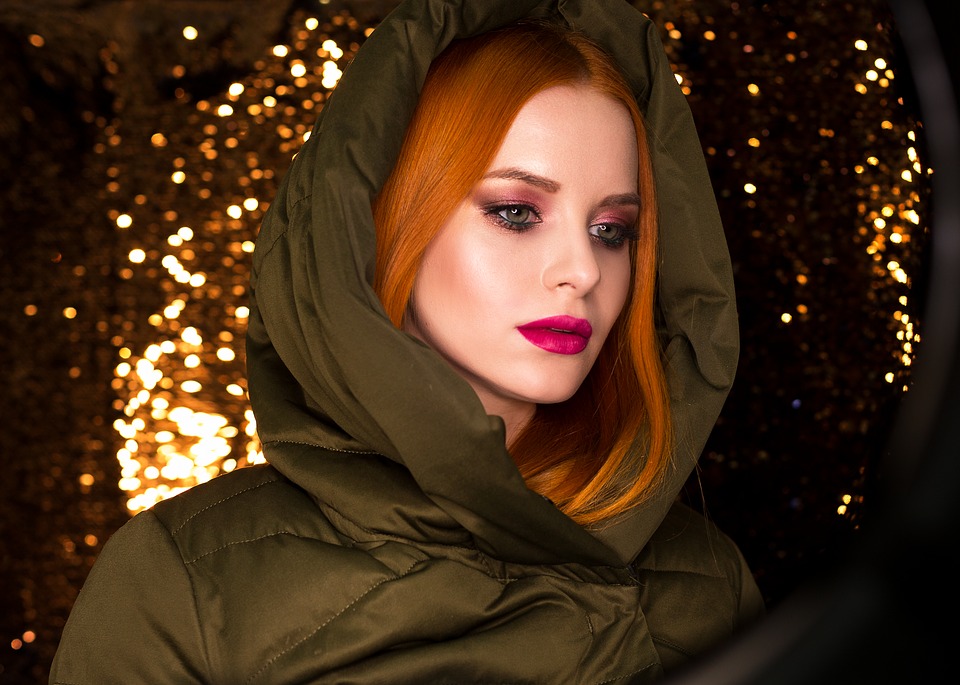
A high color temperature tungsten light bulb can be used to create a blur (bokeh) that livens an ordinary scene and makes it look phenomenal.
By simply placing a light-reflecting object behind the subject like glitter or water droplets, the tungsten will focus light on the object creating a golden effect.
The background helps guide the eye away from the subject making the whole picture pop.
The blur effect can also hide background elements giving your image a more detailed look that stands out from afar and still looks great up close.
Tips For Using Tungsten Light Successfully
Tungsten light is versatile and can produce different effects depending on how you use it. Here are some of the ways you can create outstanding images with tungsten lamps.
Simulating Natural Daylight
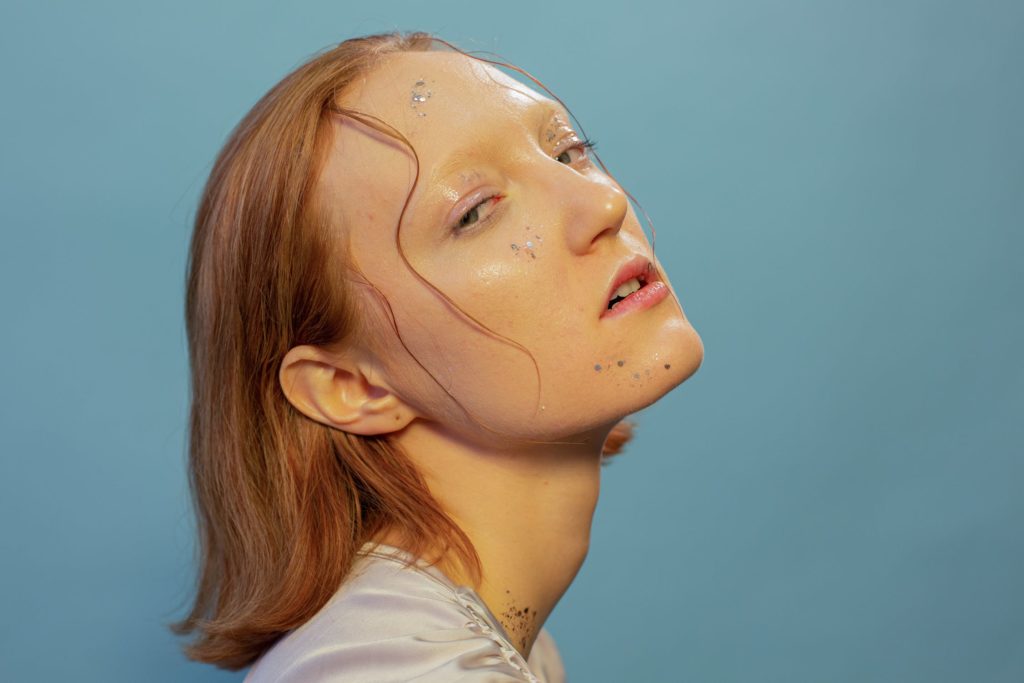
At high temperatures, tungsten can be used to simulate natural light. A color correction gel or filter heats the light to a color temperature of about 5,600K, similar to the higher temperature color of natural sunlight.
The warm light of the tungsten bulbs combined with a blue-colored CTB gel (color correction gel) gives out a blue-colored light that looks like the natural daylight color to the human eye.
A blue dichroic filter over tungsten light bulbs also gives the same effect.
Creating A Mute Blue Light
When you use a tungsten lamp at its highest color temperature, the lighting shifts further from red and yellow towards the blue region of the color spectrum.
This gives a white or blue-like color which is similar to fluorescent lighting but less intense.
Indoor Night Scenes
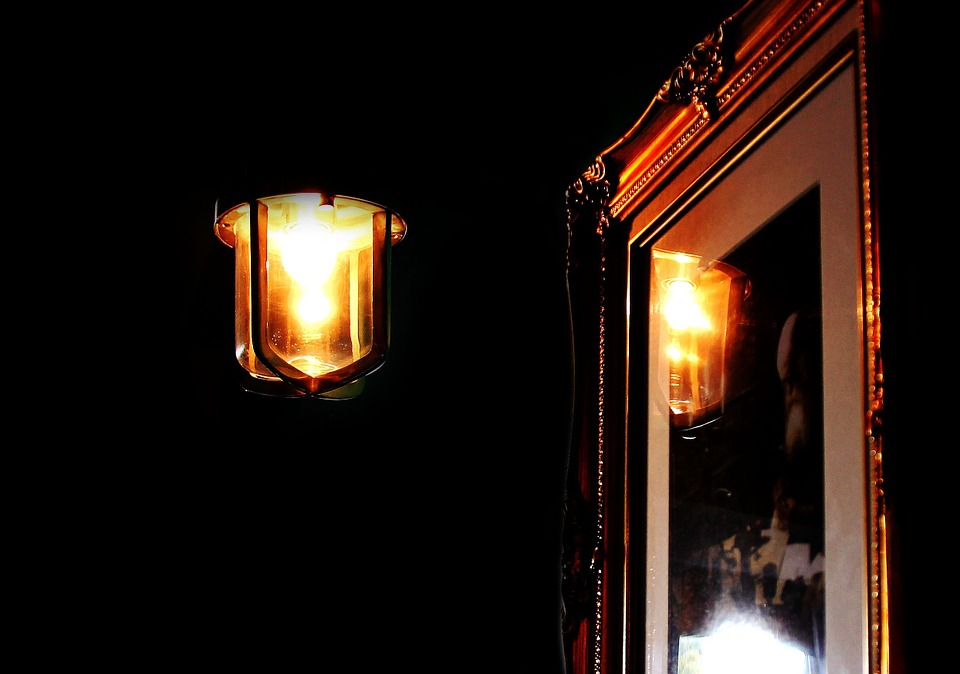
When using tungsten bulbs with a lower color temperature, the lighting produces a warm color with yellow, red, and orange overtones.
The warm overtones create a similar effect to candlelight or incandescent bulbs, bringing out skin tone beautifully in human subjects.
Using Multiple Lights
If you shoot your images with a tungsten light overhead, your background won’t look so great. The light makes your pictures look uneven.
So instead of taking your photos directly under the tungsten light, you can use more than one source of tungsten light to shoot the same picture.
You can experiment with different combinations of lighting until you land the perfect shot. If you still don’t get enough light into your photo, a reflector will reflect the light onto your subject giving a defined sparkle.
Adjusting White Balance
Tungsten lights give off reddish colors, which tend to make natural reds, oranges, and yellows look off. To avoid having this problem, you need to adjust your white balance.
Note: White balance is the color scale that will reflect when the photo is taken. It affects how deep or bright the colors will look.
To get the best shots that bring out colors correctly, you need to manually adjust the white balance to ensure your lighting is perfect for these conditions.
You can follow these steps using a white or gray blank photo card:
- Take a picture of the card.
- Adjust the white balance settings on your camera using the image of the blank card.
- Take a picture of something else to check if you got the correct settings.
- Repeat the process until you get the right white balance.
Versatile Tungsten Lights
With tungsten lights, you can create a variety of phenomenal images day or night. Whether indoors or outdoors tungsten lights can help you create professional-looking photos you'll be proud of.
Test out different shots with tungsten lights until you find the magic. If you need ideas, tips and hacks, turn to Light Stalking. You’ll find lots of insights, information, and training, like this photo hack course, that’ll help you take photos like a pro in no time.

1 Comment
thank you for your free tutorials. i am a hobby photographer, I like to read and learn and occasionally get to go out and take photos around my home. thanks again for your easy to understand articles. Natalie