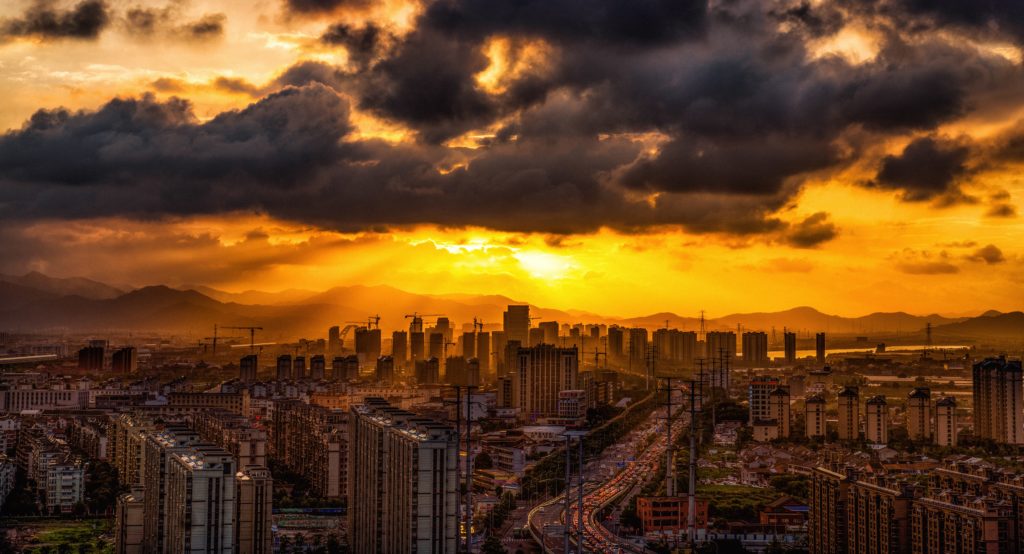
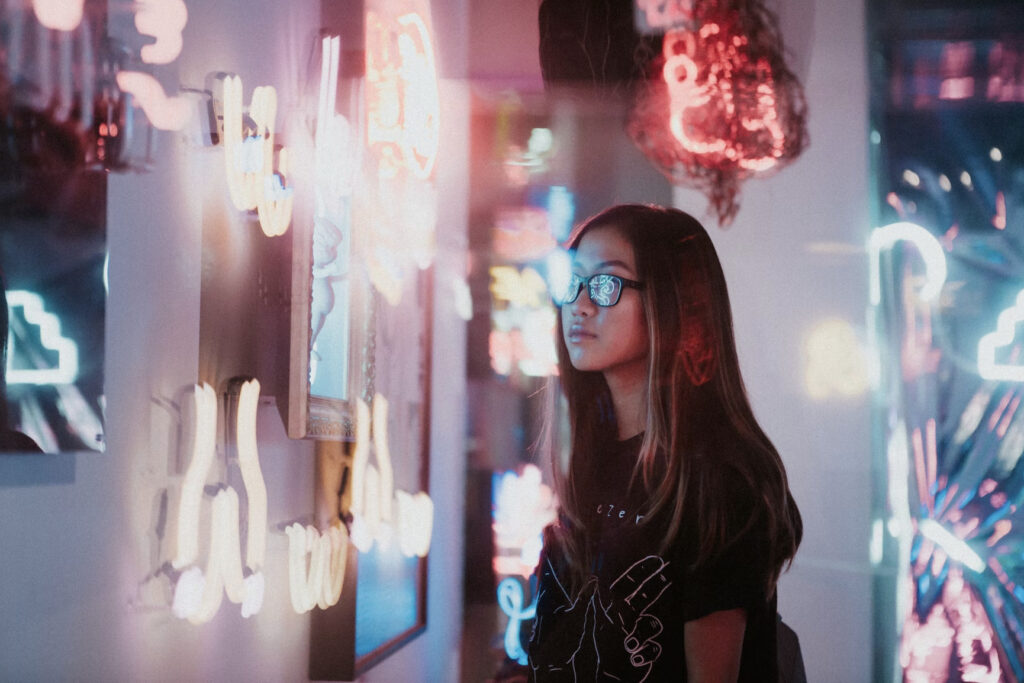
White balance in photography if explained in simple terms means, adjusting the colours or setting colour balance in an image so that the image looks natural with natural colours. If the white balance is set right, white should look white with no colour cast.
It is always best advised to get your white balance right in the camera, but there are times when it doesn’t work quite right. In these situations, white balance can be adjusted while post-processing as long as you shoot raw.
By shooting raw, you can alter the white balance of your image to get the correct colours or, you can make creative adjustments to your images, for example, add warmth or make the image look cold while post-processing according to what mood you want to create in your images.
Lightroom has some tools that will help you adjust the white balance in your images easily. Today we will look at a few ways in which White Balance can be adjusted in Lightroom.
White balance can be adjusted in Lightroom in three ways:
- Using the white balance drop-down list
- By manually dragging the “Temp” and “Tint” sliders in the “WB” panel
- Using the “White Balance Selector” tool
Make sure you are in the “Develop” module to access the White Balance panel.
1. Using The White Balance Drop Down List:
This is very similar to using white balance presets in your camera. If you chose one of these presets while shooting and it worked for the image, then it is good. You may have also chosen auto white balance and that is fine too. The problem occurs when these settings went wrong and your image lacks the natural colours and either looks too warm or too cold.
What should you do in these situations?
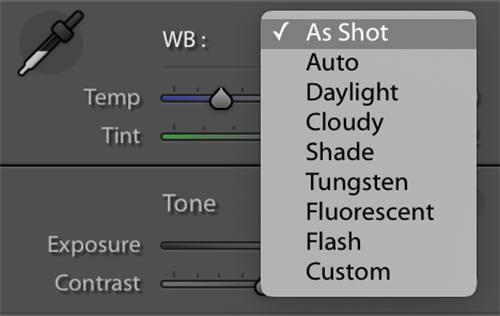
In Lightroom, if you look at the WB panel, you will see a dropdown list. If you shot raw, then you would be able to see all the white balance presets that you would normally see in your camera. Here is how to set the white balance using this method:
- Click on each of the presets in the dropdown list and choose one that fits your image or you could choose one of these that is close to the colours you are looking for as a starting point, and then fine tweak using the sliders.
- You will see these options only if you shoot raw.
- For a jpeg image, you only see three options: As shot, auto and custom.

2. Manually Dragging The Temp And Tint Sliders:
If you look at the White Balance panel in Lightroom, you will see two sliders: Temp and Tint.
- Using the “Temp” slider, you can increase or decrease the colour temperature of your image.
- Dragging this slider to the right makes the photo warmer and dragging the slider to the left decreases the warmth of the photo, making it look colder.
For raw files, “Temp” slider value ranges from 2000 to 50,000 and for jpeg files, the “Temp” slider value ranges from -100 to +100
The tint slider is used to adjust for the magenta, green tint or colour cast in the images.
- Once you have set the temp slider to your desired value, adjust the “Tint” slider to remove any magenta or green cast in the image to make it look neutral.
- Dragging this slider to the right adds more magenta tint to the image and dragging this slider to the left reduces magenta and adds green tint.
- Fine tune this slider to get neutral colours.
For raw files, “Tint” slider value ranges from -150 to +150 and for jpeg files, the “Tint” slider value ranges from -100 to +100


3. Using The White Balance Selector Tool:
This is one of the most efficient methods to adjust white balance for an image while post processing.
- Choose the image that requires adjusting white balance in the “Develop” module of Lightroom.
- Select the “White Balance Selector” tool in the White Balance panel or for a shortcut, press “W” and scan across your image to locate an area that has a neutral grey colour. When I mean neutral grey colour, you may or may not see actual grey colour in the image due to the white balance being off, but you need to select an area that you know is originally grey in the real world scene.

In the image below, you can see a greenish tint that indicates the White Balance being incorrect. I have used the rocks in the foreground because their colours are originally grey in a real-world scene. Also, note the huge difference in RGB percentage values in the screenshot below.
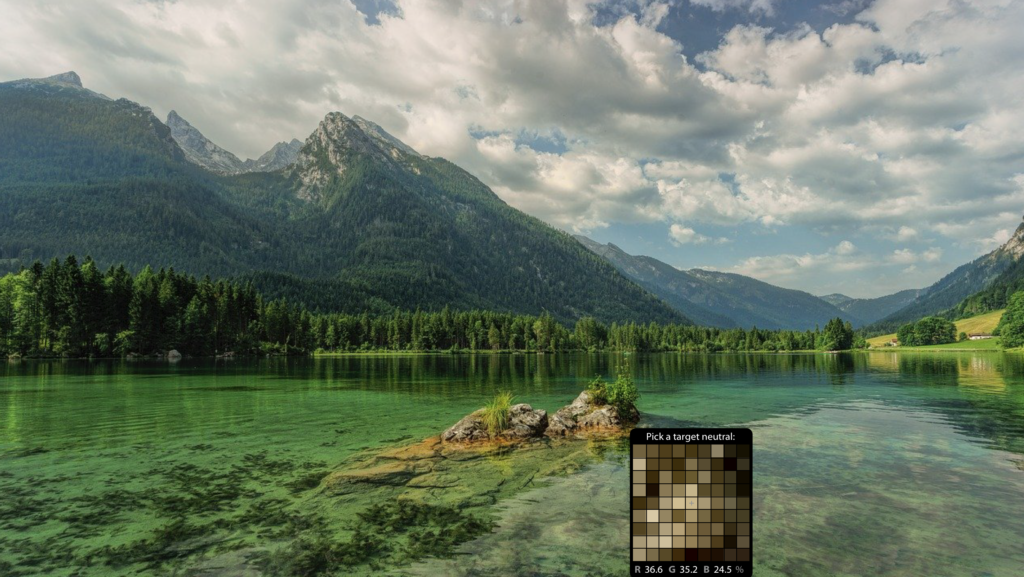
- If there are no grey colours, scan across to find neutral points, which means, points where RGB percentage values are almost the same.
- Click on one of these areas to match white balance, but still, at times you may see a slightly different colour cast. So experiment with different pixel areas and choose the one that looks pleasing to the eye.
- You will be able to see the preview as you scan across the image and so that will help you to choose the white balance that you are looking for.
- Once you are sure, just click on that point and the white balance settings will be applied. I clicked on the rocks in the image below.
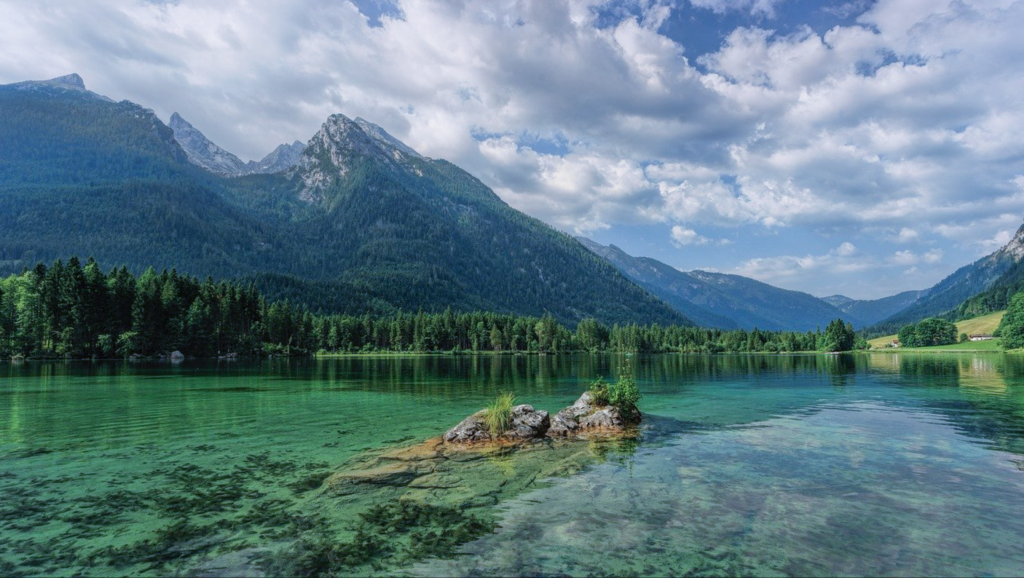
In the image below, you can now see that the greenish colour cast is gone and the original colours have been restored. The RGB percentage values are almost close to each other contrary to the huge difference before. If you like to still make adjustments, you can manually drag the “Temp” and “Tint” sliders to get the desired colours.
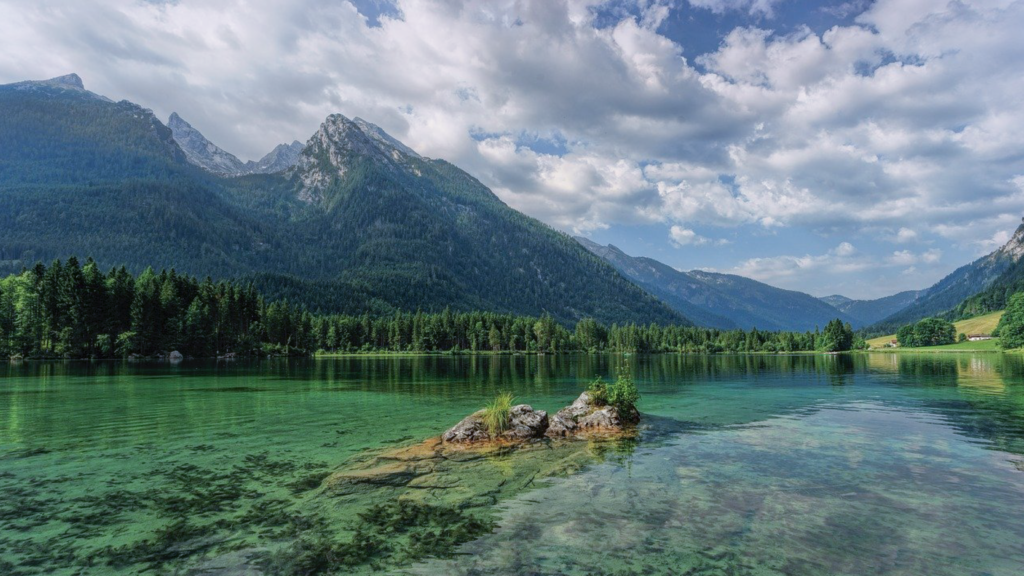
Here is the before-after screenshot.

Note: It is best to not use a white or black area in this process, unless you know it is real black or white, because, sometimes blown out highlights are white and shadow regions look black. In the case of portraits, some photographers use the white areas in eyes or teeth to set white balance, or maybe a white shirt!
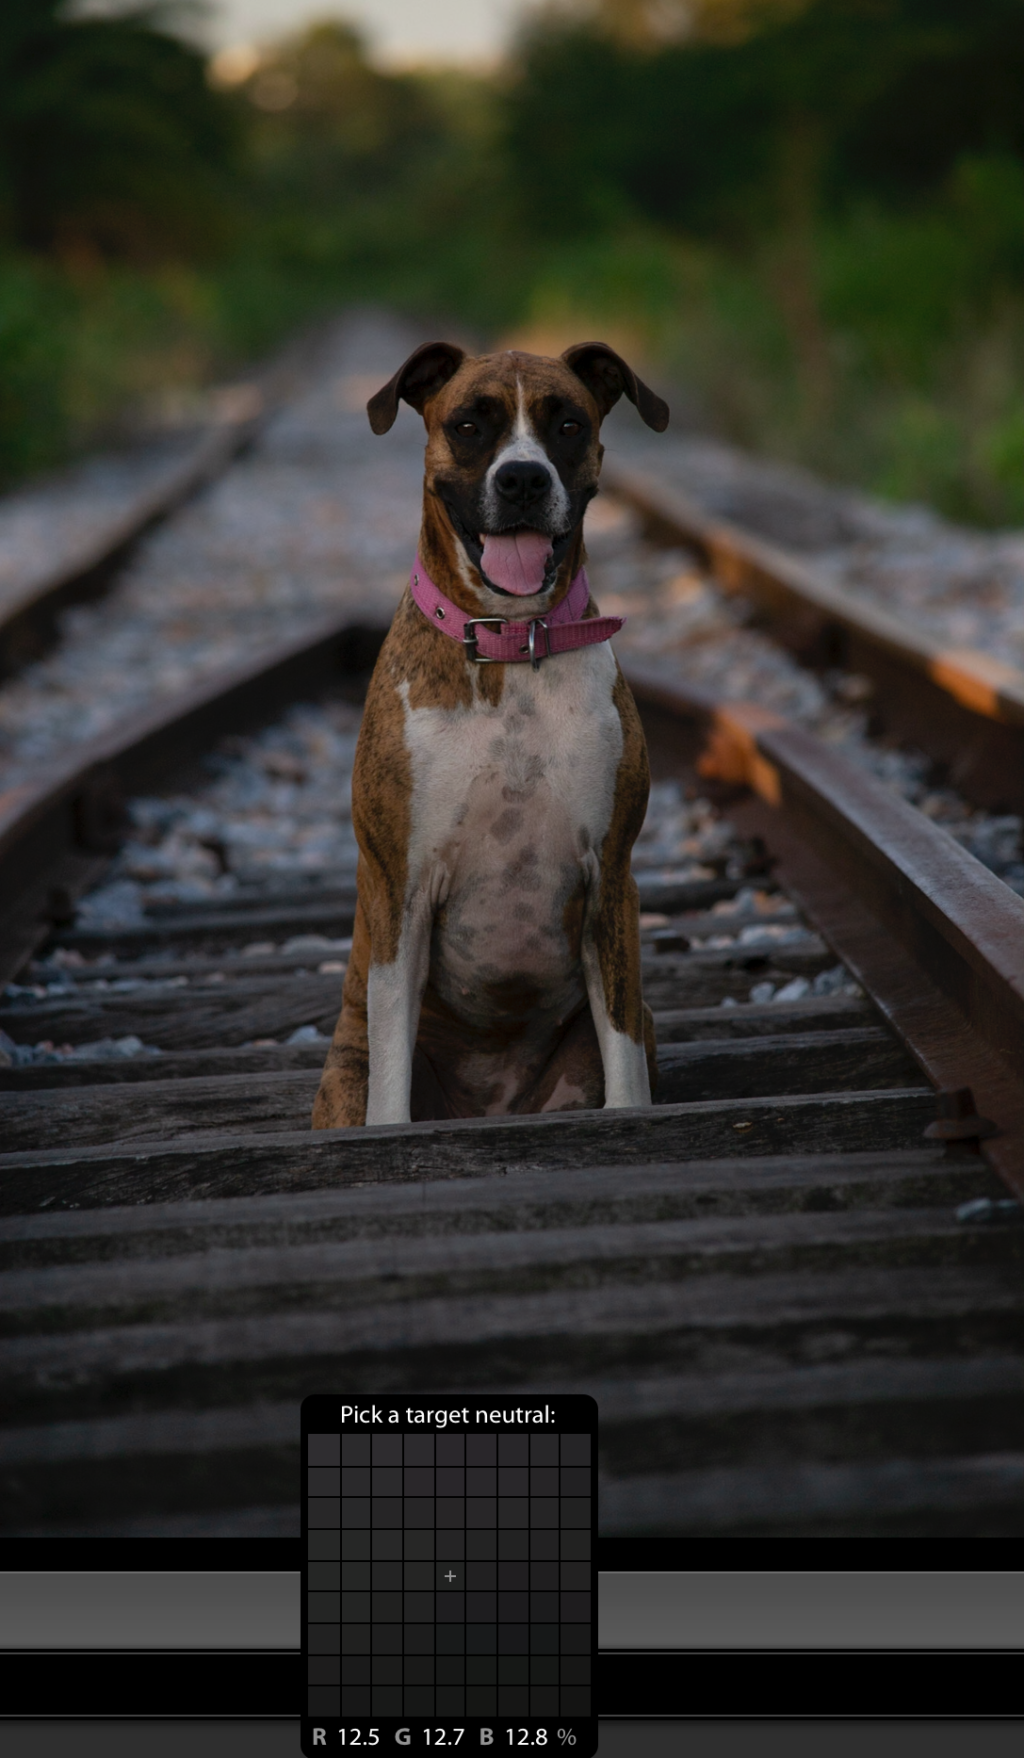
If you do not see any grey pixels in your image, hover and find neutral pixels, where RGB percentage values are almost the same and click on it. See the example below.
To conclude, there is no correct value to white balance as most photographers choose colours that look pleasing to their eyes. Most photographers tend to lean towards a warmer tone in their images. For example, when choosing white balance for sunset scenes, a warmer setting is usually used to bring out the golden hues.
If there are scenes where you have pure white colours, for example, snow, clouds, costumes, animal fur, etc. make sure you adjust the white balance so that there are no colour casts in the white areas.
