You have just bought a drone. You take it out to your local beauty spot, and after a little practice, fly it up to its maximum legal altitude and start snapping away. Excited, you head home, upload your images, and start sorting through them in Lightroom.
Within a few moments, a slight wave of concern sweeps over you. A tickle of buyer’s remorse. The images are not as good as you had expected. Sure, technically they are sharp, well-exposed, and have great color. However, all the images look very similar. None of them have any real focal point, any subject. You are now at a crossroads.
As a commercial drone photographer, here are a few of the lessons I have learned over the years.
Drones Known for Great Images
| #1 Overall Pick | #2 Premium Pick | #3 Budget Pick |
| DJI Air 3 | DJI Mavic 3 Pro | DJI Mini 3 |
Don't Sell That Drone!
Have you made a mistake? Should you sell that drone? The answer is no. What has happened is that you have been so excited by the thought of a done with camera, that you forgot that all images need composing and thought for a good one.
We are sold drones on the idea that we can get high up and shoot from an aerial perspective. However, this is only part of the story. An aerial shot will only be good if, like its ground-based equivalents, it has a subject and defined composition. That’s often not easy at 120m up. There is another way though. Go low, and if you shoot video, go slow.
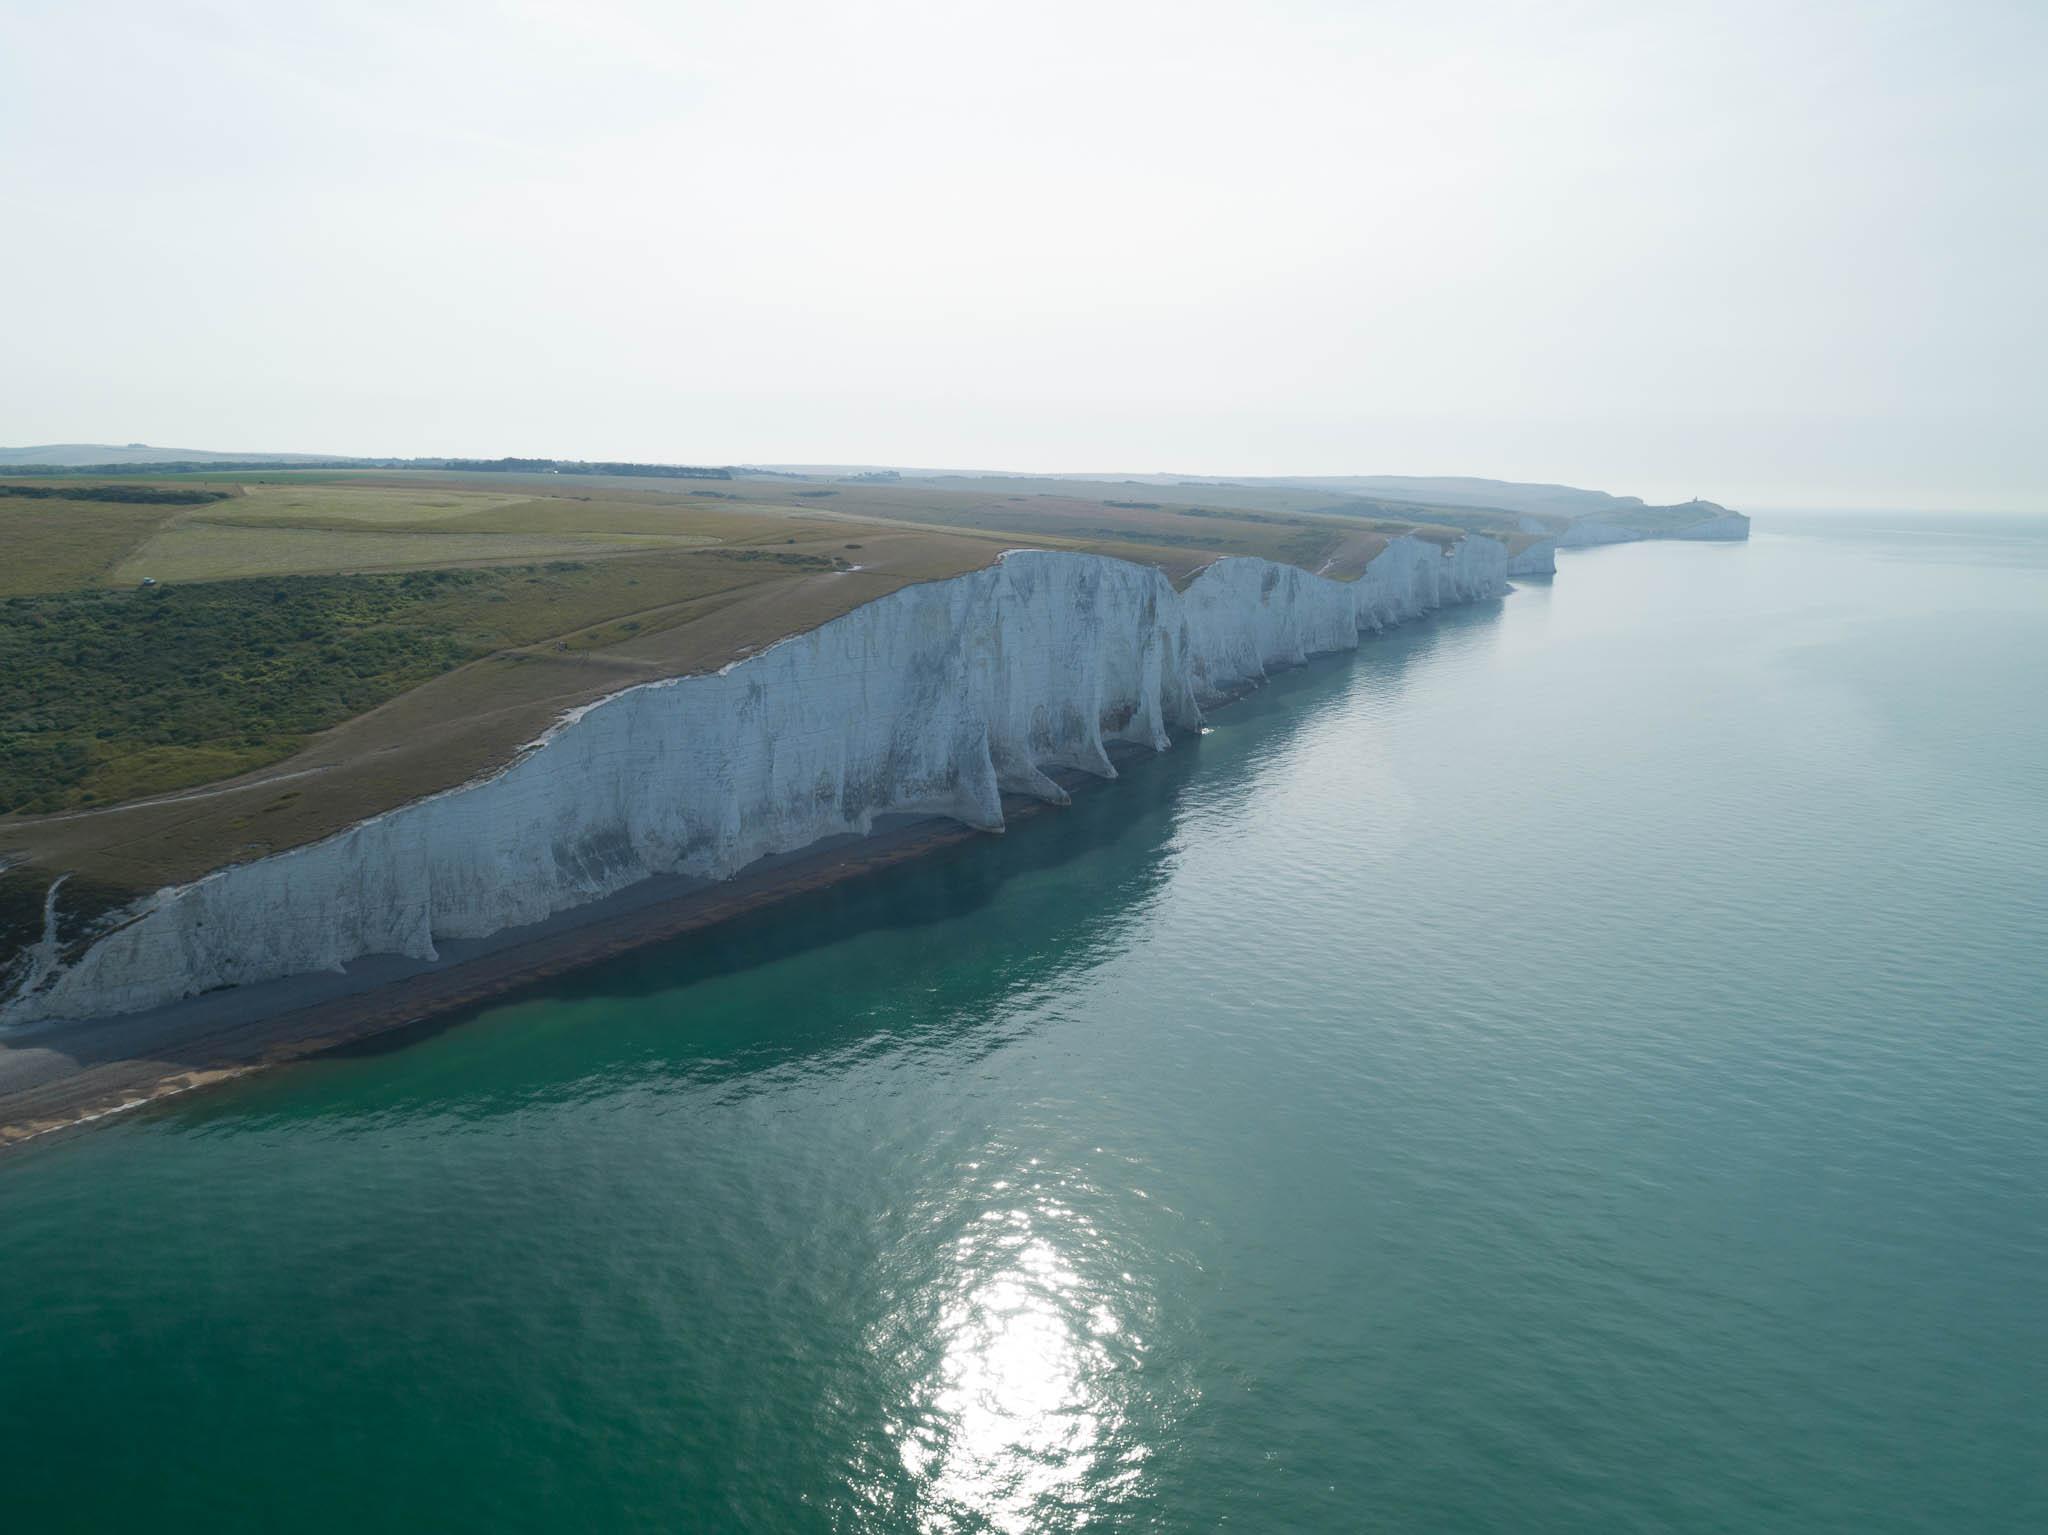
To get you into the mindset of this, think of your drone, not as an aerial camera but as a mobile remote-controlled camera. You can access areas inaccessible by foot, these areas can be a few cm from the ground or a few meters in the air. Either way, they will give your images a unique perspective. Today we are going to look at going low and slow for better drone photography.
“One’s destination is never a place, but rather a new way of looking at things.” – Henry Miller
Safety First – Of Course
Flying low and slow unprepared is quite likely to get you into hot water, or more likely cold water if you crash into a river. Before you attempt it, you need to be confident in flying your drone and understanding your drone’s capabilities (and of course, do the Part 107 test if you're flying commercially in the US).
The best way to do this is to find a nice, large, open field and practice maneuvering the drone. Firstly at medium levels of 10-20m, then gradually bring the drone down to lower altitudes.
A lot of drones, particularly DJI models will have a Cine or Tripod mode. This reduces the maximum speed of the drone down to 3.6 kph with tripod mode and 18 kph with cine mode. More recent models have allowed cine mode to be adjusted to fly slower.
The advantage of these modes is that you have much finer control over the drone. You can maneuver in a slower, more considered way. This allows you to position the drone in exactly the right spot.
It’s important to be very aware of incursions by people when flying the drone at a low level. Keep an eye out for not only humans but pets and immediately increase the drone’s altitude if any come close to the drone. The limitations on how close you can be to people will vary by drone type and local regulations. Be sure to know them.
Flying Low – The Practicalities
When you are flying low, situational awareness is vital. Your drone is probably brimming with obstacle sensors. However, regard these as indicators, not life savers, they are not infallible.
In particular, the downward-facing sensors can be confused by water. In some cases this will allow the drone to descend all the way down to the water, potentially crashing into it. In other cases, it will not allow you to get low enough. You can switch obstacle sensing off, but make sure you have a perfect line of sight to your drone.
Many lower-end drones do not have side sensors. You need to be very aware of this, as our depth perception is reduced to nothing after a few meters. If you are planning to fly sideways, then yaw the drone around and do a visual check that there is nothing obstructing your flight path.
At low levels, drones can be very hard to see, especially against cluttered backgrounds. Your drone will almost most certainly have a green and red light on the wind tips. Learn to look for those lights, you can also understand the orientation of the drone from them. If you have an auxiliary LED light, switch it on. It will aid you in seeing the drone against any background.
Shooting Low and Slow
So with the safety and practicalities out of the way let’s look at low and slow shooting for better drone photography with your drone (and just better images in general). The first thing to remember is not to rush. This can be a major challenge because you have the ticking countdown of battery life to contend with.
Get as physically close to your subject as possible and fly carefully, without dramatic movements. This will increase battery life. Have a set idea of a shot in your mind before you take off and set out to achieve that before you move on to other subjects. A little pre-planning with an ephemeris will help you see where the light will fall on your subject.
Fly to your subject and slowly and carefully maneuver around it to find the best compositions.
Another tip is to have the majority of your camera settings locked in before you take off.
At low levels, you can incorporate many different compositional techniques, leading lines, frames and the ubiquitous rule of thirds.
What To Shoot From Low Levels
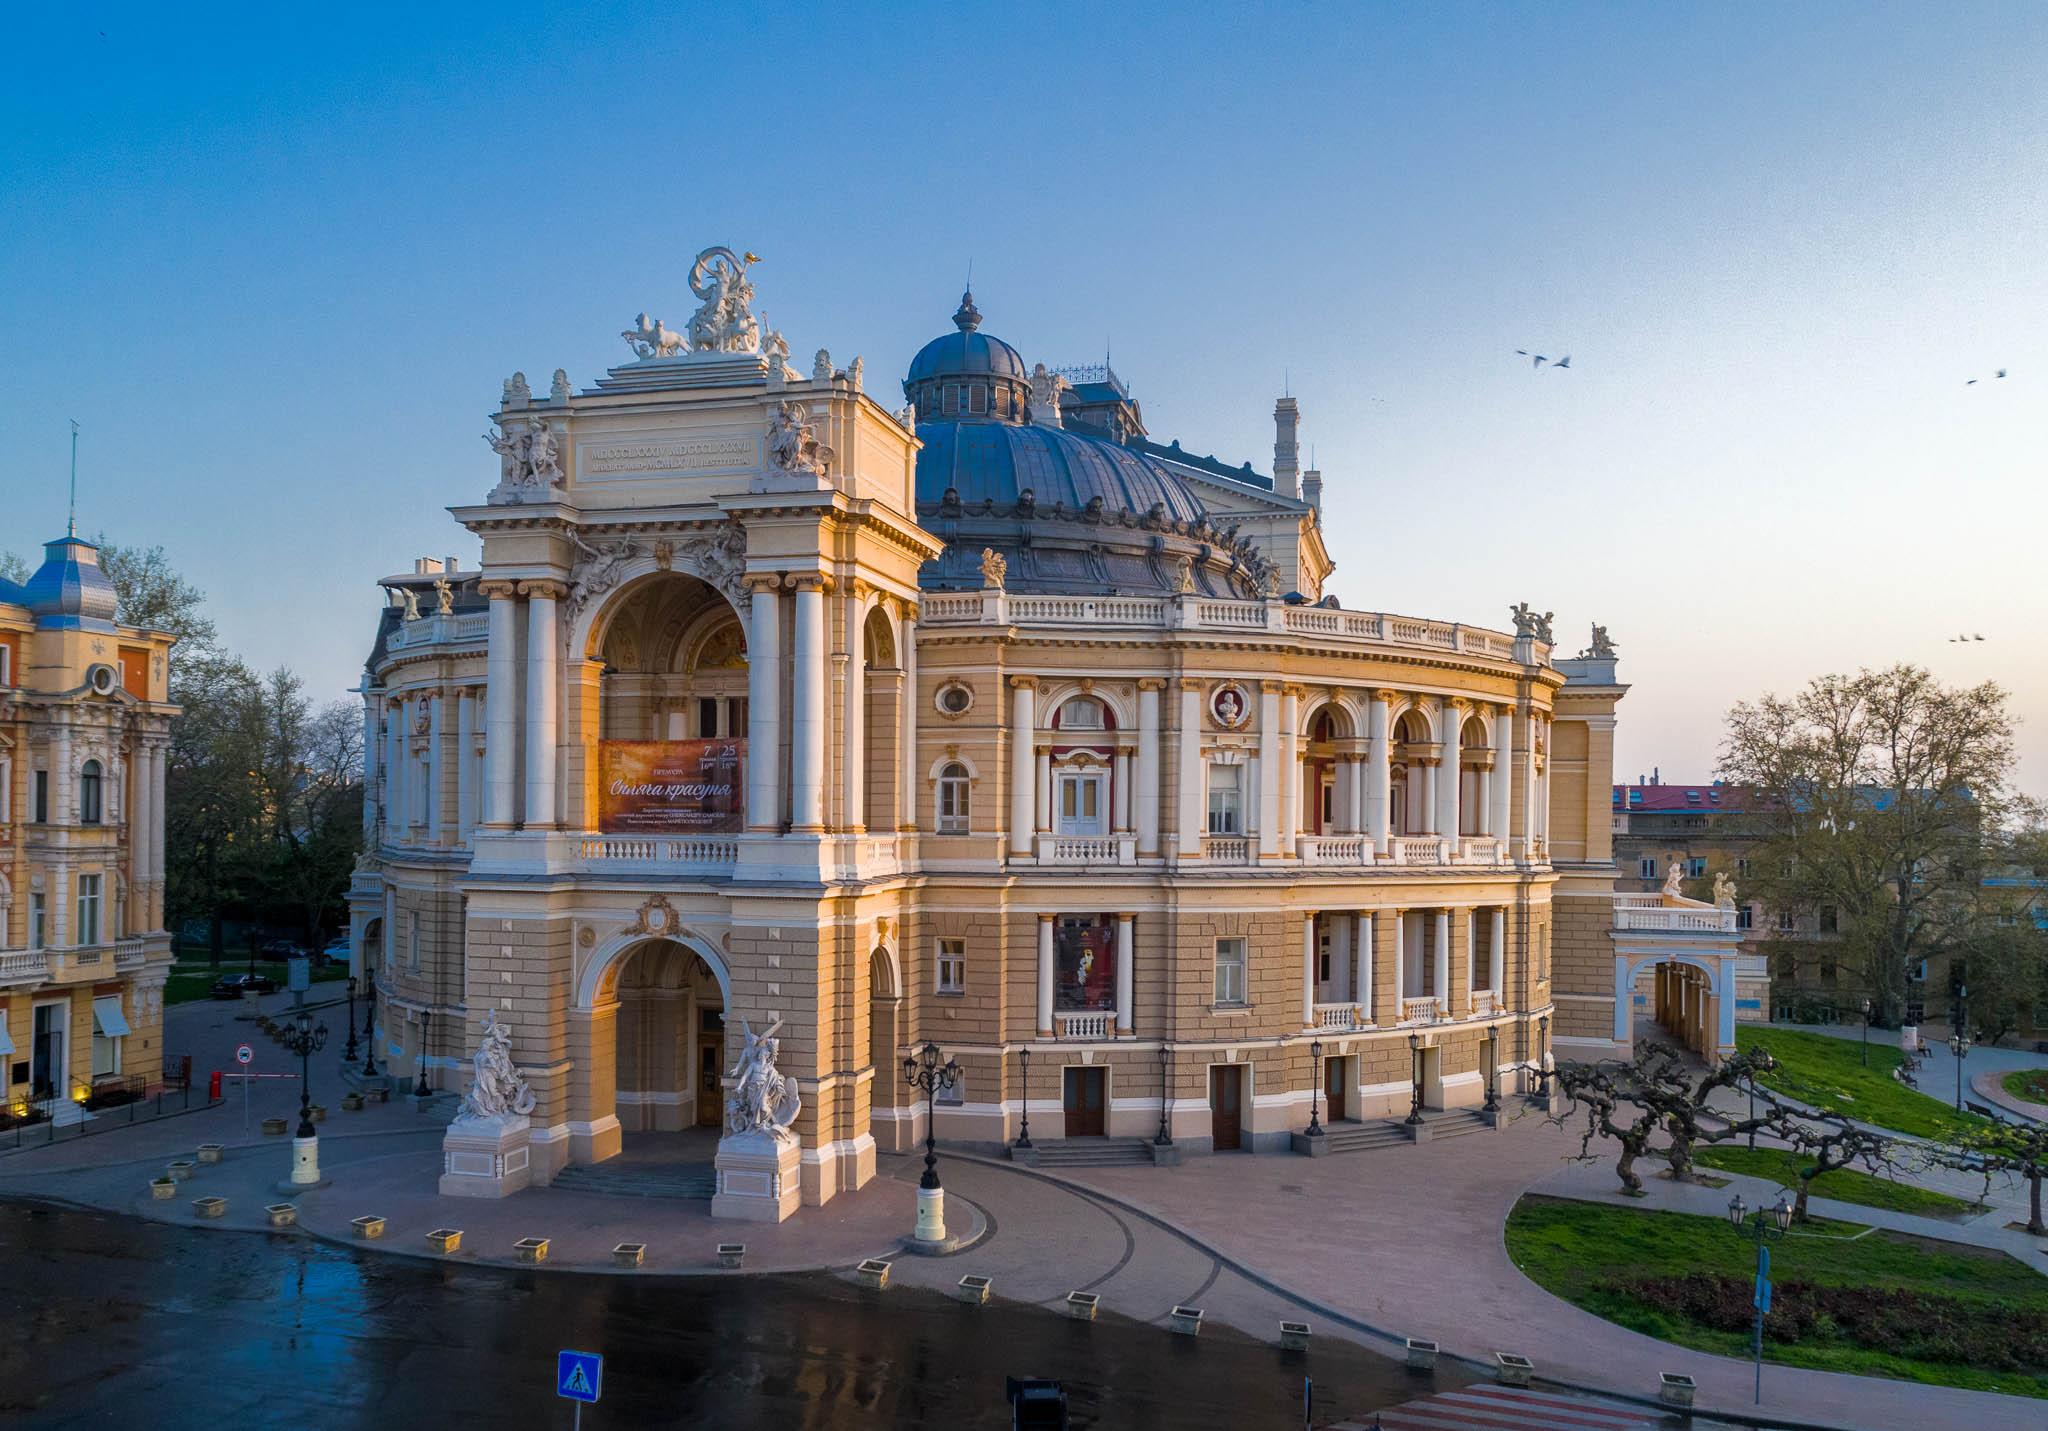
In many countries, it is possible to fly a sub 250g drone in towns and cities. This opens the door to some great architectural shots. We often have to point our cameras up to shoot buildings in a confined space. With the wide angle of a drone, we can rise a few meters and get square-on shots, eliminating converging verticals.
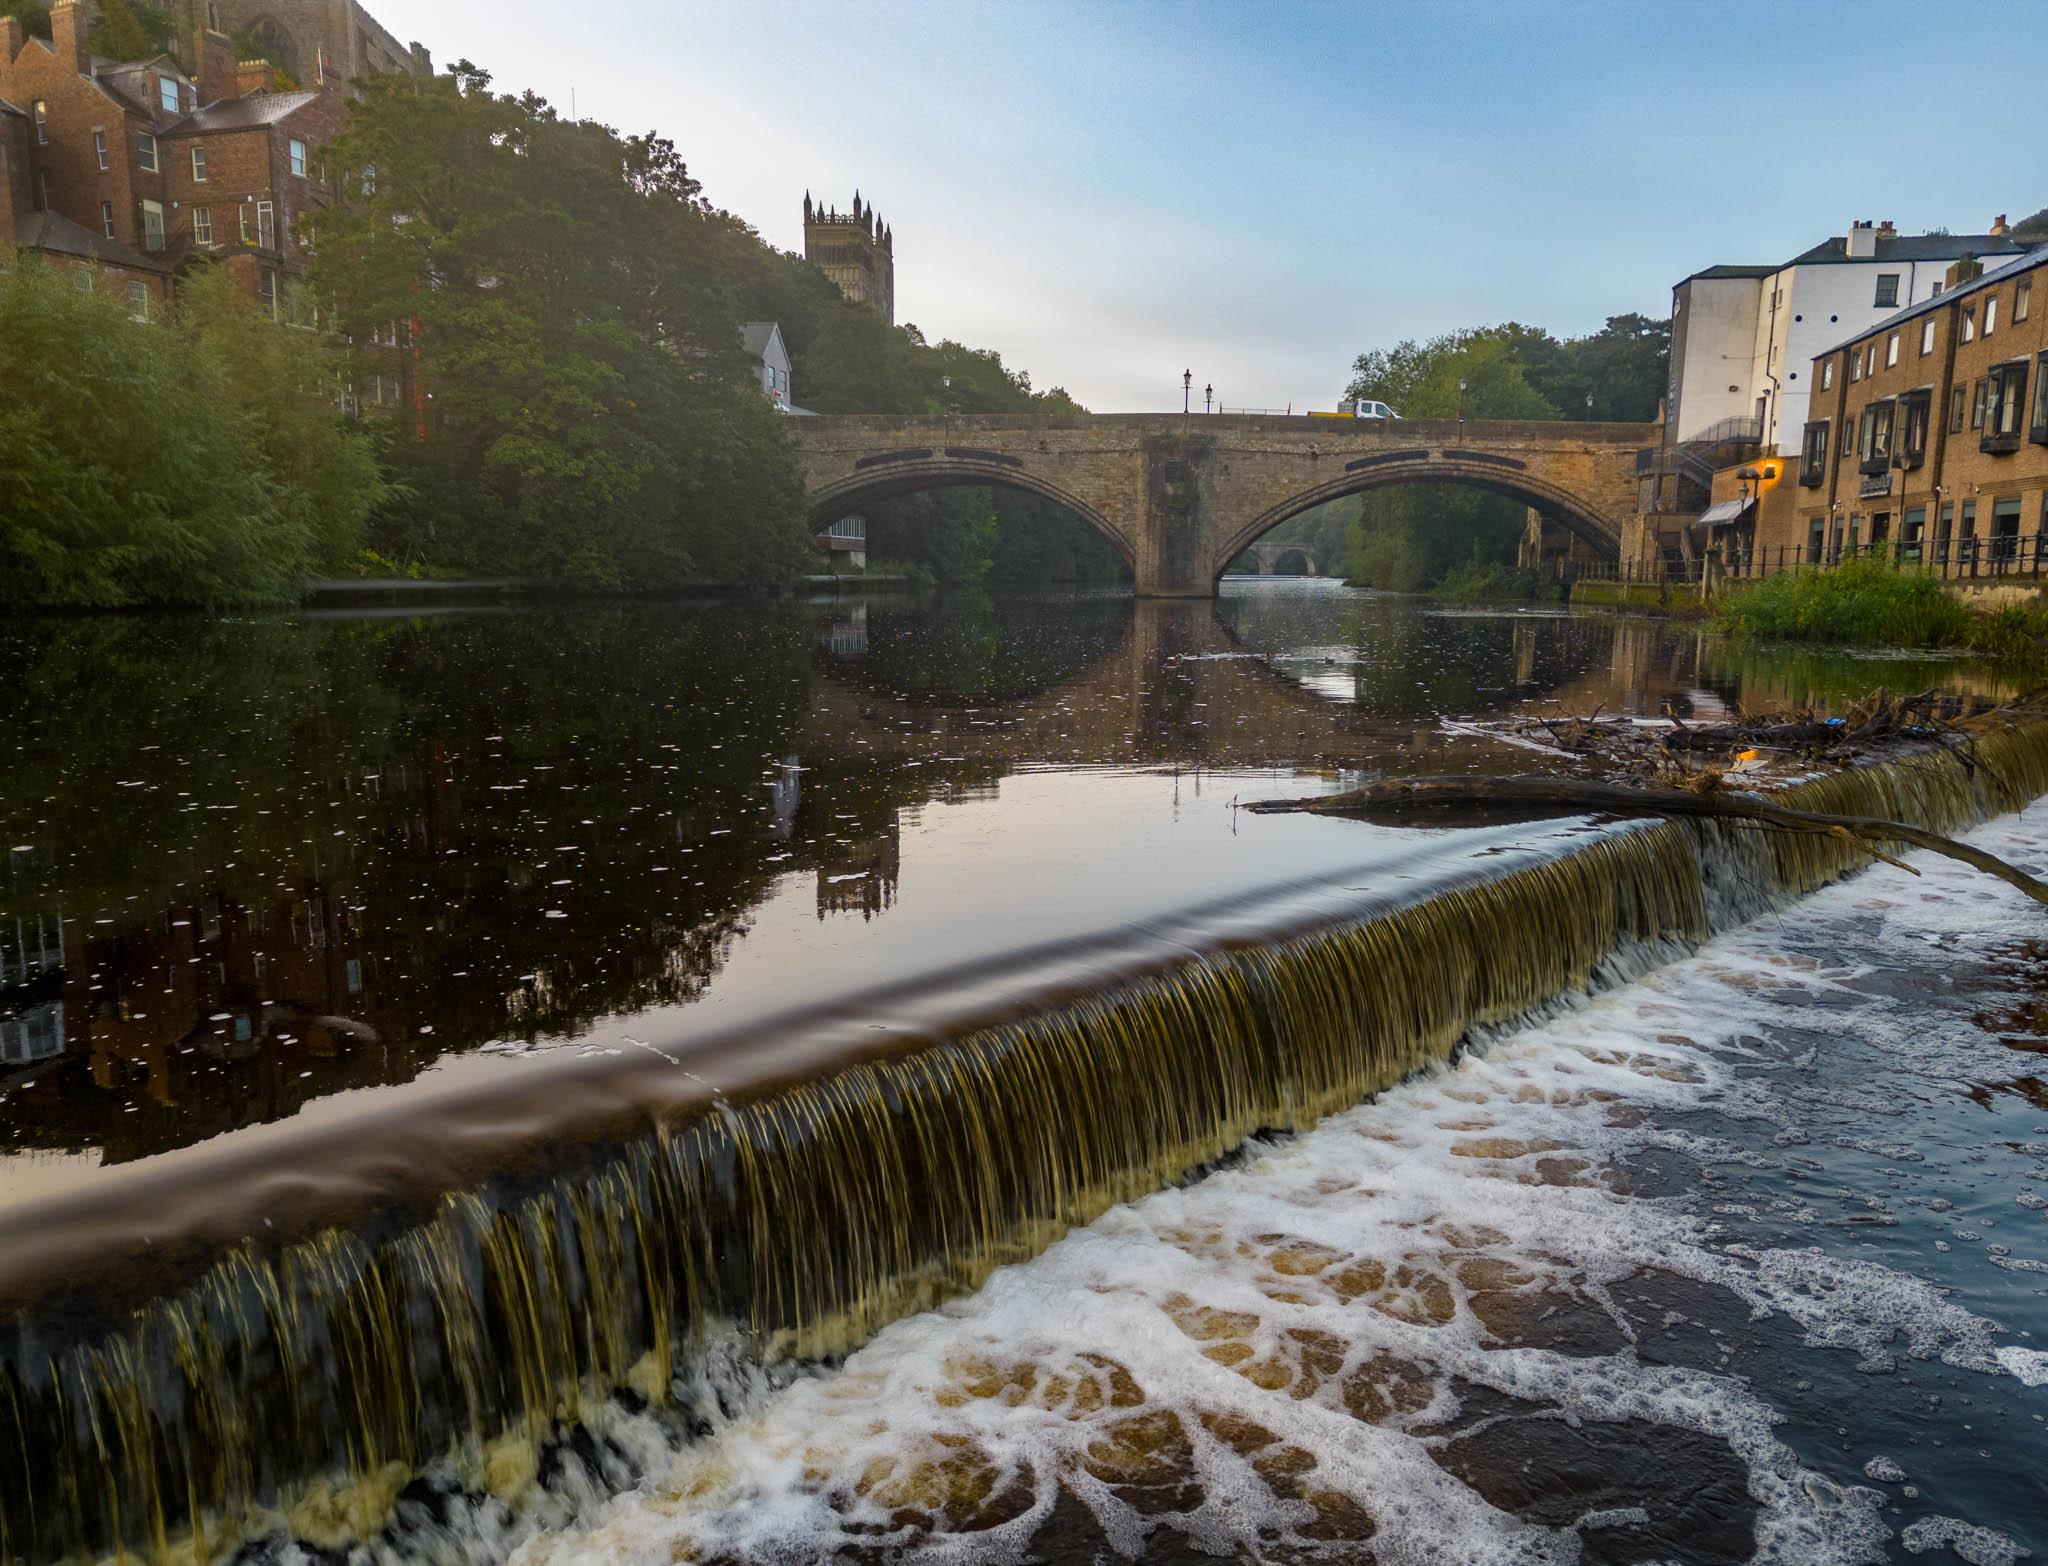
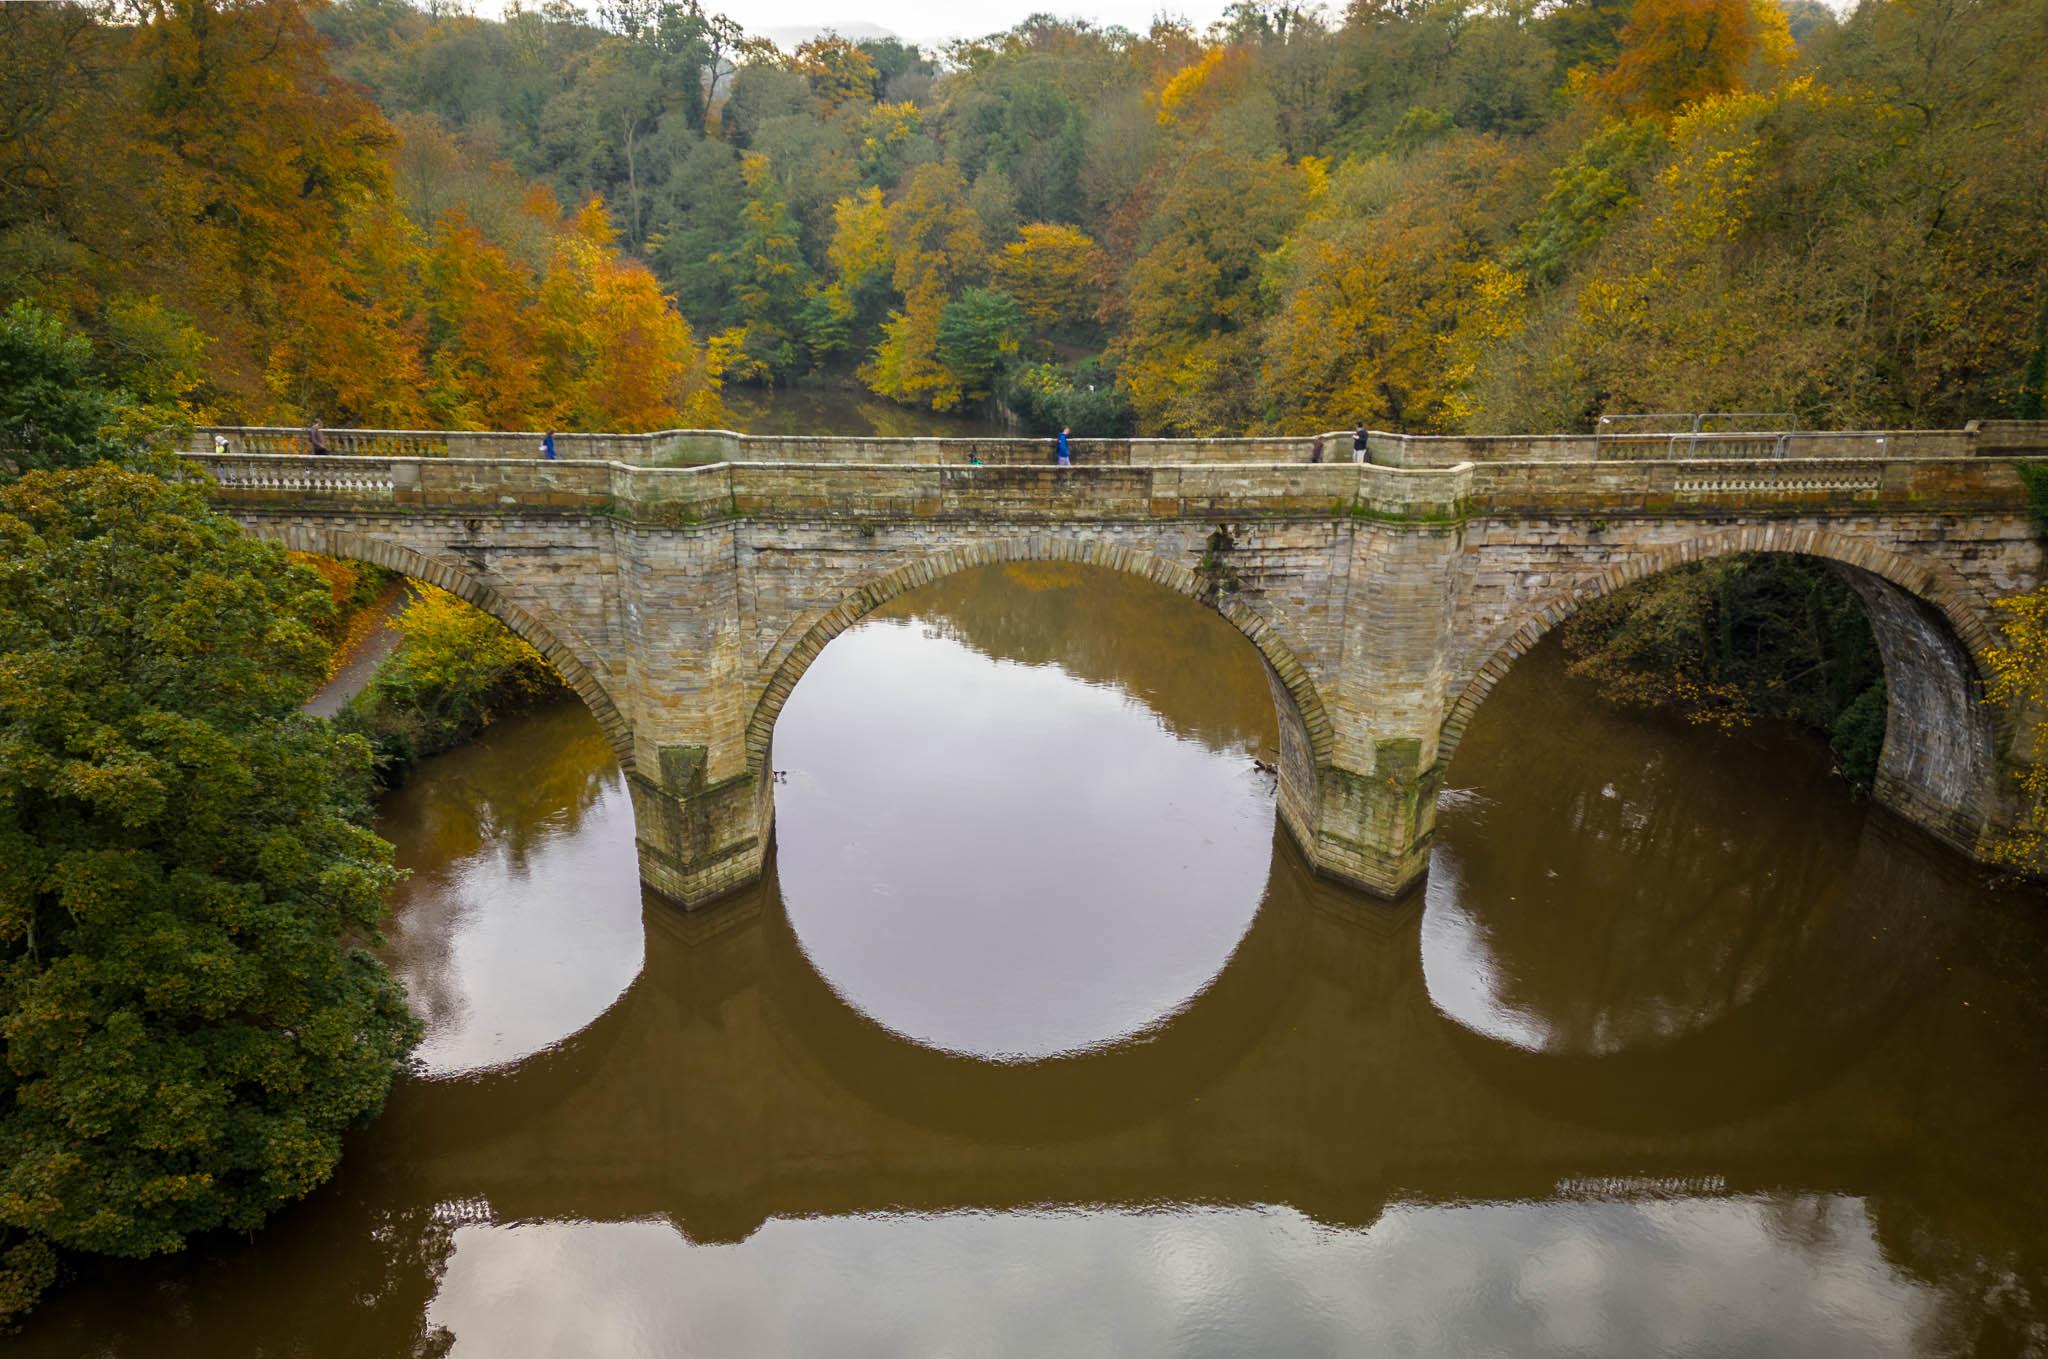
Rivers are a great place to fly low. You can position the drone in places virtually impossible to reach by foot. Bridge close-ups and low-level shots of weirs can make dramatic images.
Talking of weirs, if you like shooting video flying low and slow, backward over weirs and small waterfalls can make some dramatic footage. Low and slow over ocean waves can look great too. Use a high shutter speed to give the option to slow down the footage in post-production.
Low-level silhouettes through trees can make some lovely shots. Be careful when approaching trees for branches sticking out further than you think.
Derelict architecture is also a great subject for low and slow drone photography. You can access areas that are too dangerous to get to on foot. Be aware, that flying inside you will lose GPS connection and this will reduce the stability of your drone.
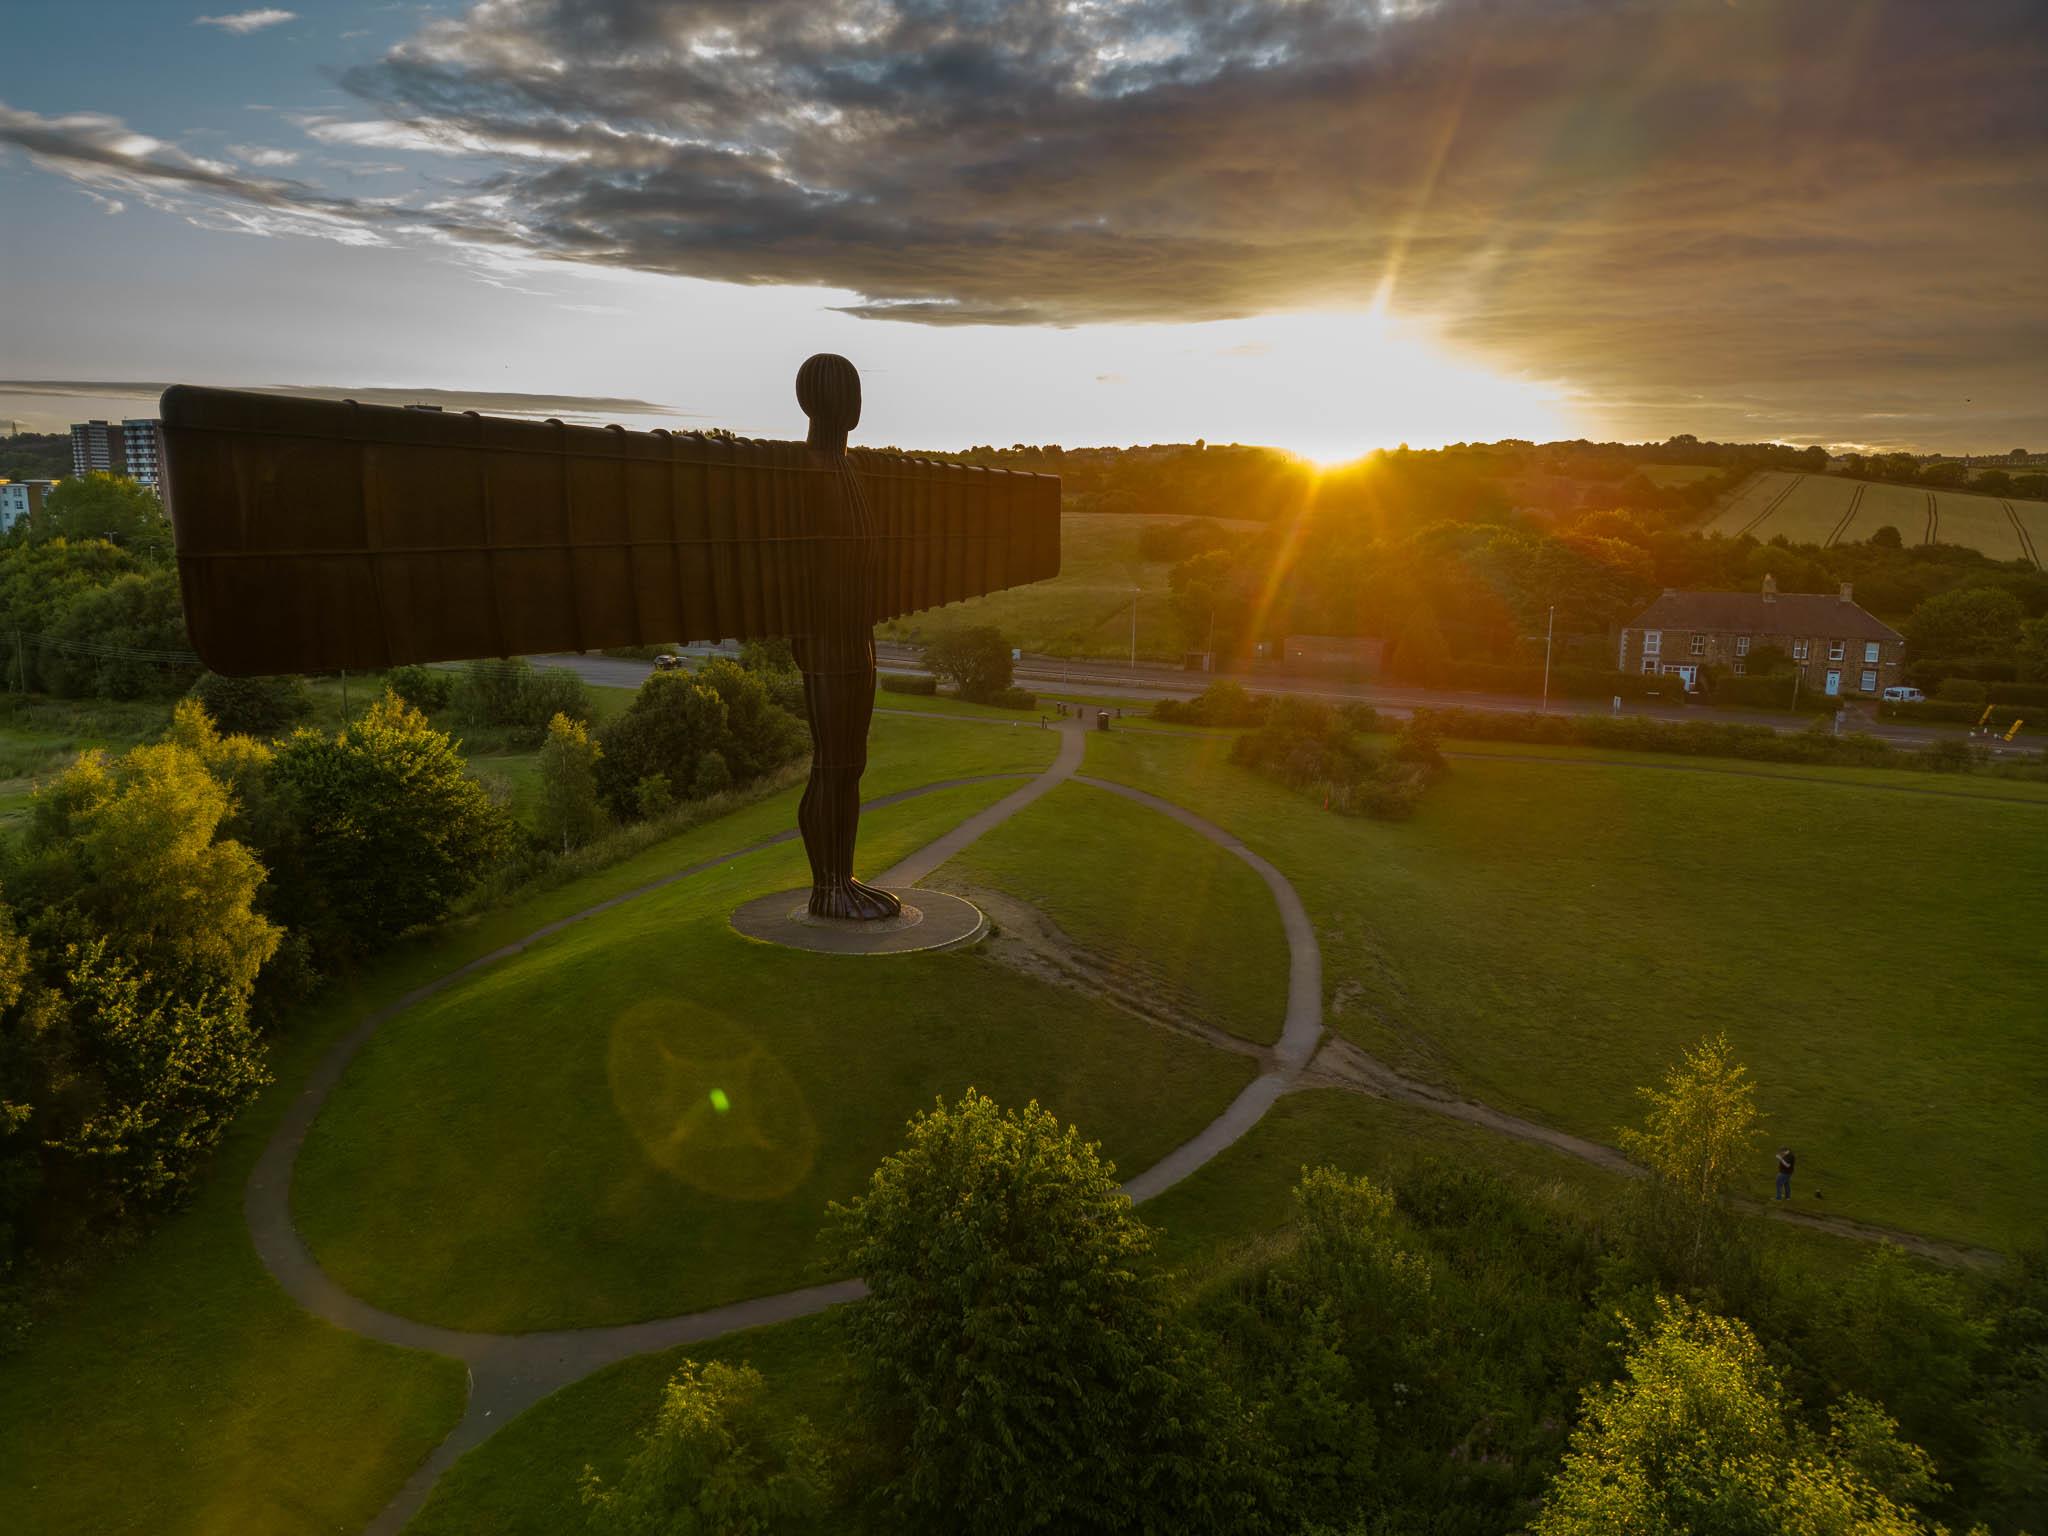
A drone can also allow you to fly in close to subjects such as monuments and statues, rising to the main part of the subject and positioning the drone for the best light.
FAQ
If you're using your drone commercially in the USA, then the FAA requires you to have a drone license.
At the moment, our pick is probably the DJI Mavic 3 Pro.
Drones are not just about flying high. With practice, by getting low and slow with your drone, you can capture very unique images that would be nigh on impossible with an ordinary camera.


