In astrophotography, after you capture the photos in the camera, they can be post-processed in many creative ways using various software to portray your artistic vision and also to give the photos a dynamic feel. In this article, we will look at how various creative astrophotography effects can be done using the software. Most of them are the stacking and time-lapse software themselves that allow us to achieve these effects.
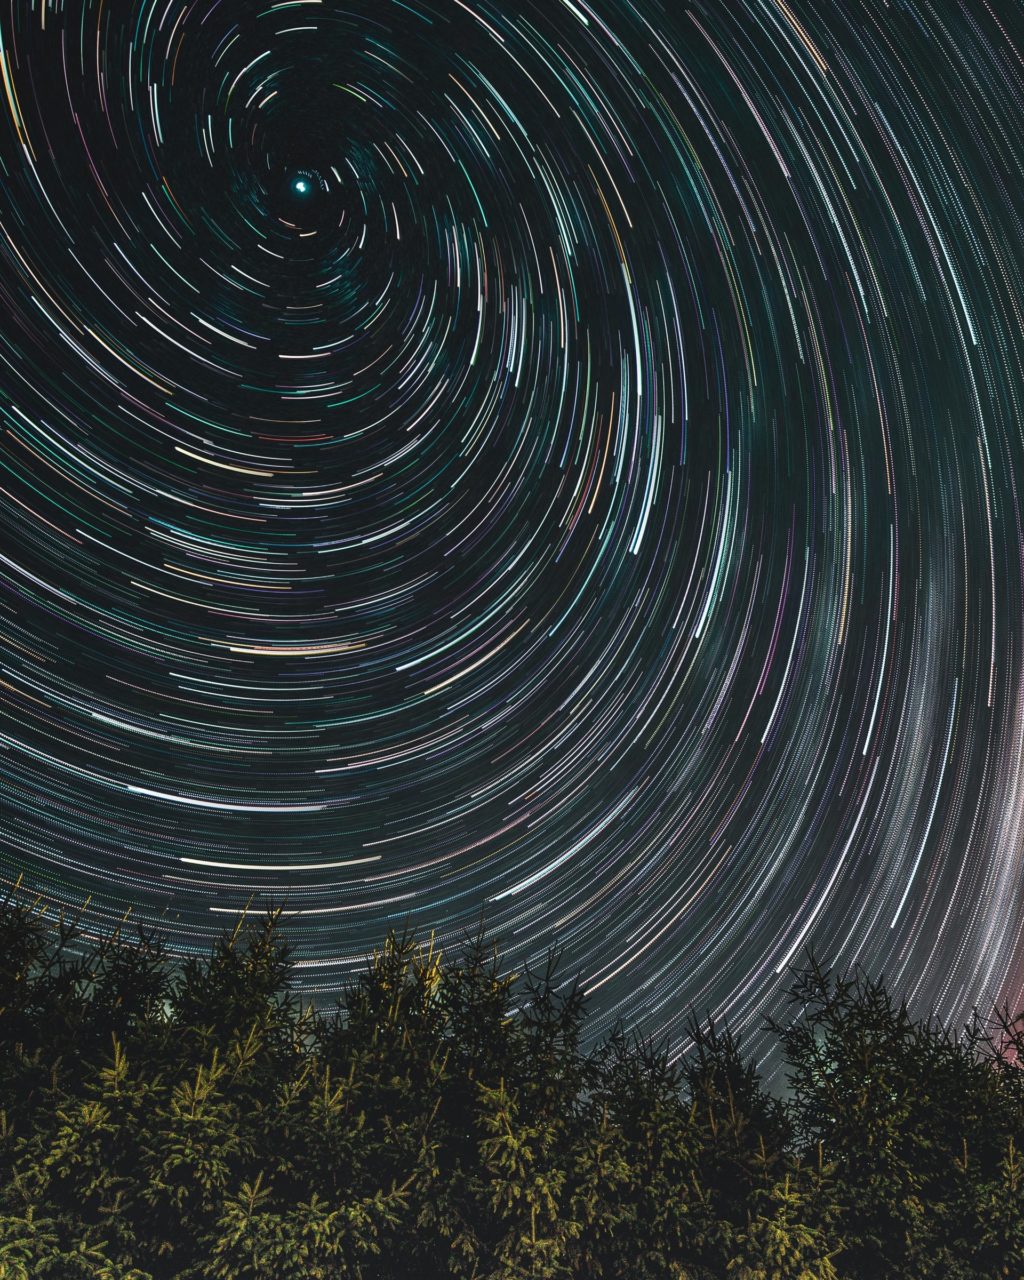
This article is focused on getting creative effects both in camera and when post-processing with a majority of the effects being created when post-processing. Any technique that requires more information or detailed reference is accompanied by links to articles for reference.
Grab your Milky Way Photography Blueprint for free right here.
Note: All the effects mentioned in this article, can be achieved in camera or using free softwares like StarStax and LRTimelapse except one that requires actions that are not free. LRTimelapse is free for creating time-lapse with up to 400 images, but if you wish to use more images and export in high quality, then you will need to make a purchase.
Here are some creative effects that can be achieved in astrophotography:
Star Trails
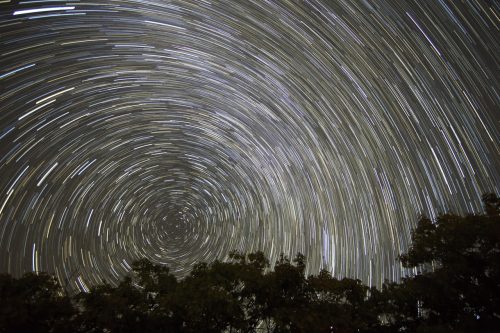
Star trails are one of the most basic and creative astrophotography effects that can be captured by an astrophotographer. Creating star trail images is fun and you can go creative with the composition and post-processing. If you are looking for circular star trails, you need to point your camera at the pole stars, so you get circular trails. It is also good to have some meaningful foregrounds or landscapes rather than just the stars, so you get an effective photograph.
To capture star trails, you need a camera that can shoot in manual mode, a lens, preferably a wide-angle one, a tripod, and a cable release. Having an inbuilt intervalometer in the camera or using an external one will allow for easy capture of a series of photos for stacking and allow you to leave the camera unattended. You will then use stacking software for combining the photos to get the final star trail image.
The Process:
- Once you have captured the images, import them into your post-processing application. We prefer Lightroom as you can easily edit, crop, and sync the entire settings to be applied on all images.
- Make basic edits, crop, and sync all the images.
- Export the edited images into a specific folder.
- For stacking star trails, you can make use of the free software called StarStax which is available for Windows and Mac. It is straightforward and easy to use.
- Load your files into StarStaX by going to File -> Open Images.
- Select your photos and import them into StarStaX, or drag and drop the images.
- Leave the blend mode to “Lighten”
- Click Edit -> Start Processing or the “Start Processing” button on top.
- Your photos will be now stacked by the software and the amount of time taken depends on your computer and the number of frames being stacked. For example, it takes only a few seconds to stack about 50 photos.
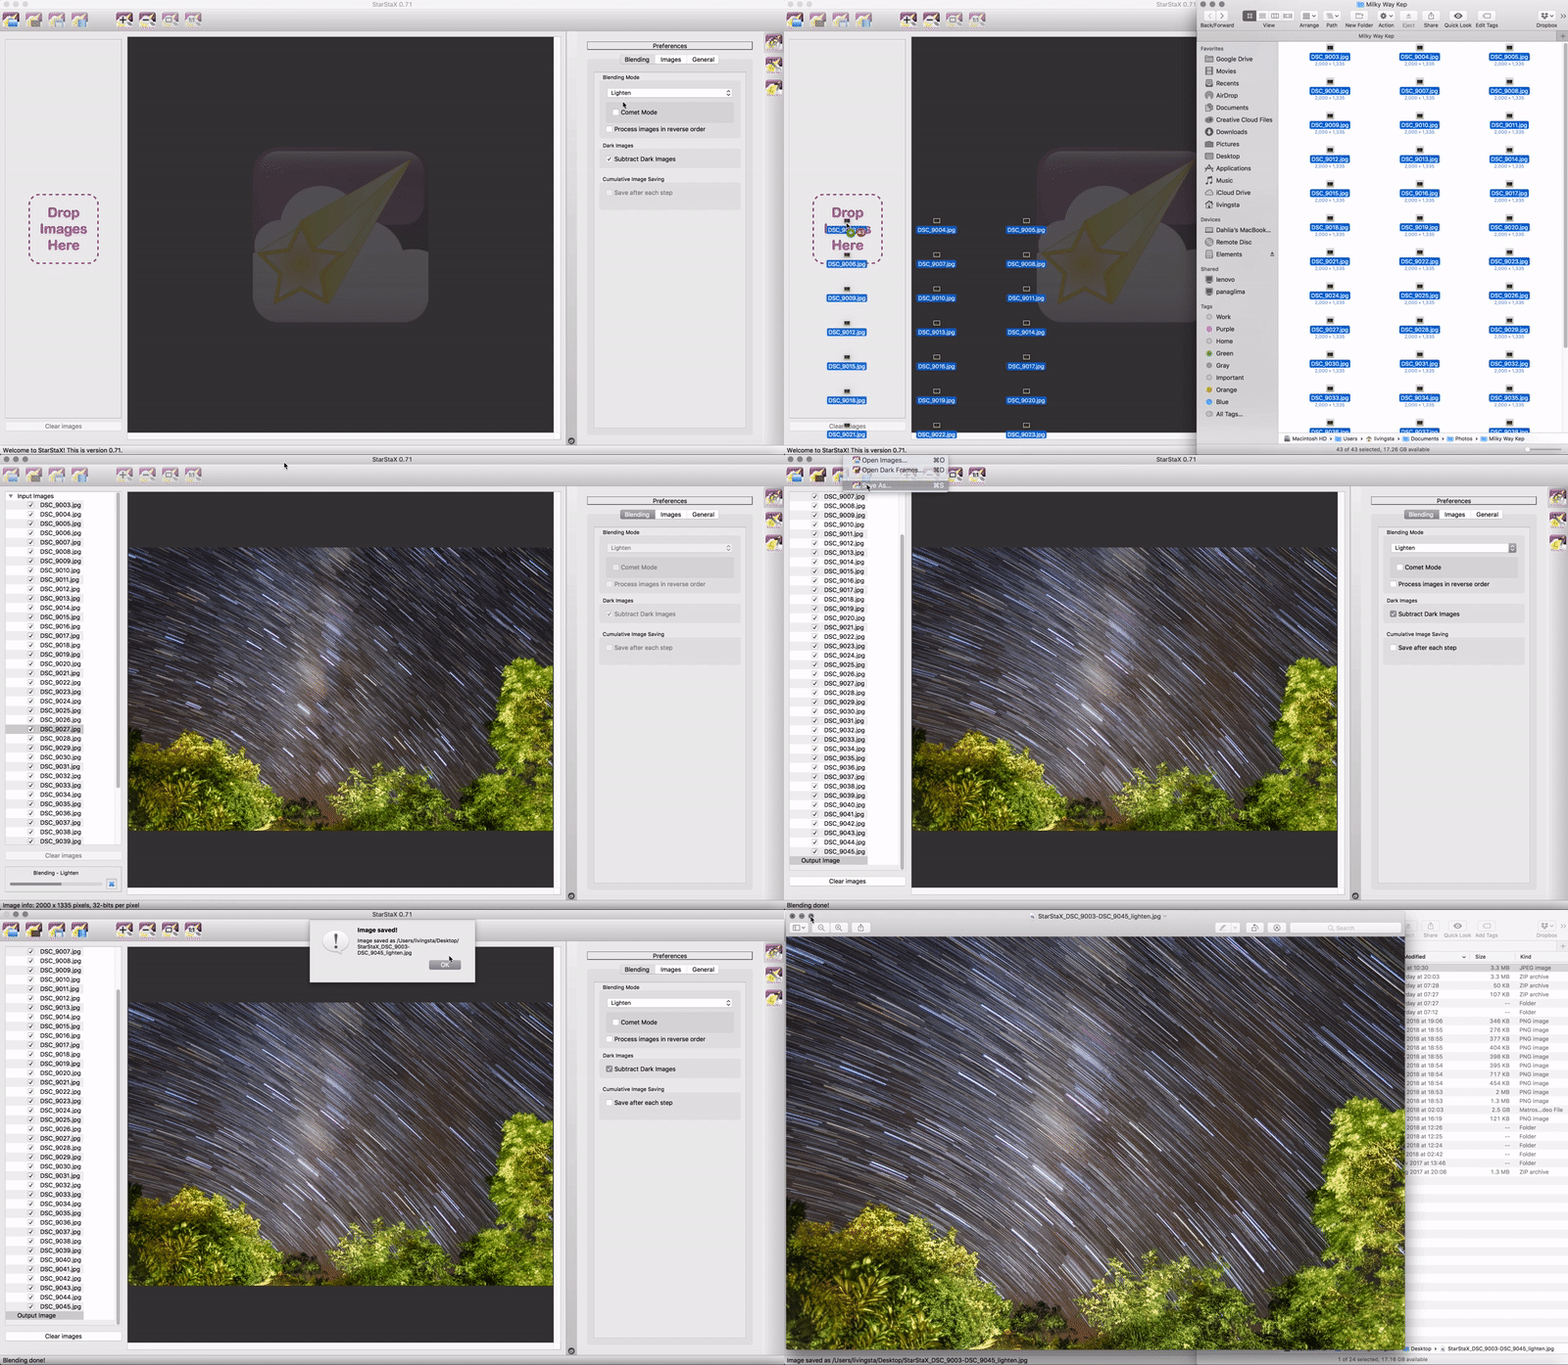
Here is an ultimate guide to star trails that covers all the details of this process, from start to finish including post-processing – How To Photograph Star Trails – The Ultimate Guide.
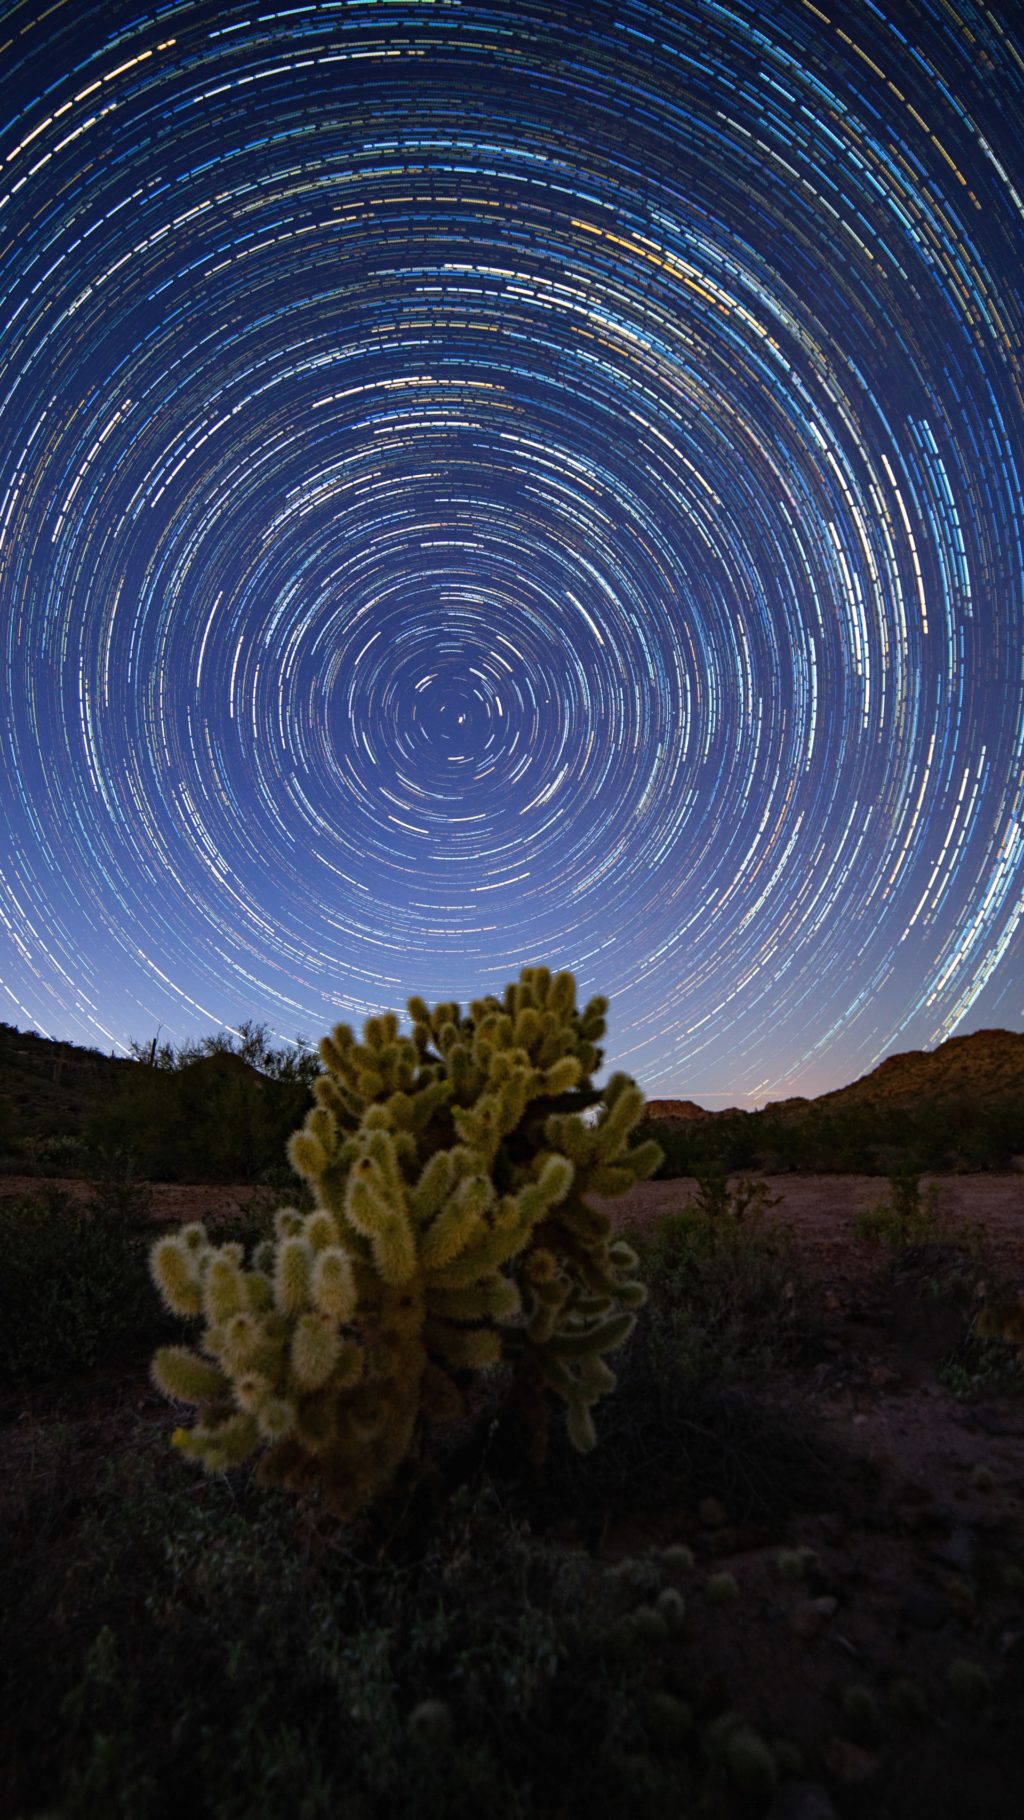
Here are some creative effects you can try with star trails:
Filling Gaps In Star Trails
There are times when you may have not set the interval between shots correctly or you were shooting with slightly more time between shots. This will result in gaps in the star trails making them look like dotted lines instead of trails. In order to overcome this situation, you can use the “Gap Filling” mode in StarStaX to create neat trails.
Note: Use the sliders carefully to adjust for neat trails. Sometimes it can interfere with foreground details if not done well.
The Process:
- After editing your photos and exporting them from Lightroom, load your files into StarStaX by going to File -> Open Images.
- Select your photos and import them into StarStaX or just drag and drop the images into StarStax.
- Leave the blend mode to “Lighten”
- Click Edit -> Start Processing or the “Start Processing” button on top.
- Your photos will be now stacked by the software and the amount of time taken depends on your computer and the number of frames being stacked. For example, it takes only a few seconds to stack about 50 photos.
- Once stacked, use the “Zoom” tool to look at the stack more closely or go to “File -> Save As” to save the file, zoom in to see if there are gaps in the trails.
- If there are gaps in the trails, change the “Blending Mode” to “Gap Filling” and start processing again.

- Once the processing is done, you can apply minor tweaks to the amount of gap filling.
- Experiment with the “Threshold” and “Amount” sliders till you get the desired results.
Note: If you have issues with gaps in star trails, this can be minimized when shooting. Keep the exposure time long – above 30 seconds, because we do not have to worry about pinpoint stars when shooting for star trails. Also, keep the time between shots to a minimum – about 0.5 to 1 second.
Comet Mode For Star Trails In StarStaX
StarstaX is a great software for anyone looking to create a star trail image in a matter of a few seconds or minutes depending on the number of photos you will be stacking. If you have seen photos of star trails where the trails look like a comet or a shooting star, then this effect can be created using StarStax with the option “Comet Mode” chosen when stacking the files for star trails. You have an option to have short or long trails.
The Process:
- Load your files into StarStaX by going to File -> Open Images.
- Select your photos and import them into StarStaX.
- Leave the blend mode to “Lighten” or “Gap Filling” depending on how you want the trails.
- Check the checkbox for “Comet Mode”.
- You can also make adjustments for shorter or longer trails.
- Click Edit -> Start Processing or the “Start Processing” button on top.
- Your star trails in the final image will look like a streaking comet or meteor.
Light Painting
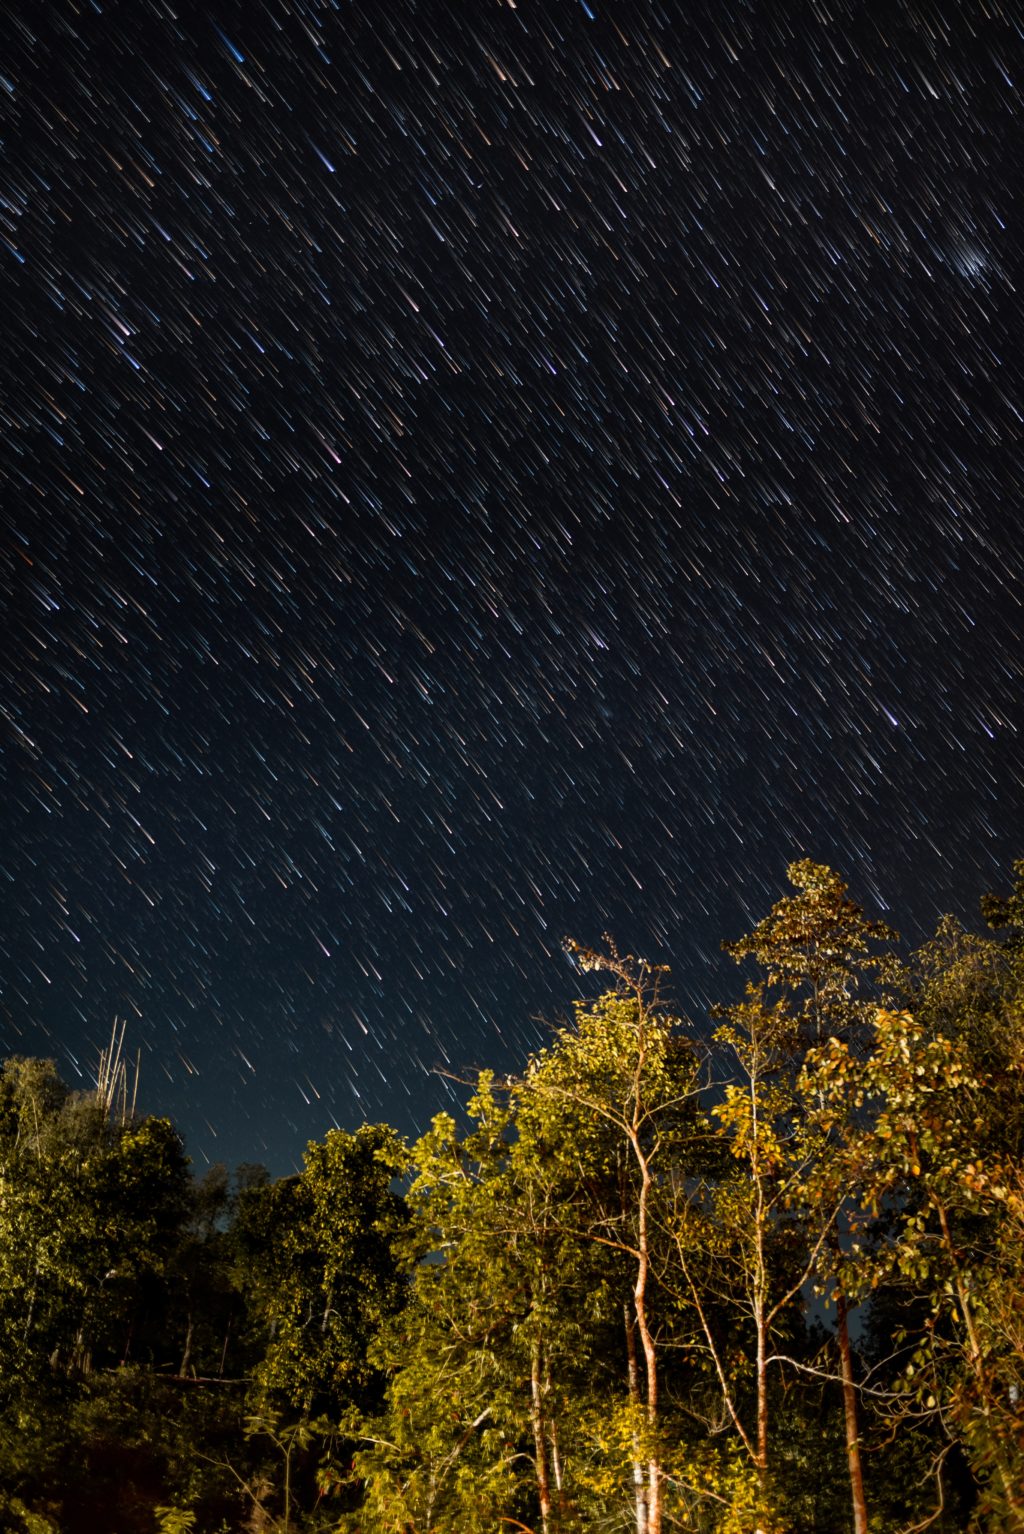
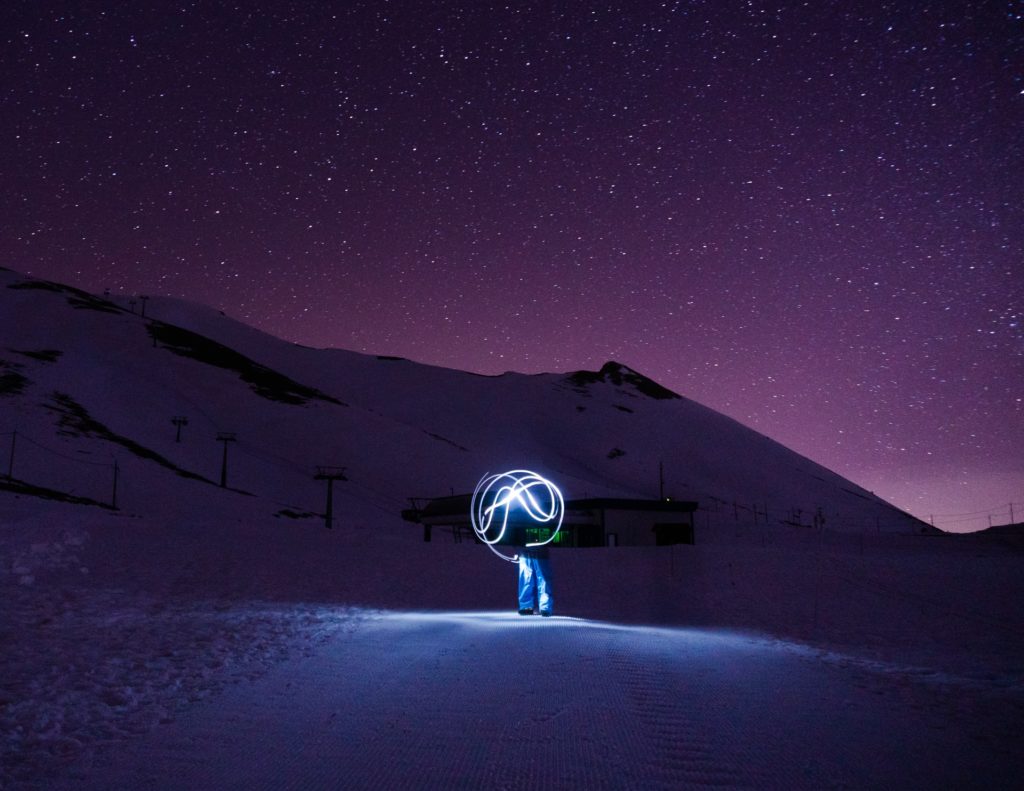
When shooting night skies, you should include something interesting in your frame like a landscape with some interesting foreground or trees, buildings, etc., to add meaning and story to your photos. Besides these, you can also include light paintings in the foreground of your images. When you have easy stacking softwares like StarStaX, you have the option to have multiple light painting patterns in one image since you can stack all these images together to have multiple patterns.
The Process:
- Set the camera on a tripod to shoot long exposures of the light painting patterns that you have in mind.
- Your exposure settings should depend on the complexity of the light painting patterns.
- Do not disturb the frame or camera/composition and for each exposure, do a different light painting pattern in different areas of the scene. Make sure that they look meaningful when put together.
- Once you have captured your images, edit them and load your files into StarStaX by going to File -> Open Images.
- Select your images and import them into StarStaX.
- Leave the blend mode to “Lighten”.
- Click Edit -> Start Processing or the “Start Processing” button on top.
- Your images will be stacked and all the light painting patterns will appear together in the final image.
If you are a beginner in light painting, then this guide will help you get started – How To Get Started With Light Painting
Vortex Effect
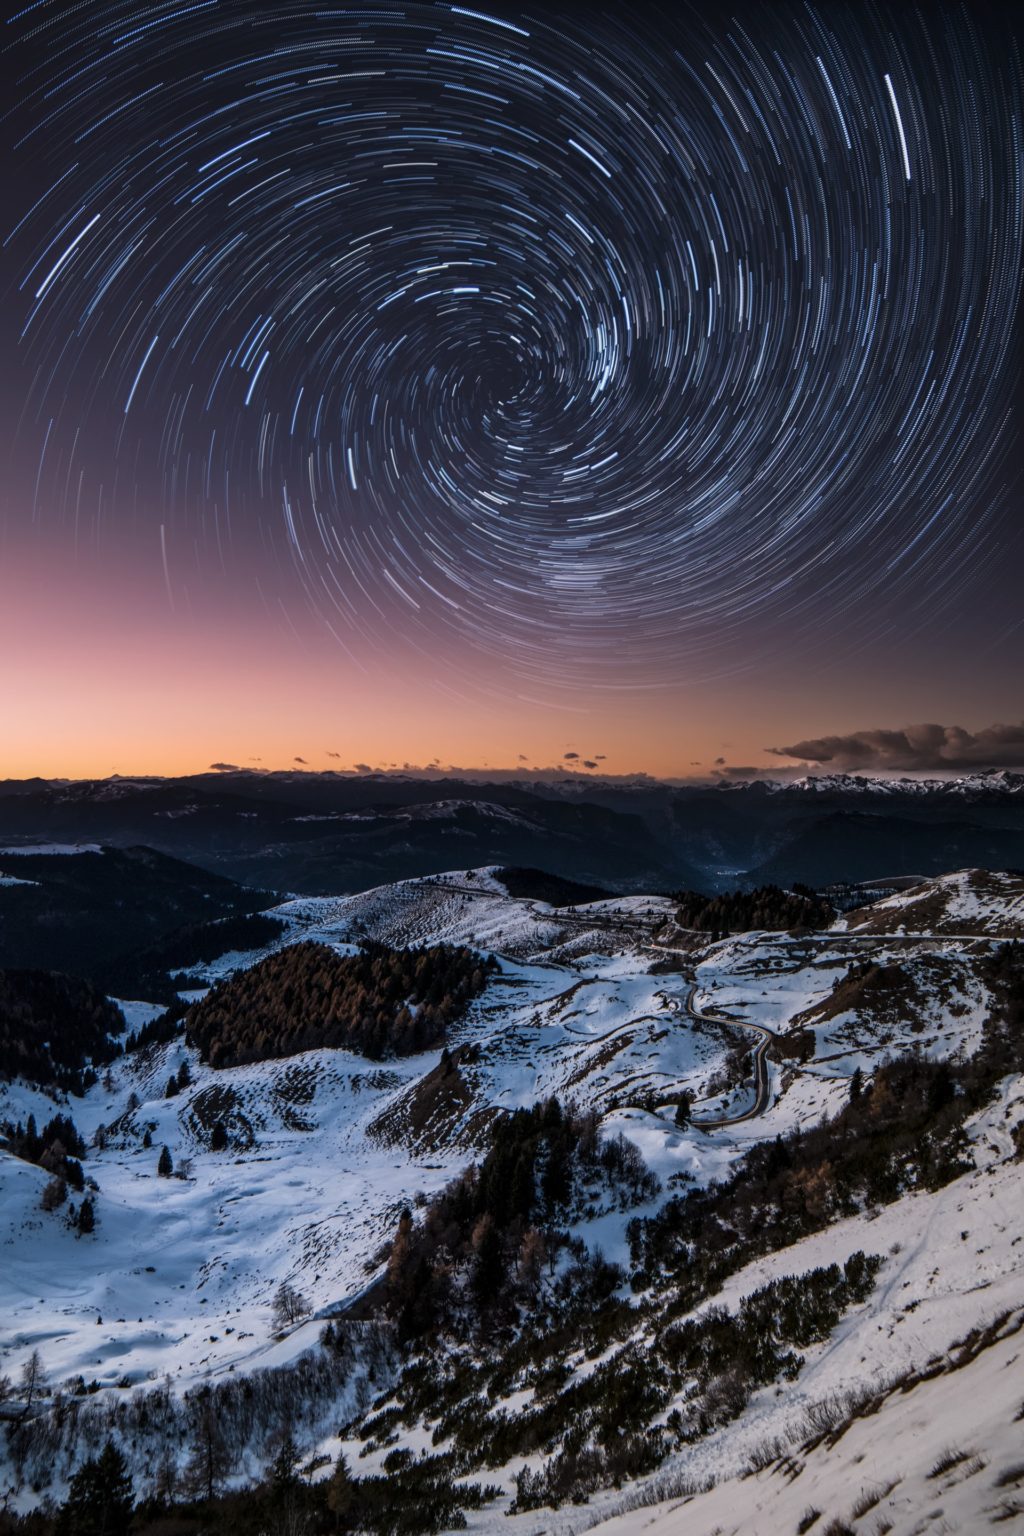
The vortex effect for star trails is a spiral-like effect for star trails where you will be continuously shooting images just like you would for star trails, but you will also need to zoom out in a consistent manner. This zooming process is what helps to create the spiral or vortex effect in the final image.
Most photographers who do this technique work with specialized equipment that allow them to automatically rotate the zoom ring using a mechanism during the shooting process. What happens during this process is, the stars are recorded from the widest focal length to the narrowest focal length through the entire capture process.
If you are unable to use this technique, the best way you can achieve this effect is by using an application like LRTimelapse. You will need about 2 to 3 hours of exposure to get a good vortex effect.
Note: Remember, you will need to have the pole star in the frame so the end result will look like the trails originate from that point.
The Process:
- Once you have captured the images for star trails, adjust white balance, make basic edits, crop if required, sync the settings, export, and put them into a specific folder on your computer.
- Open up LRTimelapse and import the photos into it.
- Click “Keyframe Wizards” which will rate the first and last image in the sequence. These will be the keyframes for the vortex effect similar to the widest frame (1st shot) and the narrowest frame (last shot) captured using the above zoom technique.
- Click “Save” and this will save changes in the file's metadata, for example, the rating in the file.
- Once this is saved, open Lightroom and import the files with the saved metadata from LRTimelapse.
- Filter the images based on rating. The two images that were rated in LRTimelapse will be filtered. They usually show up with a 4-star rating, but this can differ.
- Set the frame for the first image by cropping it a bit. This crop is to show how far you need the zoom effect in the resulting vortex effect.
- Now select the picture and save metadata to the file.
- Go back to LRTimelapse, click “Reload” and this will update the metadata of the file that was cropped in Lightroom. The crop will also be shown as a rectangle in the preview.
- Now click “Auto Transition.” What happens here is, LRTimelapse will apply crop values for each frame in a gradual manner starting from the most cropped to the uncropped frame so the vortex effect can be created.
- Click “Save”.
- Go back to Lightroom and in grid mode and read metadata from files. This will update each image file with the new metadata information from LRTimelapse for the transition. If you scroll through the images, you can see that the crop from the widest to the narrowest will have been applied to the images.
- Export these images making sure they all have the same resolution.
- Open up StarStax and import these images.
- Leave the blend mode to “Lighten”.
- You can also use comet mode and gap-filling mode that we discussed earlier in this article.
- Click Edit -> Start Processing or the “Start Processing” button on top.
- Your images will be stacked and the final image will have the vortex effect.
If you wish to look into these processes in more detail, here is an very detailed guide along with a video, that shows exactly how this is done – Vortex Star Trails Tutorial
Spinning Or Rotating Stars Or Star Trails Video
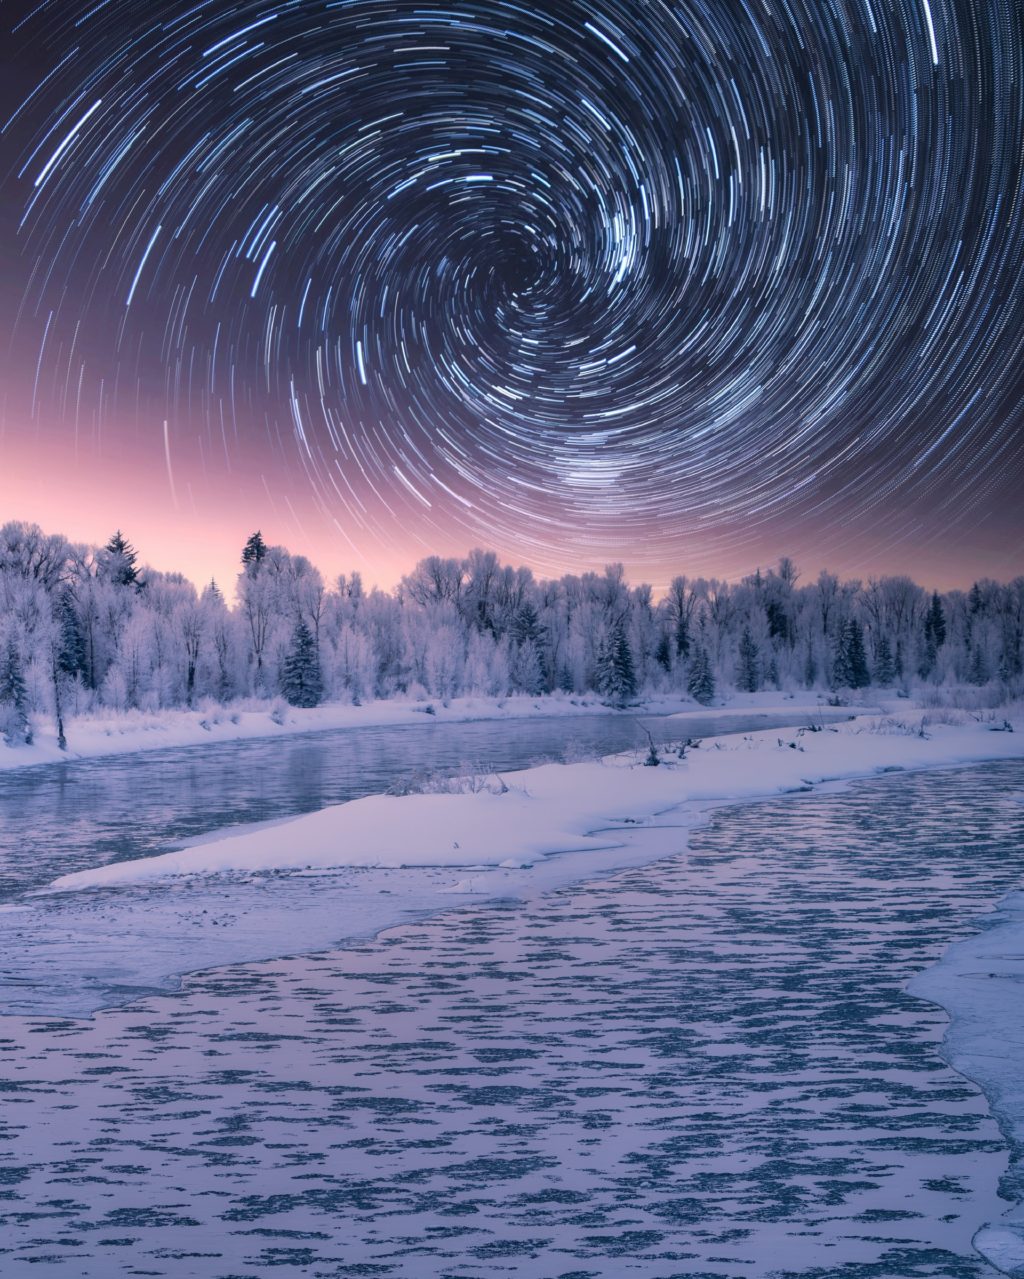
When making a timelapse of the night sky or the stars in the night sky, we get to see the movement of the stars across the sky over a period of time, but you can actually use post-processing techniques to see the movement as trails in your video. It will look like the stars are painting the sky with their trails. This effect can be achieved using StarStax and LRTimelapse.
The Process:
- Once you have photographed a bunch of images for star trails, put them into a specific folder.
- Import these images into Lightroom.
- Edit these photos by making adjustments to white balance and other basic adjustments like exposure, contrast, etc.
- You may also want to crop the images to get the desired composition.
- Make edits on one image and sync them, so the edits and crop are synced across all images.
- Export them as jpegs into a folder.
- Open StarStax and import the above jpeg images into StarStax.
- Set the blend mode to lighten. You can also choose “Comet Mode” if you would like to have the star trail effect look like comets.
- Choose the option “Save after each step” so you can use these files to create the video in LRTimelapse.

- Set the “Output” folder so the files are put into that folder after saving in each step.
- Click “Start Processing”
- This may take a while because StarStaX needs to save files after each step.
- Import the images into LRTimelapse, render the video directly by using your desired settings. You should have a star trail video that leaves trails in the sky.
- If you had the pole star in the frame, your star trails will look like they are spinning around the pole star.
Here is a great video that provides information on how the whole process is done – Turn Your Star Trails Photos Into A Video.
Zoom Burst
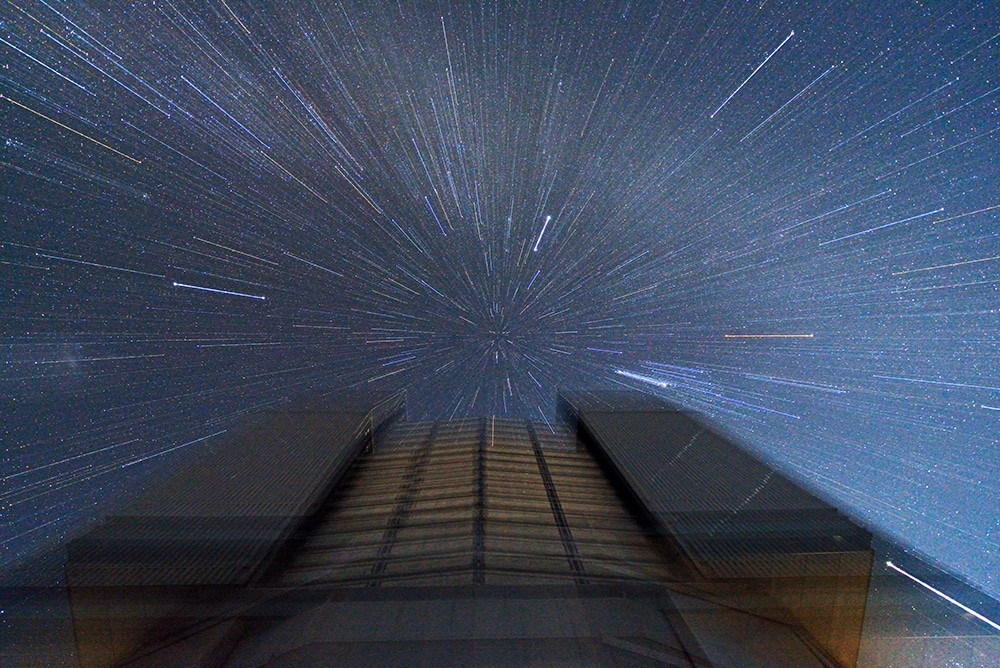
Zoom burst is a technique where you will be able to transform the stars in the night sky to look like exploding meteors. This technique is however made in camera rather than software. You need a camera that can shoot in manual mode and has a bulb mode, plus a zoom lens and a tripod.
The Process:
- Mount the camera and lens on a tripod.
- Set the aperture to the widest possible to gather as much light.
- Set the iso between 500 to 3200 depending on your camera’s low light performance. You will need to experiment by taking a few test shots in this case.
- Longer exposure times will help record more stars, so set the shutter speed to about 30 seconds. But again, play around with the iso and shutter speed combination to get the correct exposure and desired zoom burst effect.
- Focus manually on a distant star at the widest focal length.
- Once focused, zoom into the longest focal length.
- Release the shutter and when the shutter is open, zoom out slowly at a constant speed for the first 15 seconds till you reach the widest focal length and then leave the shutter open at this focal length for the next 15 seconds so that the stars and foreground details are recorded.
- You can practice this timing well ahead of the shoot so you can work it perfectly fine during the shoot.
If you are interested in this effect, you should check out this article on zoom burst technique that goes into complete details with a lot of scenarios and examples – The Complete Guide To Zoom Burst Photography
Star Effects Using Actions Set
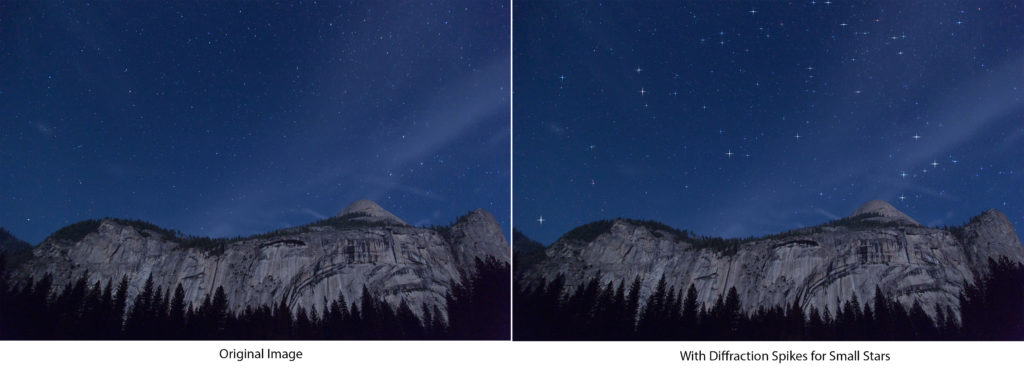
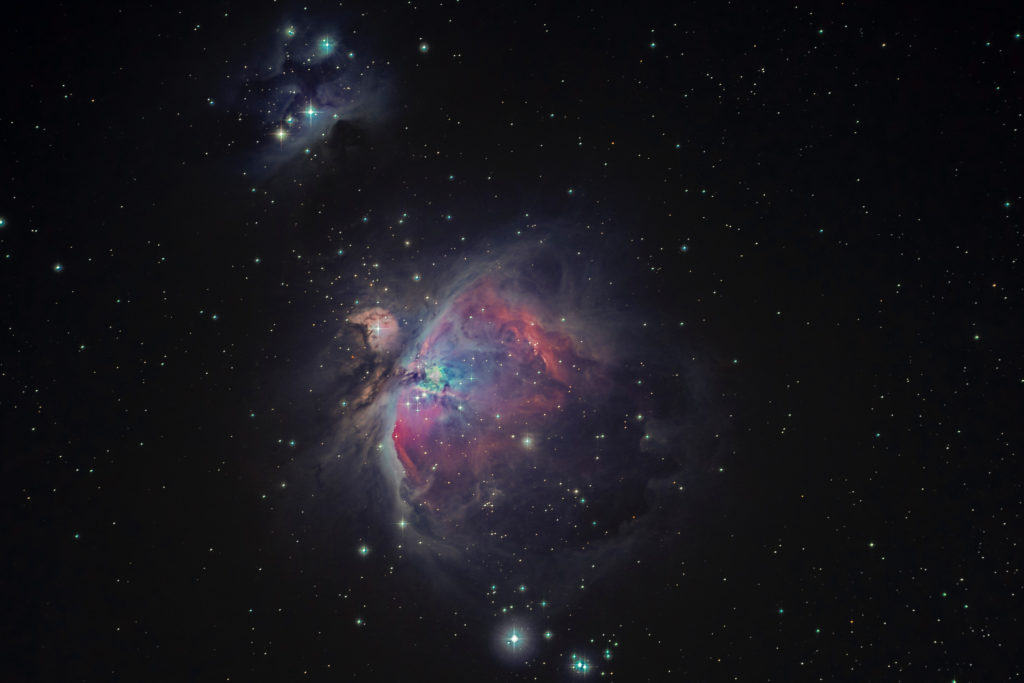
If you are someone who does deep sky astrophotography, then there are a lot of issues that you would come across like light pollution, noise, etc. There are also times when you would like to have the stars with diffraction spikes, just like how stars are visualized or illustrated in books, cards. There are astronomy tools and action sets that can help you create various effects and also help you sort out unwanted noise and other issues in your deep-sky images.
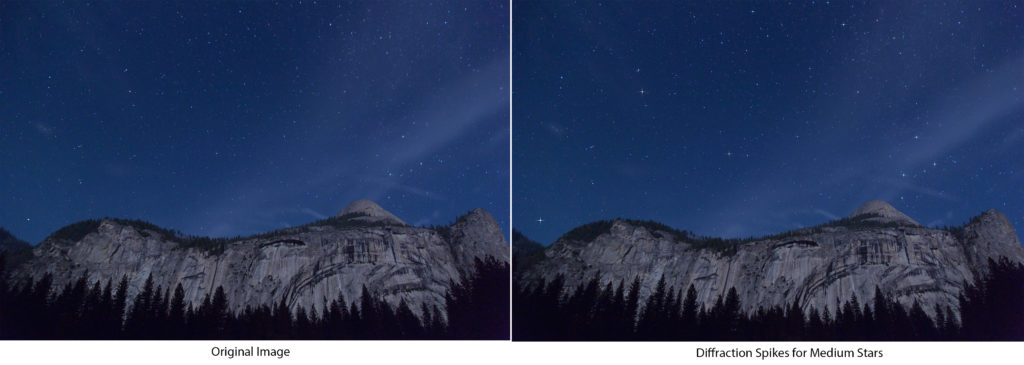
One of those that I use when post-processing deep sky images is the astronomy actions set by ProDigitalSoftware and they come with a bunch of 34 actions that include light pollution removal, gradient removal, selecting bright stars, making stars smaller, space noise reduction, reducing halos, diffraction spikes, etc.
These actions are for photoshop and they work on RGB images in both 8 and 16-bit color mode in Adobe Photoshop CS6 or CC. This set is not free.
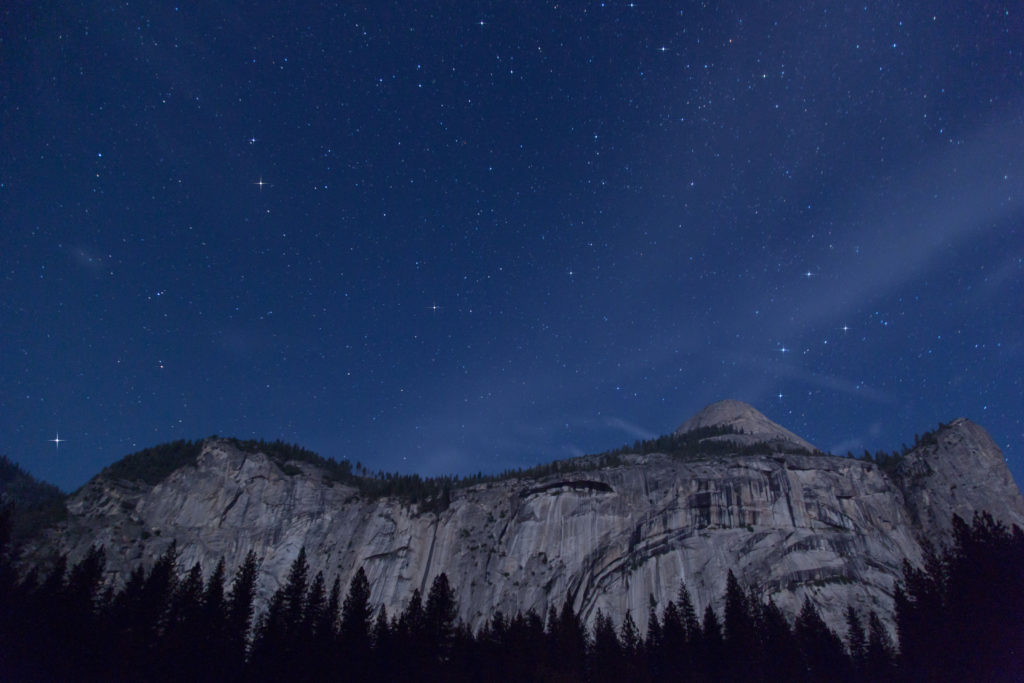
One of the interesting and creative features in this set is the diffraction spikes for night sky images where there are a few stars. Try as much as possible to keep it to a minimum so it looks real. I use the action for medium-sized stars, so the spikes are applied only to the few biggest/brightest stars, which would usually be a small number in the frame. The same applies when you apply spikes for deep sky images and when it comes to astrophotography for deep sky objects where you shot images from a location with no dark sky, you have a lot of other actions that can reduce noise, light pollution, etc.
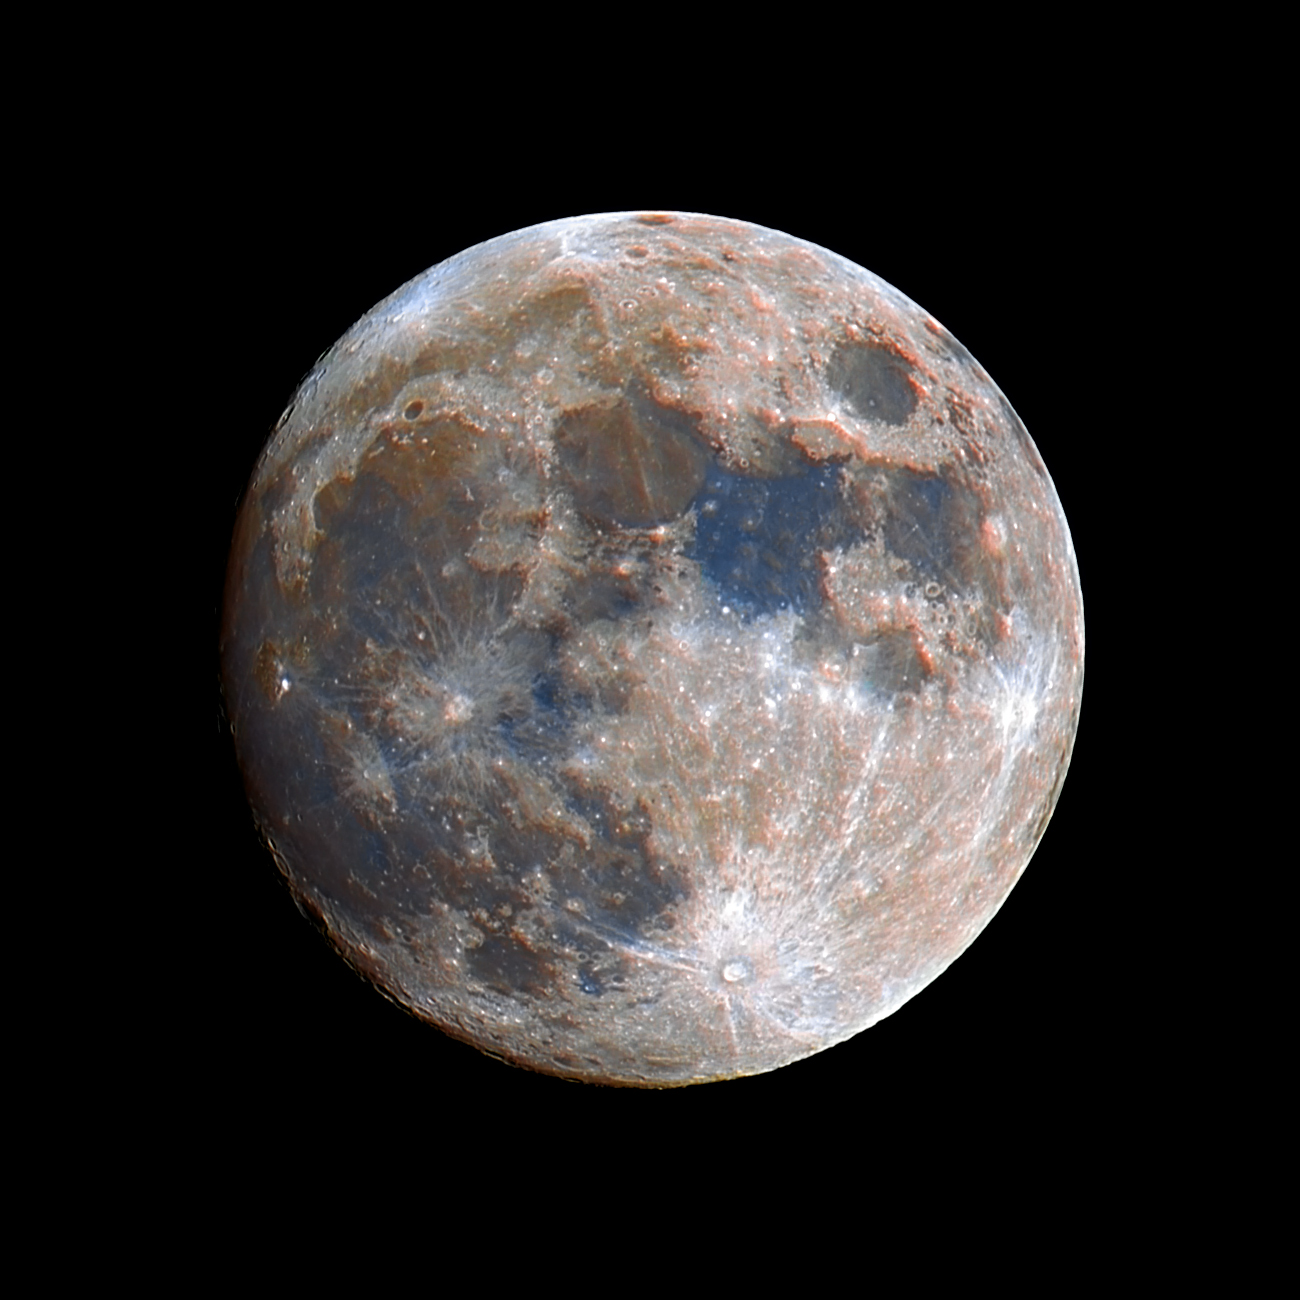
Mineral Moon
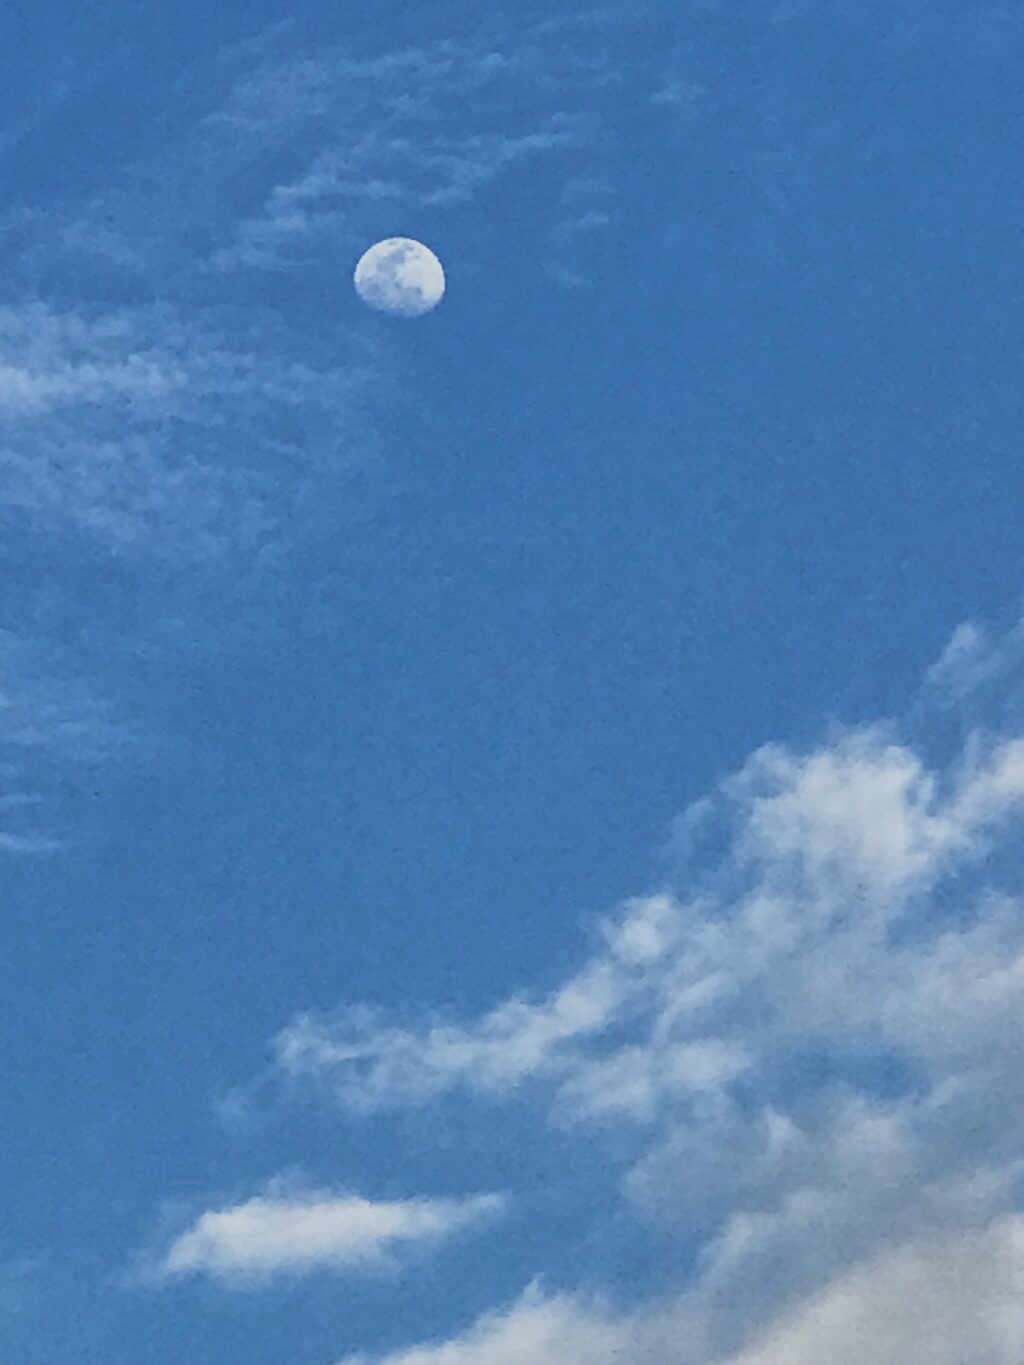
The mineral moon can be a fun project if you are looking to do something differently compared to the other moon pictures that you capture often. The moon has minerals on its surface that can sometimes be even visible when zoomed in quite closer on a very clear night. These minerals give the moon certain blue, brown and orange tints that can look quite impressive.
In order to bring out the colors on the moon, you need to take a few exposures, stack them, and then post-process them separately for the colors. The process is quite simple and does not take much time. It gets very easy with practice. The softwares used for aligning and stacking are all free and pretty straightforward to use.
If you wish to look at the entire process of photographing, stacking, and post-processing for the mineral moon, here is a detailed article that explains the entire process – How To Photograph And Edit A Mineral Moon.
The night sky is full of wonders and there is so much you can enjoy doing just by photographing the sky at night. Besides the normal edits and techniques that we employ usually, it is good to deviate from them once in a while and go creative. Besides, if you are also getting into deep space photography, then the actions mentioned here can be of great help and can provide some of the heavenly looks and feel that deep sky images are worthy of!
Do you enjoy astrophotography? What are some creative techniques that you use to enhance your astrophotography images? Leave your experience and tips in the comments section below as we would love to know!

