One element of post-production that many new photographers struggle with is the difference between resizing and cropping. I am sure that like me, you have seen images posted on photography sites where the shot is either stretched or squeezed. You may have seen a digital print that look very pixelated or images that have such a large file size that they load very slowly even with a fast Internet connection.
All of these issues come from not fully understanding either cropping or resizing and the subtle but important relationship between them. In this article we will introduce you to both cropping and resizing and in part two we will show you how to do both in Photoshop and Lightroom.
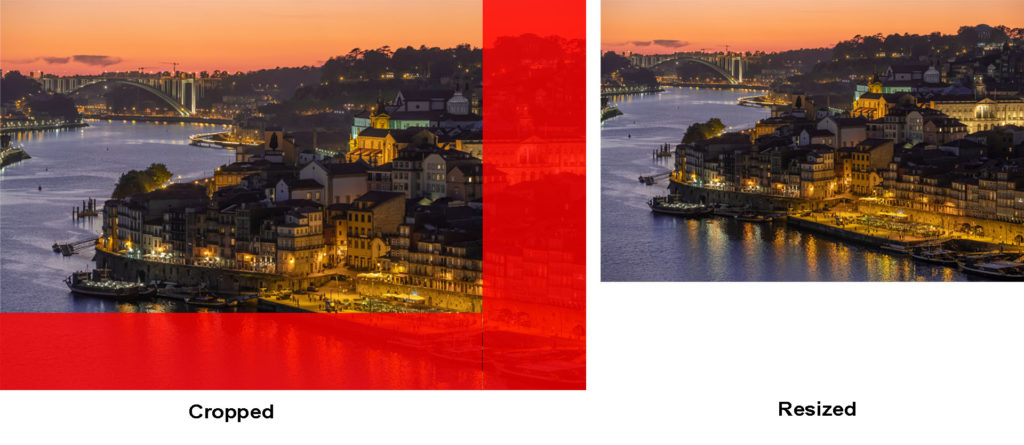
What is Resizing?
Resizing an image is where you change the length and width to a new size. However it’s not quite as simple as that, there are a couple of other factors that you need to know about. The first is pixel resolution and the second is image ratio. If you do not take these into consideration when resizing, things will go wrong.
Pixel Resolution
Pixel resolution can be tricky to understand, you may have seen references to it as pixels/inch or pixels/cm. When you take a picture with your camera, the pixel resolution does not matter. Your camera has a finite number of pixels and the image has a finite width and height when defined in pixels.
For simplicity sake let’s say your camera has a pixel dimension of 3000×2000, making it a 6-megapixel camera. When you take that image, the image will not be sized in terms of centimetres or inches, but purely pixels, the image will be 3000×2000 pixels.
However, when you want to output that image to print or for a website, the dimensions and the pixel resolution become important. Let’s taking printing as a first example.
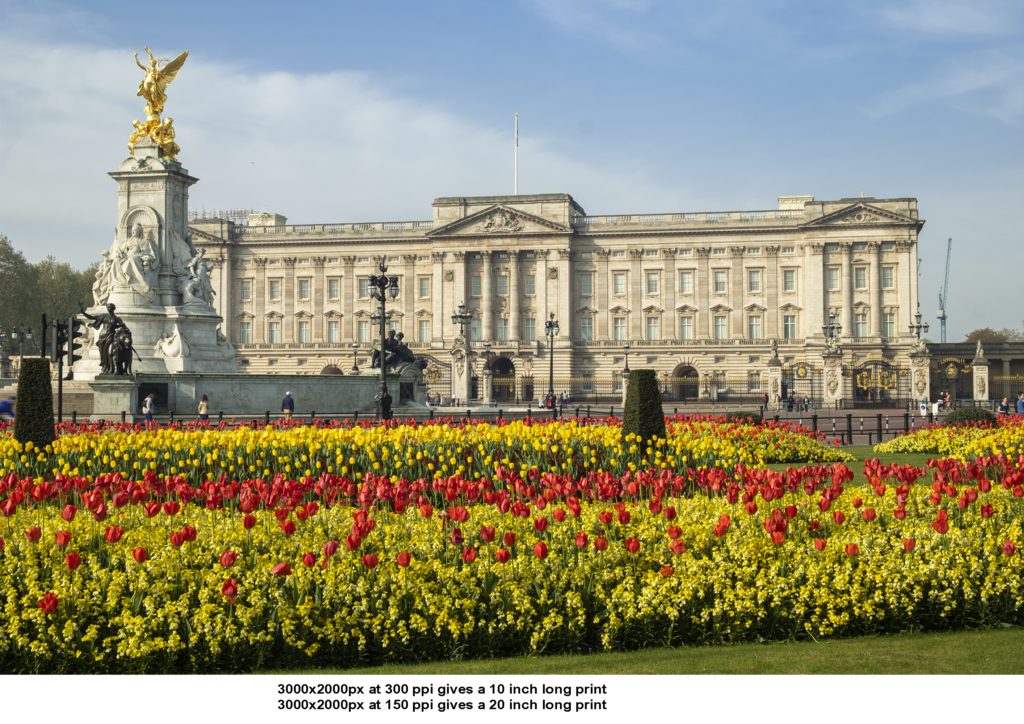
Let’s assume we want to make a print that is 10 inches on the longest length. We need to squeeze our 3000 pixels into 10 inches and so we will have an pixel resolution of 300 pixels/inch. If we wanted a our print to be 20 inches on the longest length you can now see that our pixel resolution will be half of that, so 150 pixels per inch. Typically when we print, we resize to between 180 and 300 pixels per inch for optimum quality. If we go lower the 150 pixels per inch we will see lower quality in our print.
Moving on to displaying images online, our objective is to have images that load quickly on websites. That means smaller fie sizes. Because a computer monitor cannot display images in as high fidelity as prints, we can choose a lower pixel resolution, typically between 72 and 100 pixels per inch.
Websites usually work in pixels rather than inches or cm and typically they rarely go bigger than 1000 pixels width.
As you can see, squeezing the longest dimension from 3000 down to 1000 means that you lose some information in the image. Editing programs are, however, pretty clever and remove pixels in such a way to reduce the loss of image quality. However, if you have ever tried to print a picture that you downloaded directly from a web browser, you will have noticed the quality loss.
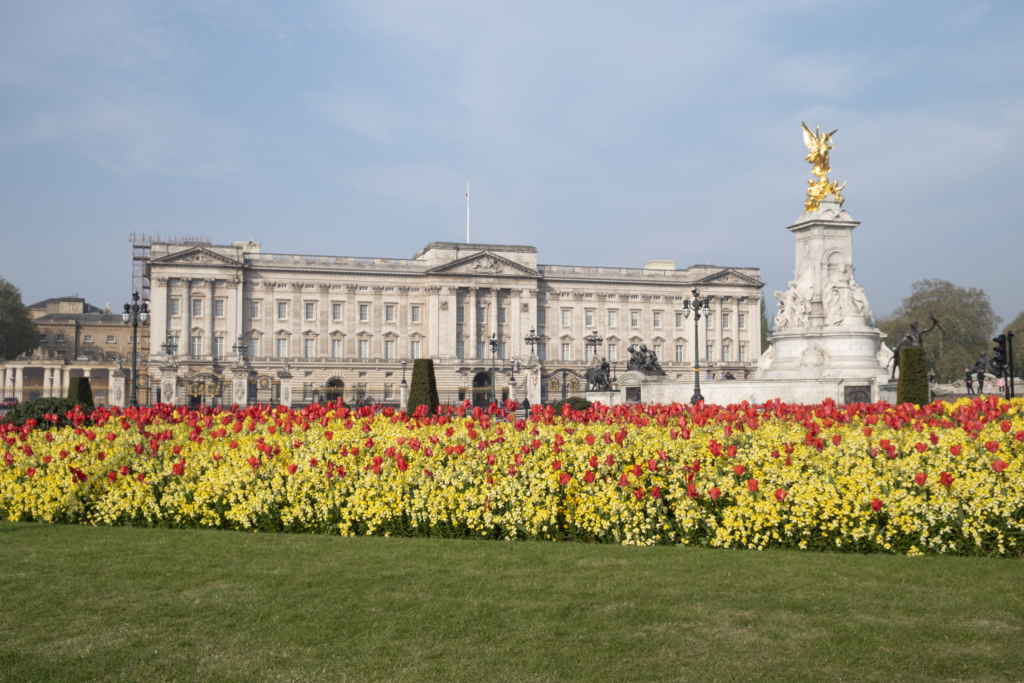
As you can work out from above, the file size for a printed image is going to be considerably bigger than one for the web. Not only are the dimensions longer but also the pixel resolution, you have a lot more information packed into one file.
Image Ratio
The other factor that’s important is image ratio. Most stills cameras shoot in 3:2, or 4:3. In our example camera, the sensor shoots 3000×2000 pixels which is clearly 3:2. 6000×4000 would also be 3:2.
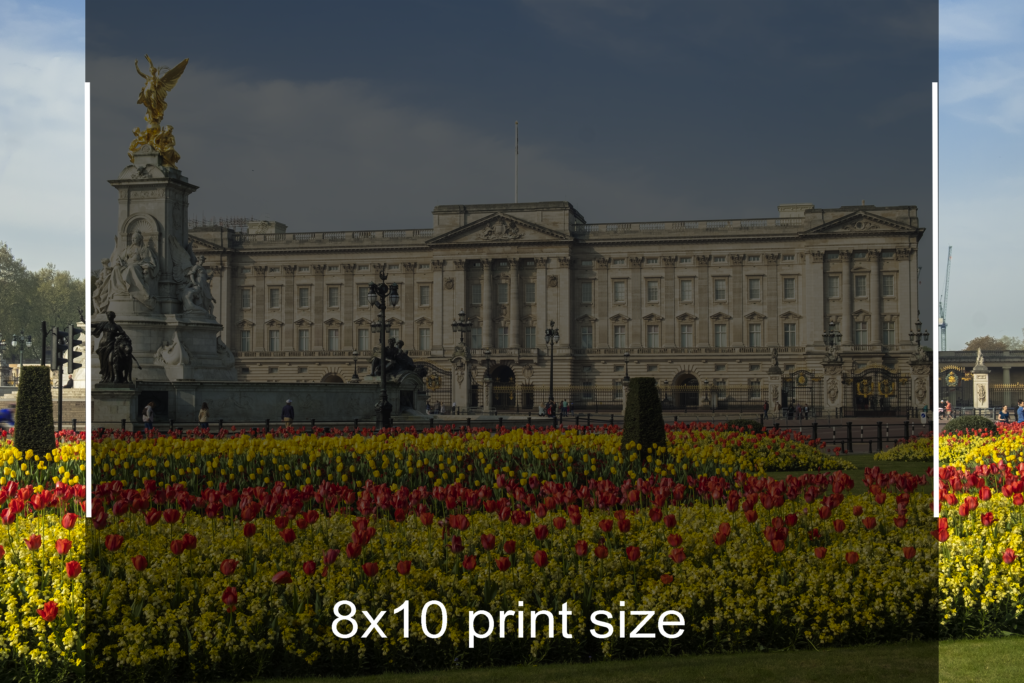
Above, we resized our print to be 10 inches on the longest dimension at 300 pixels/inch By default that means our shortest dimension would be 2000px/300px=6.6 inches. As you can see this is an odd dimension. The nearest printing paper to this size would be 10 x 8 inches. This means that our print with have a large white border top and bottom. Which brings us neatly to cropping.
What Is Cropping?
In simple terms, cropping can be used to change the image ratio. It can also change the image size at the same time. Returning to our 10×8 print, we have two options to make the image fit on the paper.
The first is to make the shortest dimension fit to the 8-inch width. 10×8 is an image ratio of 5:4. To get our 2000 pixel height to fit into 8 inches we need to set a pixel resolution of 250px (2000/8). This means our longest dimension will be 12 inches or 2 inches long for the paper. If we print like this, 1 inch of the image will be missing from either side.
If, however, we want more control over the composition on the image, we can crop it in post-production to a 5:4 image ratio. This would, for example, allow us to keep something in the shot that may be on the far left of the image. When you use the crop tool in editing software, it will allow you to set the crop ratio. There will be several presets such as 3:2, 4:3: 5:4 1:1 which as you can imagine is a square format and 16:9 which is a common format for high definition video. You will also be able to crop to any ratio you want, useful for non-standard sized web images and for the many different social media size requirement.
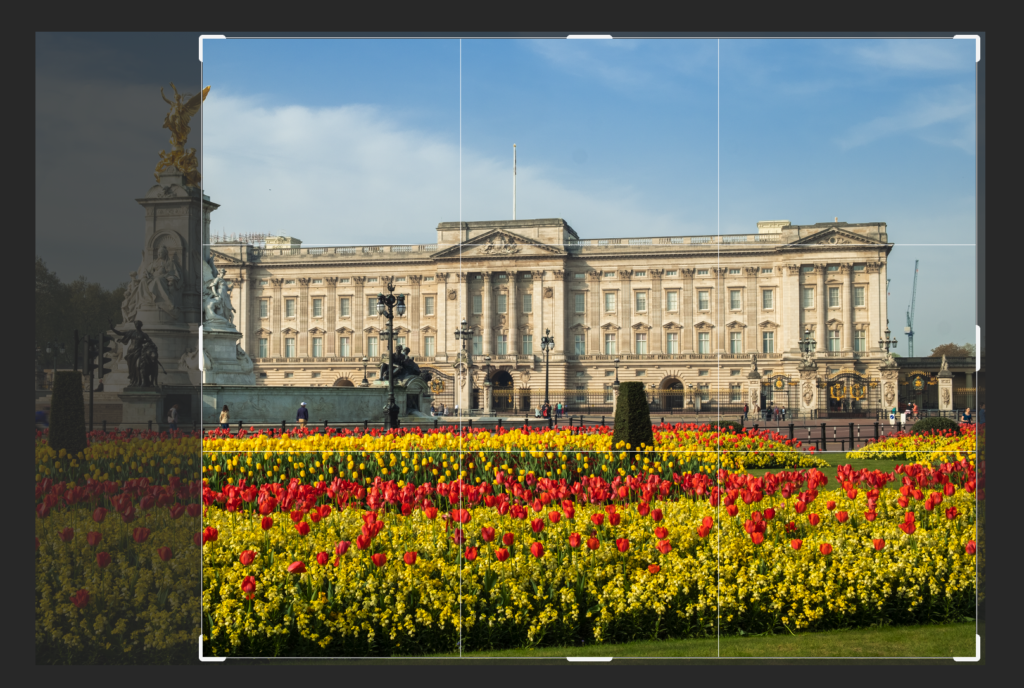
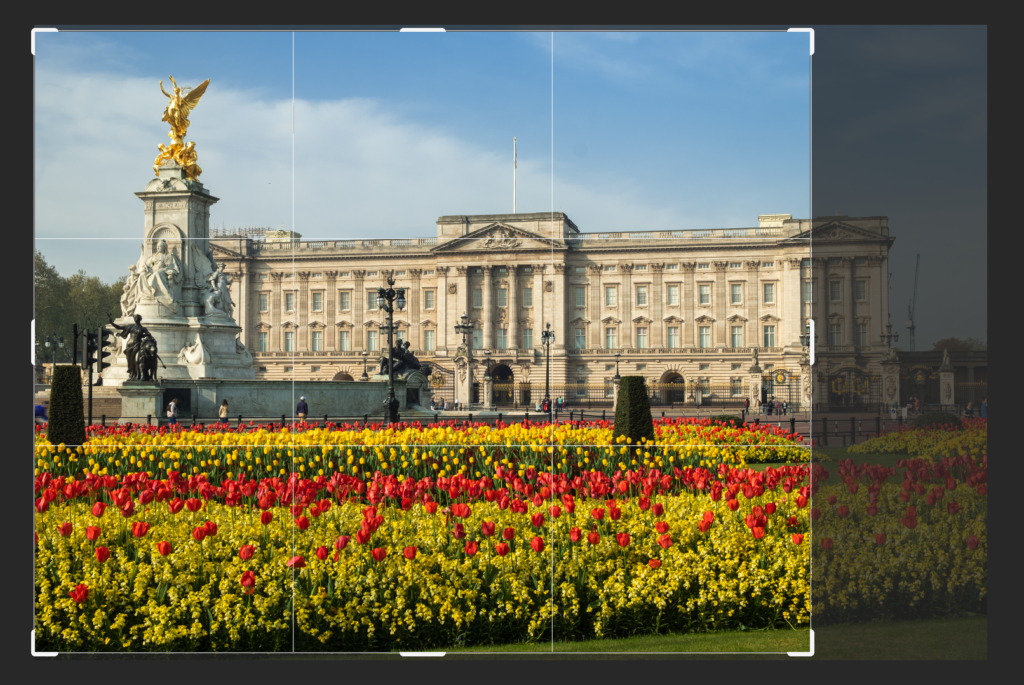
Whilst you can resize and crop at the same time, its best to crop your image to get the correct ratio and composition first then resize the image to suit.
Cropping and resizing are vital skills in post-production. If you do not understand either and how they work together you run the risk of having strange-looking images, low-resolution prints or slow loading web images.
With the basics explained above, in our next article, we will take a look at how to crop and resize in both Lightroom and Photoshop.

