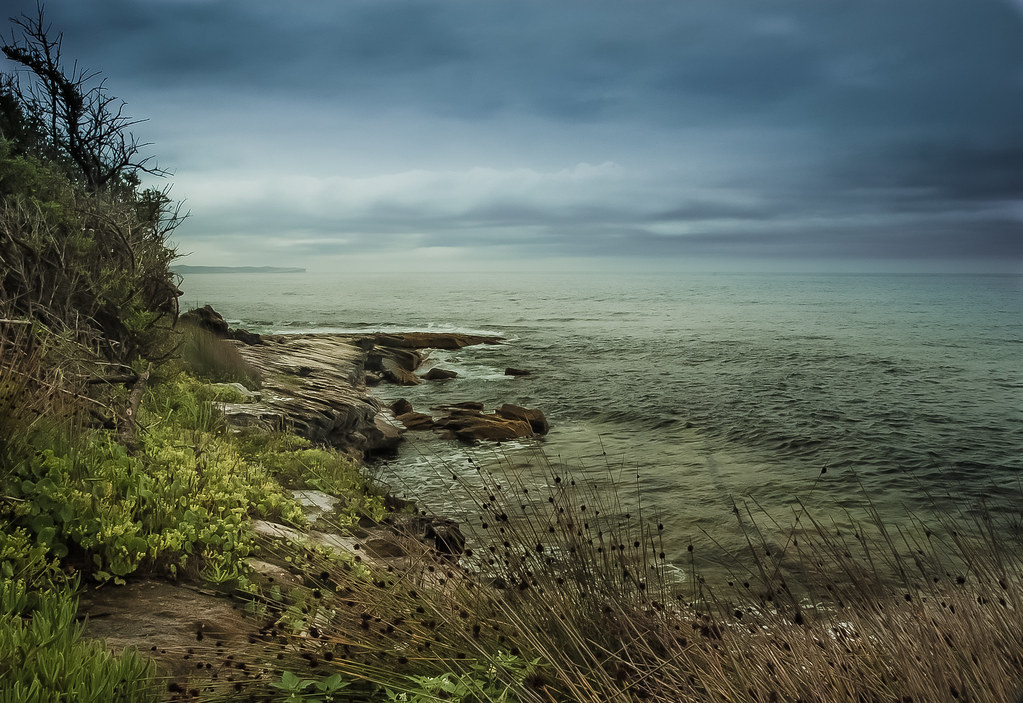
Post production is a massively important part of every serious photographers workflow and is something you ignore at your peril. While it will not save a bad photograph, some well applied post production can make a good shot shine. We have put together some of our favourite resources so you can get up to scratch. Grab one of these tutorials and you should be able to apply it to a photo in your existing collection and get a solid result very quickly!
Let's Start With the Software
Get Adobe Lightroom – Let's put it simply. While there are many very capable pieces of software out there, the vast majority of working professionals and advanced amateurs choose Adobe's Lightroom for a reason – it's the best. It still clearly tops out best photography software selection and is something that every photographer who is thinking of getting serious should consider. Sure it has its quirks, but it is the incumbent and you should at least get the free trial to test it for yourself. Grab it as part of Adobe's Creative Cloud and you get Photoshop too. Bargain.
General Lightroom Resources
How to Make Your Raw Files Pop With Lightroom – Have you ever opened your RAW files to see that they lack contrast and saturation? This happens due to the fact that the camera doesn’t apply any settings to the photo. On the contrary, it just packs all the data that the sensor captured into one file for you to deal with, later on. In fact, by shooting RAW, you collect a lot more digital information compared to JPG which is very useful when it comes time to edit in Photoshop or Lightroom for pulling out the details that exist in the file. So let’s look how you might go about developing your RAW images with Lightroom.
How Understanding Clarity and Vibrance in Lightroom Can Improve Your Images – Adobe Lightroom offers two excellent tools for increasing the apparent contrast and saturation of an image without resorting to taking everything to the max. These are the Clarity and Vibrance sliders found at the bottom of the Basic tab in the Develop module under Presence. Lets take a look at what they can do for your images.
How to Use the Powerful New Local Adjustments in Lightroom CC – Along with the new pano and HDR tools Adobe added a really neat feature in its recent release of Lightroom CC (or Lightroom 6 if you buy the standalone version). That feature was the ability to make local adjustments to filters that you have already applied, with the use of a local adjustment brush.
How to Use Lightroom’s Graduated Filter Tool: Tips for Natural Impact – We’ll explore how the Graduated Filter enhances landscapes and subjects naturally by applying graduated adjustments across an even gradient.
How to Quickly use the Spot Removal Tool in Lightroom to Clean Up Your Photos – While not an exciting post processing action, using the spot removal tool is a necessary step in cleaning your photograph. From dust on the sensor to a distracting imperfection, an image can go from ‘great’ to ‘ok’ as a result of not paying attention to details. We’ll explore when and how to use Lightroom’s spot removal tool to eliminate dust spots and distractions.
How to Easily Improve Your Skies in Adobe Lightroom – It’s a fact that even the most beautifully composed image will fall apart if it includes a dull, lifeless sky. A great sky, on the other hand, can boost the impact of an image immensely. The problem is that we are at the mercy of Mother Nature and she is not always forthcoming about giving us the sky we need. Of course this being the digital age, there are things that we can do about it and today we are going to look at some ways to improve your skies using Lightroom.
How to Use Lightroom’s Radial Filter to Enhance Your Subject – Just above the Basic Panel are three easy to use tools that that allow you to quickly isolate areas within a photo to make specific adjustments. These three tools include the Graduated Filter, the Radial Filter and the Adjustment Brush. The more you use them, the more you’ll probably want to go back in time and apply these tools to some of your favorite photos. This article will highlight how to use the Radial Filter to make your subjects naturally stand out.
Bonus: Lightroom for Landscapes
10 Lightroom Tools That Are a Landscape Photographer's Dream – Amongst the tools available are some excellent ones for the landscape photographers amongst you. Today we are going to take a look at ten of the best.
5 Simple Lightroom Tactics to Improve Almost Any Landscape Photograph – Let’s look at a few simple LR edits that will get most landscape photos popping a little more. We are going to look at a few edits that we used to get some nice effects from a fairly standard seascape. It was a lowish light shot and the settings used were ISO 100, f/20 and 6 seconds shutter speed. The lens was a Sigma 10-20mm 3.5-5.5 shot at 14mm on the front of a Nikon D90.
7 Lightroom Workflow Tips For Simple, Stunning Landscape Photography – Lightroom is a great tool for landscape photographers, but there’s a few tricks to actually using the program to cut back on the time spent at the computer so you can spend more time behind the camera. Here are seven ways to improve your Lightroom workflow and still get that stunning end result.

