Imagine taking incredible car photos like world-renowned automobile photographers Ciprian Mihai and George F. Williams. It would be game-changing. Your career in car photography would set off, you could grow your car sale business, or you could attract more people to your website.
But here you are.
You have passion and interest. Yet, no matter how hard you try, there’s something off about your car pictures — they’re bland and lifeless. Car photography is hard to nail.
Especially when you don’t understand some of the key unspoken rules that most professional photographers have learned the hard way.
Here’s the good news…
You can sharpen your automotive photography skills today! We reveal little-known and easy to rectify mistakes that have prevented you from shooting the phenomenal photos you see in magazines. We also give you some amazing car photography tips that you won’t find anywhere else.
Let’s dive right in!
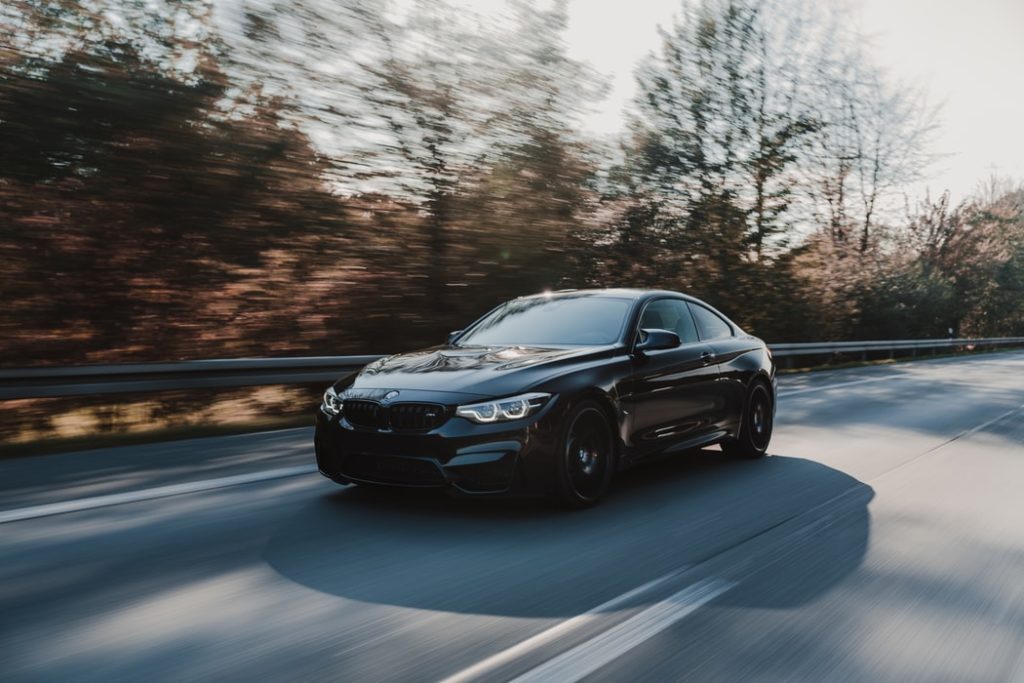
Using The Wrong Camera Settings When Shooting Cars
If you have some basic knowledge in digital photography, you know that you need different ISO, aperture, and shutter speed settings to take photos in different situations and environments.
For example, you need different settings for driving shots and stationary shots. Similarly, the settings are different for images taken under direct sunlight and car pictures shot in a studio.
Many photographers can’t determine the best shutter speed, ISO, and focal point combination, leading to poor-quality images.
How do you know that your camera settings are inaccurate?
- You have blurry photos.
- Your background shows too much or too little.
- You can’t show motion.
- Your images are too dark or bright.
- Your pictures are too grainy.
- Your images are more frozen than you would like them to be.
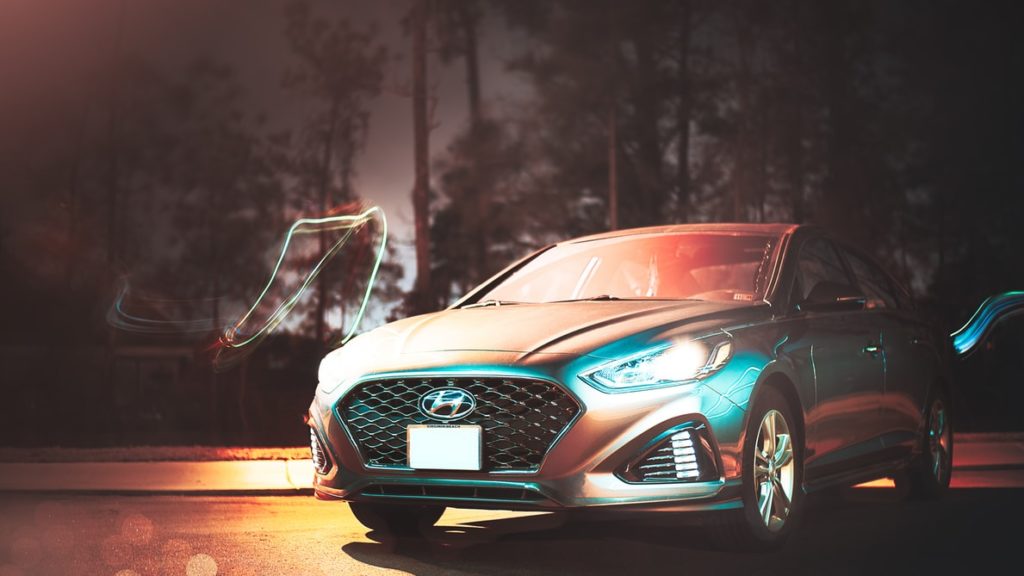
To get the best results, you must understand what each setting does.
Your shutter speed determines how bright your picture is and whether your image creates a sense of motion or is frozen.
Your ISO dictates how bright your image is, how clear your picture is, and the dynamic range.
A low ISO makes your camera sensor less responsive to light. Therefore, you need more light to create a well-exposed photograph and vice versa.
Your focal point or aperture allows you to control the depth of field, so your viewers only see as much of the background as you want them to see. You can also use it to highlight special features by narrowing them in.
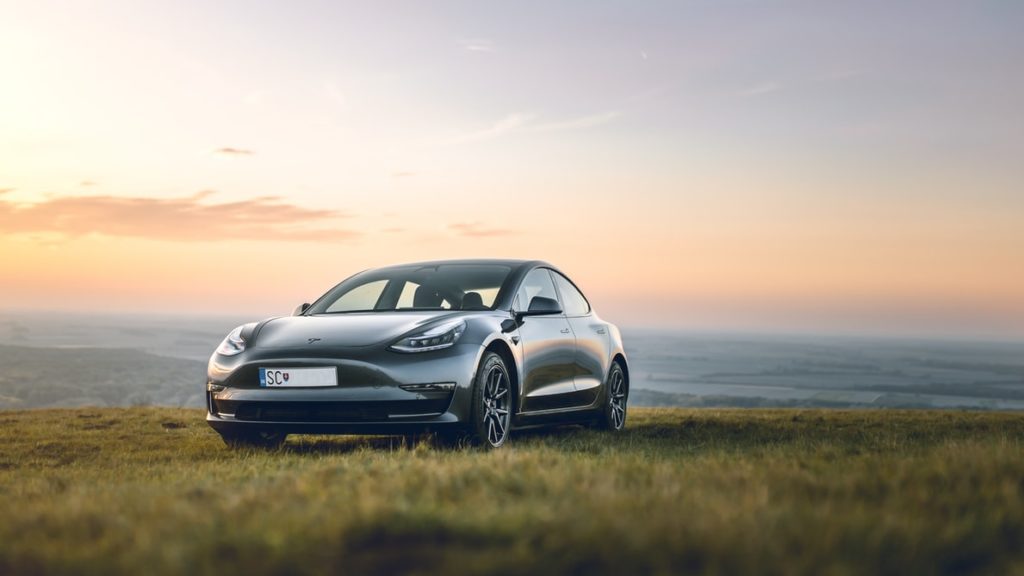
Some More Tips To Help You Get The Best Possible Shot
- Determine the speed of the car and whether you want it frozen or you want to show motion
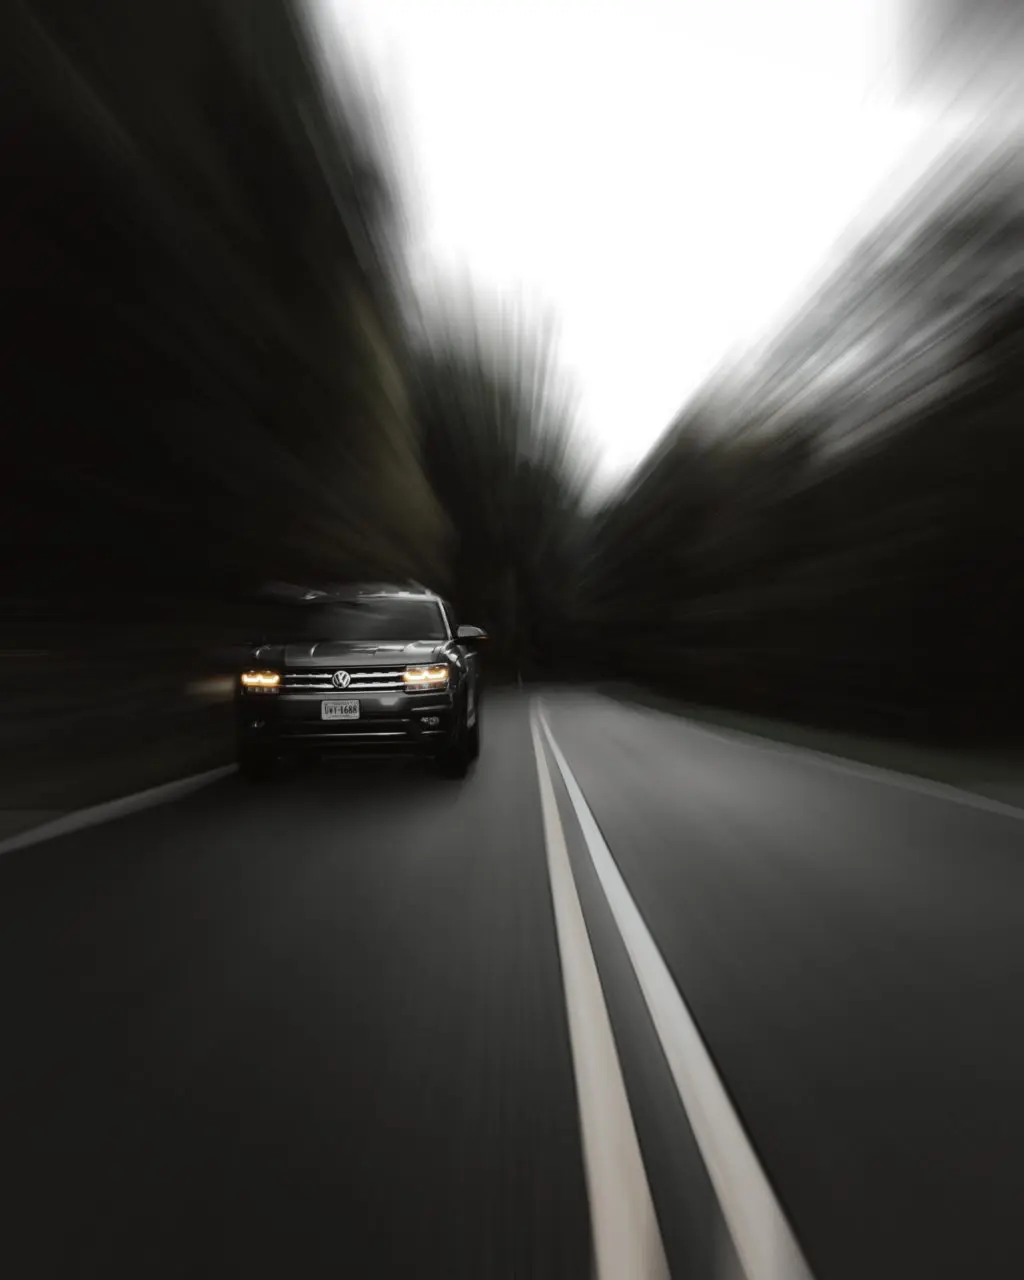
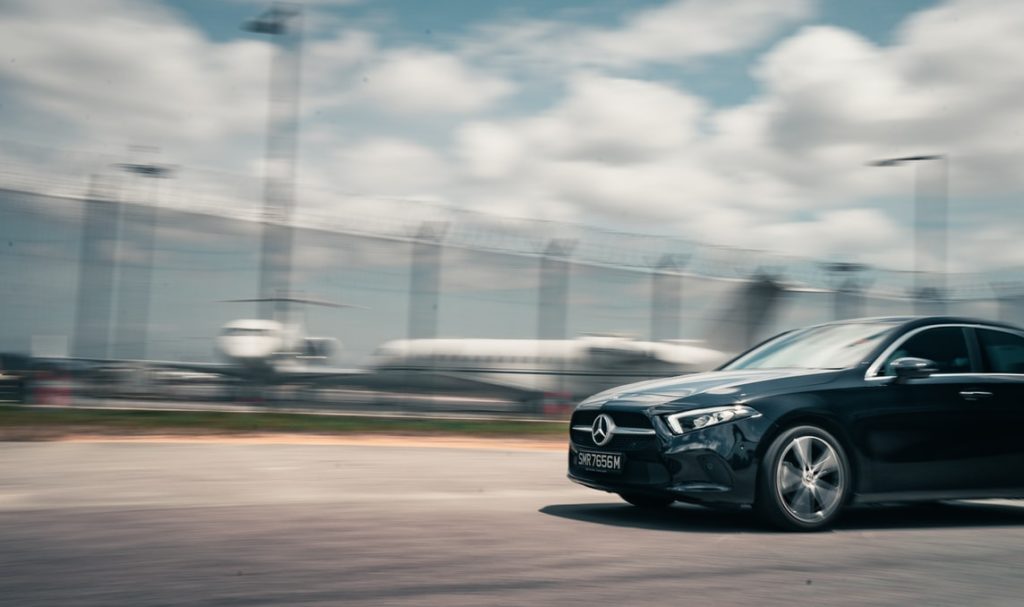
If the car is moving and you want to show motion, set the shutter speed to 1/100s. You can also experiment with slower shutter speeds to find one that works best. That will allow you to get an image like the one below—the wheels’ spin is visible, and the background is blurred.
However, to get the clearest picture and create motion blur, you must use the panning technique alongside this setting.
If the car is moving and you want to freeze the moment, set the shutter speed to 1/1000s or more. Using a slower shutter speed to capture the car will lead to image blur.
If the car is motionless, set shutter speed to anything between 1/200s and 1/500s.
- Set ISO to the lowest possible number
Mostly we set ours to 100 since the lower the reading the clearer the image. We may or may not adjust it later, as you will see below.
- Determine whether you want shallow or deep depths of field (zone of focus)
To show a little more of the background, set the aperture at f/8 or above, adjusting accordingly. To blur the background and focus on the cars, set aperture at f/5 or below, adjusting accordingly.
With your settings right, you can now shoot the car.
Bonus Point: The Shutter Priority Mode
If unsure of the best aperture and ISO settings, using this setting will allow you to control the dramatic effects while the camera controls everything else.
Taking Car Photos In Poorly Selected Backgrounds
Car photography, like other types of photography, is all about storytelling. And a good background is one of the most powerful tools that you can use to communicate the character of the car and manipulate the emotions of your viewers. Evidently, if you plan to show more of the background, it is vital to understand cars and ensure that your background matches the particular car’s personality and theme.
To shoot like a professional photographer, always select a background that interacts with the car seamlessly without taking away or overpowering the vehicle.
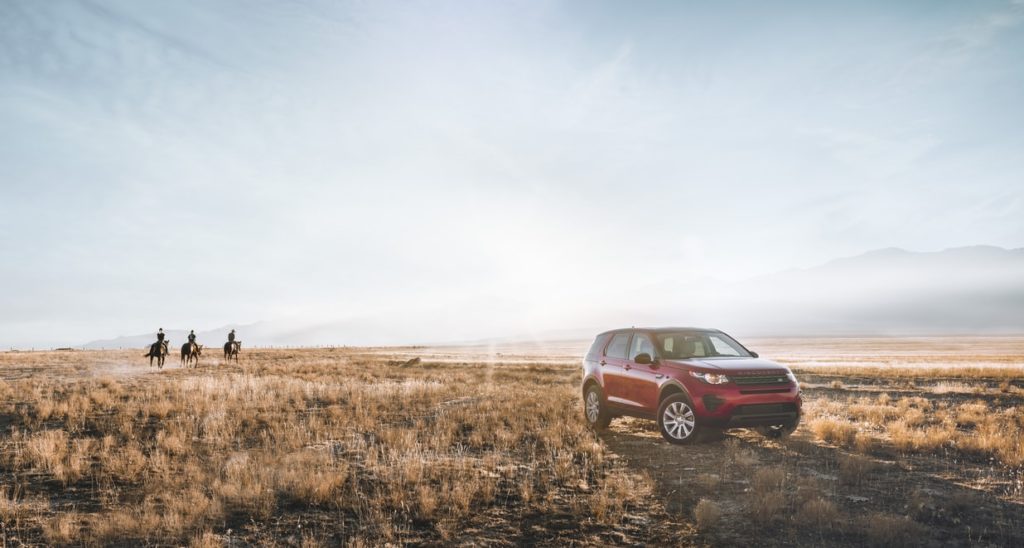
In other words, don’t use a background that is more fascinating than the car or one that’s too busy with power lines, trash cans, or other cars.
Occasionally, you’ll have to deal with less desirable backgrounds.
If the background is too distracting, blur it and focus on the car. Otherwise, use the clone stamp in editing to eliminate unwanted objects and add a slight blur to the picture’s background so that the imperfections are less noticeable.
That way, your viewers have some clue about the environment but are not drawn into the background.
Engaging In Automotive Photography Without A Tripod
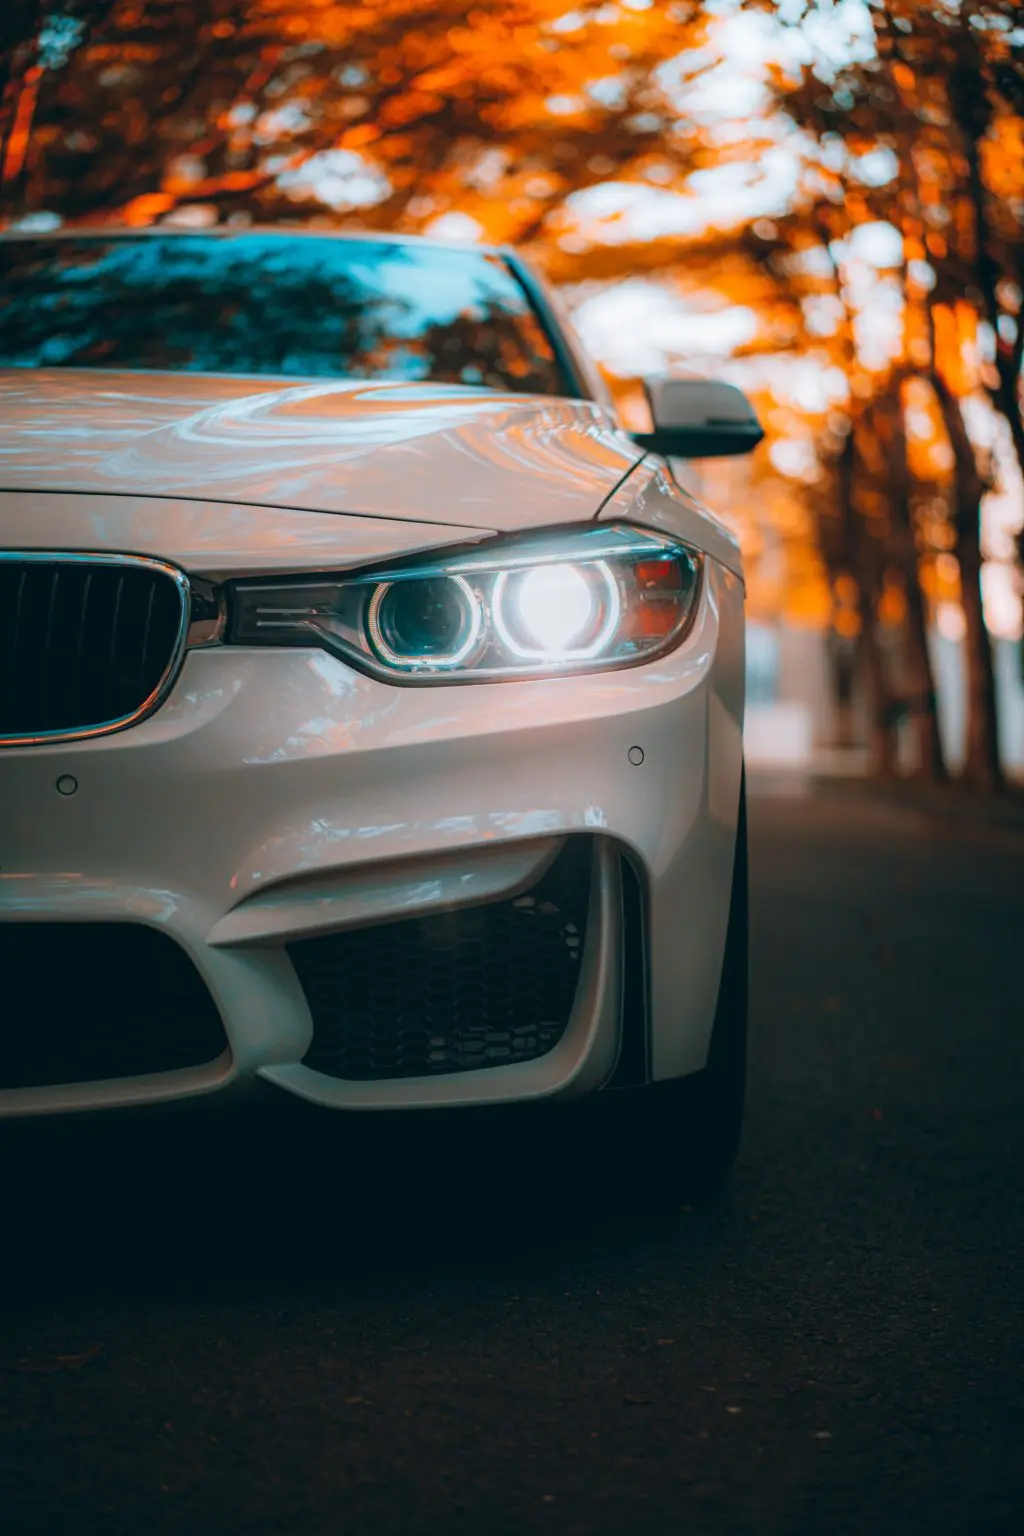
Placing your camera on a tripod will guarantee that your images are clean and sharp by keeping your camera steady.
A tripod will also allow you to take multiple exposures in one position or to shoot a car at night without a flash.
For instance, if your sky is too bright, but your car looks okay in the first shot, a tripod allows you to turn up your shutter speed without changing the camera’s position and capture a better image of the sky. You can then combine the photos in post-processing to get one beautiful picture in which the sky and car are well-detailed.
You can find some light, flexible, functional, and durable tripods that will allow you to shoot the entire car at its most flattering angles by reading what mistakes to avoid when choosing a tripod.
Taking Shots At Poor Angles
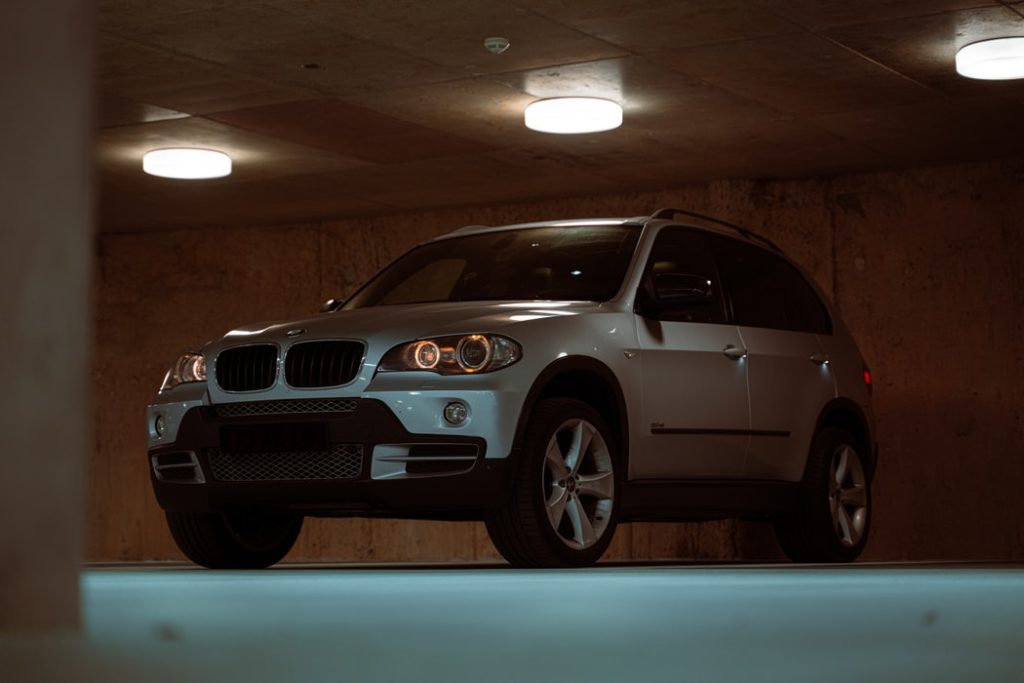
As an automotive photographer, you want to enhance the car’s looks and emphasize its primary purpose. Shooting cars at bad angles can compromise these goals. Your angles determine how much life you bring into your car picture and how well your car’s lines and design show.
For instance, shooting while standing directly in front of the car prevents you from capturing the car contours, shadows, and depth.
Not only that, it also prevents you from highlighting the speed of a moving car using the panning technique. No wonder it’s considered the least flattering angle.
If you want to take great shots, you need to get the best angles for your shoot.
| Angle | Effect |
| Low level | You get some great dramatic effect and an imposing look. |
| High level | You can easily crop out the background (one of the best angles when taking car photos in a busy place like a showground). The car design shows well. |
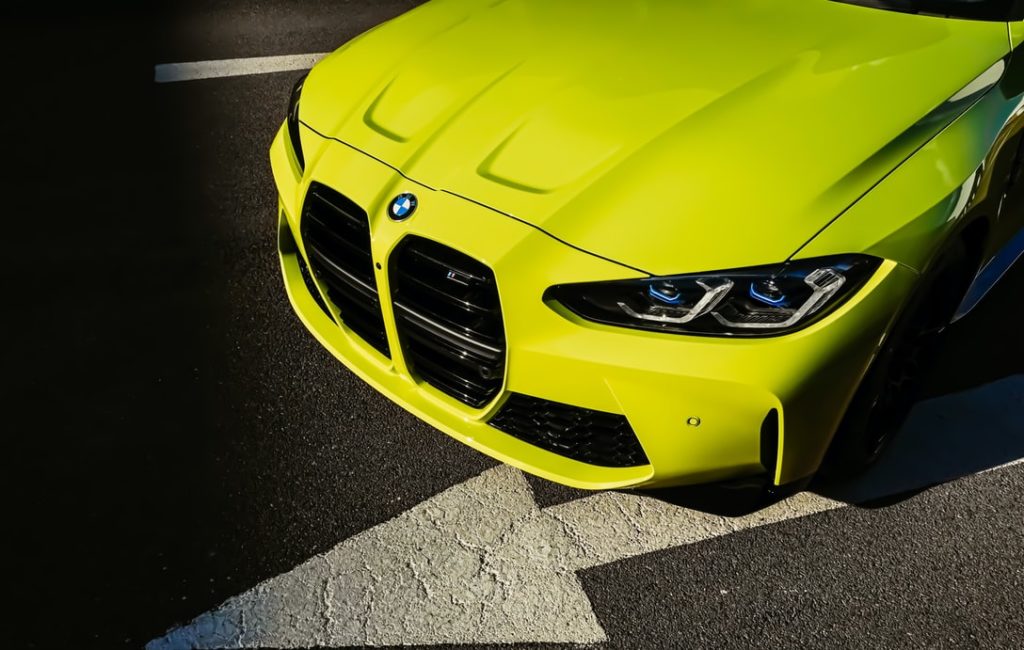
| Towards the front corner | You get to show a bigger part of your car in one photo, highlight the contours of your car more vividly, and reduce the chances of your reflection appearing on the car. |
Do You Want More Free Tips Before You Start Shooting Your Car?
Of course you do!
And we’re giving out some of our best shooting techniques for free. Check out our Photography Freebies.
Car photography doesn’t have to be hard. As long as you equip yourself with the best car photography techniques available you will ace it.



1 Comment
Amazing Tips. Thanks for sharing.