It is safe to say there has been a resurgence in film-based photography. So much so that the big yellow giant of the analogue days has woken from its digital despair and re-released Ektachrome. Along with its green rival Fuji, they have realised there is money to be made from a growing film market.
There are very valid reasons for the film revival. The abundance of cheap, professional cameras on the secondhand market, the pleasing aesthetic of film, the way it can teach you the subtle nuances of exposure. There are many reasons to try film.
But what happens once you get your negatives or transparencies back? How do you represent that celluloid image in a more usable form? In the digital age, it’s all so easy. You can upload to a website, send the images to an online printer or print yourself on one of the many high-quality photographic printers available to us. With film, the choices are not so clear cut and so today we are going to look at options on how to present your film-based photos.
Printing
Let’s kick off with that most traditional of analogue presentation forms, printing. You have two main options when printing, do it yourself or send it to a photographic laboratory. There is immense satisfaction in printing negatives yourself but you are going to need to make an investment in a darkroom and darkroom equipment.
Printing yourself is also pretty much limited to black and white, at least for newcomers to film. Whilst it is possible to print colour from negatives or transparencies, the techniques are more complex, require more chemicals and much finer controls.
Printing your own black-and-white negatives is relatively straightforward and also relatively cheap. You can get black and white enlargers and developing trays from eBay and paper and chemicals from local professional stores or online. The only other thing you need is a dark space to work from, often, a bathroom with a blackout curtain is enough.
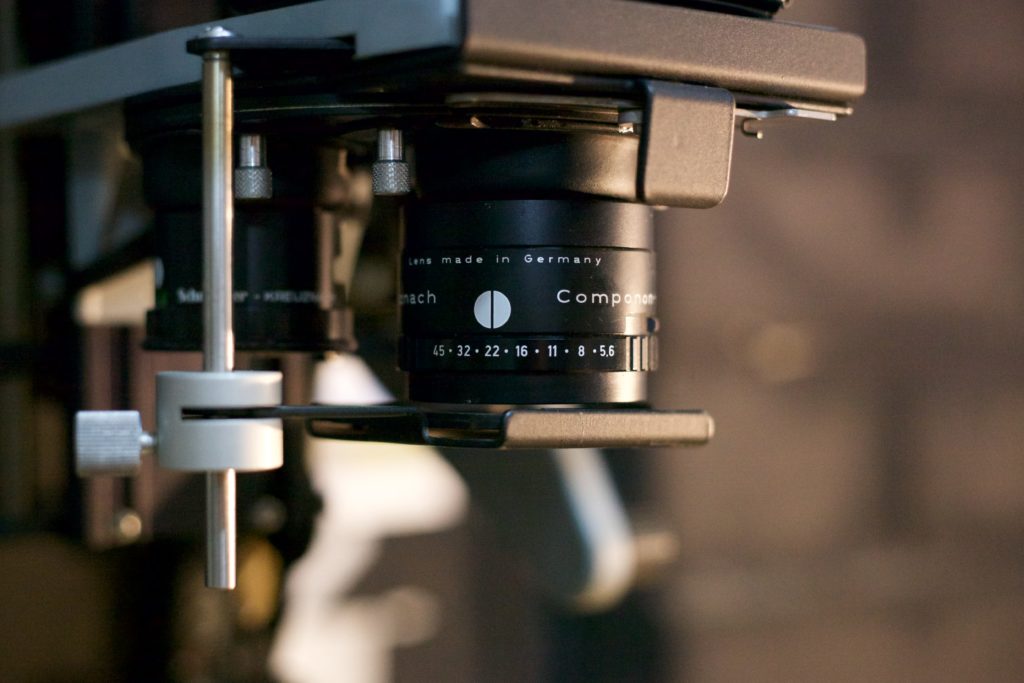
If you have gone to the trouble of setting up a room for black and white printing, you may as well also do the film development yourself. Again this is not hideously expensive or difficult and will give you the ultimate control over your final analogue image.
The alternative to printing images yourself is to use a photo lab to do them. There are still plenty of professional labs that will print from transparency or negative. Some may print directly whilst others may well scan the images first.
Mounting and Framing Prints
While printing is a way to present your film-based images, it will look a whole lot more professional with a mount or frame. A simple black card mount can transform a print into a great-looking image for very little cost. Printing your image with a white border can offset it from the mount and make it look great.
Frames can make or break a good print. A cheap frame will do nothing for a nice quality print, perhaps even detract from the image but good quality and more importantly, a matched frame will make that print really stand out. Matching the print to the frame is important. You should look at the colour and design of the frame in comparison to the print you intend to put in it. They should complement each other, not clash.
A Real Portfolio
The value of an online portfolio cannot be underestimated. It is your window to the world. However, online portfolios are the digital equivalent of the printed portfolios of the film era. While a printed portfolio is not a requirement for most photographers, there is immense satisfaction to owning one.
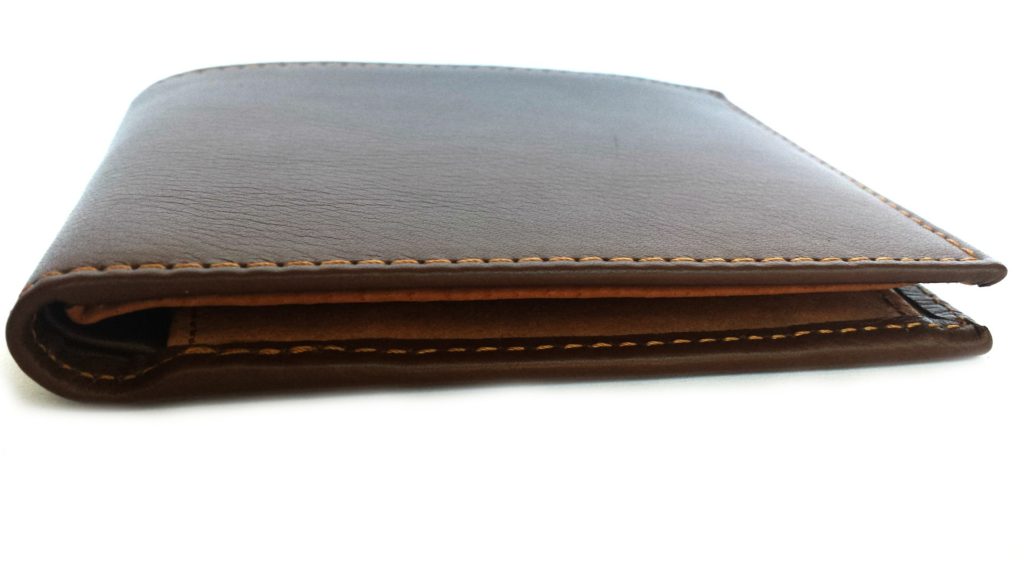
To create your own physical portfolio you need to select around 20 of your very best images, have them printed and mounted on a light board. You also need to select a nice portfolio case. The case you choose is part of the satisfaction of a real-world portfolio and is also an expression of your creativity. Handing over a beautifully presented portfolio to friends, family or peers can be immensely rewarding.
Creating A Slide Show
Film-based slide shows have a bit of a reputation as staid and boring, especially amongst photographers bought up in the film era. They were seen as the preserve of people who wanted to bore their friends with their holiday snaps. However, that does not have to be the case.
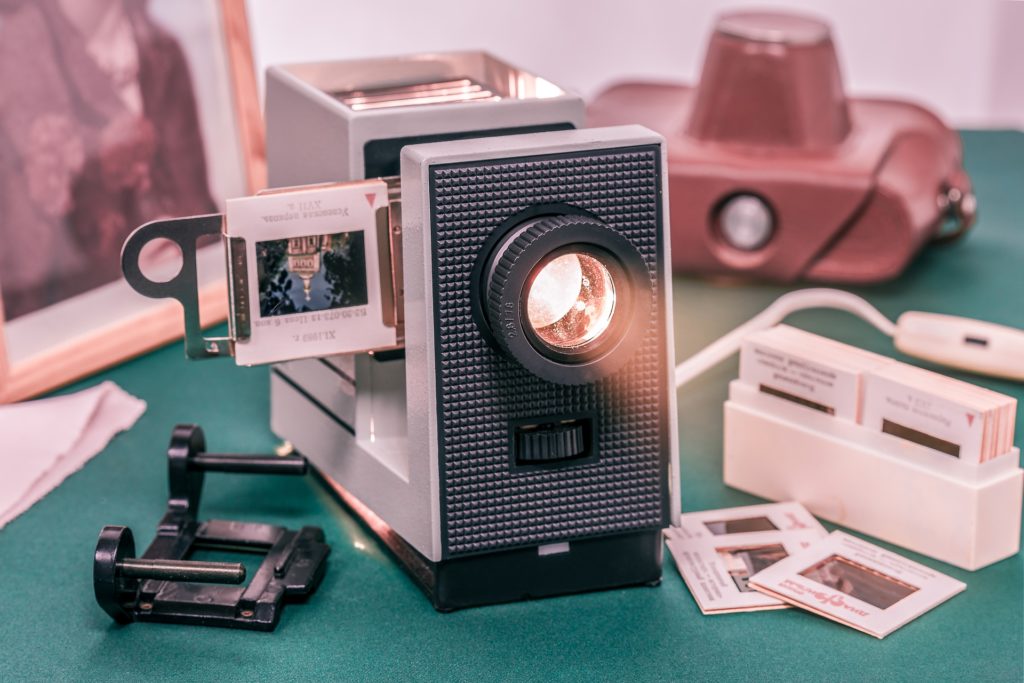
At it’s very simplest a slide show will use just one projector and will click through one slide at a time. However choose those slides well, present them to a well-rehearsed script or beautiful music and you have a very engaging way to present your film-based images.
It does not stop there though. By getting a second projector and a gadget to dissolve between the two, you can produce beautiful looking slideshows that can wow your audience. More advanced controllers can even sync a soundtrack to your slideshow. Seeing your beautifully shot transparencies on a 2-meter tall screen will make you go wow.
Scanning.
The last technique we are going to look at for presenting your film images is to digitise them, aka scanning. Like printing, this is something you can do at home or by a professional lab. In it’s simplest form, scanning can be done with a lightbox with a macro lens or reversing ring on your camera. If you wish to step up the quality you can invest in a home scanner. These can be flatbed style, which will scan prints or film or a CMOS scanner. These are dedicated to scanning negatives or transparencies and usually allow you to scan four at a time.
If you get your images scanned professionally, the chances are these will be done on a drum scanner. These provide higher quality both in sharpness and resolution but can be very expensive per image scanned.
Once you have your negative or slide scanned, you now have all the presentation forms available to digital images available to you.
In Summary
There are many ways to present your film-based images:
- Professional Printing
- Home Based Printing
- Using a real portfolio
- Creating slideshows
- Digitising your images and showing them online.
The beauty of film photography is not only it’s pleasing aesthetic but the many ways you can present the final image. Shooting film is a wonderful way to learn and expand your photography. With the plethora of presentation techniques outlined above, you can also wow your peers with your celluloid masterpieces.

