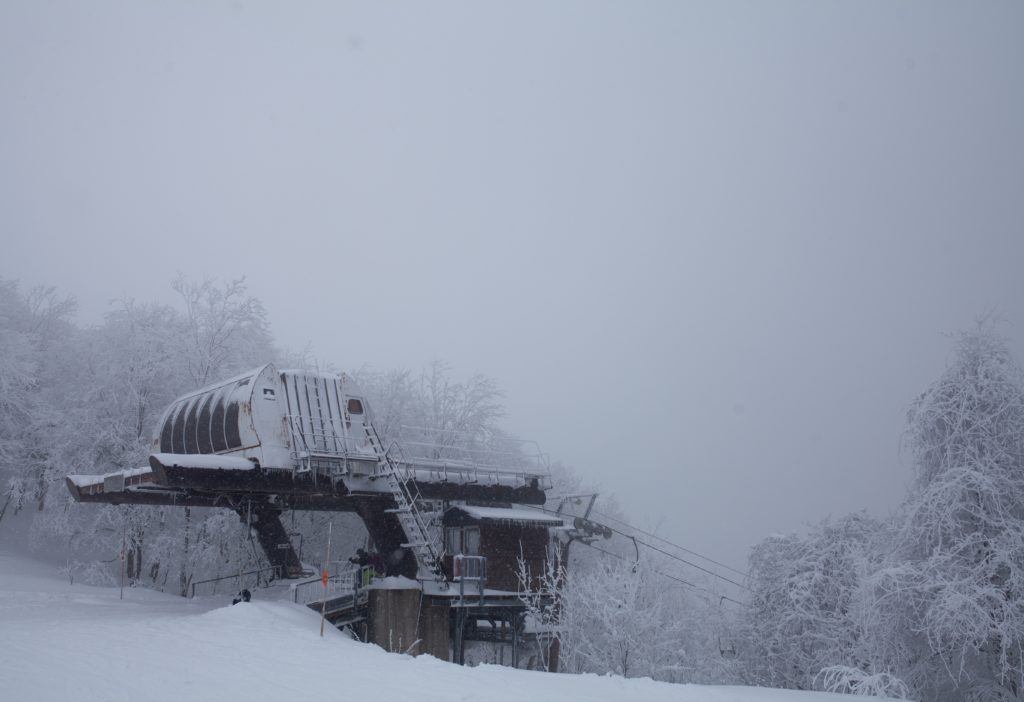
Shooting snow does not always result in beautiful whites. As winter approaches us in the Northern hemisphere, thoughts will be turning to winter photography. Winter often, of course, means snow and a beautiful snow scene is definitely one for the portfolio.
There is, however, a problem with snow. To state the obvious, it’s white and our camera’s meters often don’t deal with white too well. Have you ever shot snow simply on an automatic mode? Chances are that the end result was somewhat disappointing. Your images will possibly be underexposed, often with a color cast. In short, not the stunning snowscape you were expecting.
So why is this and what can we do about it? In this article, we are going to help you shot snow the white way.
The Problem With Snow
Actually, there is no problem with snow, it’s lovely. The problem lies with our camera’s ability to interpret snow. The camera’s exposure meters are tuned to deal with an average light level. Most scenes that you look at will have blacks, whites, and a whole range of tones and hues in between.
If these tones and hues were paints and you mixed them all up in one bucket, the end result would be a mid-grey, sometimes known as 18% grey. This grey is what the camera’s meter expects to see.
However, most snow scenes are significantly lighter than 18% grey. They contain an abundance of lighter tones that if you were to mix together in the aforementioned paint bucket would come out at less than 18%. This means the camera’s meter thinks it is seeing something lighter than it actually is and compensates for it by underexposing and you end up with grey snow. Often the camera’s color meter is fooled in a similar way, giving color casts to your already grey snow. So how can we deal with this?
You Need Compensation
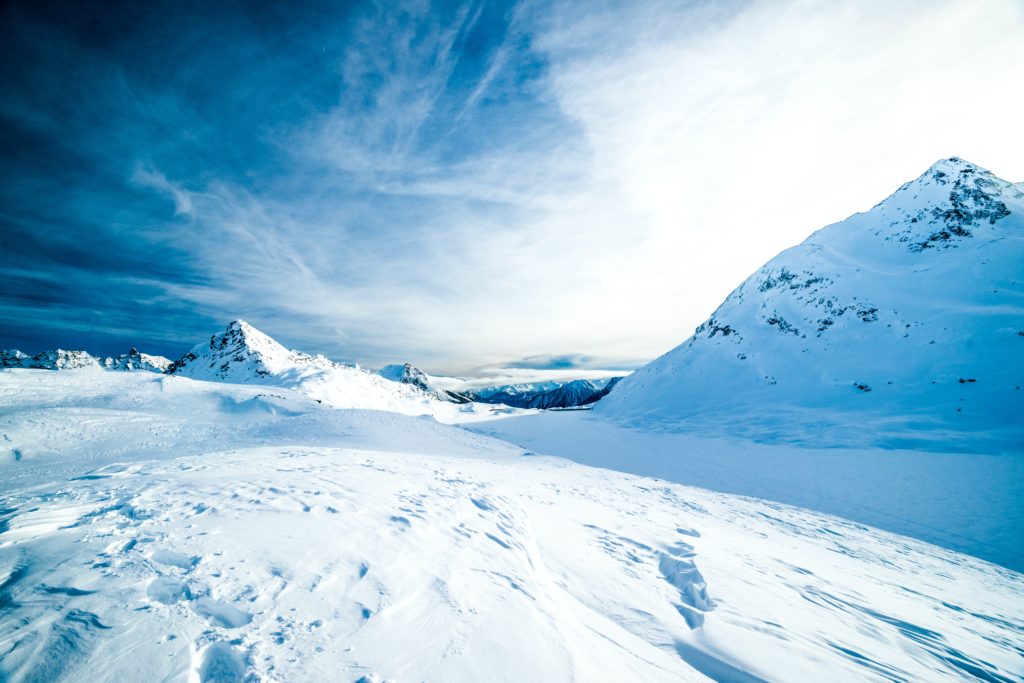
Not the accident type of compensation but the exposure kind. Depending on the scene the exposure could be off by between 1/2 and 2 full stops. A snow scene with a deep blue sky might only be off about 1/2 a stop, the blue sky compensating for the excessive whites. A snow scene on a bright overcast day can be up to two stops off. On average you can expect snow to be at least one stop underexposed.
To get around this problem, particularly when shooting in one of your camera’s auto modes, we can use exposure compensation. Depending on your camera this will be a dedicated dial or a combination of button press and dial turn. Either way, you are going to need to increase the exposure, or in other words, move the dial to the plus side. Start off with plus one and see if that brings your snow back to white. If it’s still too dark, add some more compensation in 1/3 or 1/2 stop increments. If it’s gone too light and washed out, dial back a little.
Whilst you can use the camera’s LCD screen to judge this, there is a better way.

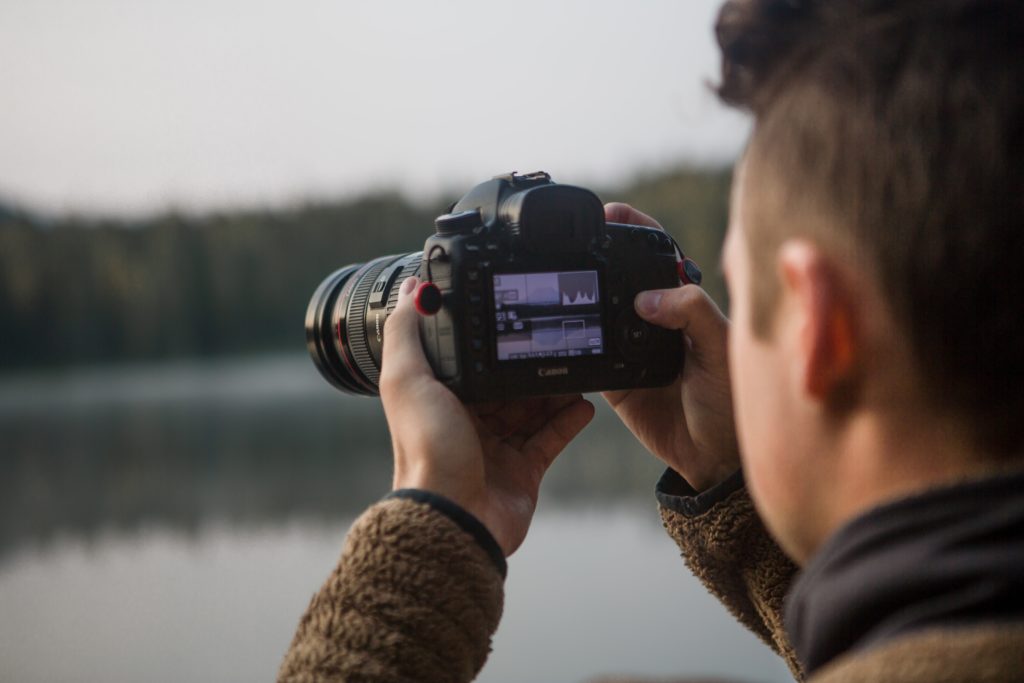
Read The Histogram
Your camera’s LCD is often not a great representation of how the image will finally look. A better way is to use the camera’s histogram. There are plenty of tutorials on how to use the histogram including several here at Light Stalking. For that reason, we will not go into details.
However, when shooting snow, you want to get the bulk of your histogram over to the right side of the graph. The right edge is the whitest white, go beyond that and you will lose detail in those whites. This is clearly not a good thing when shooting snow. Instead, you need to aim to have the edge of the graph just inside that right edge, with nothing flowing over the side. This is often referred to as shooting to the right and it’s a great technique to use when shooting snowscapes.
You may well find that in post-production your shot will look too light if you have shot to the right. However, what the technique has done is given you a whole lot of latitude for post-production. You can easily pull back those light tones to get very natural-looking snow and a good exposure balance in other elements of the scene. All without degrading the image quality. Lastly, when using the histogram as your guide, always use the image review version, not the live histogram. The image review version is a much better representation of the dynamic range. This leads us nicely to shooting RAW.
RAW And Snow – The White Combination
The puns are coming thick and fast today, but in reality, RAW is going to give you better whites. Or at least better control over the whites. The two main advantages of shooting RAW are a wider dynamic range and the ability to set the white balance in post-production.
For all the whiteness of a snow scene, there will be other elements that are significantly darker. A bare tree, perhaps, a dark-colored tractor in a field maybe. These darker elements mean that the contrast between the lightest and darkest tones can be very great. RAW files give us a significantly better dynamic range than JPEG so it makes sense to utilize them in snow shots.
As we already mentioned, snow can often have color casts. By shooting RAW, we can correct that cast in post-production using the white balance slider.
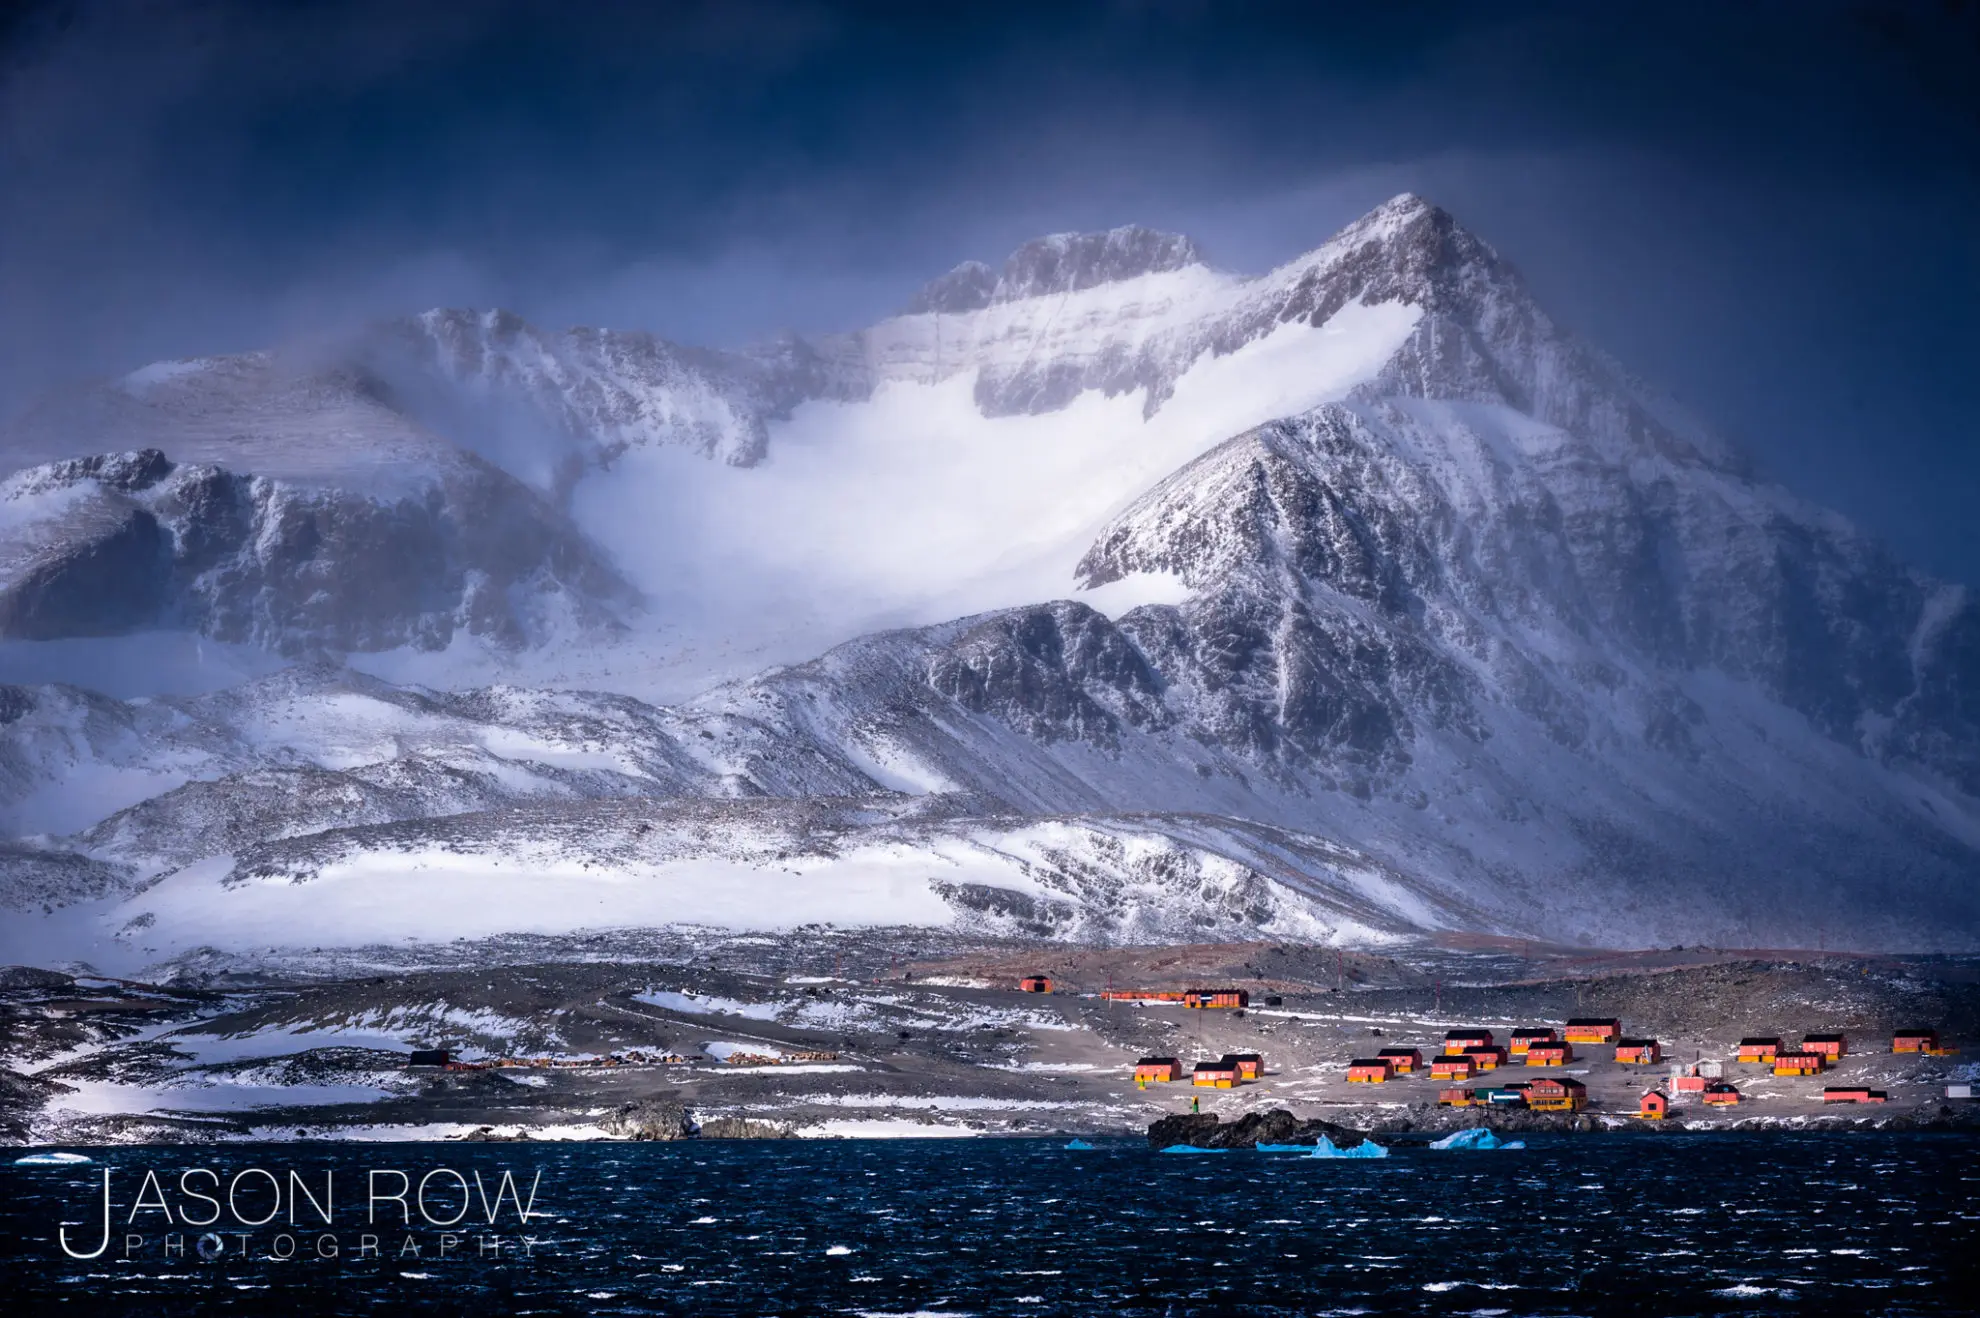
Snowscapes are beautiful images. They are one of the reasons that keep us shooting through the dark winter months. They can, however, be tricky to nail and underexposure is the primary reason for this. Using the tips above, exposure compensation, shooting to the right, and shooting in RAW you can greatly improve the way your snow shots come out.
At a pinch just add one stop of exposure compensation and work from there. However, for truly amazing snowscapes use all of the tips we mentioned above in combination. Your snow is guaranteed to be all white.


1 Comment
Nice article and good info to follow. One thing, in the northern hemisphere, March 11 equates to winter leaving us, not approaching us. Haha. Keep up the good work. Your photography is amazing.