Do photographs need to have all elements in the frame perfectly sharp all the time? Does blur ruin an image? The answer is not always! It depends on the scene and the message you are trying to convey through your image.
Most of the time photographers are focused on tack sharp photographs that are technically perfect and they forget that focusing only on the technical aspect of photography takes away from the creative and storytelling part of the craft. We are also more focused on having beautiful blurry backgrounds especially in portraits, macro, and similar genres, but imagine blurring the subject itself!
As photographers, we need to let our creative mind do the work. One of those creative methods is intentionally (we are not talking about accidental or non-intentional blur here) blurring elements or people in the image.

Although many of us have photographed intentional motion blur in the form of light painting, panning, ICM, etc., have you thought about blurring people in photography to create dreamy images, feeling of chaos, speed, movement or even the feeling of abstraction and mystery? In this article we will look at how to blur people in a frame to make exceptionally creative images.
How Can You Blur People Creatively In Photography?
There are many ways and scenarios where you can blur people in photographs. You need to plan or work on the message or story you are trying to convey. Here is are some ways to blur people:
- You can intentionally have the person in the frame slightly out of focus
- You can capture the blur from people moving
- You can ask your subject to turn their face, flick their hair, dance, jump or do what they like doing and photograph them

Each method of blurring is done for a specific reason and for different types of storytelling through photography! Let us look at scenarios where blurring people will work well and how these effects can be achieved in camera.
When you need to blur something in your frame, you need to expose for a longer period of time than you normally would for that particular shot. So in order to blur people to show movement or for other dreamy and mysterious effects, you need to leave the shutter open for longer than usual and this will fall under the long exposure category. This doesn't mean that you need to have a tripod set up for all scenes to capture this movement. You can handhold the camera in some scenarios and capture interesting movements in your frame as long as you hold the camera steady for a fraction of a second (the subject needs to move, not the camera).
What Can You Convey Through Blurring People In Images?
By blurring people in images, you can deliver quite a few messages or stories. Here are some of them:
- You can blur the people or subject behind a prominent element to highlight the element itself. This works well for environmental portraits or festive scenes
- Create abstract images and let the viewer uncover the story
- Blur people to show scenes that look mysterious, spooky or somber
- Blur to show movement
- Blur to show speed – photograph bikers, skateboarders, surfers
- Show the busy nature of a location, for example a pedestrian crossing or a train station
- Create long exposure portraits
- Capture dreamy subjects, for example dancers or gymnasts
- You can even use blurring people as a compositional tool
When blurring people in the image, you mostly have moving subjects and stationary backgrounds unless you have moved the camera intentionally or unintentionally. Here are some points to remember when blurring people in photographs:
- When hand-holding the camera, your shutter speed needs to be fast enough to avoid camera shake due to hand movements and slow enough to capture the movement (blurring people). Optimal shutter speed for this scenario can be anything between 1/80 to 1/4 of a second as long as you can hold the camera steady at these shutter speeds. This again will vary with focal lengths and distance between the subject and the camera
- If you're using a tripod, you have more freedom when it comes to shutter speed
- The amount of blur depends on the speed of your subject and your shutter speed.
- For a given shutter speed, faster moving subjects will be more blurry compared to slower moving subjects
- Similarly, for a given subject moving at a particular speed, slower shutter speeds will cause more blurriness compared to faster shutter speeds. For example, 1/4s will cause more blurriness compared to 1/60s for the same subject moving at the same speed.
- It is up to you to decide the shutter speed based on your artistic vision.

Camera Settings
Camera settings are pretty straightforward for blurring people in photographs and the settings will slightly vary depending on what you are shooting, where you are shooting, the lighting conditions and how much of blur you want to capture in your image.
- Always shoot in raw format
- Set the white balance depending on the light in the scene. If you are not sure, then use auto white balance that can be adjusted while post processing
- If you know that your subject is going to be in a particular plane in the frame, you can manually focus and lock focus to that plane. If not, you can track focus and make continuous shots. Any movement in the series of images will have a beautiful effect and you can choose the best one or two
- If you want to have full control over the settings, then manual mode is the best way to go. But if you are still a beginner you can shoot using shutter priority mode. This way, you set a specific shutter value and the camera chooses the aperture and iso values for you based on the light available
- Shutter speed is the first value you need to set. Choose this value based on the speed of your subject or the amount of blur you want to capture
- You need to experiment with a few shutter speeds. If you are capturing people on the street and you are using a 50mm or 35mm lens, try a shutter speed of 1/10 or 1/5 of a second. See what you get and make changes from there by increasing or decreasing the shutter speed
- If you are capturing moving subjects like skaters, divers, gymnasts, dancers, etc., you may need to try slightly faster shutter speed like 1/80 to 1/25 sec in order to capture some details. If you are looking to record longer movements start from 0.5 seconds and try up to 1 or 5 seconds. Again, it all depends on what you are looking to create with the scene
- If you are shooting indoors and you have control over what your model is doing, you can start from 0.5 seconds, then review the image and make adjustments from there
- The next setting you will need to focus on is aperture
- You can shoot wide open, but if you are in the street you need to record blur created by many people moving around. This means you need to use more narrow aperture values like f/7 to capture some depth
- If you are capturing the blur of a single person, you can shoot at wider aperture values as long as the person is not too close to the camera. You still need some areas in focus so starting with f/2.8 is recommended
- Now based on the above settings, choose the iso. Make sure you do not go too high on the iso as it will result in grainy images. Find a balance between the three – shutter speed, aperture and iso for a given situation.
The Process
If you are in a location with many people and you want to capture their movement, you can make use of a tripod and set your focus on a point that doesn't move and capture movement. This way you can show movement of your subject/s with respect to the stationary non-moving element/s. Manual focus works best for these situations.
Similarly, if you are shooting indoors in a controlled setup, you can again use a tripod. In these situations, use manual focus and cable/remote release. You can capture your subject's movement while the focus in on them. This helps to create dreamy portraits.

If the light is low, the camera will have difficulty focusing and you will have to manually focus. If there is enough light, then you can use autofocus. You will need to handhold the camera when photographing skaters, divers and other moving subjects over whose movements you don't have any control.
Once you are set up, release the shutter and take the image. Preview the image and see the effect. If you are happy with it, it's great, but if not, then change the shutter speed and/or aperture values. For longer streaks and movements, use longer shutter speed and for recording slight movements, use a slightly faster shutter speed. Also check for depth or focus areas in the image. If you want to make changes, then either increase or decrease aperture values depending on what you wish to capture.
Some Sample Photographs And Discussions
Let us look at some sample photographs and see how blurring people has made the images work:
Blurring People As A Compositional Tool

If you look at the image above, the photographer has focused on one stationary subject and captured the movement of the other people around the table. This is a very fun and interesting way to compose or frame a subject.
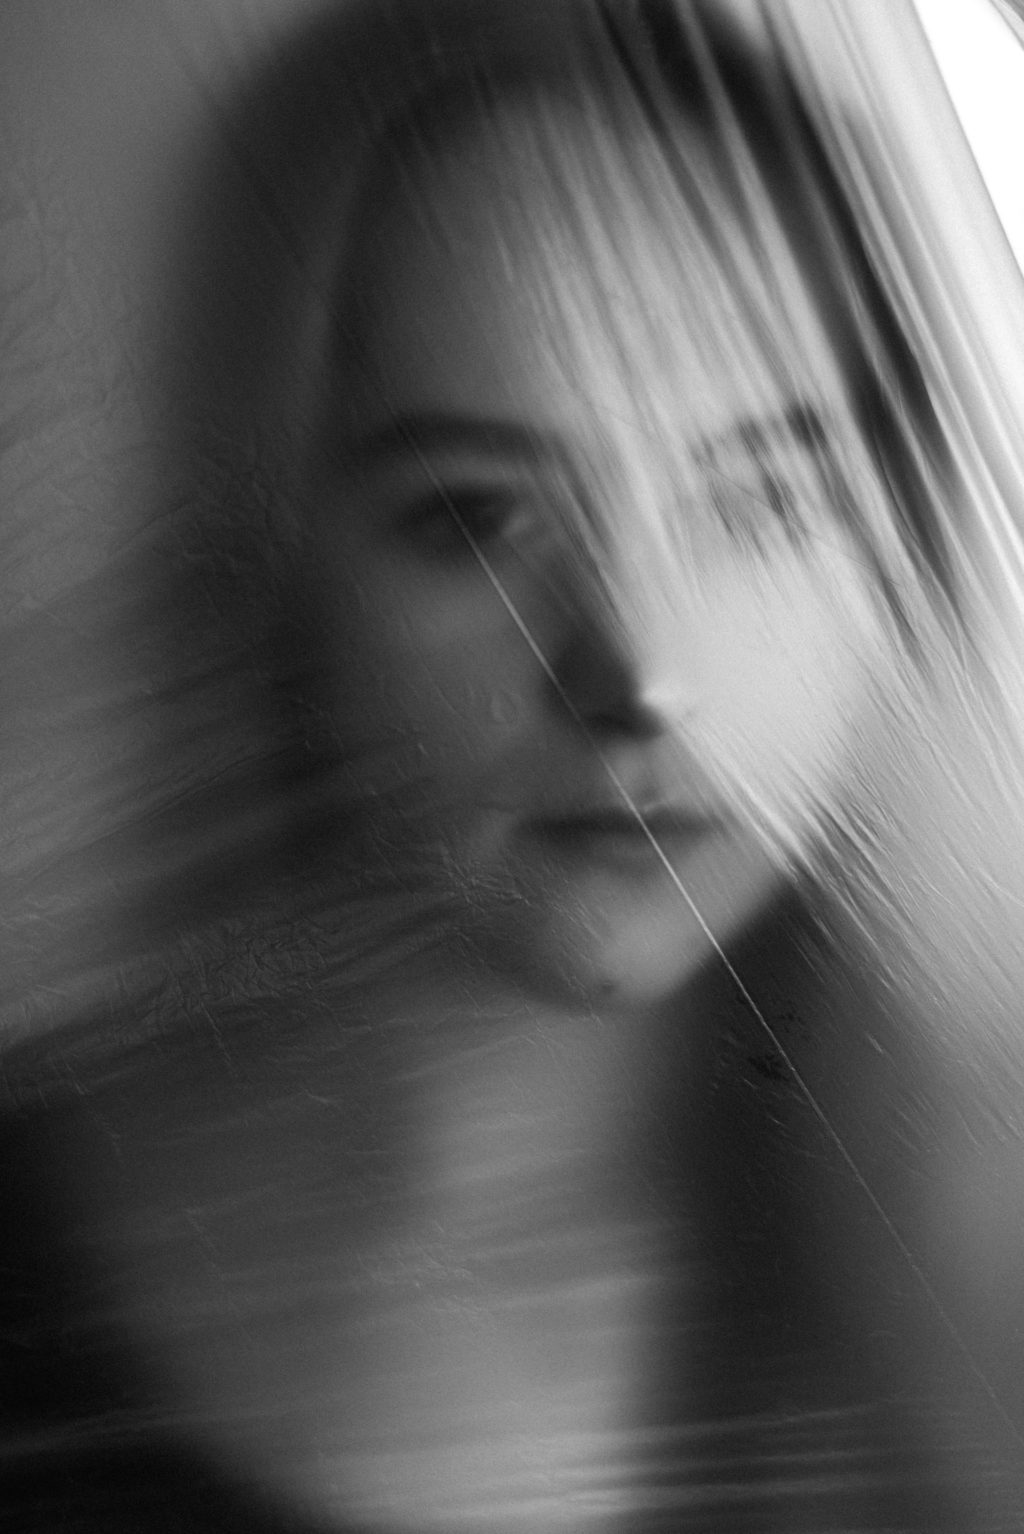
Creative Blur
The image below has distortions that make it look otherworldly. Besides the distortions, you can also see movements. These effects can be achieved by having a transparent plastic sheet that has wrinkles or folds, in front of the lens combined with slow shutter speed.

Use Zoom Burst Technique
Zoom burst technique is another creative way to blur people in your photographs. This technique can take some time to master and get some decent images, but it is pretty easy. This photographic technique can only be achieved with a zoom lens.
You need to zoom in or out when the shutter is open and this is achieved by rotating the zoom ring on the lens. You get blurry streaks that also work as leading lines in the image.
Here is a very detailed article on Zoom Burst Photography if you are looking to get your hands on it – The Complete Guide to Zoom Burst Photography


Blurring On Purpose

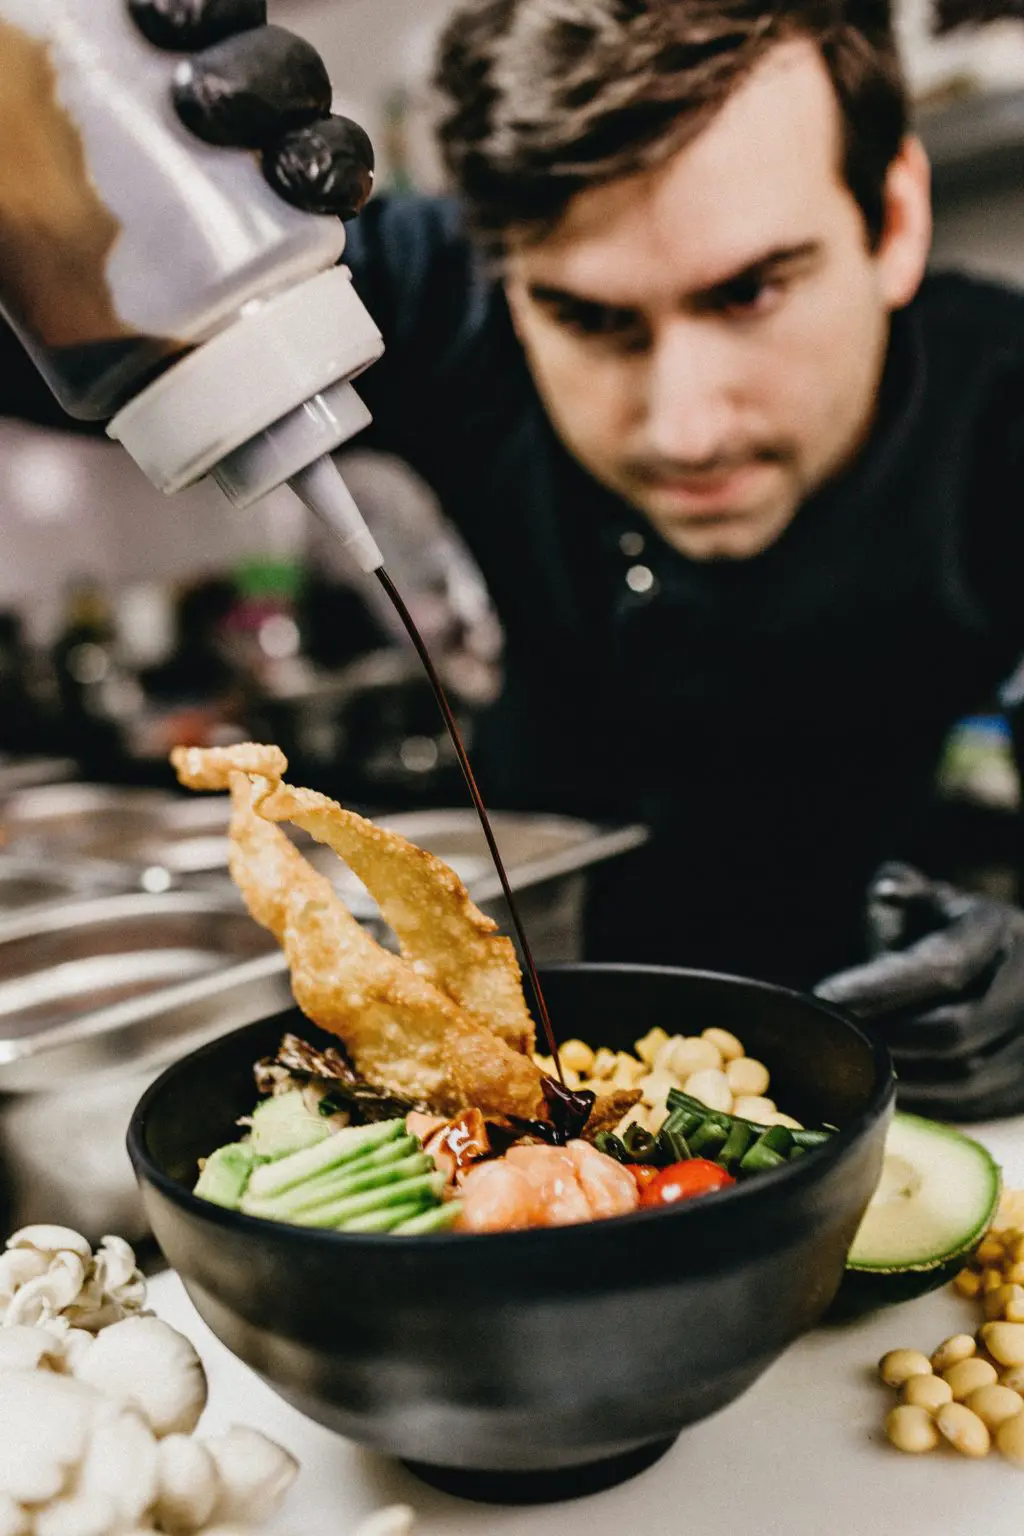
In these images there is no movement, but the people have been blurred. This is a way to focus on an element like a flower, food, etc., and show the people behind the element as blurry subjects.
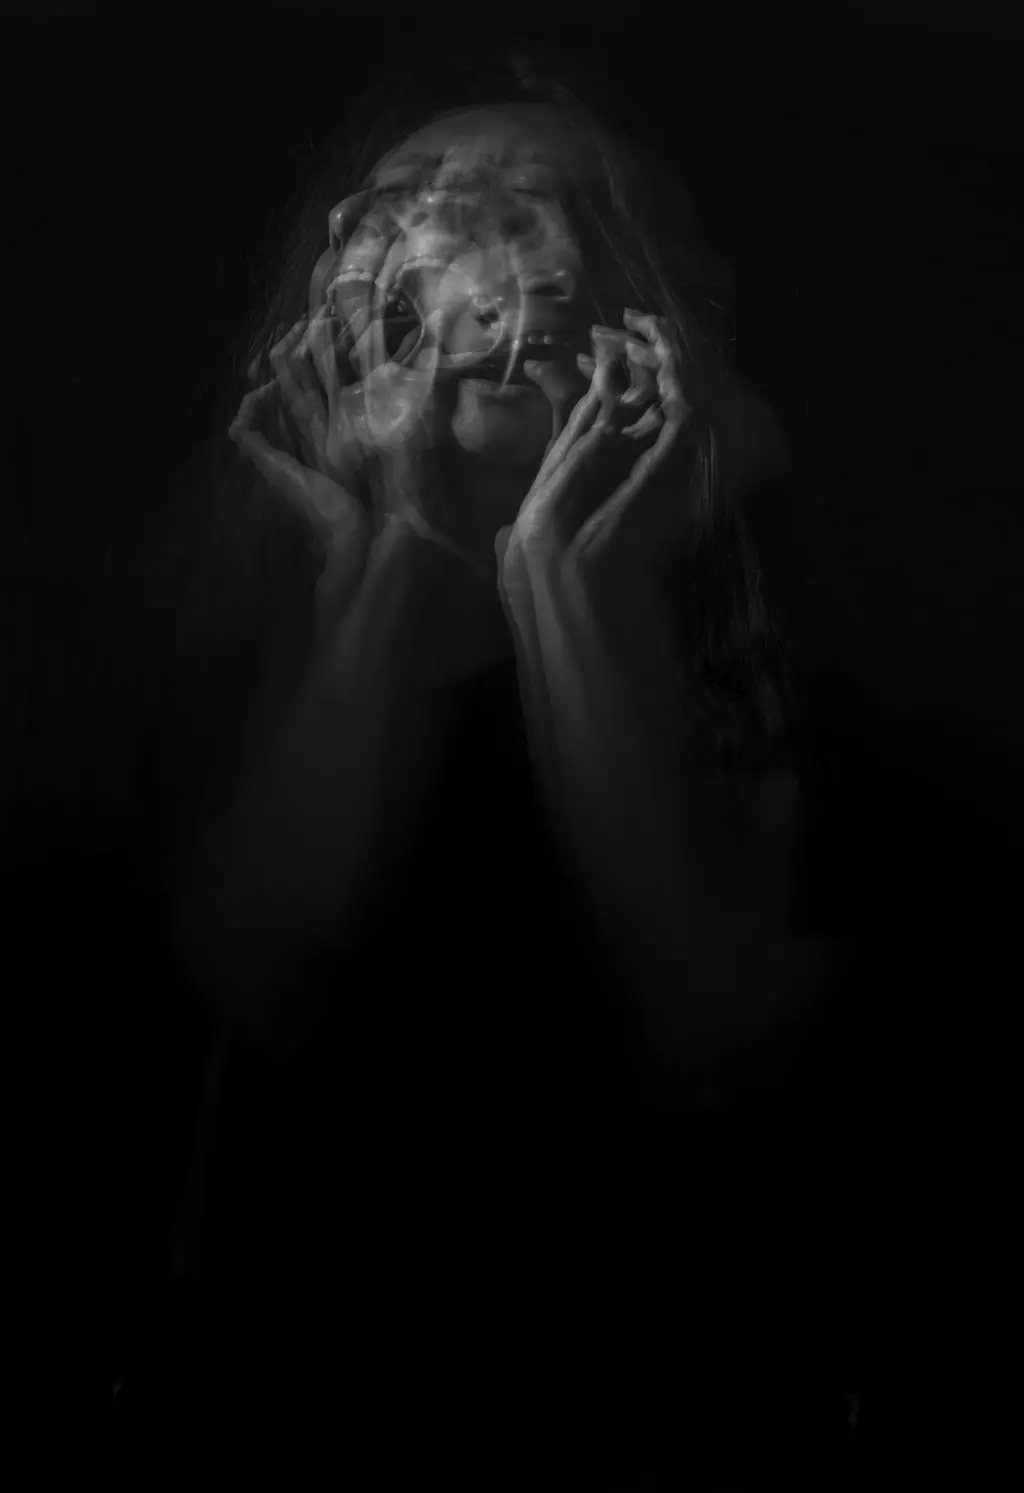
Create Abstract Images By Blurring

In the image above you can see that the subject has placed his hands on his face and removed them. This gesture needs to happen while the shutter is open.
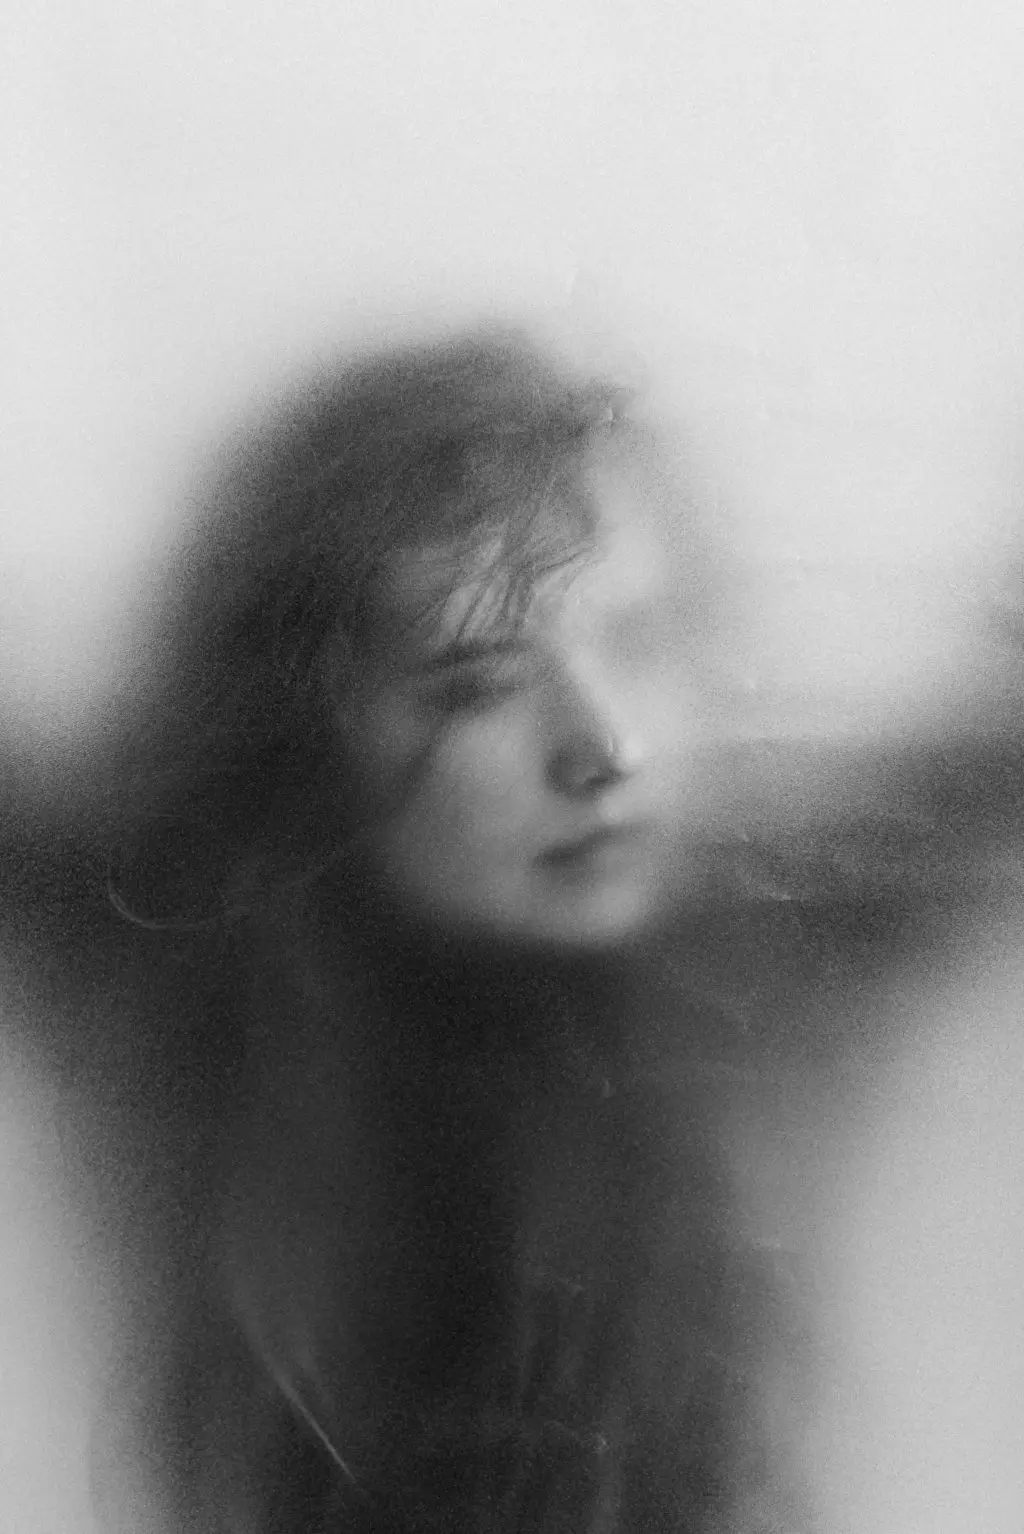
Similarly, in the images below, you can see that the subject has moved while the shutter was open. These images can also be categorized as abstract portraits.


In the images above and below, fast movement of the subject has been captured. This conveys strong emotions.

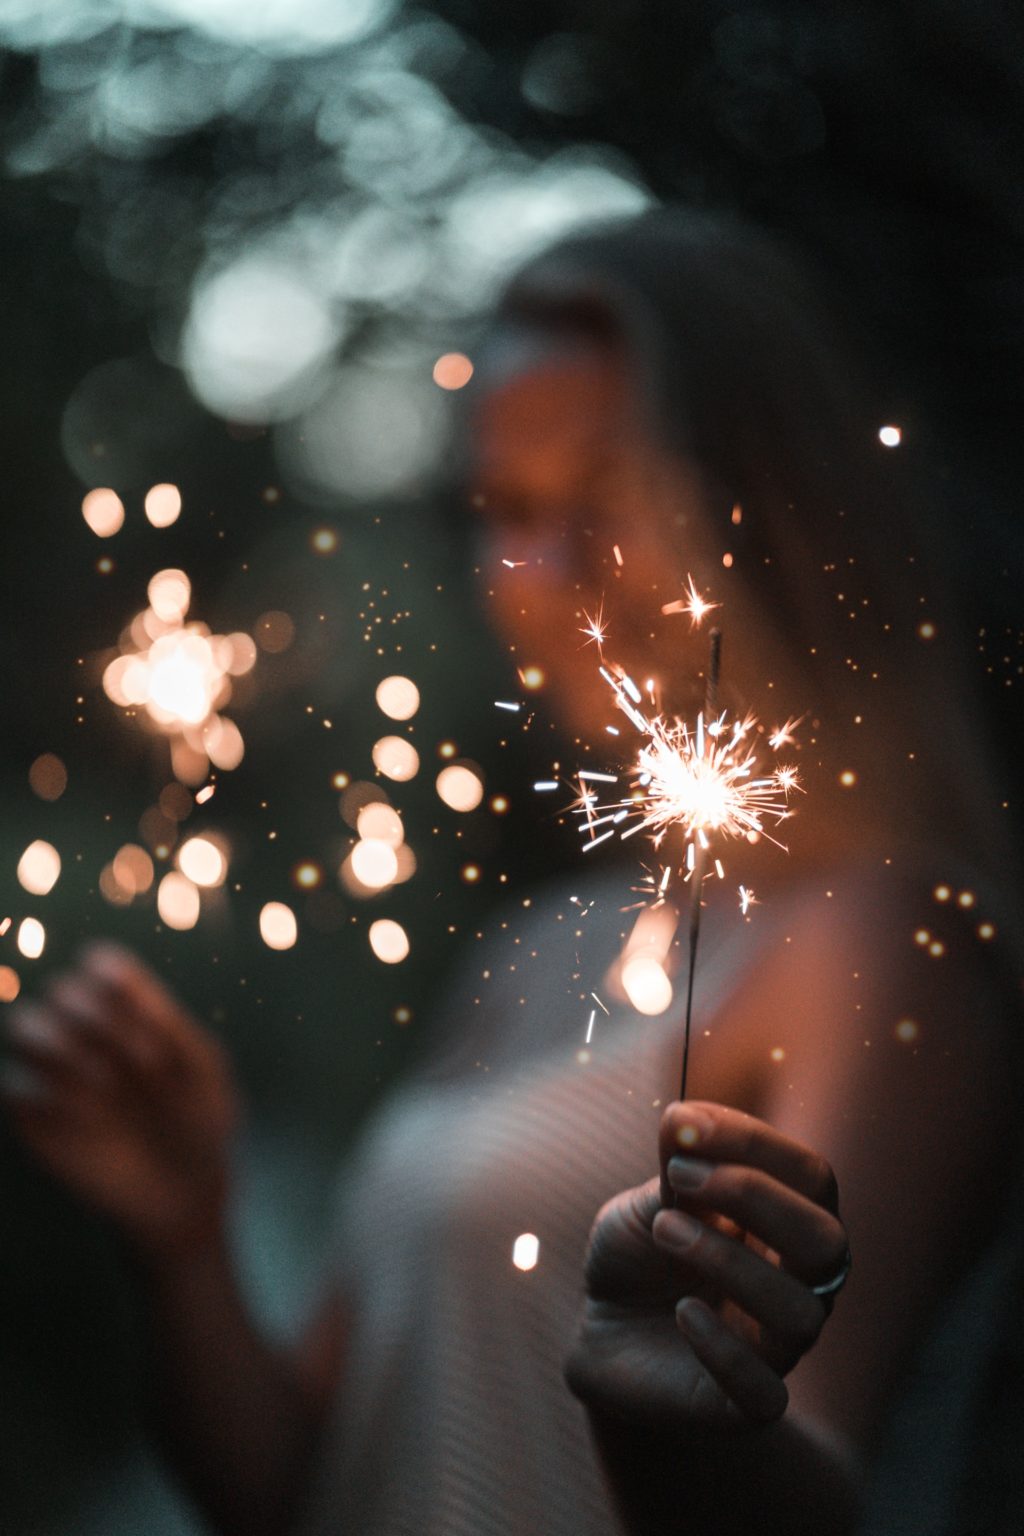
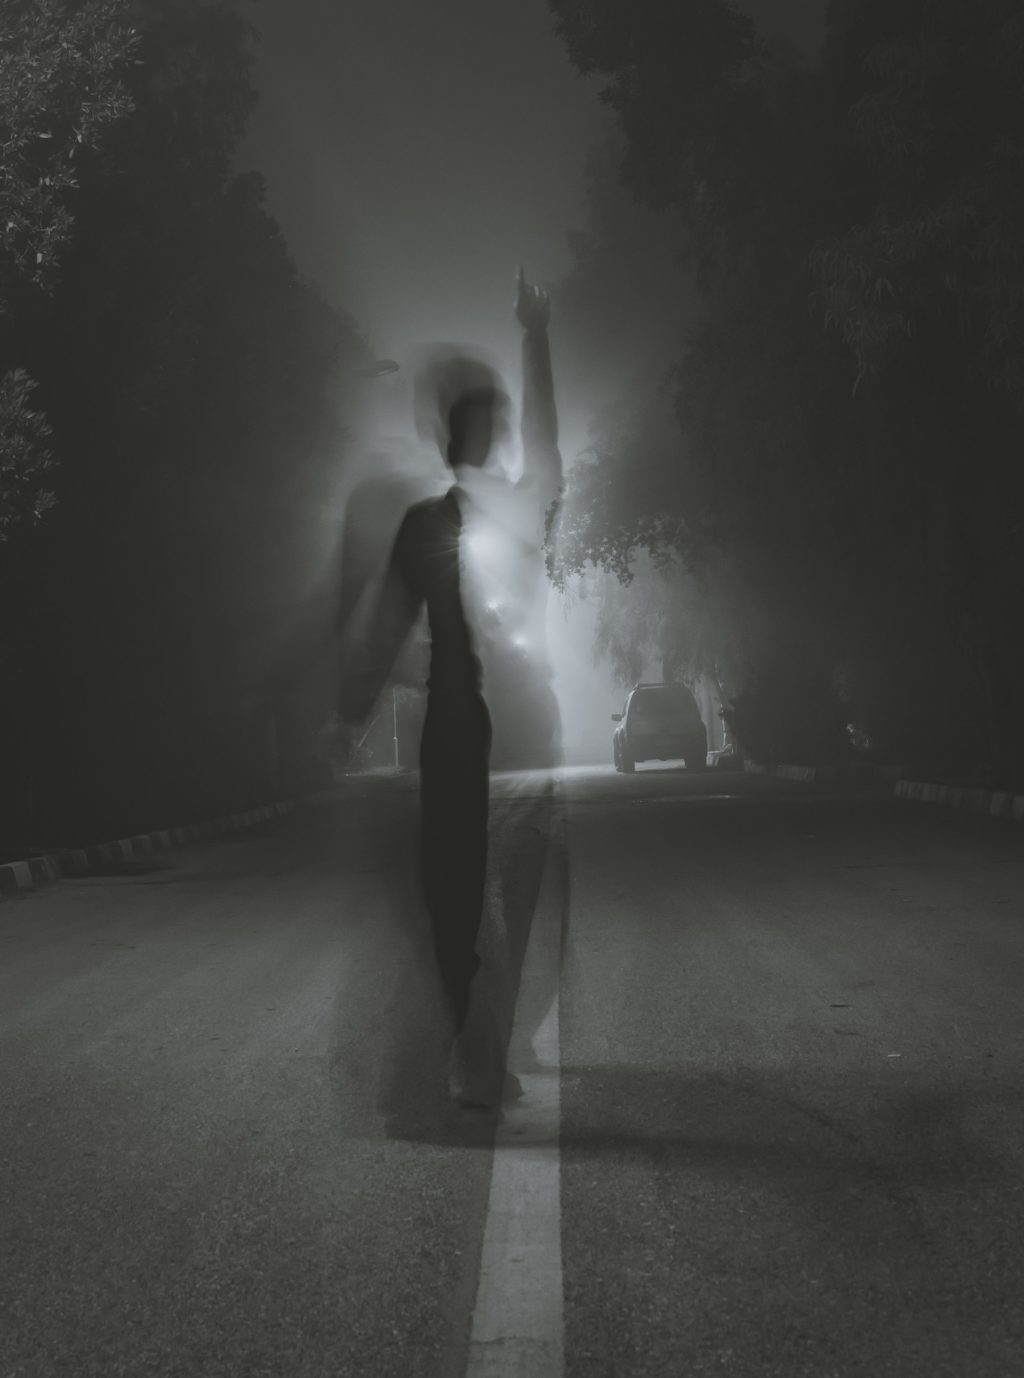
Blurring To Create A Mysterious Effect
Looking at the images below, the subjects are stationary but have been intentionally blurred to create a mysterious effect. Soft lights, especially lights on an overcast day or soft indoor lights can help create a mellow mood and mysterious effect.


In the images below, the photographer has created a mysterious mood by photographing a moving subject. The silhouette of the moving subject in the frame adds more drama and helps create a spooky effect.

Long Exposure Portrait
The images below are examples of long exposure portraits where the subject has been blurred.
Making artful images like these is not about sharpness or perfection, but about the mood. Make your subject do something interesting while the shutter is open.


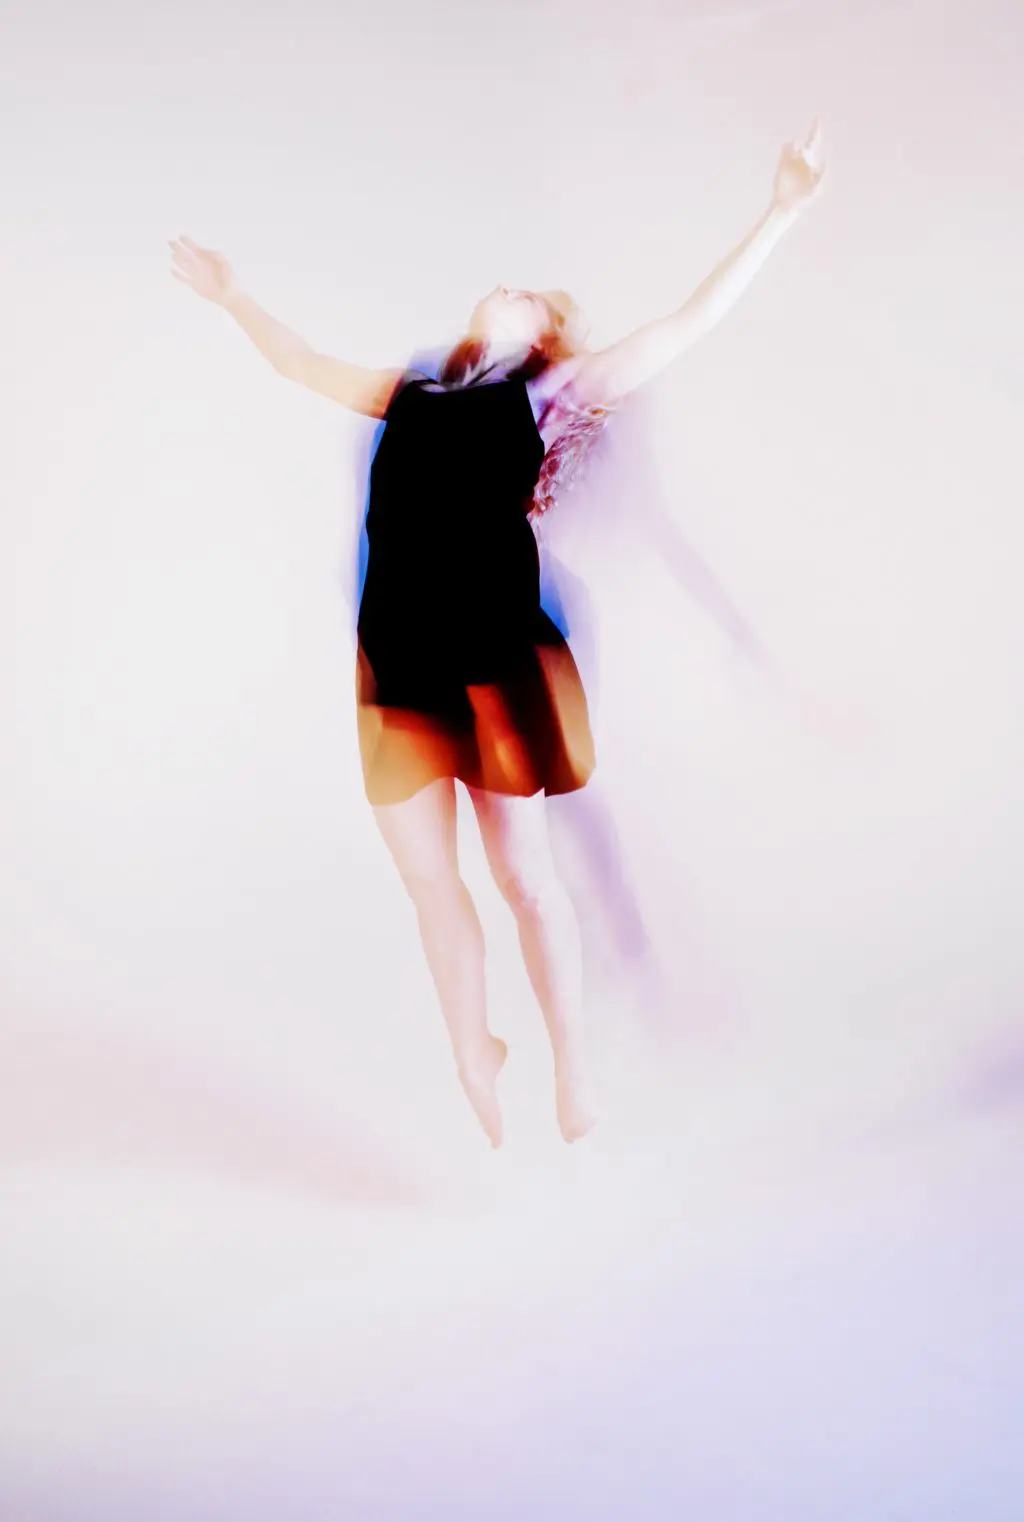
Capturing Dreamy Movements
Most of the time when photographing events like dance, sports, etc, we tend to use faster shutter speeds to freeze movement. Try extending the shutter speed to capture the movement. It will bring life to the image, portray dynamism and also help create a surreal effect.
The images below show the movements of dancers and other performers. You need to experiment with shutter speed and find one that works well for the scene you are photographing.


Blurring To Show Movement
Using slow shutter speed is another way to show movement. The images below tell you what the subject is doing, for example walking, jumping etc. Again in these cases, rather than freezing movement, blurring the movement has worked really well in terms of conveying the message.


Blurring To Show A Busy Location
Take a look at the images below. You can see that they all tell us how busy these locations can be at certain times each day. Most of these images may require the use of a tripod where you have the location or a focal point of the scene in focus and you use a long enough shutter speed to capture the movement of the people in the frame.
Choose the shutter speed wisely (maybe 1/16 to 1 second depending on the scenario) because very long shutter speeds can make the people look like a fuzzy mess or blurry streaks. Use low iso values like 100 or 200 if the light is bright. You may sometimes want to use a Neutral Density Filter to get the exposure right.


Blurring To Show Speed
The images we have below showcase the speed. We usually freeze action or pan across the scene to capture images like these, but using a slower shutter speed by keeping the camera still can portray the sense of speed.
In the first image of the person on a bike, blur + panning (long shutter speed + panning camera) has been used and it makes the image much more dynamic.
These techniques can be used mostly in sports and wildlife. Faster movements can be blurred at a shutter speed of about 1/60th of a second.


These were some creative ways to blur people. It is not hard to try new things and to embrace changes. The more you create and practice, the more creative you become.
Do you think there are other ways to blur people in photography and tell a story? Share the ideas with us in the comments.
If you create images by blurring people, share them with Light Stalking community here. We would love to see your shots!
Further Resources:
- Do This With Your Camera For Cool Long Exposure Street Photography
- The Complete Guide To Zoom Burst Photography
- Capturing Motion Blur In Camera Explained
- Intentional Blur- How To Create It And Why It’s Awesome
- Mastering Intentional Blur
- Creative Blur Techniques


2 Comments
Nice article! Thanks for Posting this information. The function of a photo blur effect can be to soften the overall look of a photo, but use it to surround a focal point in your pic, and blur can really sharpen the focus.
Hi Kasi, thank you. Glad you like it 🙂