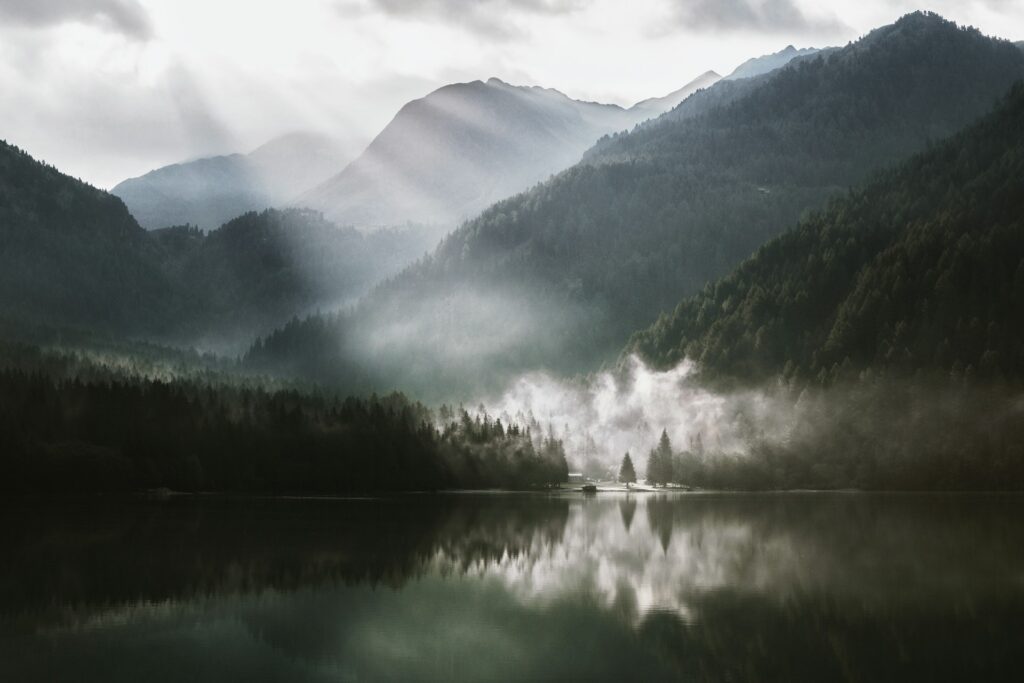
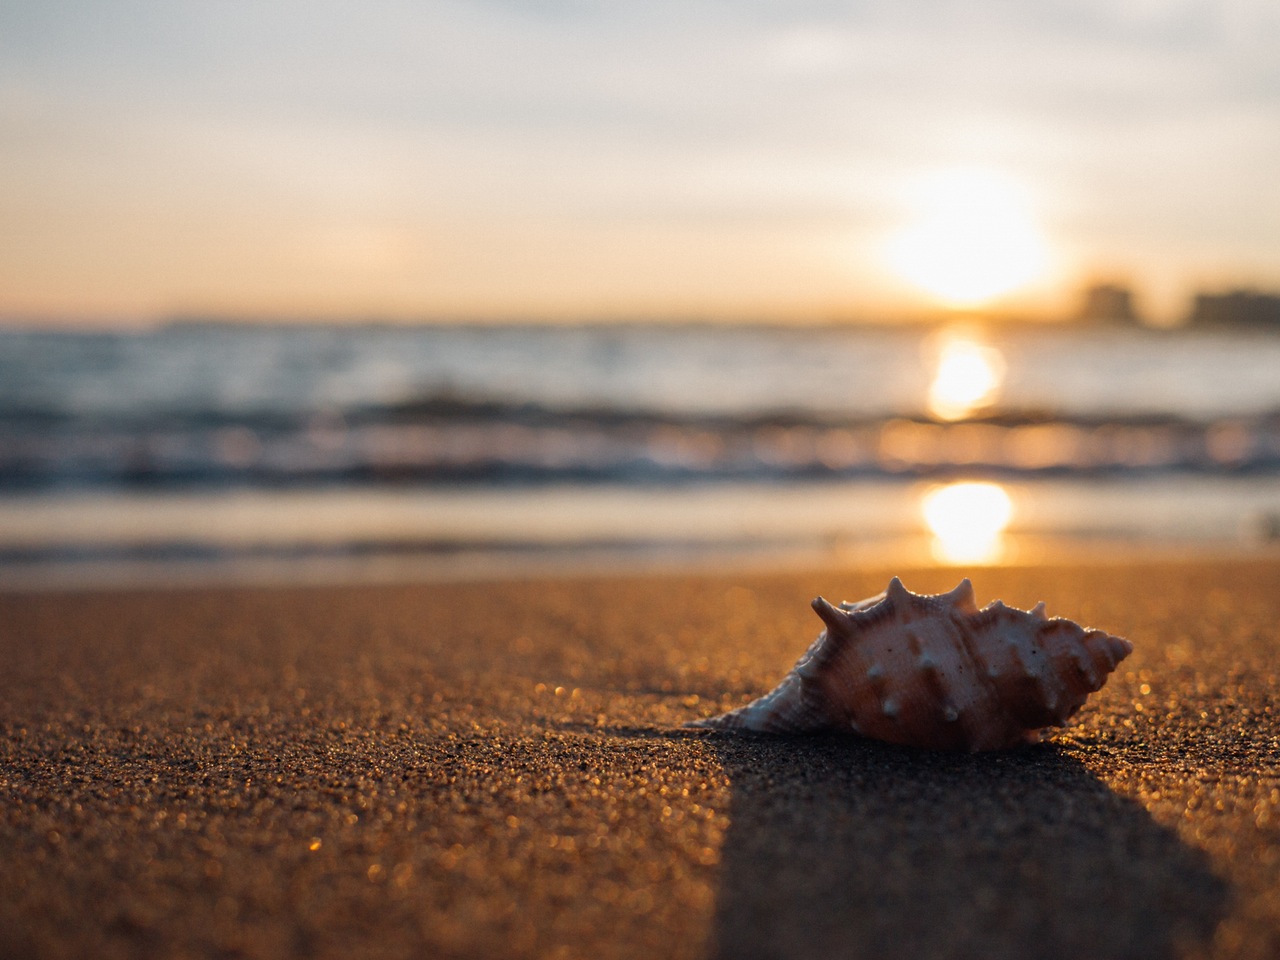
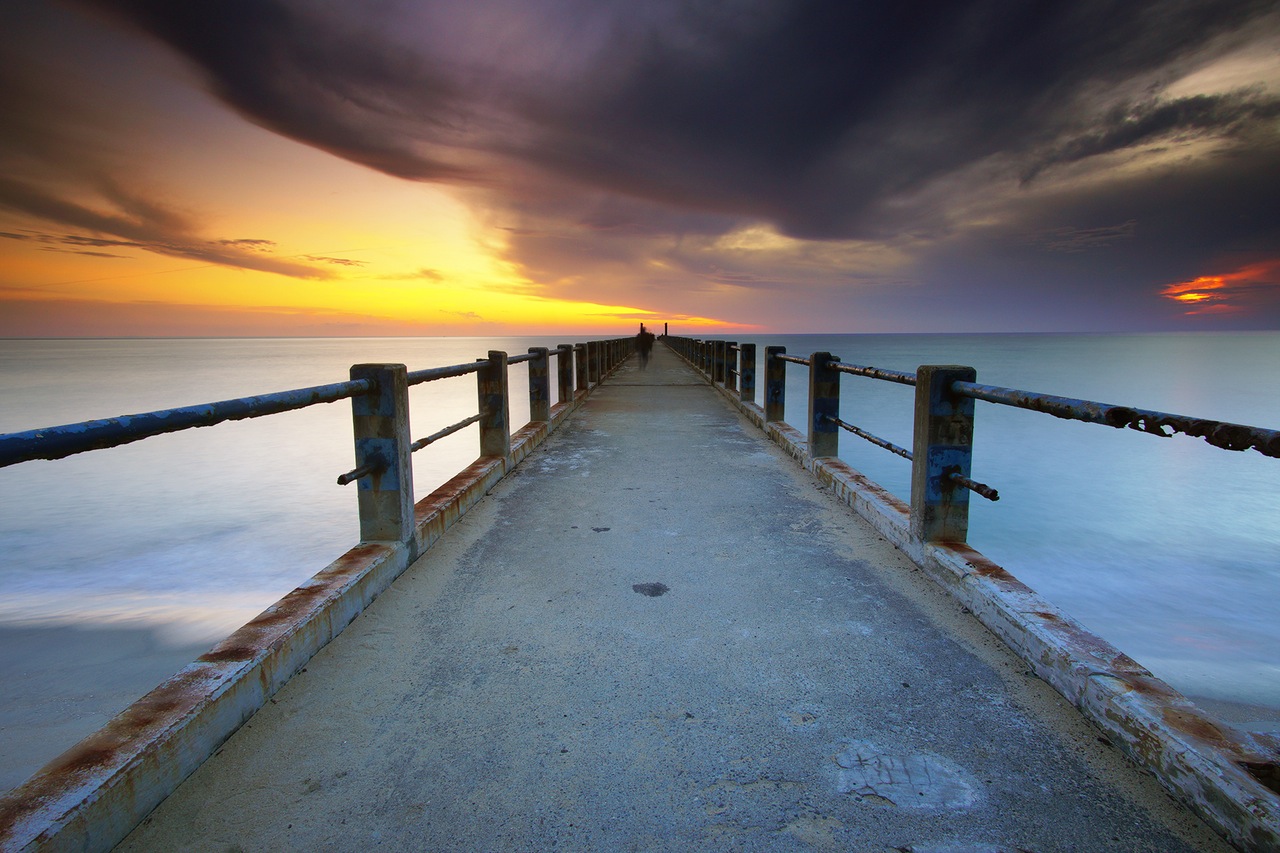
Whenever I go down to the beach (luckily I live on the cliff top, so it's close) my mind is always ticking, always looking for extraordinary things. Things like new debris washed up, the way shells have been dumped in a particularly beautiful circular way or the reflection of a red and golden sunshine from behind the pier.
Beaches are vast, vary greatly and can possess beauty in sometimes unusual ways. Personally, I make a daily habit when I visit the beach to look for the amazing opportunities laying amongst the mundane boring things, that to most, don't appear to ever change.
That's what makes photographers different. We find and look for different patterns, shadows, textures and light fall amongst ANYTHING. Sometimes I feel I have “composition brain”, where I'm removed from where I am for a moment and just think about what I can make from this scene.
Whatever interests you about beach photography the most and whether that's on a beach vacation, your local stretch of coastline or a one-off trip to an exotic corner of the Philippines.
If you want to get the most from your time, and you're looking for some great beach photo tips to get things going again or even if you're just starting out.
1. Finding the Perfect Spot
This is, of course, the first here on this list of beach photo tips because, with no location, there are no photos. Think about what you would like to capture, perhaps make a quick list and us this to leverage your decision. Browse online and find some inspiration and look to put your stamp on a stretch of beach which interests you.
So, once you've chosen your beach location, you'll want to be thinking about “what” you're going to photograph first. Getting there early in the morning to grab a slice of the golden hour means it can play a huge part in what you want to frame.
Remember, you can walk up and down the beach, up high onto cliff tops, find a pier or boardwalk, or really low to focus closely on the water.
2. Choose your moment – Golden Hours
Early or late in the day, that's where we should be aiming with this. Try to avoid shooting during the bright of daytime, if you must, then consider where the light is – i.e. the sun and how this will affect your exposure.
Depending on what you're photographing, I'd opt for a fairly small aperture f/11 to f16 to limit overexposing. Keep a check of your histogram!
We all know that the light at dawn or dusk can be quite spectacular and really add a dimension to your images you perhaps never anticipate, this for me makes it all that bit more exciting and where the golden hours really are wonderful for gorgeous colors.
The classic sunset is a hugely popular time to photograph beaches and the coast because not everyone likes to be up early doors, which means in the winter the duvet is often most appealing! Living in the UK, I face this predicament often, very often.
However, I will say this, if you want epic crisp morning sunrise shots, you gotta shake a leg and get out the door wrapped up warm.
3. Your Gear & Protection
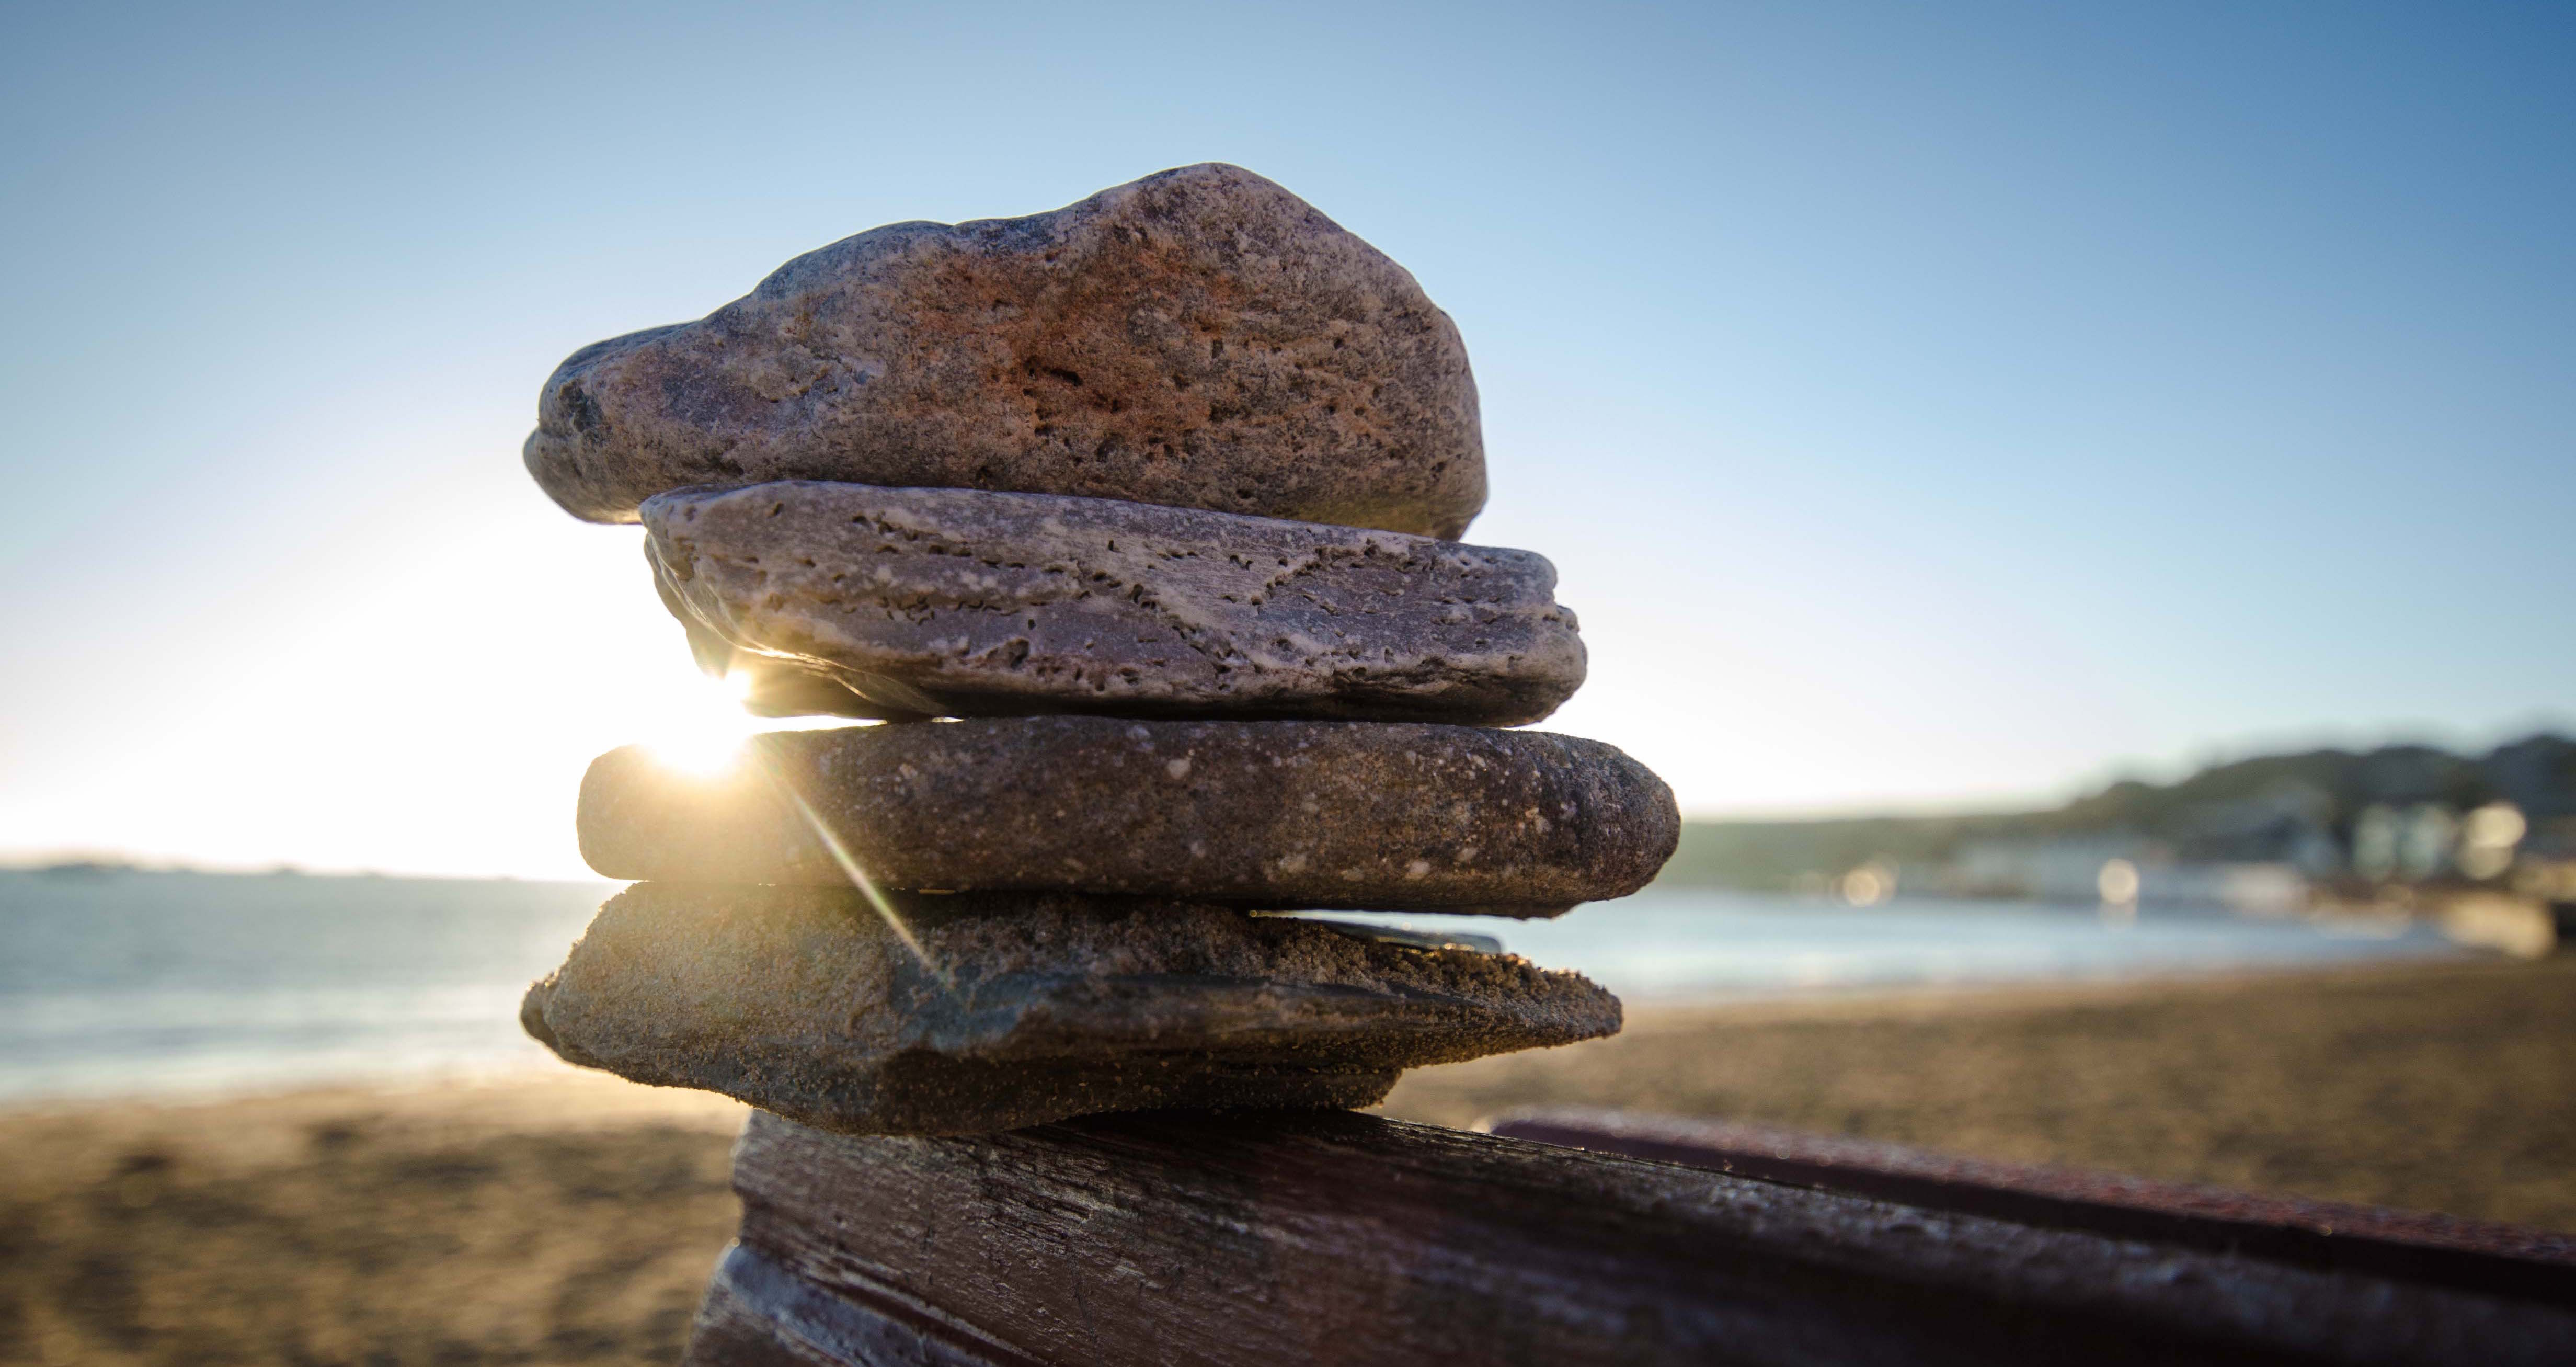
On this topic, I'll say never put your camera down – have a strap, have a few straps. Remember, where there's water, nature, sand, dirt, wind you've gotta keep your gear safe. Aside from this, think about a protective sleeve for your camera.
This doesn't have to be expensive, you could even make one with a zip lock!
Regarding lenses and filters etc, I would say some varying filters would be useful: ND filters, Polarizing Filters and Graduated Filters. Using a zoom lens can really become handy for varying your composition without moving from your favorite spot! Plus, sun flare (if you want it) is also easier to achieve with a zoom over a wide angle prime.
4. Find Interesting Subjects – Driftwood, Rocks, Debris etc
It's not ALL about getting your perfect horizon lined up waiting as the sun rises or sets, think about what objects are actually just laying around – these can really bring some depth to your images.

5. Composition & The Rule of Thirds
Remembering the rule of thirds when composing beach photos will ensure you avoid any kind of trouble or disproportionate photos. Of course, you can bend and break the rules as you please, but just keep this as a guide to get your images looking neat.
6. Capture Motion – Long Exposures
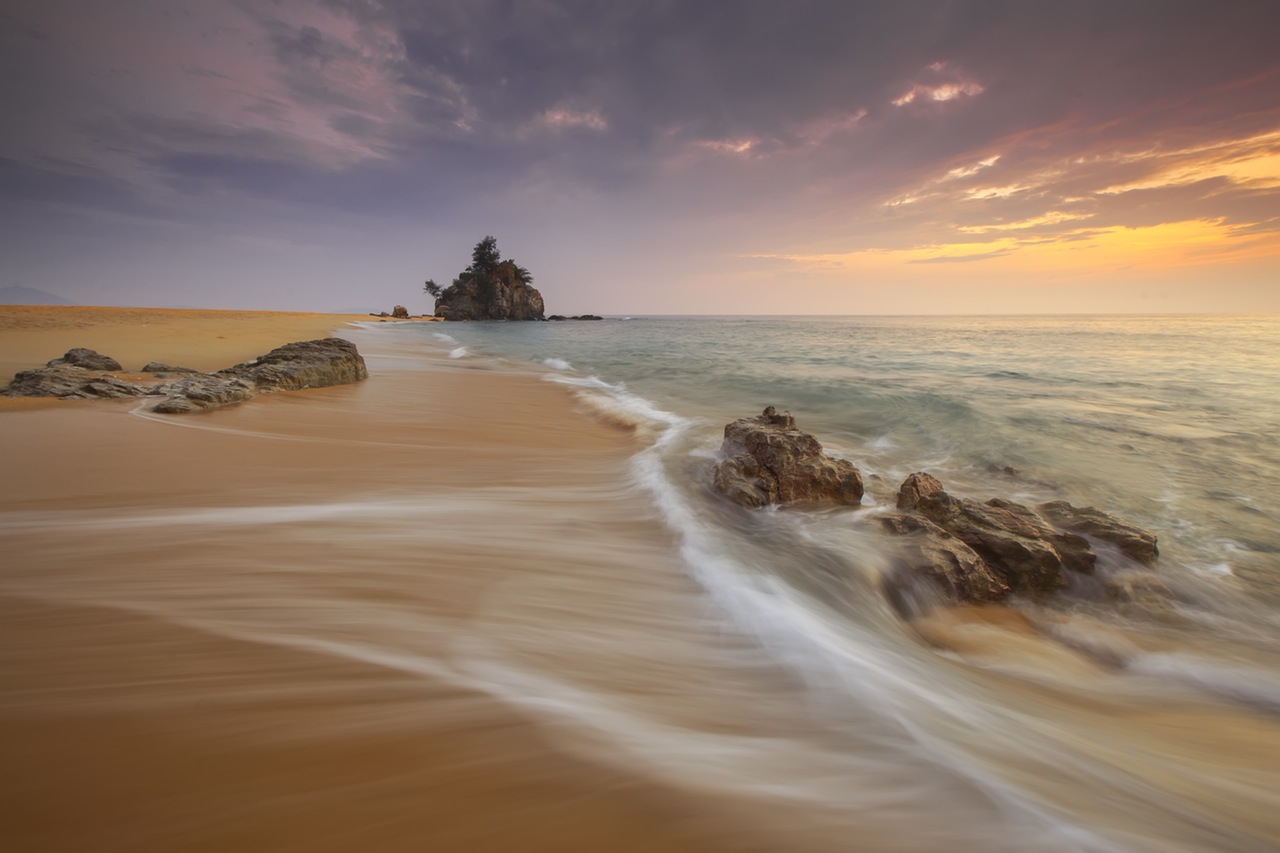
We've got some great resources here on using Long Exposures and Filters. These will be how to nail that technique for you to photograph some amazing shots of the beautiful ebb and flow of the ocean tide.
7. The Advantages of Reflection
When you've got the sun right where you want it, reflections can help create photographs your peers will be applauding at. With this amount of water around, you've got ample opportunity for using reflections as a tool to produce some amazing results.
This is where the weather and time of day really are so important, as you'll need the sun or moon in clear view – use it to your advantage. Using reflections can add that missing element from your shoot.
8. Clouds Add Drama
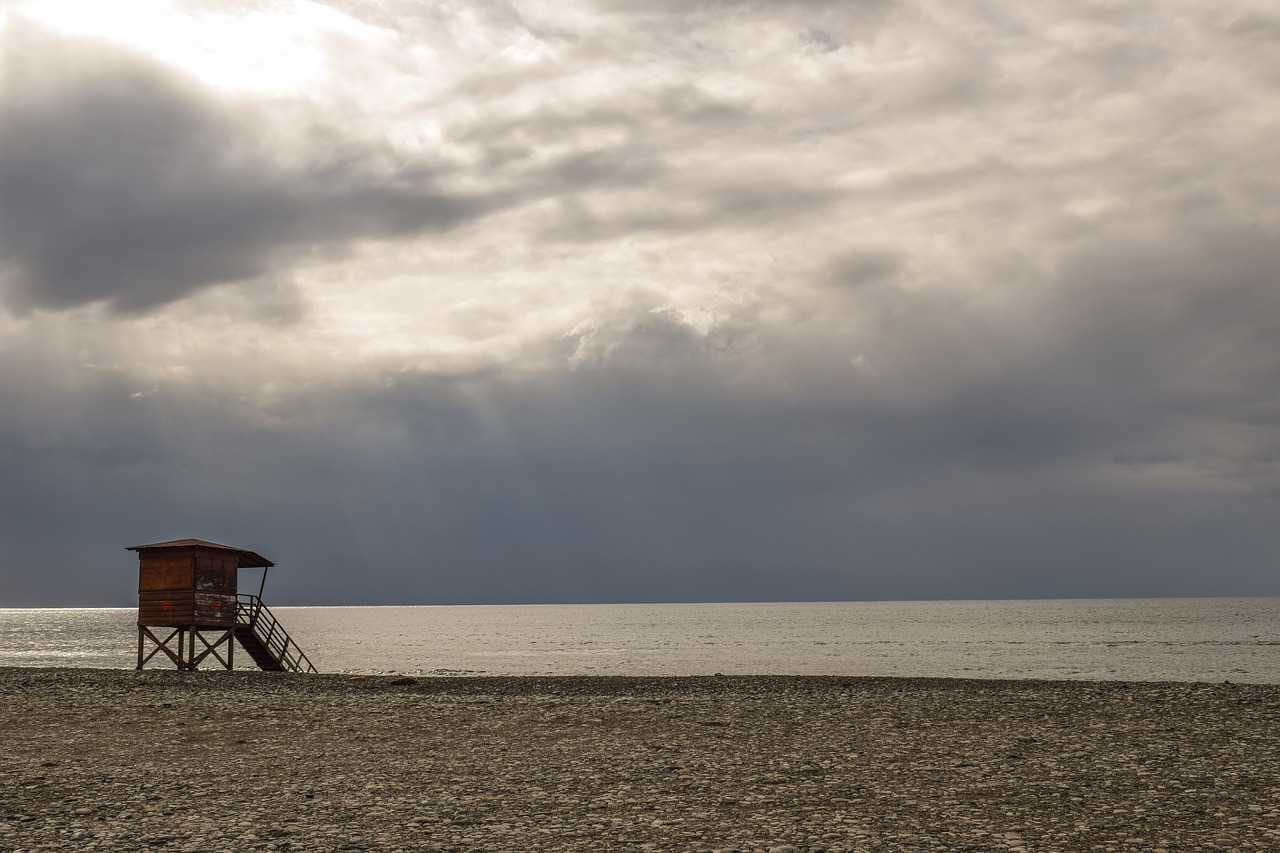
Whether a storm is looming or they're just pretty benign, clouds can bring some creative storytelling to your photographs. They're often dramatic because of the sheer vastness of them across the skies.
If your beach looks somewhat “plain”, then if you're not approaching from the angle of a minimalist look, then how about using clouds to draw viewers into your photos – create contrasting effects – calm, smooth sand and stones, and rugged-looking clouds can be enticing.
Also, consider using a Polarizing Filter to remove any unwanted glare.
9. Black & White or Color?
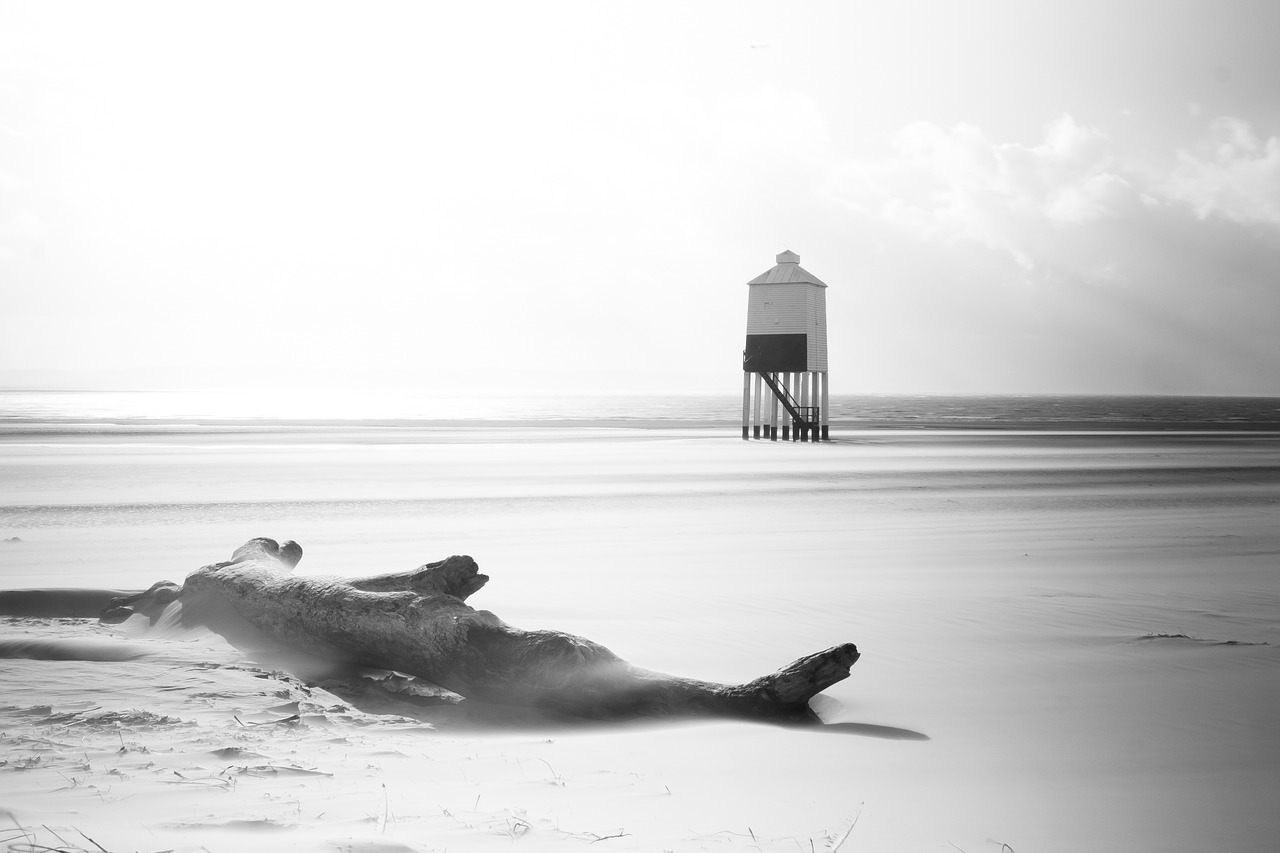
Instinctively, you'd expect color to be the go-to choice of processing your images, but not always. Yes, it's a great place to start but don't ignore what kind of details and emotion a good black and white conversion can do.
10. Layering Your Shot – Foreground & Background
Whilst considering the awesome power of using the rule of thirds, don't forget to use other elements – particularly in your foreground. These elements can either balance out an image or add a whole new dimension for the viewer and create a great composition.
Examples on a beach could be birds, rocks, shells or a person. It just means you can have an additional or alternative focus in your frame. And when you've located that object which initially caught your eye, approach it, stand back, crouch down, analyze and figure out how this will add to your photograph.
Further Resources
- 13 Steps for Creative Coastline Photography Photography Tutsplus
- Stack Exchange Thread
- Why Should Photographers Wake Up Earlier Than Everybody Else? by Dzvonko Petrovski
- Everything You’ve Ever Wanted to Know About Polarizing Filters by Jason D. Little
- How to Photograph Sunsets: 10 Tips for the Perfect Shot by Ritesh Saini
More Beach Photography on Light Stalking
- Better Beach Photography. Make A Splash With These Tips On Gear, Settings, And Composition
- Photographing at the Beach: 10 Tips for Better Beach Photos
- 7 Quick Tips for Better Beach Photography
- How to Shoot a Picture Perfect Beach Portrait
- How to Photograph Beach Life for Great Shots
Further Learning
There are some fantastic apps for getting those stunning Sunset shots, from sunset times to direction of the sun, golden and blue hours…plus a load more.
Well, this course with Brent Mail Photography allows you to get a real understanding of exactly what it takes to capture Amazing Sunsets.
With all these tools…you’re unstoppable!


