There is no doubt that Adobe’s Lightroom and its now-defunct counterpart Aperture have revolutionized photographic post-production. Before the almost simultaneous launch of these two, RAW editing was clunky and slow and image management was limited to moving files and folders.
Although Aperture has gone and other similar products have come, Lightroom remains the primary editing and management tool for many photographers. The reason for this? It’s relative ease of use and it’s power. Of course, as the old saying goes, with great power comes great responsibility. If we do not exercise that responsibility wisely in Lightroom we can end up with a messy catalog and garish looking images. Let's look at some of the more common mistakes we can make when using Lightroom.
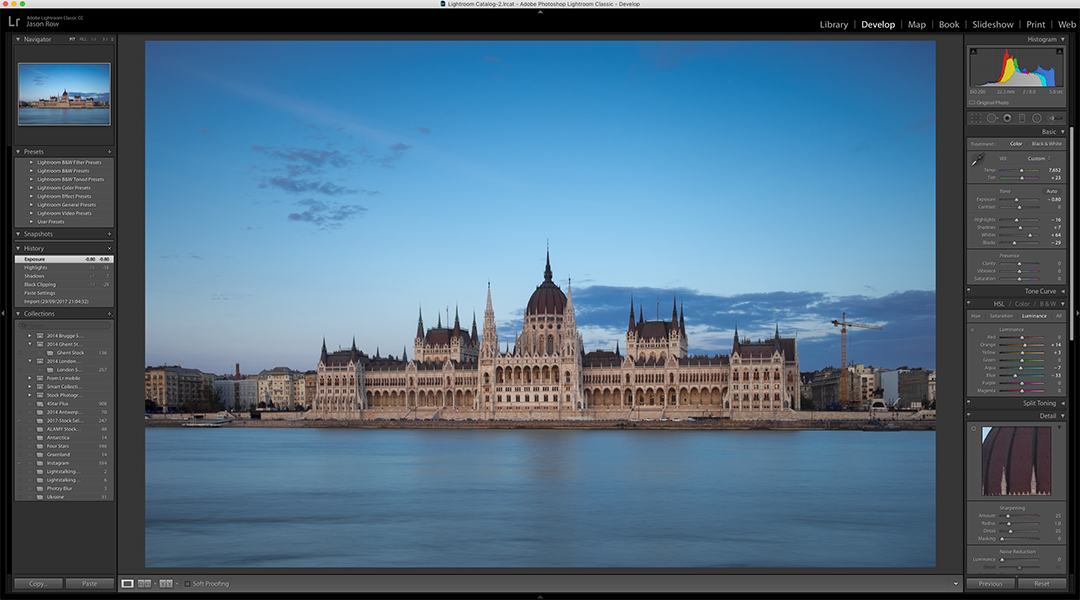
Not Understanding/Misusing The Catalogue
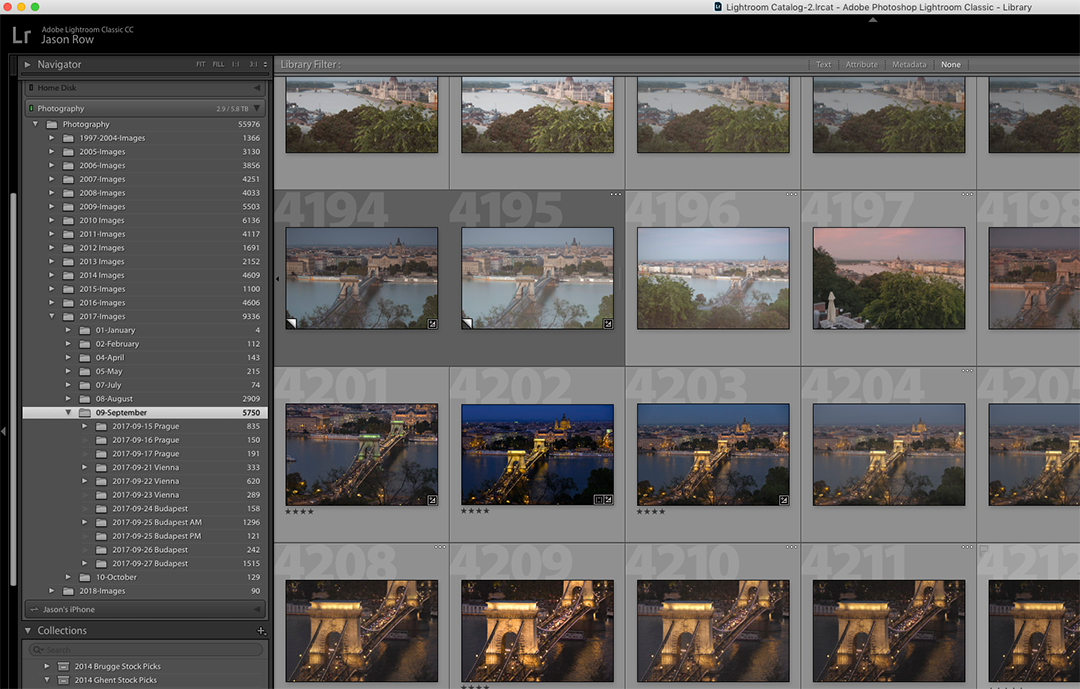
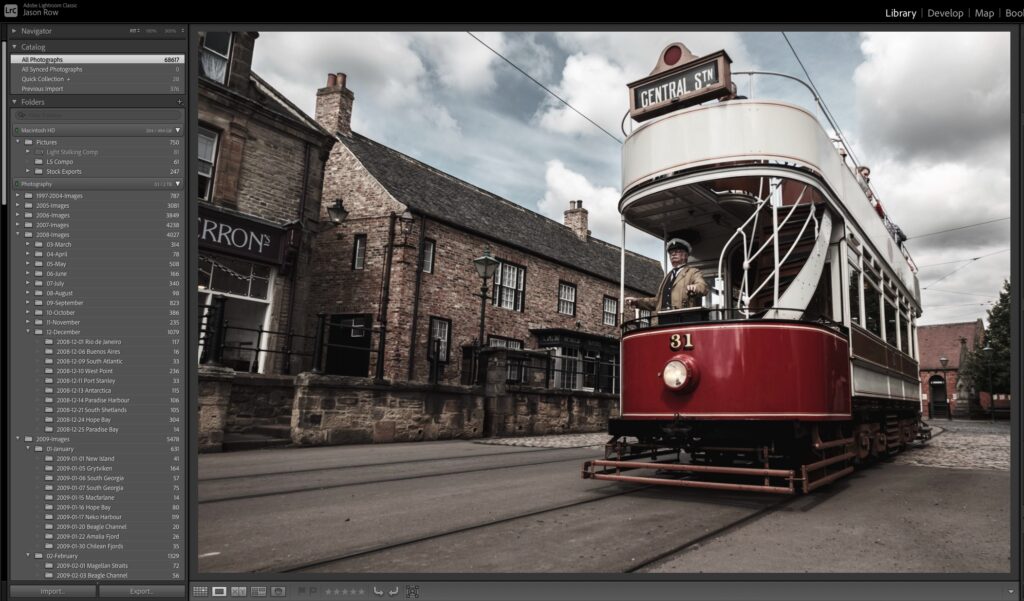
Lightroom’s power comes from the way it can “sweep up” all your images from different locations and organize them into one big catalog. The problem is that newcomers to LR often try to use its catalog and move files around within the operating system at the same time. This leads to Lightroom losing track of where images are making it difficult to find masters of images when working on them.
If you are going to use Lightroom for image management then you must stick with it. It works on the same principle as the file system on your computer, be it Explorer on Windows or Finder on MacOS. Understanding Lightroom’s catalog is key to a successful workflow.
Not Having An Efficient Workflow
Lightroom is about ease of use. However, given the sheer numbers of tools and options, that ease of use can be lost without having a good workflow.
A Lightroom workflow should be a procedure that goes from import to export and all stops in between in the most efficient way. If you chop and change that workflow around you will slow your work down becoming much less efficient and negate many of the benefits Lightroom affords us. It's quite possible that you will have two or more different workflows depending on the types of shots you are working on. In each case, those procedures will be honed down to make the most efficient use of your time.
Over Reliance On Presets
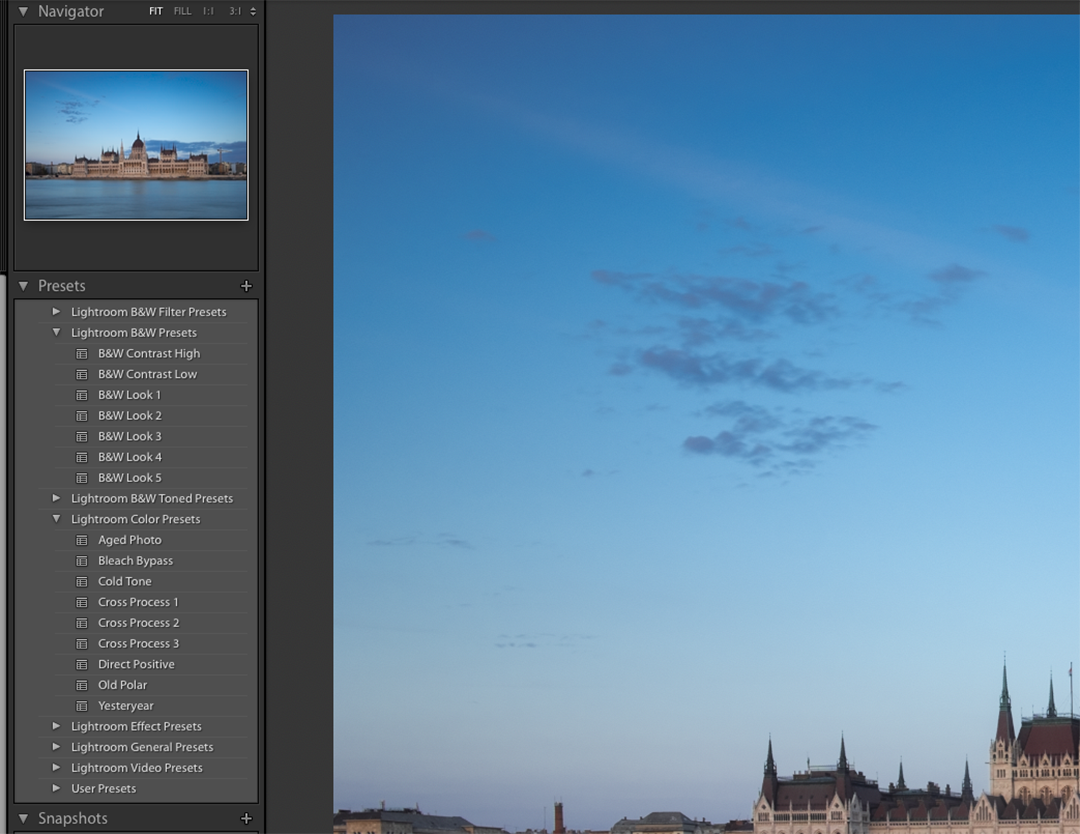
One of the most powerful features of Lightroom are its presets. They can also lead to uniform unoriginal looking images. Presets are often seen as the quick way to edit negating the need to delve into Lightroom’s myriad of tools. This is the wrong way to look at it through. A preset should be seen as a way to get close to the final image but you should also work on the image to perfect it.
Creating and Using Presets in Lightroom for a Faster Workflow
Not Using Lens Correction/Transform Tools
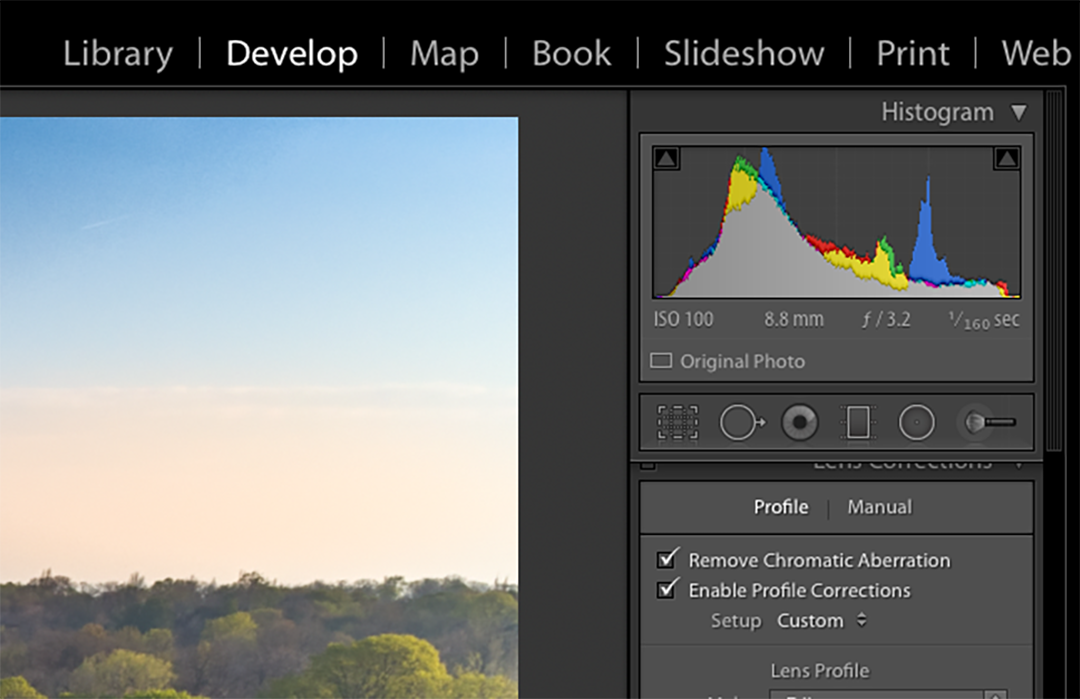
Two sections of the Develop module often omitted by photographers are the Lens Correction and Transform tools.
Both of these have the ability to correct significant defects in images.
The Lens Correction tools will remove chromatic aberration and any distortion inherent in the lens you used. Transform can correct a multitude of sins such as a wonky horizon or converging parallels. Both these tools are well worth integrating into your workflow.
Not Adding Info To Your Images
Adding info can be anything from a simple star or color rating to a full caption, description and keyword set. Not adding information to your images means you are sidestepping Lightroom’s most powerful features, its cataloging abilities.
Again, rating should be adopted as an early part of your workflow, it helps you decide which images should be worked on rather than all of them. Keywords and captions should be at the end of the workflow and will not only help find images but also make them ready for photo stock agencies.
Overuse Of Clarity, Vibrance and Dehaze
These three tools have become mainstays of the Lightroom editing process. Each has a unique feel and can really add punch to an image. However, we often tend to overuse these tools. Clarity and Dehaze both affect contrast but in slightly different ways. You should avoid using both together if possible as this can lead to very unnatural images. Vibrancy effects color saturation but only in mid-tones. It too is a very useful tool but only if used sparingly. The secret to these three tools is to make minor adjustments then step back and take a good look at the image.
Simple Techniques for Adding Contrast to an Image in Lightroom
Vignetting Every Photo
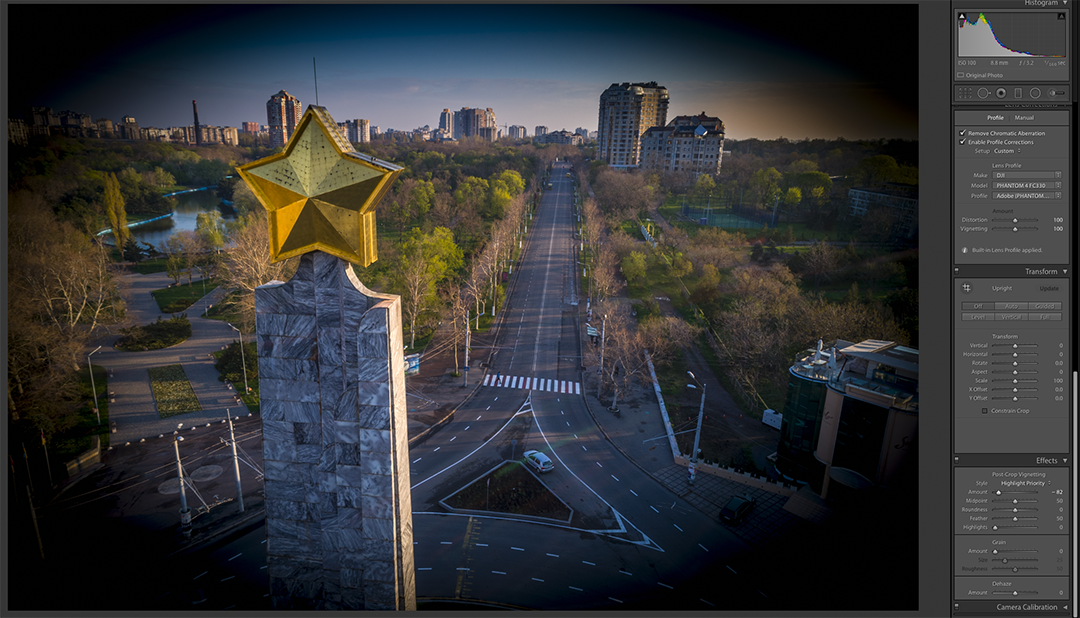
The irony about vignetting is that it originally stems from deficiencies in lens designs. Today it is used digitally to darken the edges of an image and bring the viewers eye to the subject. Problem is it is often way overused, effectively desensitizing us to it.
To make it more dramatic we add even more vignetting to the point our images look like something from a pinhole camera.
Not Using The Histogram
Many editing issues or problems can be negated by simply understanding and using the histogram. The histogram shows us the limits of our shot – go beyond it and we are going to introduce, blown highlights or noise. By understanding the histogram in Lightroom we can keep our images inside the limits and natural looking.
Lightroom’s combination of power and ease of use can be a downside. We tend to abuse the control that we have over images both in cataloging and in editing. Like many things in life, when working with Lightroom, less is more particularly in editing. Keep your catalog and file structure simple to understand, rate and caption your images and edit with a light hand and you will soon find yourself creating an efficient and powerful workflow.




1 Comment
Good article…thank you.