Dynamic range is a phrase that you've probably heard before. Today I'll try to explain it in the context of applying HDR to landscape photography.
So let's get to it…dynamic range is a broad term, but when applied to photography it refers to the range of stops of light your camera's sensor is capable of handling. Ergo, each camera model has a more or less capable dynamic range than others (read more about light in landscape photography).
So stop getting intrigued about megapixels, dynamic range is what you should be looking for when investing in a camera.
Camera manufacturers usually don't explain this stuff to us in a clear and transparent way, so you'll have to undertake some in-depth research in order to figure it out.
Nowadays, dynamic ranges span between 10 to nearly 15 exposure values, and here is a pretty generous list of sensor ratings made by DXOMark (look for the number linked to “landscape”). Just to give you a perspective, our human vision has 24 stops of light dynamic range, hence the difference between what you can see with your eyes versus what you get from a camera.
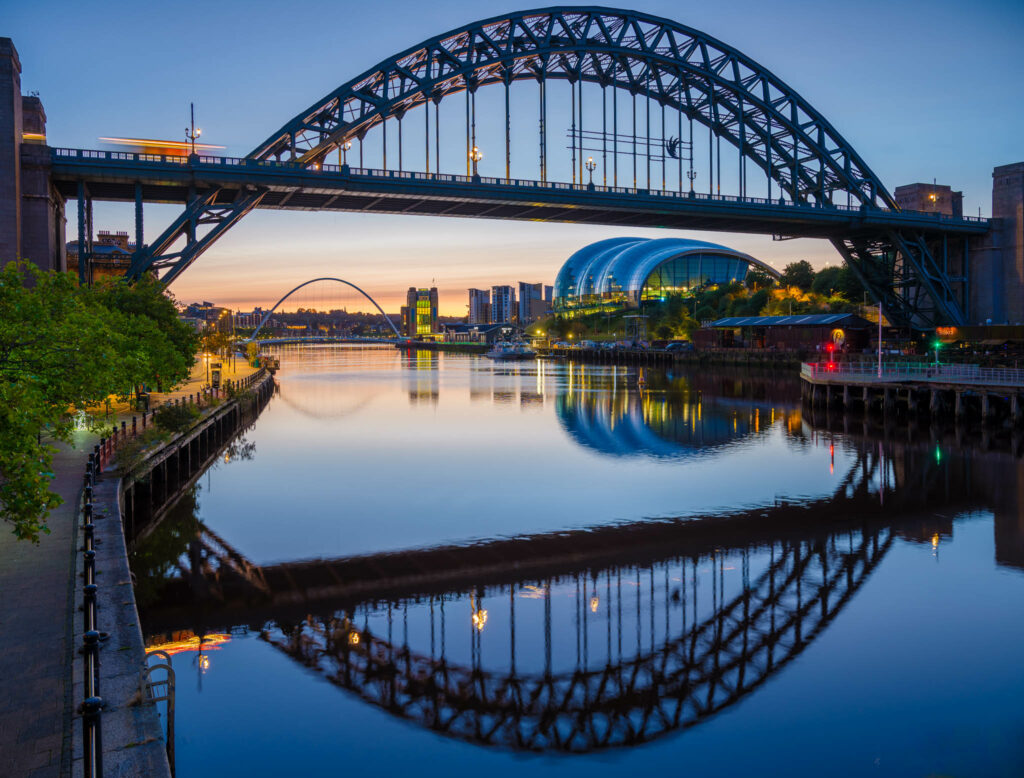
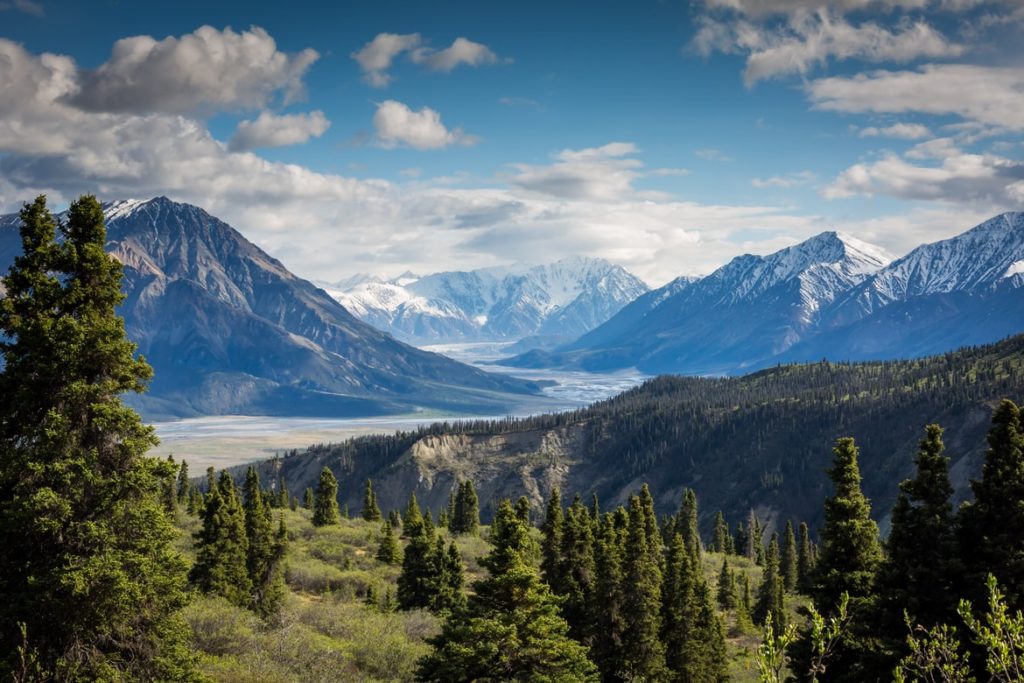
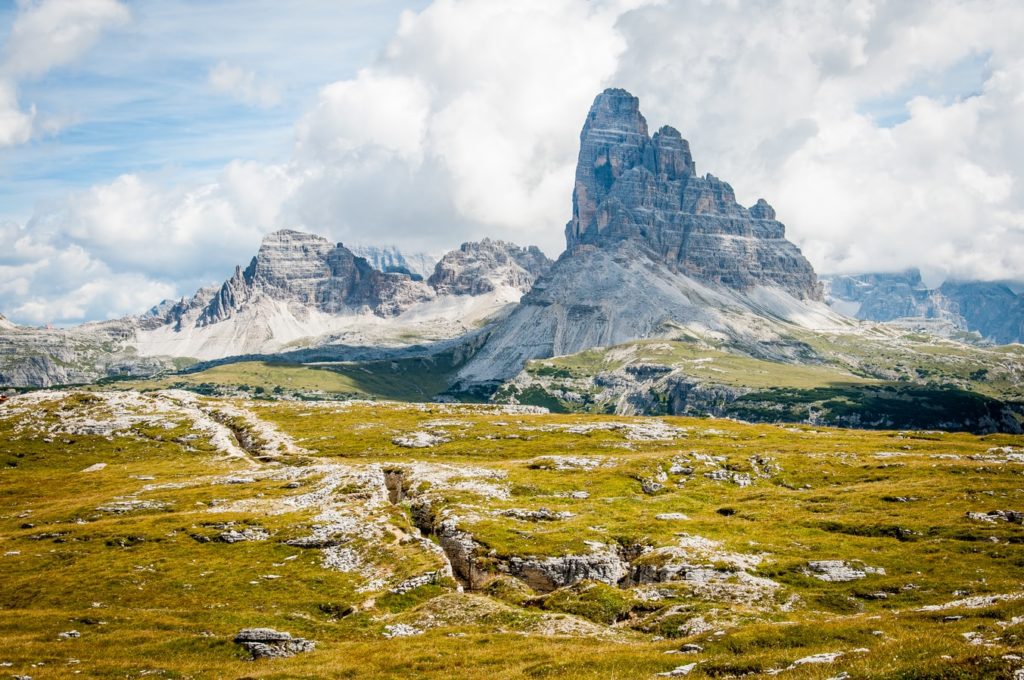
You will find scenes with complex or high dynamic ranges when you get dark shadows in certain parts of the frame to even some really bright zones.
With that, we can start talking about how to photograph landscape scenes that have complex dynamic ranges.
1. Keep It Steady
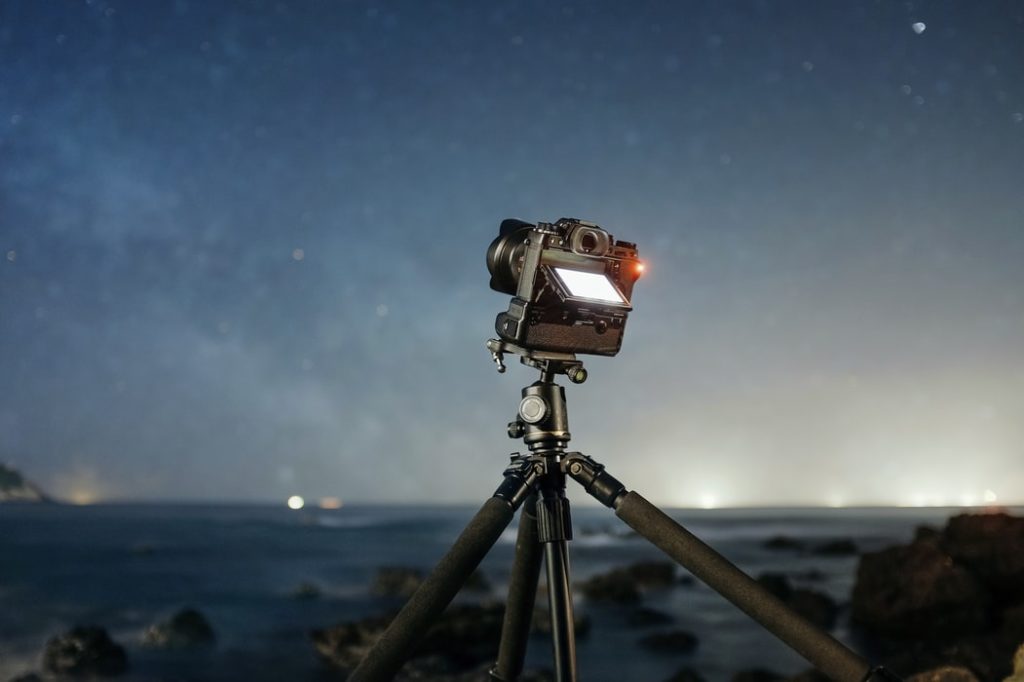
It is simply unthinkable to do landscape photography without a tripod, so make sure you have your camera completely steady. It just won't matter if you get the whole dynamic range of a scene if you have shaky photos. Sturdy tripods need to be seen as investments rather than expenses.
2. Craft Your Exposure
It is simply impossible to capture a landscape in a mouthwatering way simply by letting your camera do the work. For these scenes more than any other ones, you'll need to shoot everything in manual and at native ISO (the base ISO value of your camera, in some cameras this is 100 in others 200). And by manual, I refer to even manual focus.
3. Use the Histogram
A histogram is a tool that past master photographers wouldn't have been able to conceive of, even in their wildest dreams. It is a visual representation of how light is being seen by our cameras and knowing how to read it is extremely essential. As long as you manage to keep all the 255 bars within the x-axis, you'll be fine. Here Jasenka explains how to read histograms in a delightful way.
4. Consider Bracketing
HDR is a technique used by many photographers in order to capture the whole visible dynamic range when it is just impossible to capture it all with a single shot. The principle behind HDR (which stands for “High Dynamic Range”) is to create a “perfect” exposure by blending overexposed shots with underexposed ones. The trick behind HDR is to keep things within the natural look. Here Jason Row explains it in a superb way.
5. You Can Use Auto Bracketing
Some cameras come with a built-in option that allows you to instantly create a fully bracketed image. It simply will ask you if you want to have 3 or 5 photos (and in some cases 7). This isn't the best possible way to capture the complete dynamic range of a scene but is a good starting point.

6. Frame Wisely
Visible dynamic range is related of course to what is left inside the frame more than what is left outside. Frame wisely, and try not to be that ambitious if you simply can't get those deep shadows and that bright sun in a pleasing way in a single frame. Landscape photographers are famous for being extremely patient, so waiting for the perfect moment of the day will help you more than any trick available online.
7. Expose To The Right
And speaking of the histogram, try to shoot slightly overexposed frames. Folks from the film era will be likely to not agree with me because they were taught to slightly underexpose their shots. And we are both right. Negatives behave better when pulling light from the shadows, and digital sensors work more efficiently when decreasing light from the highlight zones.
8. ND Filters
Last but not least, since we are talking about managing light from the darkest to the brightest points of the scene, consider on having ND filters with you. These tools allow you to stretch light in quite marvelous ways, resulting in similar images to those jaw-dropping landscapes you are used to seeing in galleries, magazines, and books.
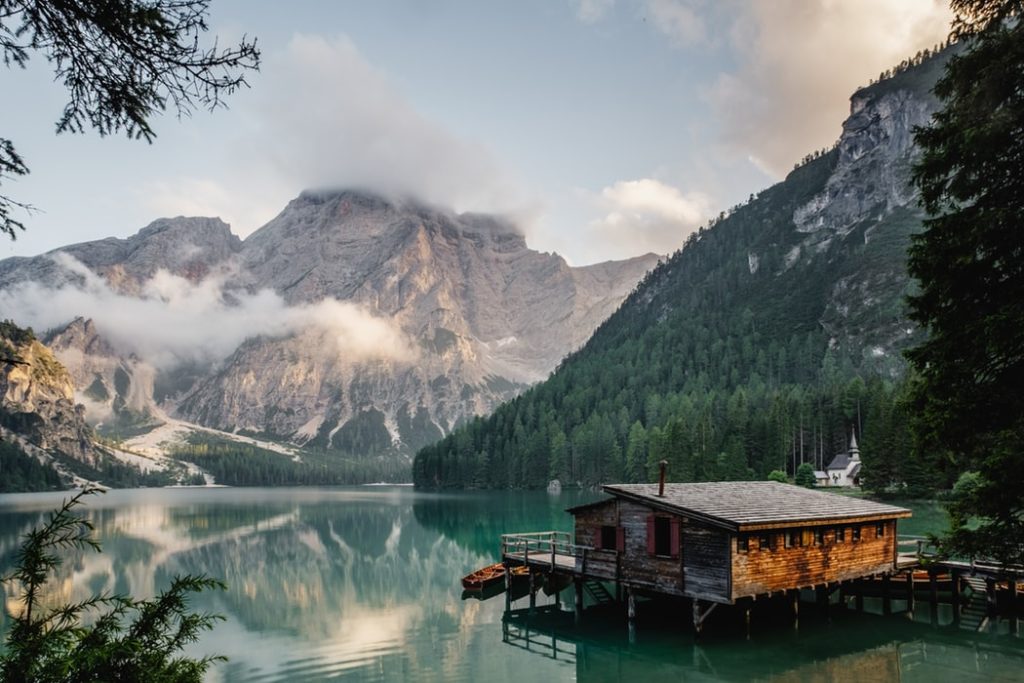
Oh, and don't forget to scout for the perfect scene, and aim for the perfect moment of the day. Perfect light only lasts for a very brief moment!
Even though cameras aren't capable of coping with the 24 stops dynamic range of human vision, they can manage how light behaves, giving them a huge advantage into showing us reality in a way our brains simply can't (yet?).
Every time that you are out there shooting a beautiful landscape, remember to always check that histogram, and plan your shots in the best possible way in order to capture things like you want them to be. Invest in a good tripod and in a high-quality filter system too. And don't forget to share your images with us at the forum!
Further Reading:
Don't forget our wonderful resource page on Landscape Photography – we love that you can get all these resources in one place and we hope it helps you to become a great landscape photographer.
Further Learning:
Do check out Kent DuFault's The Complete Landscape Photography Guide. It is comprehensive in its training and the illustrations give you the visuals to help you grasp the concepts of great landscape photography. Better still are the assignments that help you put your learnings into practice.
Click here to get The Complete Landscape Photography Guide today


